


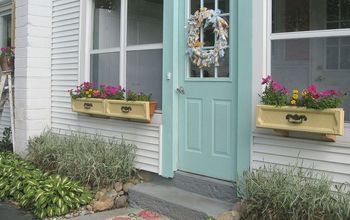
Fixing a Flower Box

As the old saying goes- one man's garbage is another man's treasure, I found this flower box in the trash and fixed it for re-use.
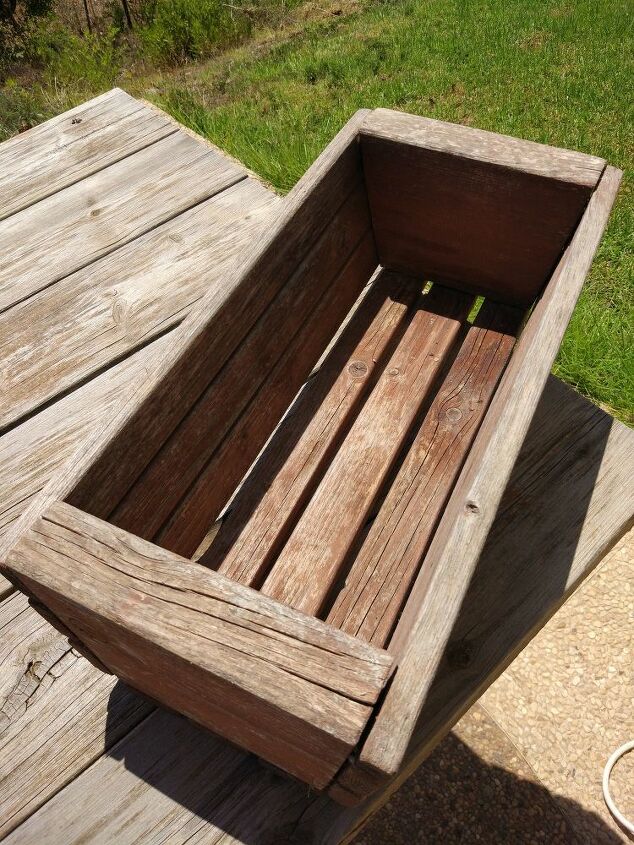
This is how I found it. The wood was in a pretty bad shape and all the nails were loose, barely holding together.
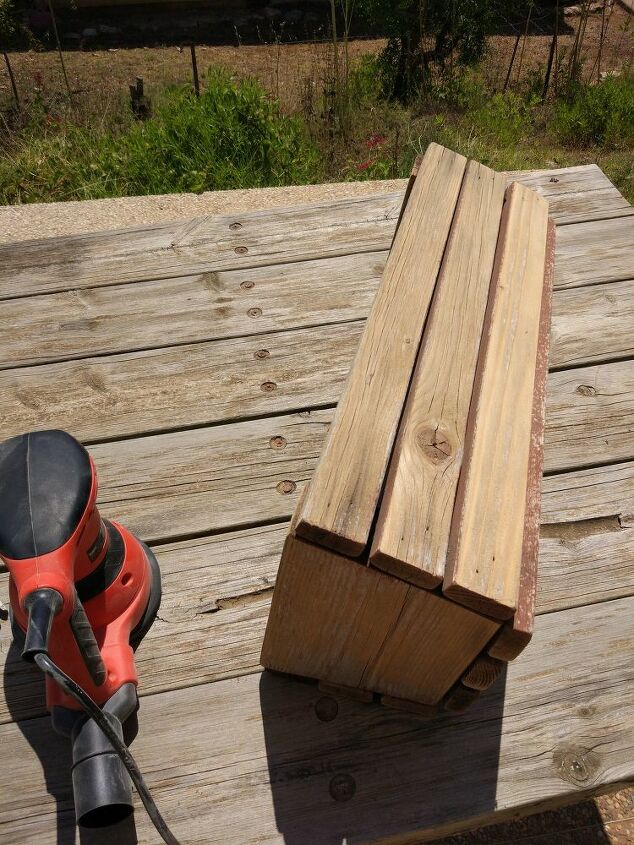
Using my eccentric sander and a 60 grit size sandpaper I began sanding the surface.
After dusting all the paint off I switched to 150 grit size sandpaper to give it a smoother surface.
On difficult to reach spots I removed the sandpaper from the machine and use it folded by hand.
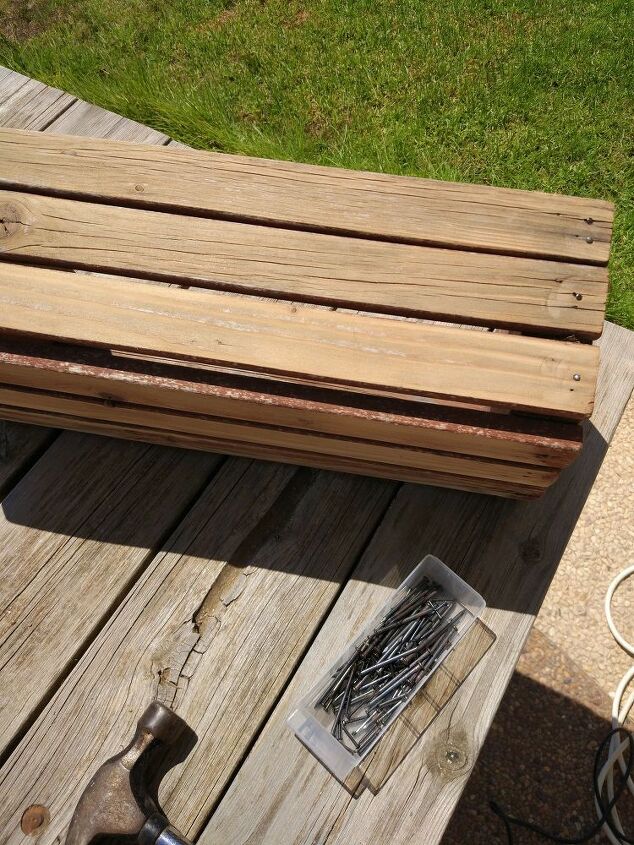
Then, I removed all the loose nails and replaced them with bigger ones. I added a thick layer of white wood glue in between the woods. I like using white glue because when it dries it is very noticeable as it changes its color to orange.
There were some spots where the wood was too rotten, so I used more than 1 nail in order to hold it tight.
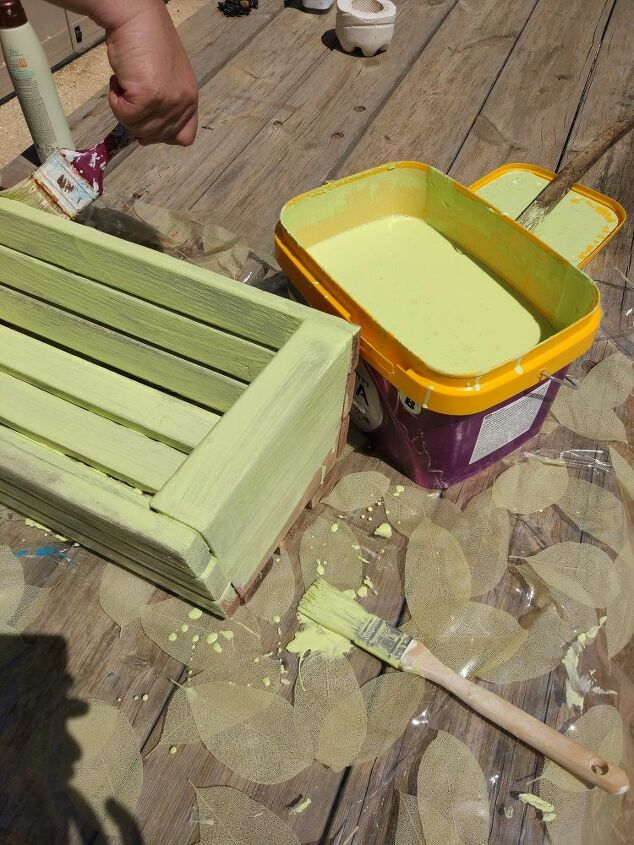
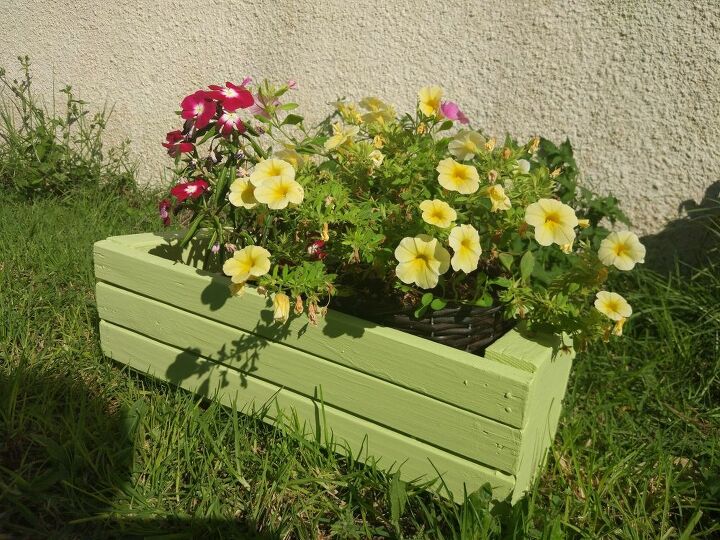
I decided to place the flower box outside and in order to survive the harsh middle eastern summers. I had to coat it with protective paint. The sun is really brutal here these days. So, I invaded my parents' garage and dusted out an outdoor- wall purpose container of green color they had kept from previous paint job.
The color was already mixed with primer, so It saved me some time.
My mom helped me apply the paint which made it a great mother -daughter time!

After waiting for about an hour and a half, the first layer dried out and we could apply the second layer. Then we waited for 2 more hours. The harsh sun was an advantage this time, drying the flower box quickly. We barely had time to have lunch…
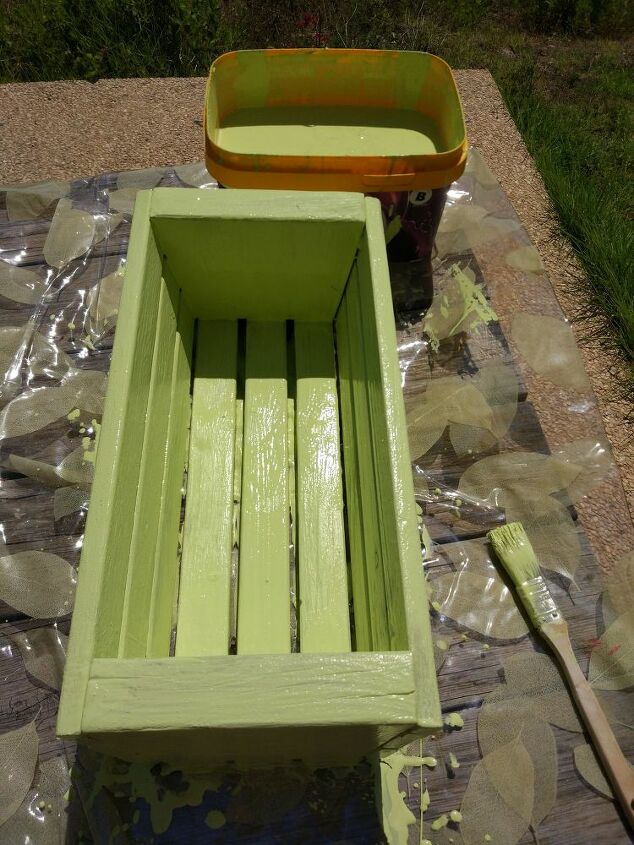
Third layer,
(Still wasn't pleased with the way it looked)

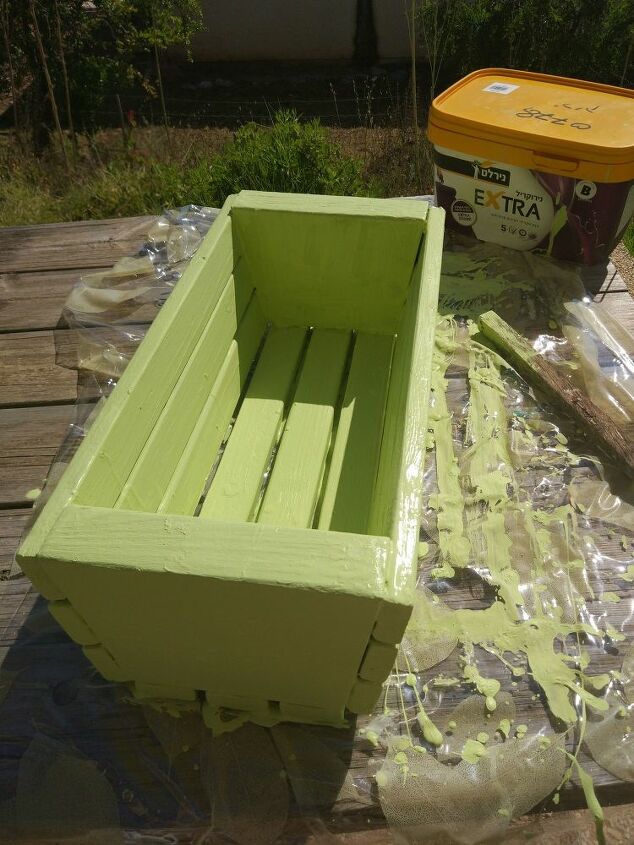
The fourth and final layer.
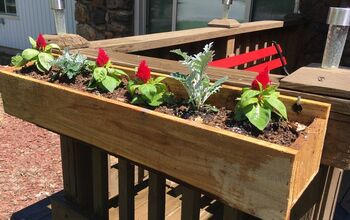
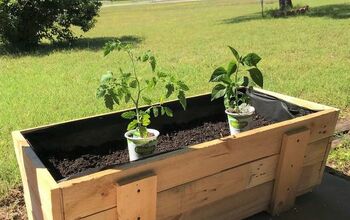
Then, my mom suggested to put potted plants inside the box instead of filling it with soil, which will prevent the wood from rotting again. We used small nursery plastic containers.

We added soil and some pretty yellow and magenta Petunias and Vincas we got at the local nursery and it was ready!
Resources for this project:
See all materials


Comments
Join the conversation
-
Oh, so pretty! Glad you took it home and made it yours!


Frequently asked questions
Have a question about this project?