


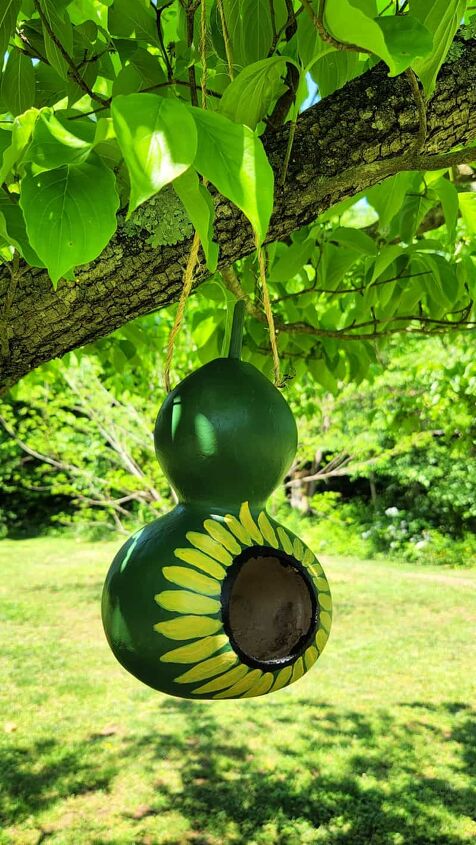
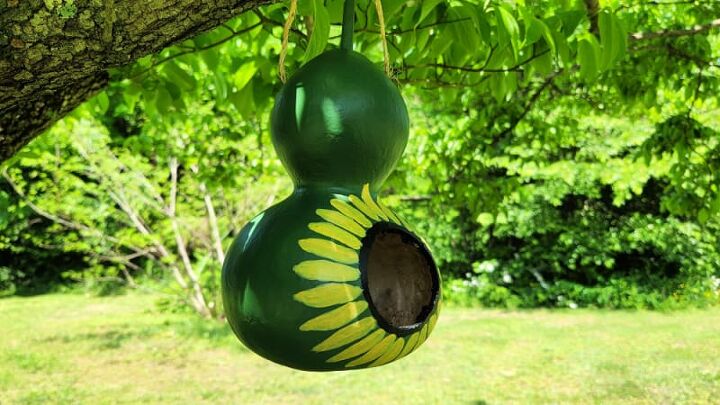
Gourd Bird Feeder
Last Updated on July 2, 2022 by
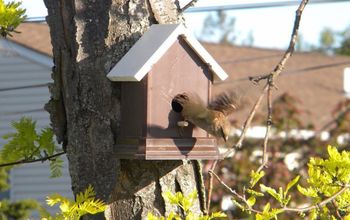
Check out this gourd bird feeder! Learn how to make a gourd birdhouse and bird feeder with the kids to feed the birds.
Posts may be sponsored. This post contains affiliate links, which means I will make a commission at no extra cost to you should you click through and make a purchase. As an Amazon Associate I earn from qualifying purchases.
Gourd Bird Feeder
This bird feeder is made from dried gourds. You can make your own birdhouse ground feeder or house using a fully dry gourd from the garden.
Table of Contents
What is a birdhouse gourd?
A birdhouse gourd is a type of gourd that is grown specifically for crafting. They are usually large and have a hard shell.
You can use other gourds if you don’t specifically have birdhouse gourds growing in your garden. But, bird house gourds work best.
How To Grow Birdhouse Gourds?
Bird house gourds are members of Cucurbitaceae along with pumpkins. Their growth habit is very comparable. They are easy to grow for beginners and a great way to get the kids involved in gardening.
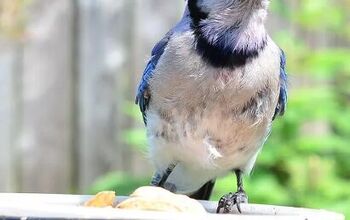
What birds will nest in a gourd birdhouse?
Some of the birds that might use a gourd birdhouse are:
- Bluebirds
- Chickadees
- Wrens
- Downy Woodpeckers
- House Sparrows
- Nuthatches
Where do you hang a gourd birdhouse feeder?
The best place to hang your gourd birdhouse is 4-5 feet off the ground in a tree. You can also put it on a pole or post. If you live in an area with squirrels, you may want to put it higher up so they can’t reach it.
How do you dry birdhouse gourds?
The best way to dry birdhouse gourds is to let them cure on the vine. If you live in an area with a lot of sun and heat, this can take as little as 2-3 weeks. If you live in a cooler climate, it may take longer. Once they are fully dry, they will be light weight and have a papery skin.
If you can’t let your gourds dry outside, you can also cure your gourds in the oven. This method takes longer, but it will work if you can’t cure them on the vine.
Preheat your oven to 200 degrees Fahrenheit. Place your gourds on a baking sheet and put them in the oven. Leave them in until they are completely dry. This can take anywhere from 24-48 hours.
Once your gourds are dry, you can paint them or leave them natural. If you want to paint them, use a primer designed for gourds. You can also sand them down before painting if you want a smooth finish.
How long does it take a gourd to dry out to make a birdhouse or feeder?
It can take anywhere from 2-3 weeks to several months for a gourd to dry out completely. The size and type of gourd will affect how long it takes to dry.
You can only make gourd birdhouses or feeders after the drying process is complete. If you make your bird feeder too soon, the gourd will get moldy and rot.
How to pick gourds for a bird feeder
The best gourds for bird feeders are the larger birdhouse gourds. These gourds are specifically grown for crafting and are the perfect size for most birds.
You can also use other types of gourds, but they may be too small or big for some birds. If you’re not sure what size to get, err on the side of caution and get a larger gourd.
Look for the best quality gourd in the garden to make your natural birdhouse or bird feeder. If you choose a lower quality, it may not dry properly or hold up to drilling holes.
Be sure to pick them in the winter after the last frost. You need a good hard frost to cure gourds. If you want to try this craft, think about growing gourds in the spring. Then you can harvest them in the early winter.
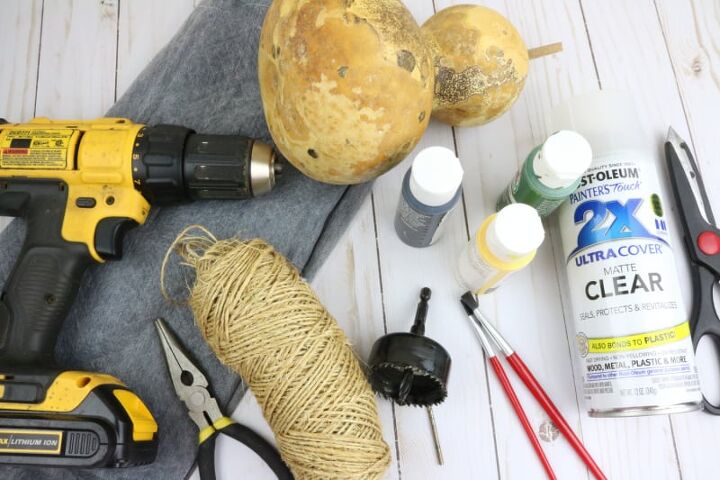
Supplies to make a gourd bird feeder
- 1 Gourd (dried)
- Drill
- Small Drill Bit
- 1 1/2 Inch Spade Bit or Hole Bit
- Acrylic Paint (optional)
- Paint Brush (optional)
- Sealer
- Twine or Cord
- Scissors
- Pliers

How to make a gourd bird feeder
If you grow your own gourds, after they have reached the correct size and you harvest them, they will need to dry out.
You do need to give them a scrubbing after they have dried on the outside before you make your birdhouse. Just be sure not to soak them. You want the outer shell to be hard.
You should hear seeds rattling inside the gourd when you shake it if your gourd is fully dried.
- Carefully drill 4-5 small holes in the bottom of the gourd to allow for drainage.
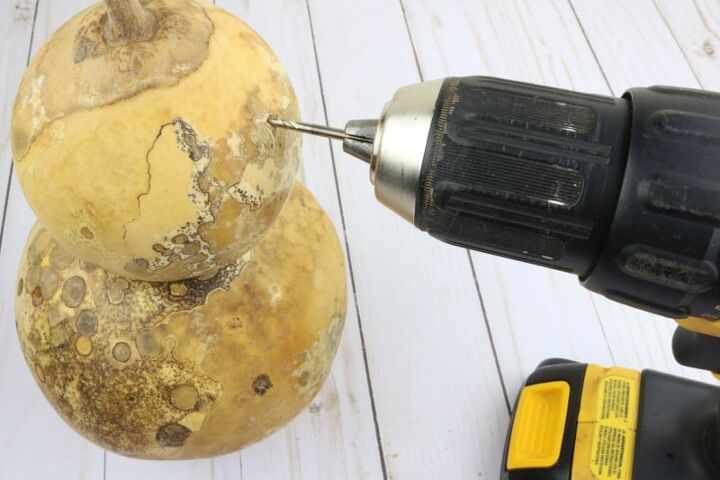
- Then drill a hole through the top of the gourd about an inch down from the top.
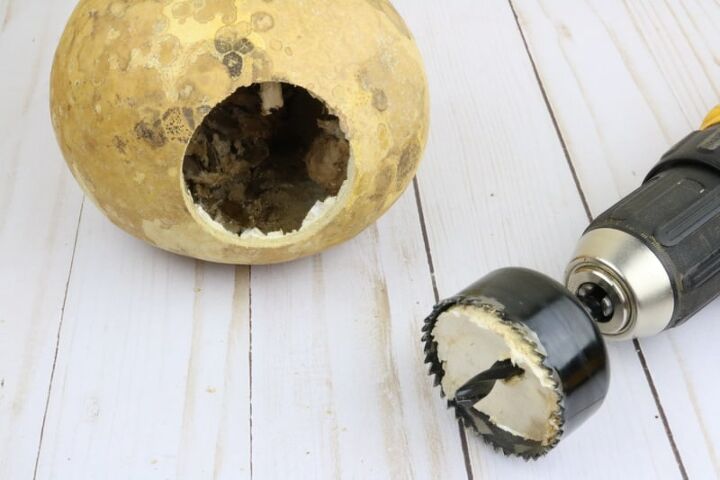
- Carefully use the spade bit or hole bit to make a hole on the side of the widest area about an inch or two from the bottom.

- Remove all the seeds by shaking them out of the hole. You may have to pull some out with the pliers.
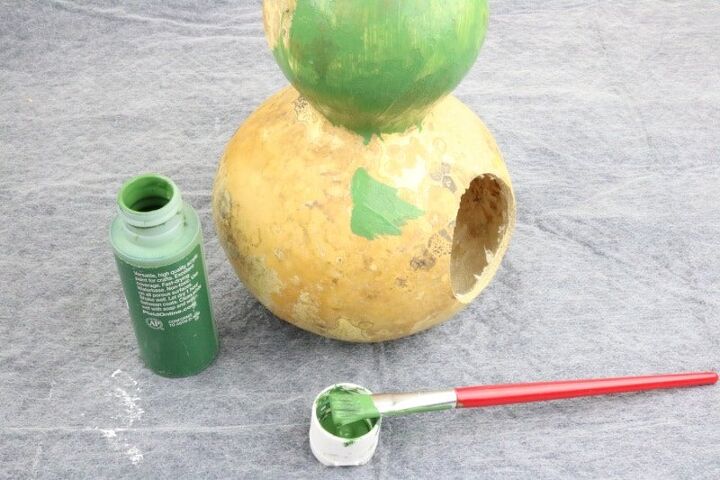
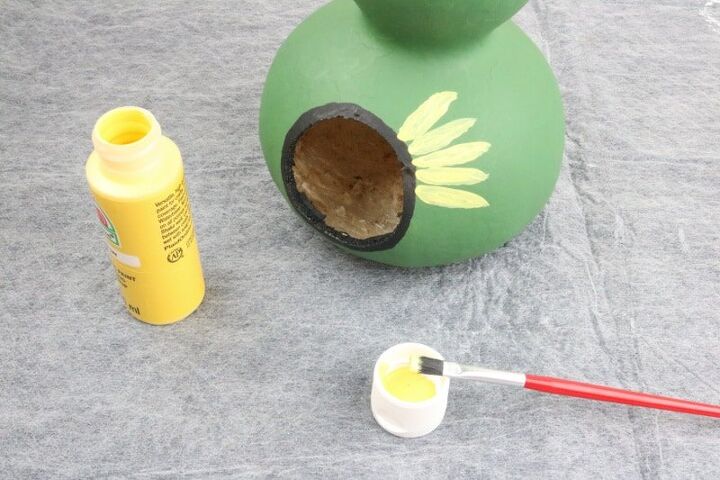
- At this point, you can paint the outside of your birdhouse with solid color or details. You can also leave it natural if you want.
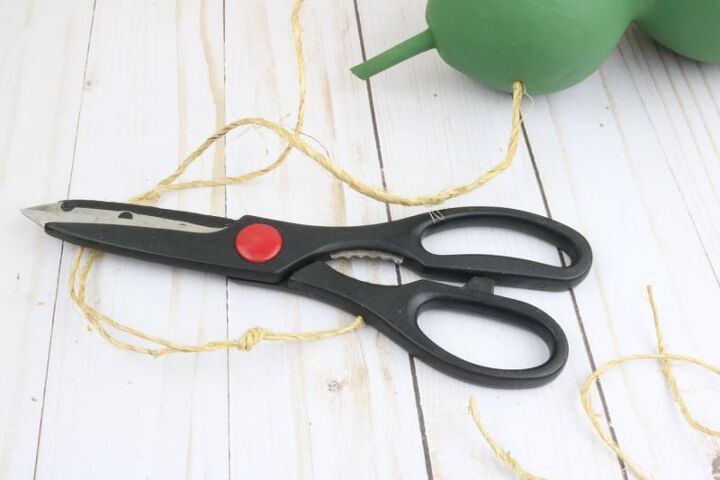
- Push the twine through the holes at the top. Then tie it in a knot.
What kind of bird seeds should I use?
The best bird seeds for gourd bird feeders are black oil sunflower seeds. These are the most popular type of bird seed and will attract the most birds.
You can also use other types of bird seed, but sunflower seeds are the best. Some other good options include safflower seeds, peanuts, and nyjer seeds.
Avoid using bird seed mixes as they usually contain a lot of filler seeds that birds won’t eat.
Now you can fill your gourd with bird seed and hang it up for the birds. This should last over a decade if it’s fully dried.
- Kids gardening toy
- Fairy garden pots
Prep Time
15 minutes
Active Time
30 minutes
Additional Time
1 hour
Total Time
1 hour 45 minutes
Difficulty
moderate
Estimated Cost
$5
Materials
- 1 Gourd (dried)
- Drill
- Small Drill Bit
- 1 1/2 Inch Spade Bit or Hole Bit
- Paint (optional)
- Paint Brush (optional)
- Sealer
- Twine or Cord
- Scissors
- Pliers
Tools
- pliers
Instructions
- Carefully drill 4-5 small holes in the bottom of the gourd to allow for drainage.
- Then drill a hole through the top about an inch down from the top.
- Carefully use the spade bit or hole bit to make a hole on the side of the widest area about an inch or two from the bottom.
- Remove all the seeds by shaking them out of the hole. You may have to pull some out with the pliers.
- At this point, you can paint the outside of your birdhouse with solid color or details. You can also leave it natural if you want.
- We painted ours solid green. Then when dry we did black right around the large hole and then used yellow to make petals to look like a sunflower.
- Push the twine through the holes at the top. Then tie it in a knot.
Ellen is a busy mom of a 25-year-old son and 29-year-old daughter. She is Grandma to one adorable baby girl. She owns 6 blogs and is addicted to social media. In what little spare time she has, she loves to read, watch movies, and play games. If you’d like to work together, email info@in-our-spare-time.com to chat.


Comments
Join the conversation
-
I like sealing my gourds with paste wax to give them a little protection from the elements. Yours is lovely 💕
-
Thanks for all of this information on gourds. Yours is so cute! Definitely want to try this.


Frequently asked questions
Have a question about this project?
Where are you finding gourds in the summer?