


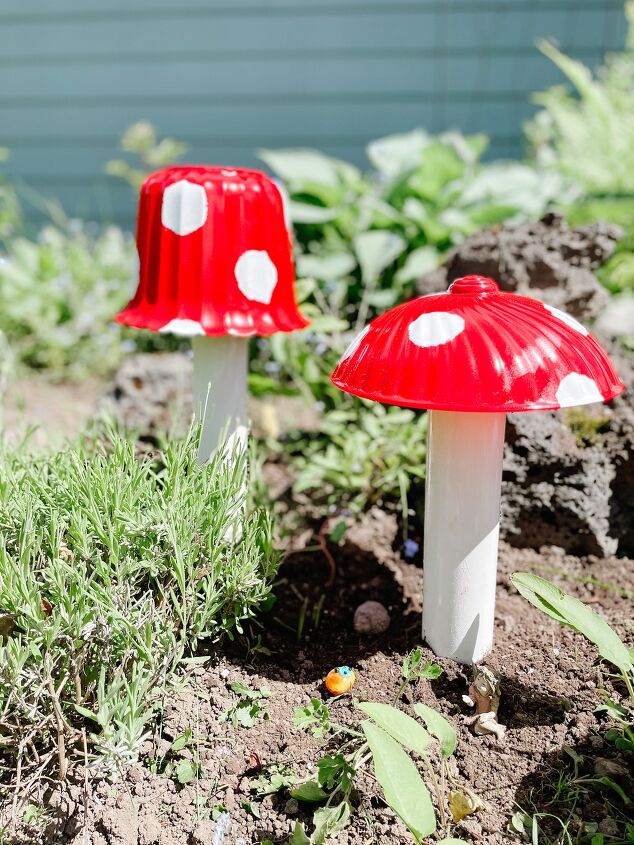
How to Make a Garden Mushroom

We made these adorable mushrooms for FREE! You'll never guessed what we used!
Check out the video instructions too!
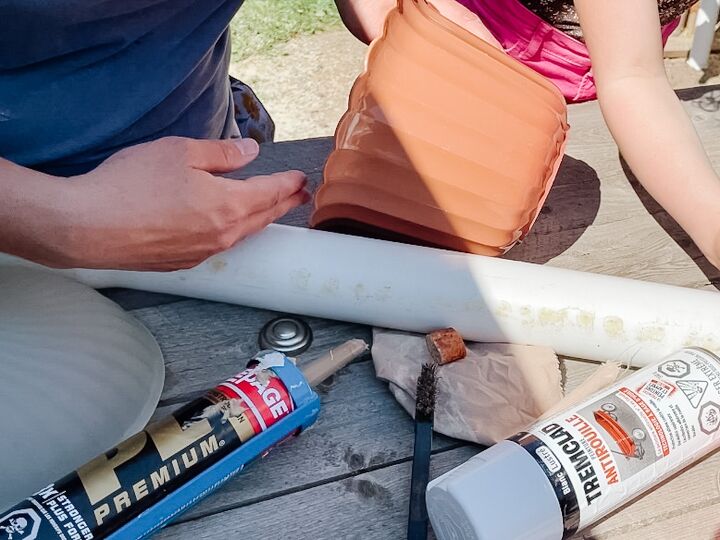
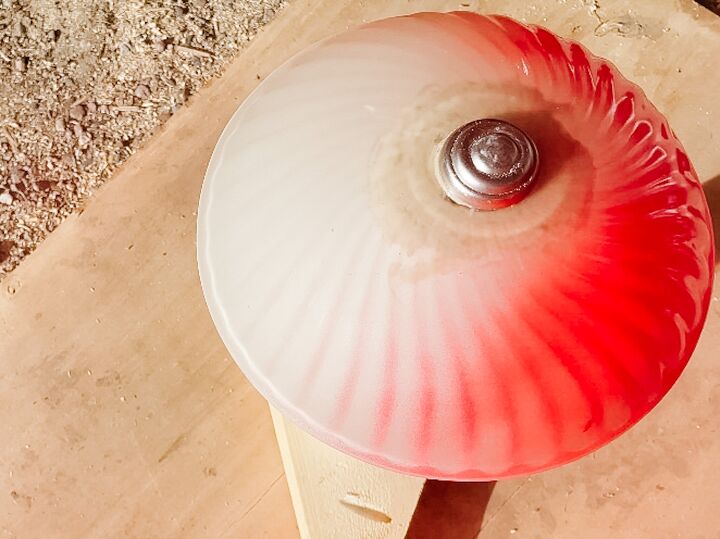
Collect materials, anything that looks like the top of a mushroom! This is the fun part, where you get to be creative.
We used a light shade and a plastic bowl. The light shade we had at home and the bowl we got from the re-use shed at our local landfill.
For the stem, we used PVC pipe.

Use construction adhesive to glue the stem to the mushroom top. I would highly suggest painting first (unlike what we did). We also ended up using some shoe goop to glue, because this wasn't holding well for the plastic bowl.
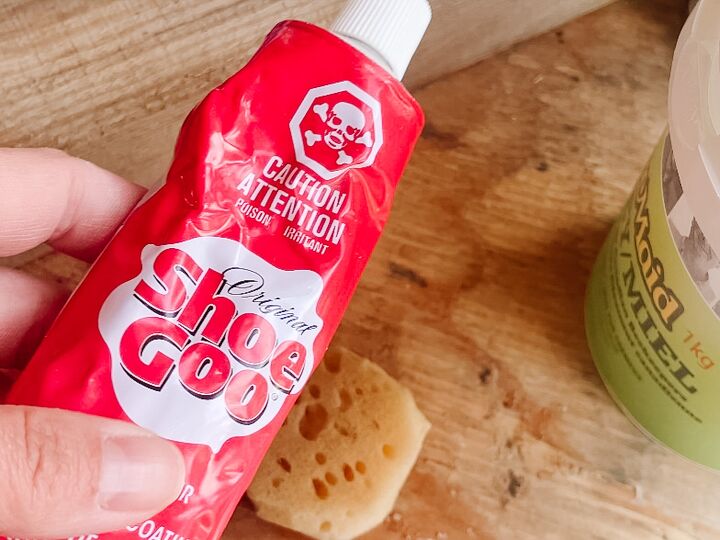
This is the shoe goo we used.
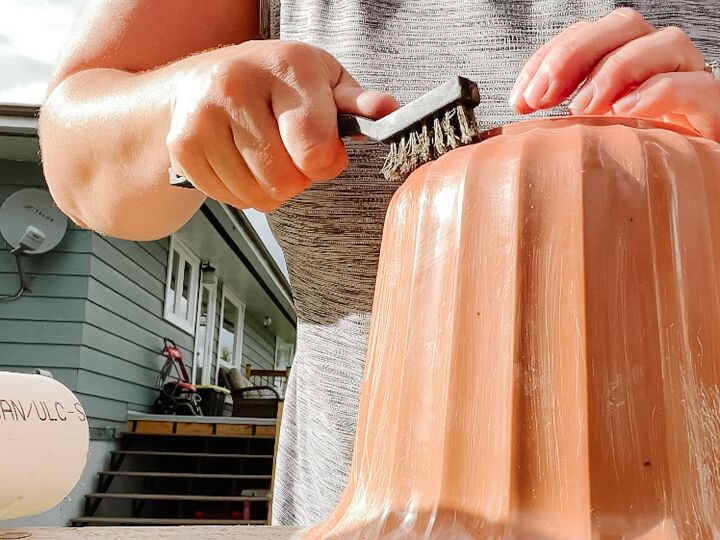
Prep the surface prior to painting. This is important. We scraped the surface with a wire brush to remove and dirt, debris and to make the surface slightly abrasive so the paint would adhere better.
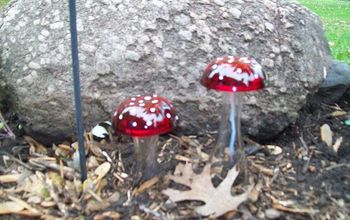
Spray paint the tops red. We did 2 coats. I love the look of a darker, more muted and matte red, however we used what we had at home.
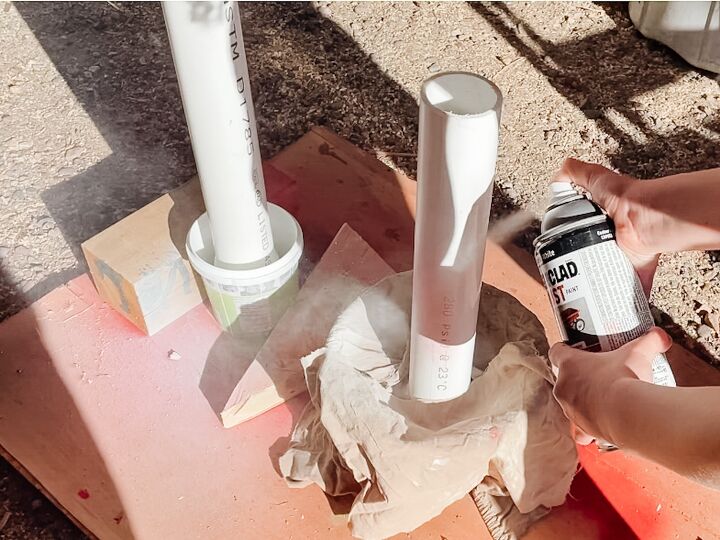
Paint the stems white. We used a tremclad rust paint.
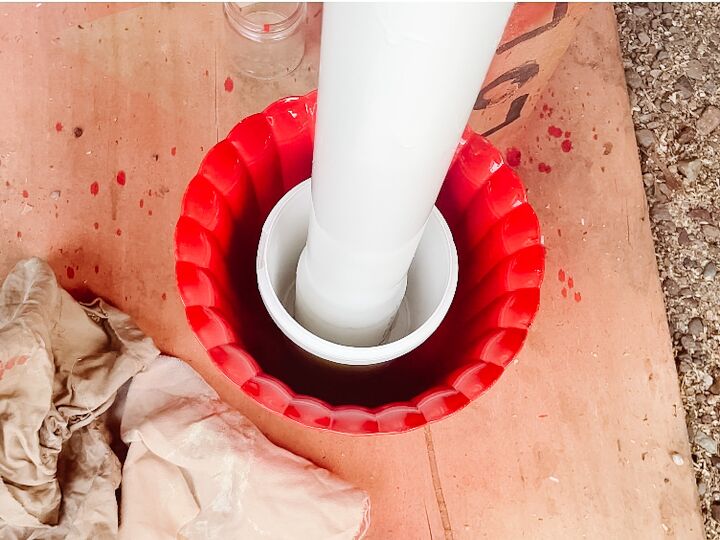
Make sure they are secure. We used an extra container (honey container) to make sure this one stayed glued together.

Cut a circle from a sponge and use it to paint white dots on the mushroom.
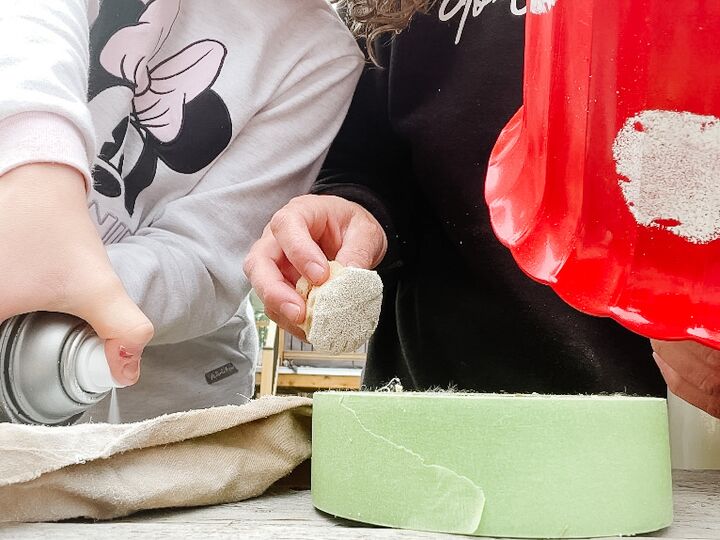
Spray some paint on a flat surface and dip the sponge in it, then dab on the mushroom! We did two coats for each dot.

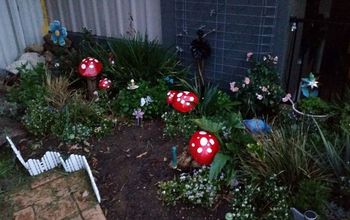
There you go! you have the cutest mushrooms!!!
For daily DIYs, find us @sewbrightcreations on Instagram or visit our Blog www.sewbrightcreations.com for more details!


Frequently asked questions
Have a question about this project?