How to Make An Eco-Friendly Hugelkultur Raised Garden Bed

7 Materials
Ever heard of hugelkultur? Hugelkultur garden beds are a wonderful, eco-friendly way to recycle the bits of wood and tree trimmings from around your yard into a thriving raised bed garden.

Logs and smaller branches are buried with rich soil and nutrients to create an in-place wood composting system that is also a productive soil for plants. Hugelkultur beds are warm and ready for planting earlier in the spring, both because they are raised up off the ground and also because of the active composting of the logs. They’re also easier to use than planting in the ground because you don’t have to bend over so far to harvest your plants!

Here are the basic steps for creating your own hugelkultur bed. The full tutorial and free printable instructions are available at http://www.homefortheharvest.com/urban-hugelkultur/

Prep the area and supplies
Step 1: Measure and Prep


-Measure out the area for the hugelbed. The hugelkultur bed will likely be approximately 3-5 feet wide if you live on a small lot, and can be as long as you like.
-Calculate how much wood and soil will be required. You will use equal parts of woody material and soil. For a small hugelkultur bed, each 10′ of length will require 1 yard of wood and 1 yard of soil (1 yard is approximately 1 full pick-up truck). For a larger hugelkultur bed, use the same amount of wood and soil over a 5′ length.
-Measure the nitrogen-rich material. For each cubic yard of wood used, add one cubic foot of composted manure (or other nitrogen-rich material such as food scraps).


Dig a trench
Step 2: Dig a Trench


-Dig a trench within the perimeter of the hugelbed. 
-The trench can be 6 inches to 2 feet deep.


Place the largest logs/wood in the trench
Step 3: Place the First Layer


-Place the largest logs on the bottom of the ditch. These logs will wick up groundwater.
-Place some soil and manure on top of the logs. Push the material down into any open spaces between the logs to fill any air voids.
-Water the logs/soil with the garden hose.


Use the smaller material for upper layers
Step 4: Place the Remaining Layers


-Add another layer of smaller logs and branches, filling all the spaces with soil, manure, and/or leaves.
-Continue to water the hugelbed during construction.
-Keep adding layers of logs, moving on to smaller material like branches as the bed rises.
-Fill the spaces between logs/branches with soil, manure, and leaves. 
-Keep watering!
Cover with soil and then seed the bed
Step 5: Cover and Seed 


-Once all of the woody material has been placed, cover the hugelkultur bed with soil.
-Water the finished hugelbed.
-Seed the bed heavily with seeds of your choosing. 
-Give the bed a final watering.
-You can get fancy later with mulch, perennials, and ornamental finishes :)
Suggested materials:
  • Wood logs, sticks, leaves, and other organic yard waste
  • Soil
  • Nitrogen-rich material (manure, food scraps, coffee grounds)
See all materials
Home for the Harvest | Mary Jane Duford
Want more details about this and other DIY projects? Check out my blog post!
Go
Frequently asked questions
Have a question about this project?
  3 questions
  • James James on Mar 18, 2017

    Has there ever been a termite problem? Carpenter ants also be a problem. Oregon rain country gives a second thought. Be careful.

  • Sandra M Sandra M on Mar 18, 2017
    Hi, I have a few questions about this planter bed. At the beginning the new bed looks to be mounded up quite high. How how long until the wood below is fully decomposed and how much does it shrink down during that process? Also, what did you use to seed it with? Did you use grass seed, ground cover plants that don't need mowing, or something else? I'm not much of a gardener, but this project has piqued my interest and I just need some advice on what you think works best. Is there a particular reason to wait a while before planting any perennials? Thanks so much for sharing your information.
  • Ellen Ellen on Jun 27, 2019

    I was writing down quantities and see 10’ for a smaller bed & 5’ for a larger one (checked the original post, too) so did you reverse the numbers or did you mean to say 10’ & 15’—or something else entirely? I’d like to get my ratios correct! 🤔 Thank you!!

Comments
Join the conversation
2 of 35 comments
  • Oh my stars, I was just reading about this yesterday! What great timing, thank you for all the detailed photos and information. Here's the site I was reading: https://richsoil.com/hugelkultur/

  • Oberlinmom Oberlinmom on Apr 06, 2020

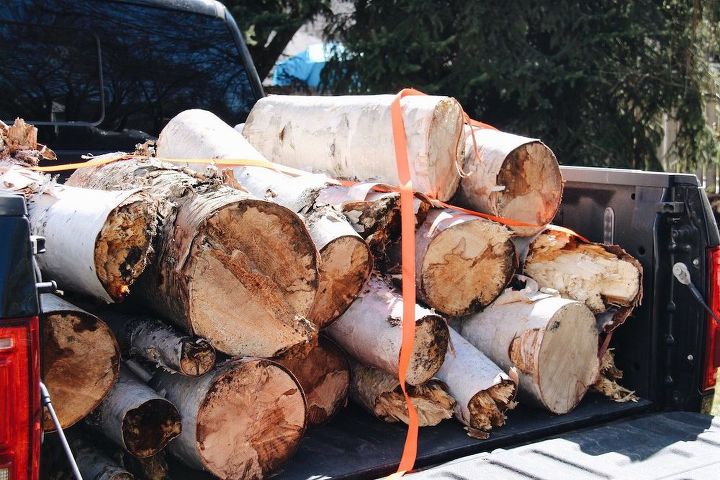
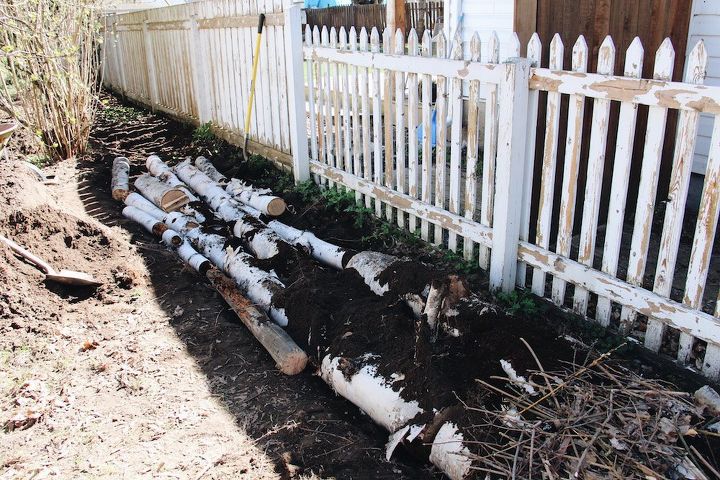
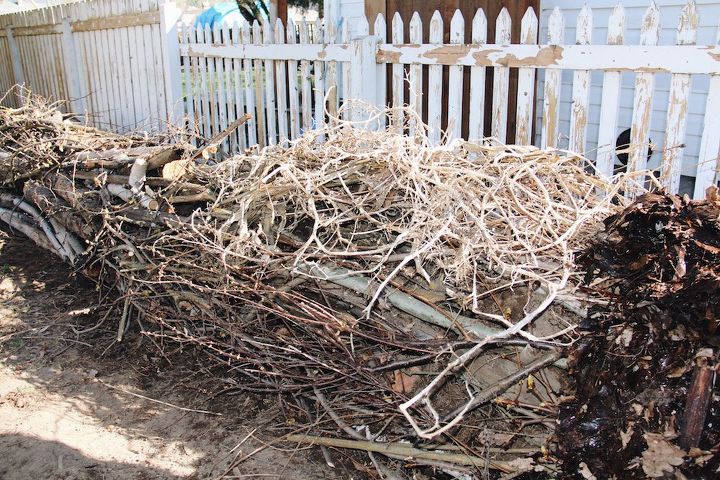
    I did this many years ago in a smaller venue. The bed does sink and there can be gaps but if you have compost on hand it's not a big deal. One bed sank quite a bit (the suggestion was to layer newspaper over the wood before putting in dirt, not a good idea) we just add more compost. What I liked about this technique is we were able to get rid of branches and wood that we had from a tree that fell. Oh and I planted it with perennials right away. They survived the sifts and the gaps.


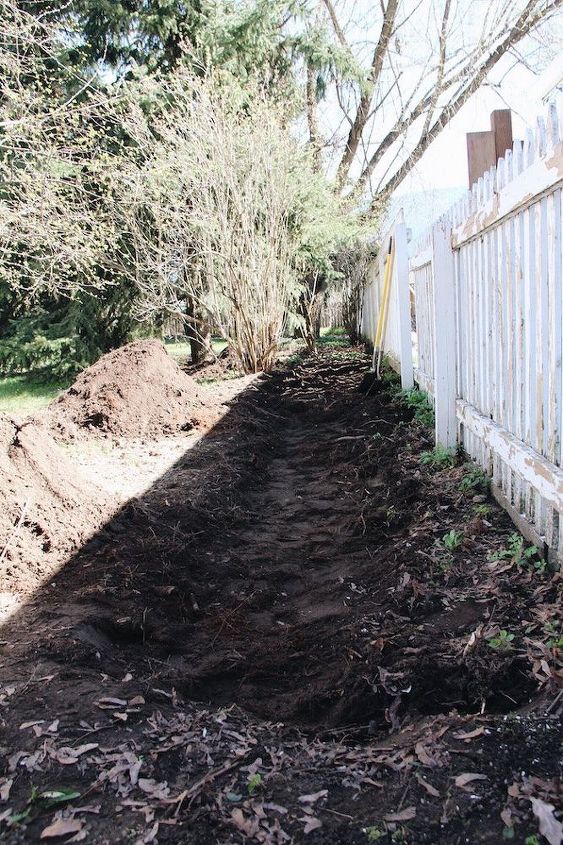
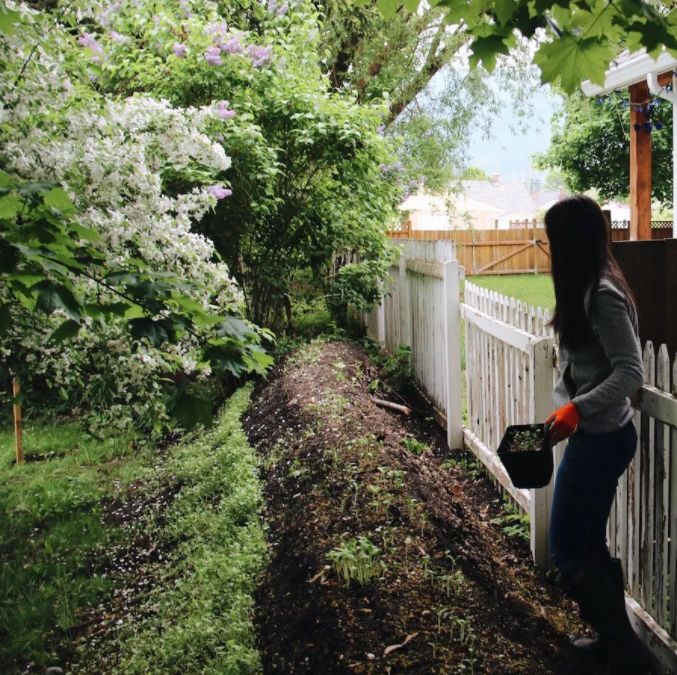
    This is inspiring me to shift some of the logs we have stacked up that are decaying and make a couple more beds. We have a very low area that doesn't drain very well this would be the perfect site to create another bed with the knowledge it will sink but the nutrients added and the inches raised will be worth it.


    My grandfather taught horticulture at Rutgers in the '40s. He always gathered any rotting wood to add to his beds. He pointed out how rich and loamy the soil in untouched woodlands were. Leaves breaking down with the wood and roots created a wonderful rich mix of nutrients perfect for healthy growth.

Next