


Make a Fairy Umbrella That Works
$5
2.5 Hours
Medium
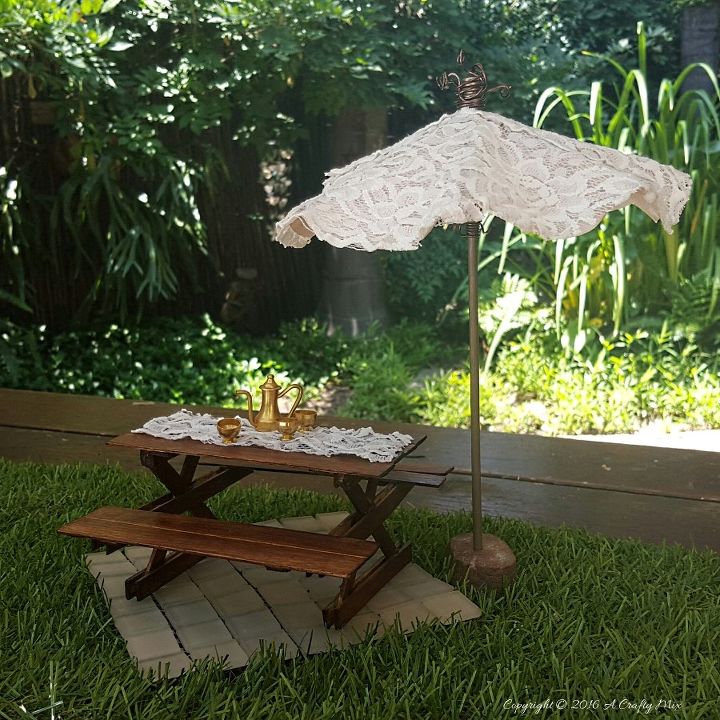
Have you ever tried making an umbrella? The mechanism that opens and closes the canopy is ingenious, so simple and yet so functional. I was really keen to try and make a fairy umbrella to go with our little picnic table. Easier said than done.
I dismantled lots of tiny cocktail umbrellas, drew tons of pictures, bent a whole bunch of wires and finally came up with this.
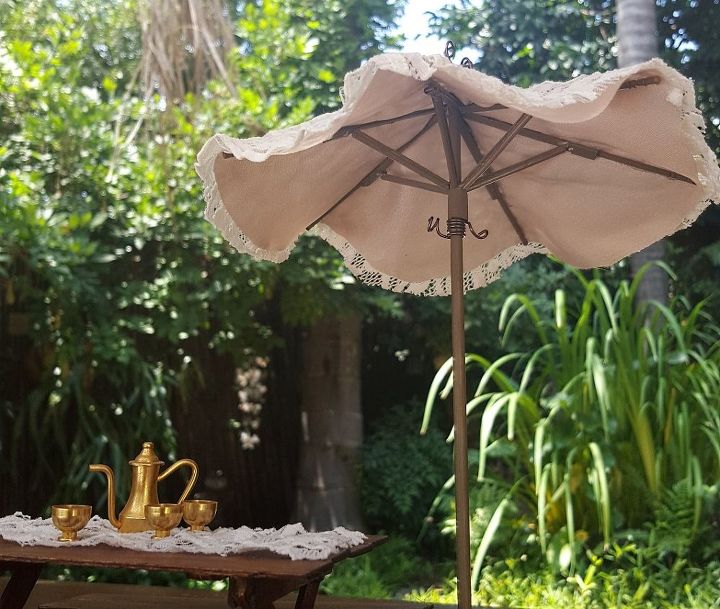
I know, it looks a bit odd, but stay with me because that piece of card stock becomes this.
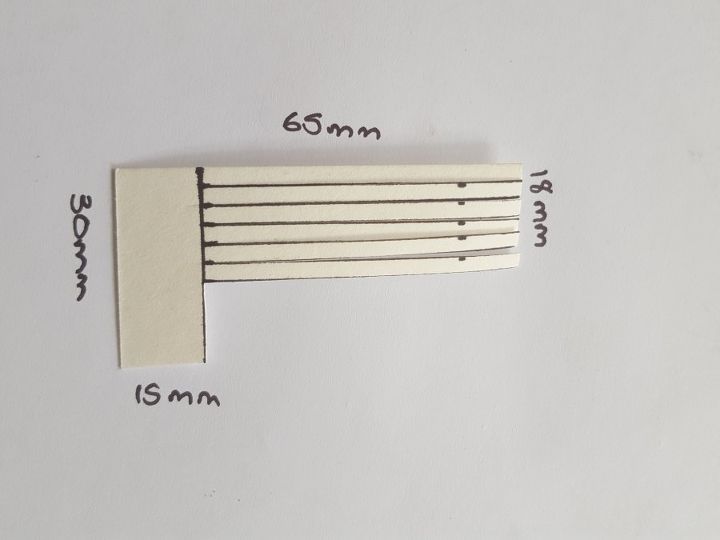
To make the umbrella you need 12 toothpicks, a wooden skewer, sellotape, card stock and some soft, fairy like material. To make the mechanism or frame, measure and cut the card stock as shown below, you'll need two of these.
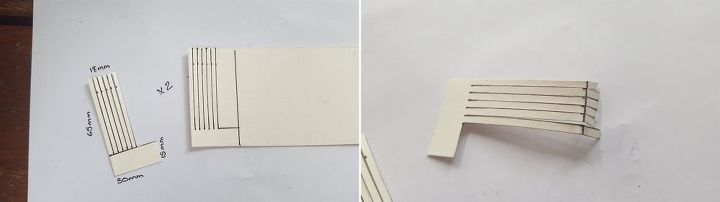
To assemble, wrap the card stock cut out, with the bent edges, tightly around the skewer and use sellotape around the bottom to secure (pics 1 and 2 below). Trim off any excess sellotape. Wrap the second card stock cut out around the skewer in the same way, but make sure the spokes are pointing towards the already wrapped card stock (pics 3 and 4 below). It's easier than it sounds, I promise.
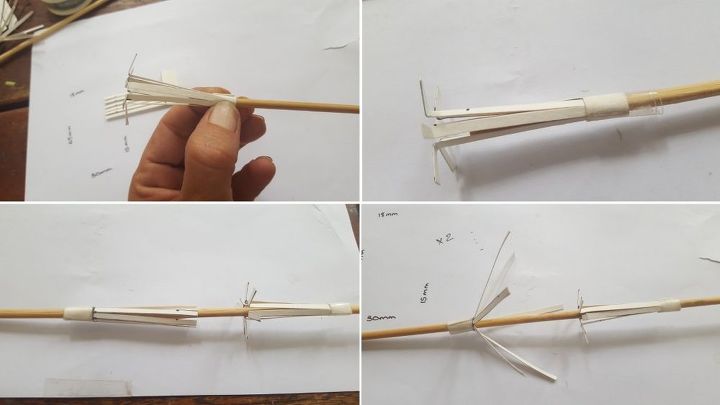
Open up the top and bottom frames by bending the spokes outward from the skewer. Attached the bottom spokes to the top spokes, one at a time using sellotaped. Test to see if your frame works by holding the top bit firmly and sliding the bottom bit up and down.
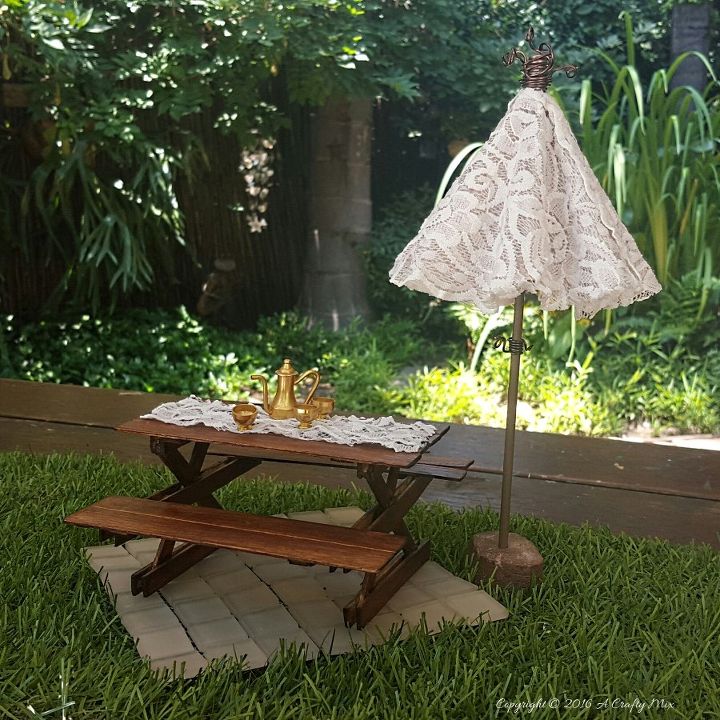
Finally the fairies can have a picnic in all kinds of weather. For lots more pics showing all the steps and the boo-boo I made with the canopy please visit the blog.

Want more details about this and other DIY projects? Check out my blog post!
Comments
Join the conversation
2 of 21 comments
-
Love this!! And what a cute little picnic tea they have set out....
-
I am sure the wee folk in your garden will delight in a bit of shade, Michelle!


Frequently asked questions
Have a question about this project?