


Mason Jar Lid Markers
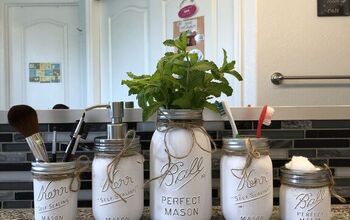
This summer, why not bring your love of rustic mason jars to the garden? These adorable mason jar lid DIY garden markers are the perfect way to label all your plants with a little bit of rustic charm. Whether you’re hoping to label all your herbs or want a fun way to name all the plants in your veggie garden, these cute garden markers are the perfect summer craft.
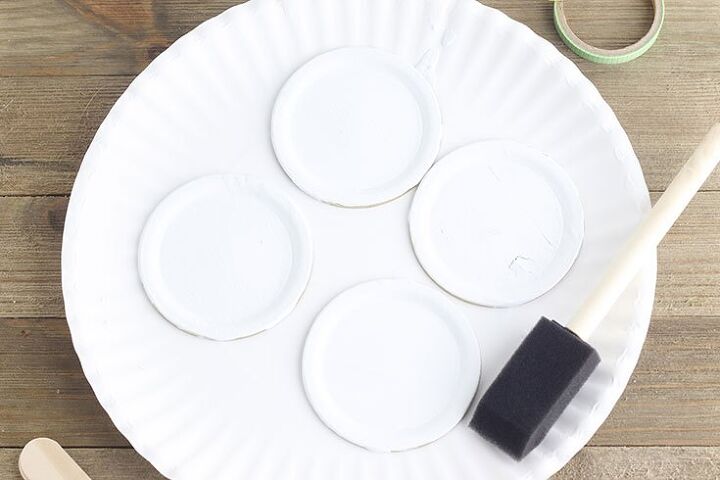
The first step to putting together your garden markers is to paint the top of each lid. While this step isn’t absolutely necessary, I love the rustic look it gives your garden markers. To get a matte finish, I used white chalk paint on each of my garden markers. It took three coats of paint to completely cover the lids.
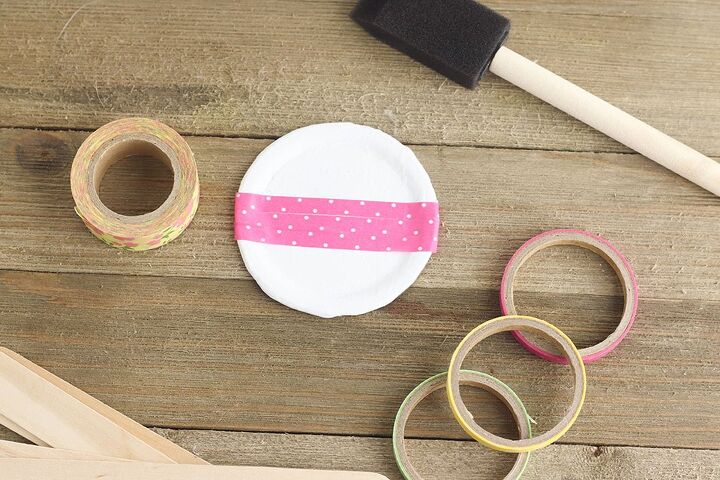
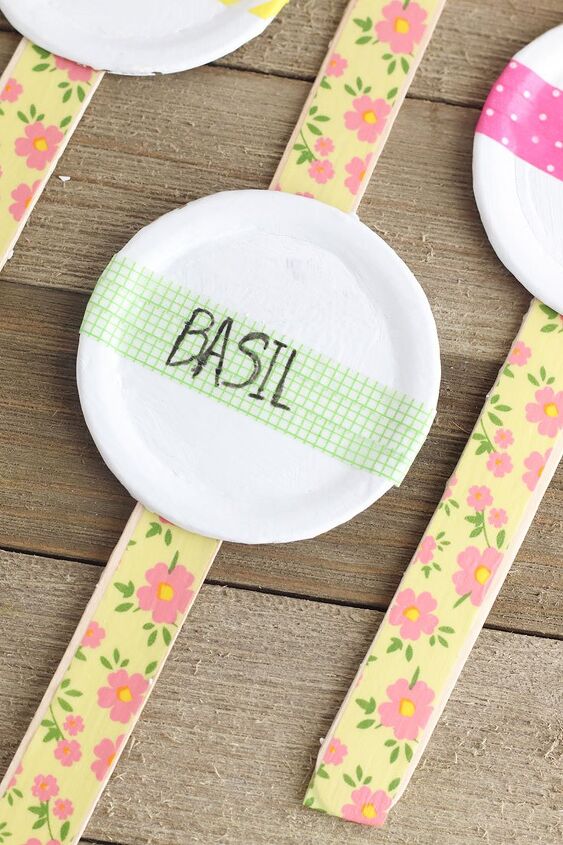
When your paint has dried, you can have a little bit of fun decorating your garden markers! Place of couple strips of washi tape across the center of each jar lid to add a pop of color and make it easier to label each of your lids.
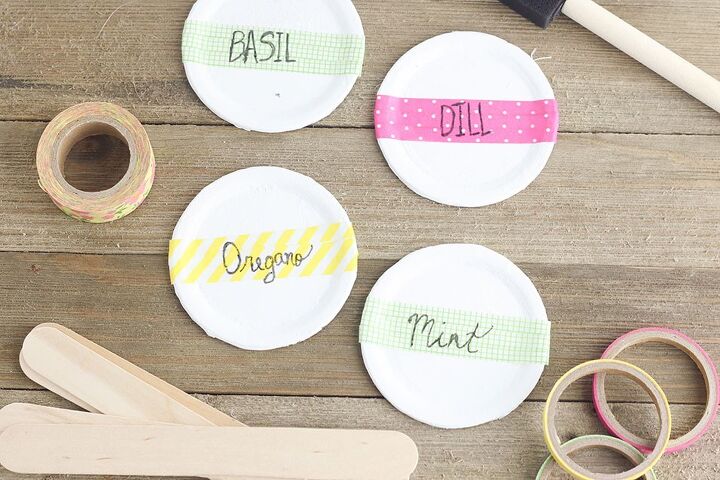
After decorating each lid with washi tape, it’s time to start labeling! Since my DIY garden markers are going in my herb garden, I labeled each lid with the name of the herbs in my garden. To do this, I used a fine point permanent marker.
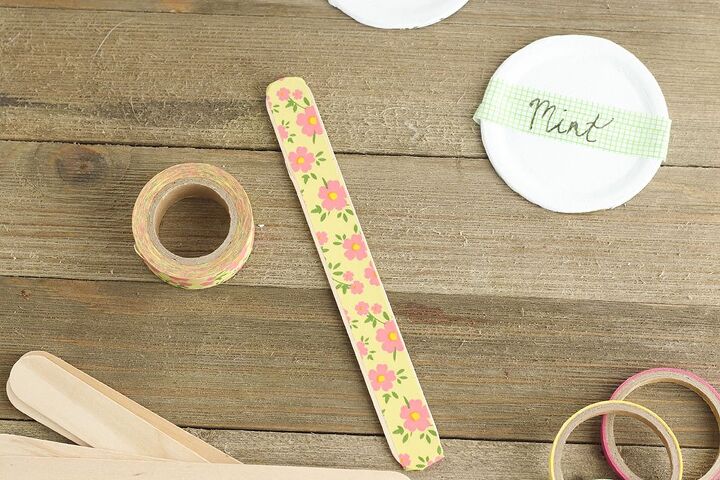
Next, you can add a little more color to your garden markers by decorating the craft stick with washi tape. Again, this step isn’t necessary, but I thought it was a fun touch! Simply cover the stick with your favorite washi tape from the top of the stick to the bottom.
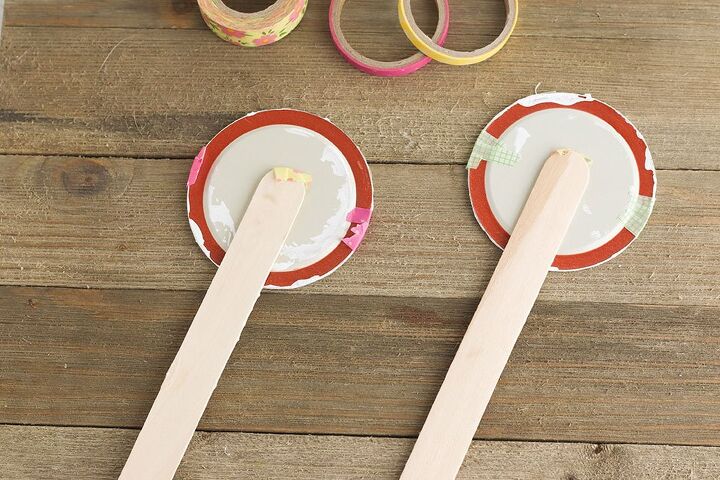
Attach the lids to the craft sticks
To ensure your labels and washi tape stay in place while outside, it’s important to add a protective layer over the top of your DIY garden markers.
To do this, simply brush a coat or two of mod podge over both sides of the mason jar lids and craft sticks, paying special attention to the edges of washi tape.
Resources for this project:
See all materials


Frequently asked questions
Have a question about this project?