


Repurposed Barrettes Into Easy DIY Flowers
It’s so easy to create fun and easy DIY flowers from repurposed barrettes from the dollar store.
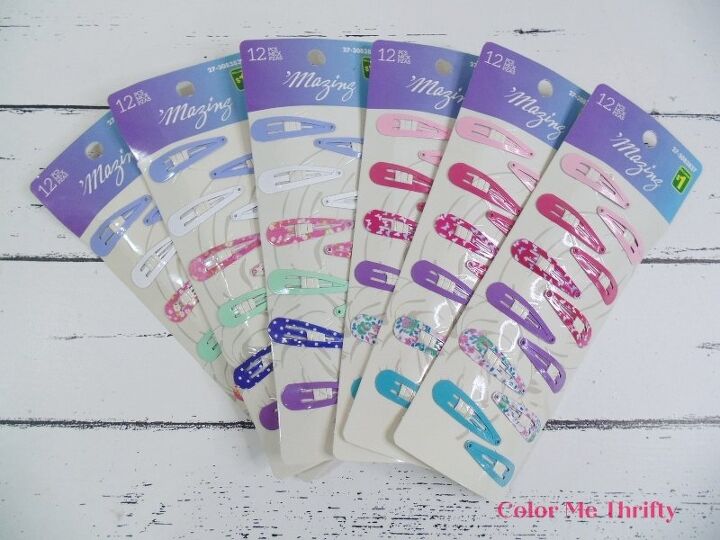
A few weeks ago I was picking up some pony tail holders at my local dollar store and I saw these pretty barrettes right beside them.
These colorful barrettes immediately made my think of flower petals. Yes, I do tend to see flowers everywhere. It’s just how my mind works.
So I had to get six $1 packs to create some fun and easy garden art flowers, which could easily be displayed indoors too.
What you’ll need to create repurposed barrette flowers
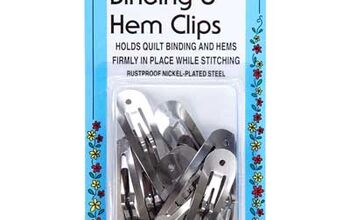
- Small metal barrettes (1 1/2″ long)
- glue gun
- glue sticks (exterior use)
- misc buttons
- wooden skewers
- green spray paint
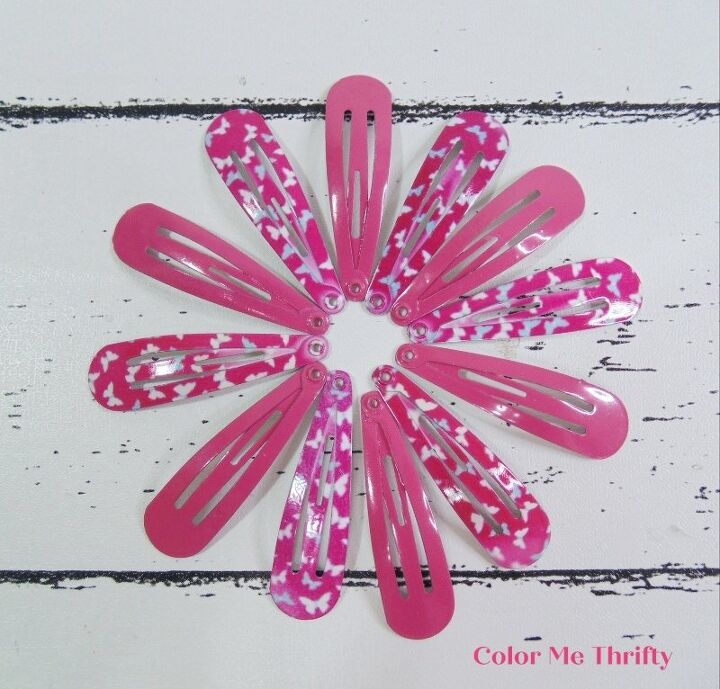
STEP ONE: Do a dry fit of the barrettes that you want to use. I’m using 12 barrettes for a nice full flower, and I decided to mix solid with pattern for this flower for some added interest.
That’s the nice thing about a project like this. You can create so many different looks depending on the barrettes you use and how you mix them.
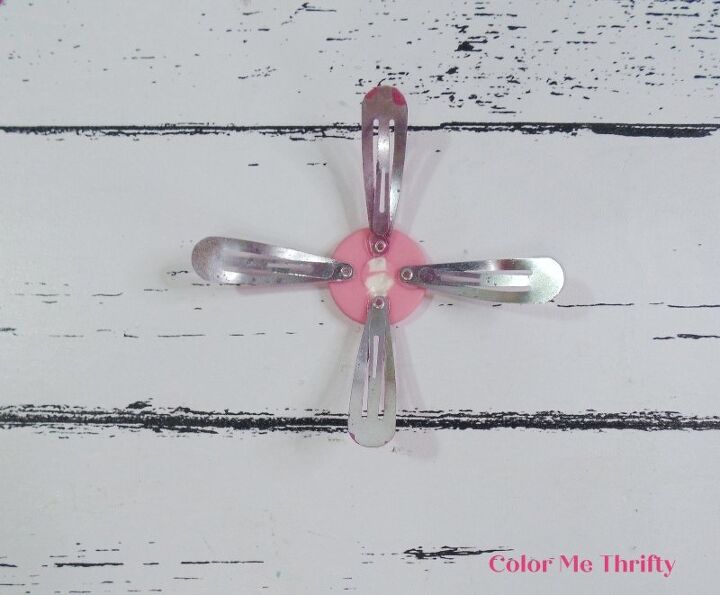
STEP TWO: Glue the barrettes onto the back of a button. The easiest way to do this is to think of a clock and glue the twelve, three, six, and nine spots first.
If you’ll be displaying your flowers outside like I am, make sure to use a hot glue that is meant for exterior use. Many are great for both interior and exterior, but some are only meant for interior use. I’ve never used hot glue for an outdoor project before so I’m curious to see how it works. I’ll post an update in a month or so.
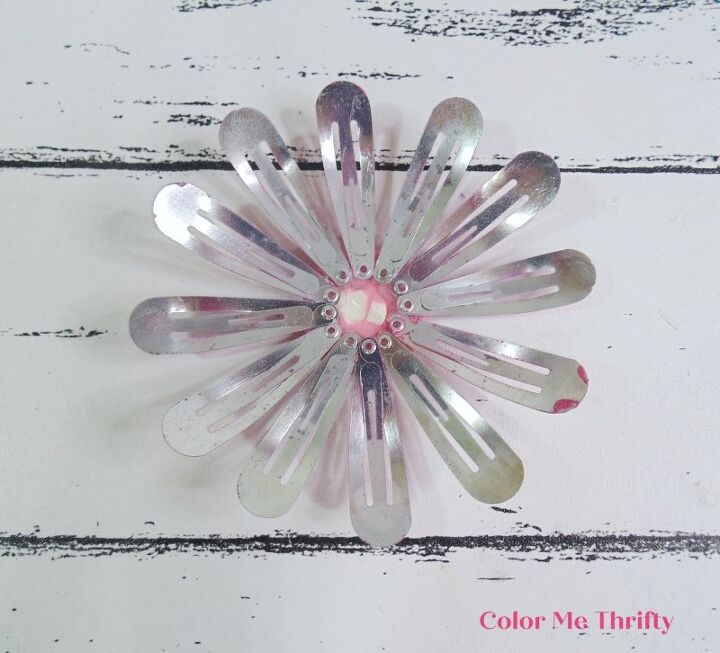
STEP THREE: Fill in with the rest of the barrettes. If you’re alternating the barrettes pattern like I am, make sure to keep looking so you get them in the right order. Don’t ask me how I know. lol.
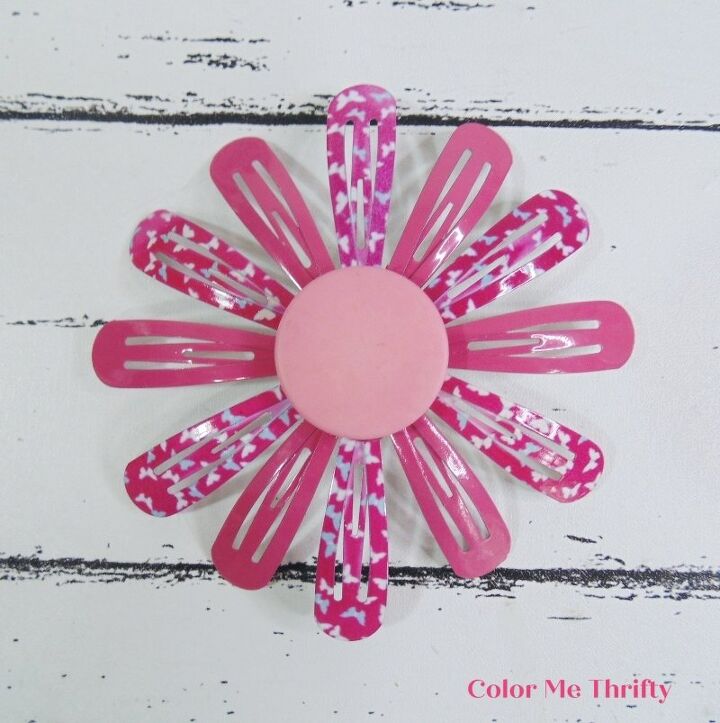
Here’s my first finished repurposed barrette flower.

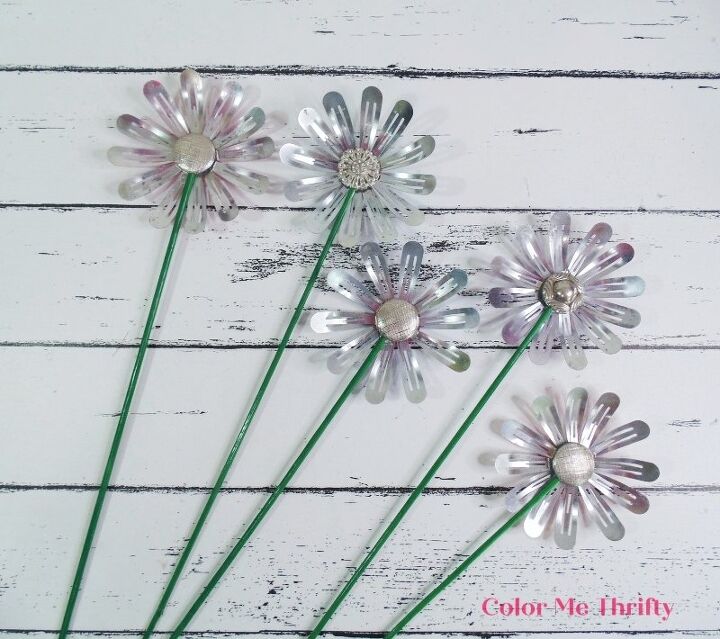
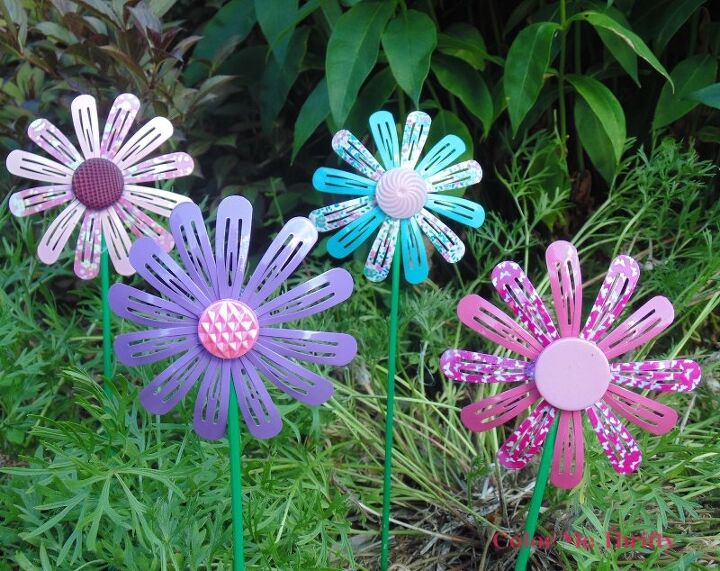
I went ahead and created four more flowers.
The blue one in the top right only has 10 petals because I didn’t notice that one of the blue patterned ones was replaced with a pink one in the package until I got home. But 10 petals works great too.
And I didn’t have a patterned barrette that went with the solid purple barrettes so I went full on purple with that one. There are so many great combos that you could play with.
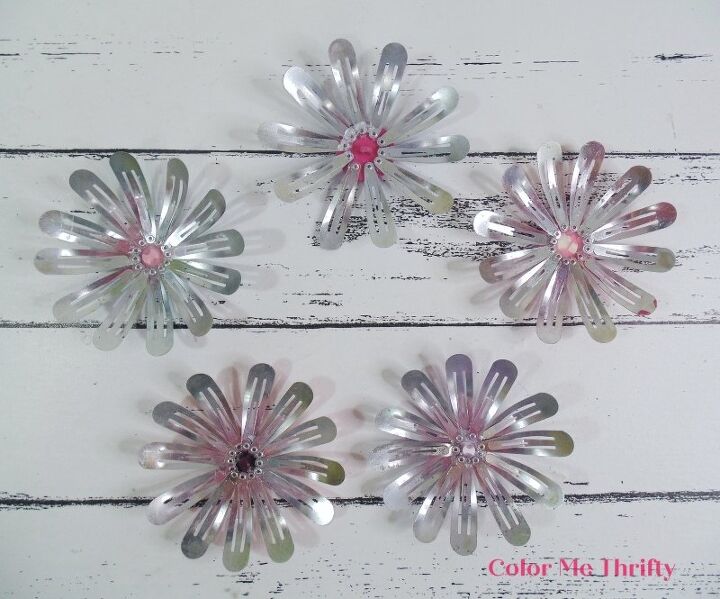
Here are the backs of the five flowers.
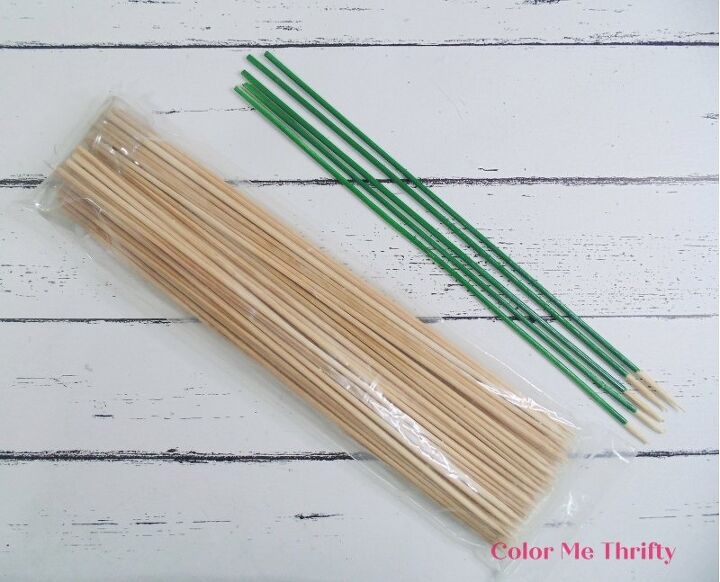
STEP FOUR: I needed some stems for my barrette flowers so I decided to spray paint some wooden skewers green.
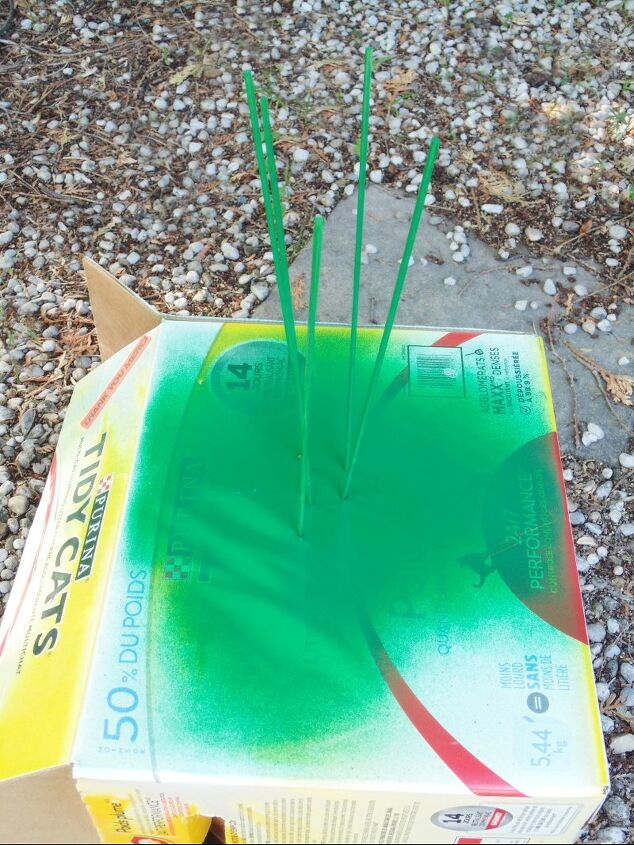
To do this easily you just poke the skewers into the side of a box. This allows you to turn the box to get all sides of the skewers with the spray paint.
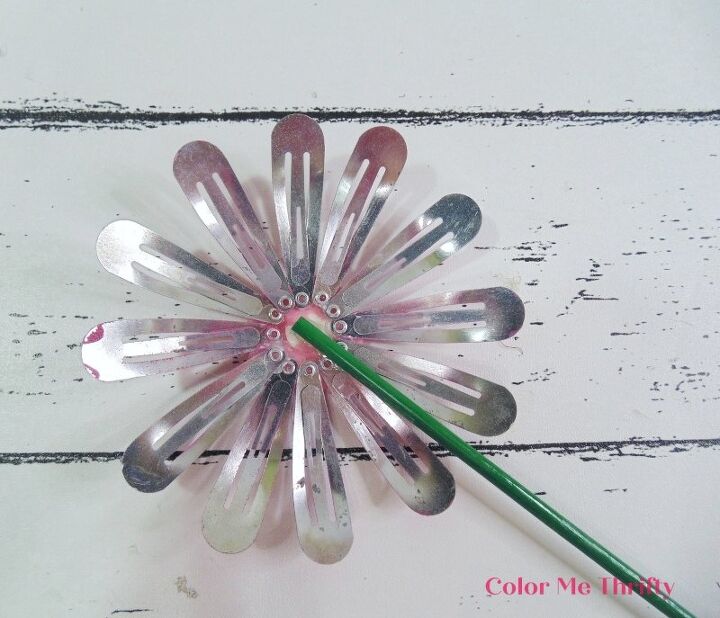
STEP FIVE: Glue the skewers onto the backs of the flowers.
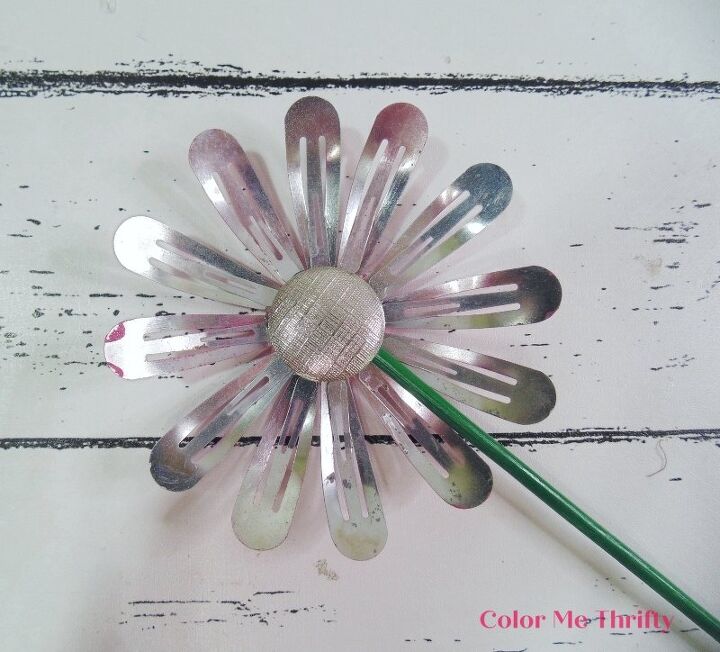
STEP SIX: Add a bunch of hot glue into the middle area to secure the petals and the stem, and place a button on top. This gives the whole thing some extra stability, and also gives some protection to the glue from the outside elements.
Here’s what my finished flowers look like from the back. Adding the buttons not only adds stability, but it looks great too if your flowers are visible from both sides. You could use colorful buttons if you like, but I opted for silver ones for a completely different look than the front.
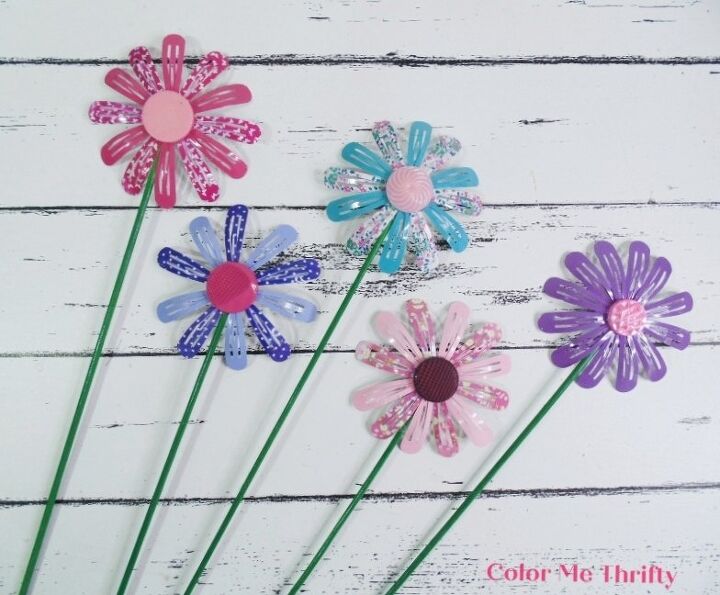
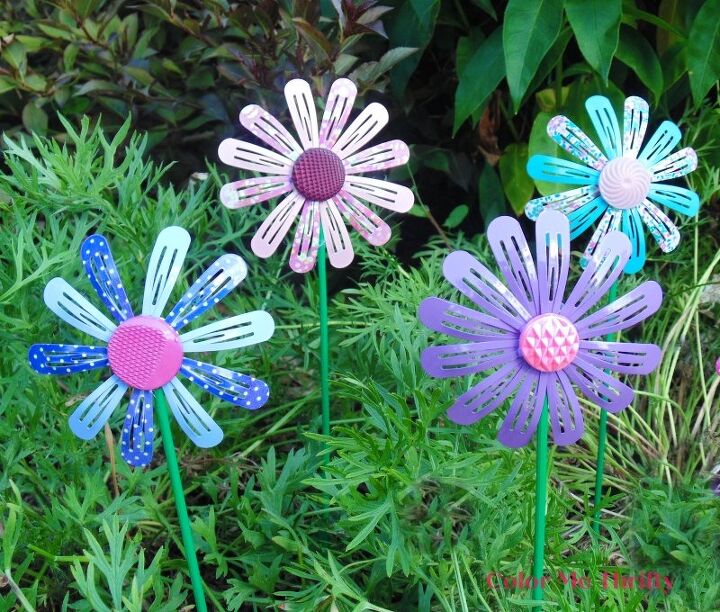
And here are my finished repurposed barrette flowers ready to be displayed in the garden.
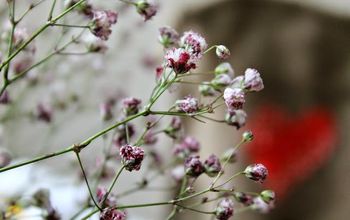
Last year I displayed these repurposed badminton birdie flowers in this very same greenery, which was left over after the spring passion flowers finished blooming.
Now, this foliage makes a nice backdrop for my barrette flowers.
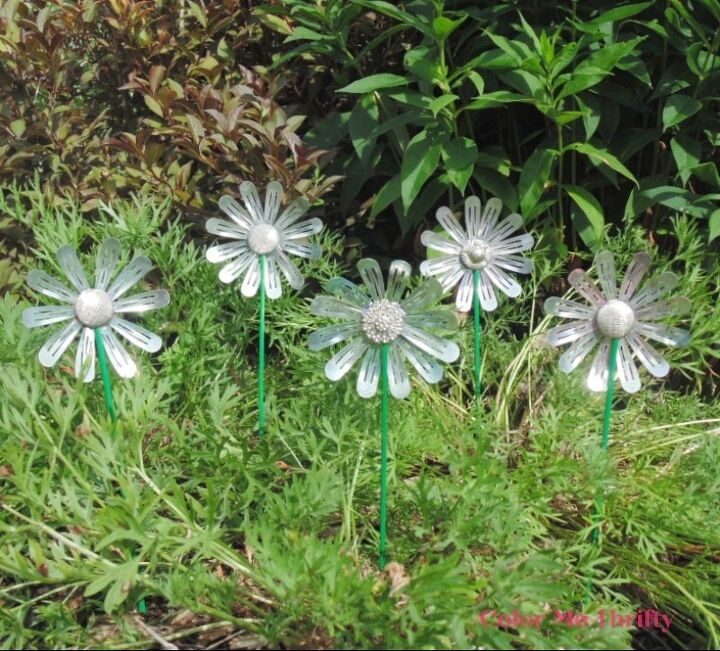
The backs look pretty nice too.
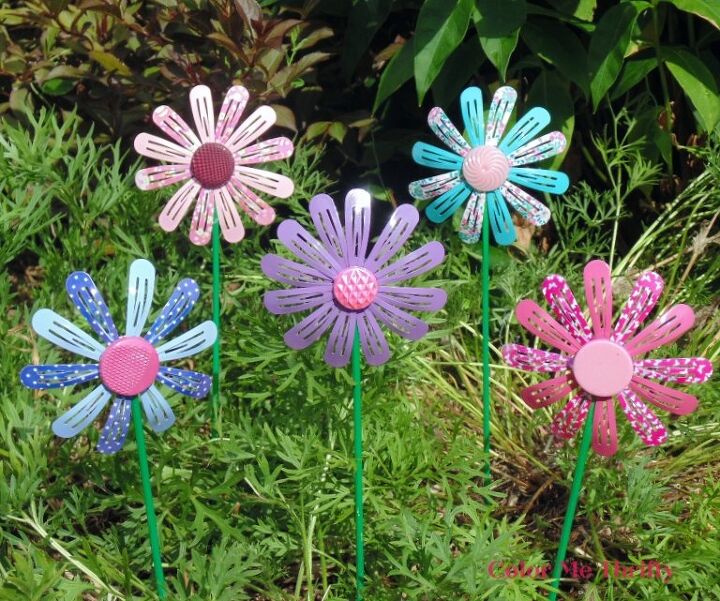
But since I’m a gal who loves color, I have to display the fronts.
These repurposed barrette flowers were so much fun to create, and the possibilities are endless as to the color and pattern combos.
I hope I’ve inspired you to create some of these sweet and colorful flowers for yourself.
You can find more repurposed garden flowers projects on my blog here.

Comments
Join the conversation
-
These same type of clips are also used in sewing and quilting.
They generally are silver only, but they can be spray painted.
TFS.
-
These are just so pretty. What a creative mind you have. Thanks for sharing this adorable idea. 💜


Frequently asked questions
Have a question about this project?