


Sawdust Saturday: Easy Pallet Signs
Jeff and I love the character of a handmade pallet sign; we’ve given several as gifts and have a few in our home. The best part is you can customize with your own sentiment, and distress to your heart’s content. Did I mention distressing wood can be a great weekend stress reliever?
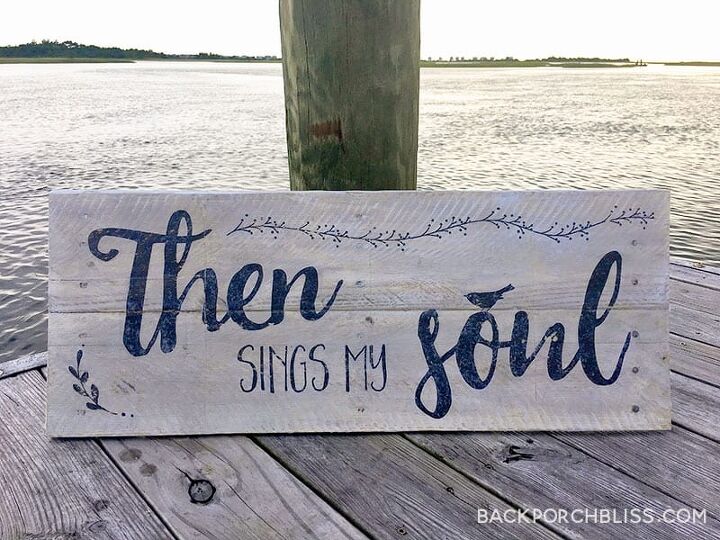
We like driftwood grays, old nails and weathered look, reminiscent of an old pier or dock. This one was a gift for my coastal cousin, my seaside “sister.” These wise words from a shared favorite hymn guide my heart.
Supplies
Pallet wood
Protective eyewear, gloves
Reciprocating saw (optional)
Metal plates/connectors
Screws
Hand sander or sandpaper/sanding block
Paint and/or stain
Foam brushes
Liquitex Gloss Gel
Printed artwork or Cricut/Silhouette artwork
Water
Old rags
Picture hanging hardware
Instructions
Artwork: I use Adobe Illustrator to create custom designs, but you could also use Microsoft Word or Power Point to create your custom file with fun text or simple vector (line) graphics. When creating your design, keep in mind the sizes of your pallet boards and the placement of your final piece (if you know it). You’ll want to print your design in reverse, see steps below for details. You could also use a Cricut or Silhouette machine to create the design and lettering, but we used the printed artwork version for this project.
Taking apart pallets: We use a reciprocating saw to take apart the pallets– wear protective eyewear, gloves and take note of old nails and rugged edges. And when I say “we,” I mean Jeff, in this case. HA!
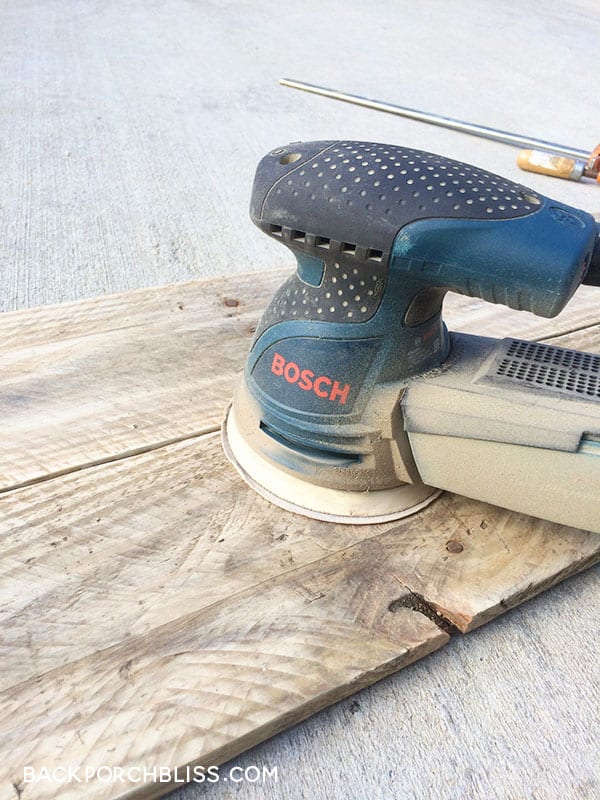
Assembling the sign: We use simple metal plates with screws to connect the pallet boards. Depending on the condition of your pieces, you can sand rough edges before or after this step. With this project, I believe we did a little bit of both.
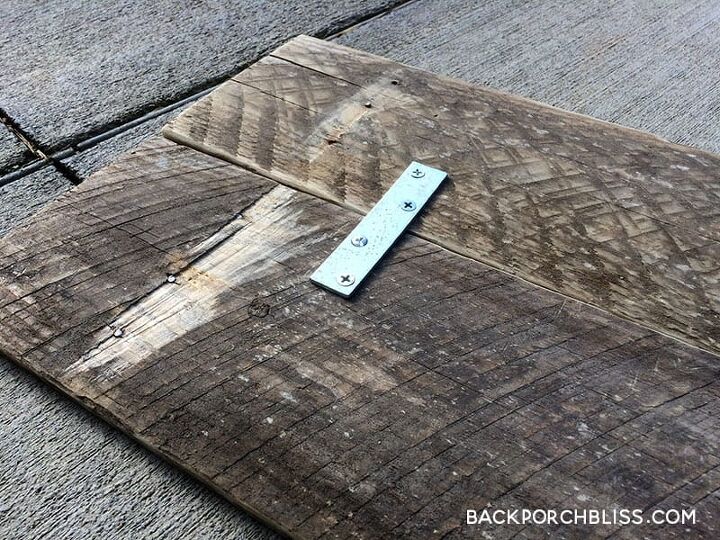
And if you want to rough up your pieces even more, use a hammer or other tools to create a distressed look. We really liked the character of these pieces, with the notches and old nails. Do be careful when cutting or sanding with exposed and rusty nails.
Keep in mind, you’ll want the surface where you’re placing the artwork to be smooth enough to take the ink in the artwork.
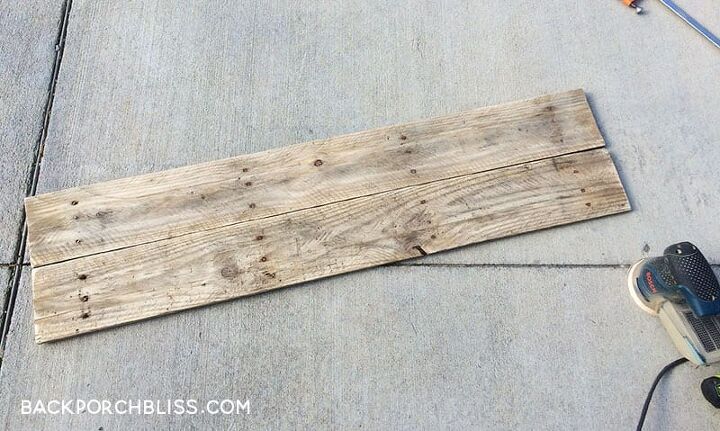
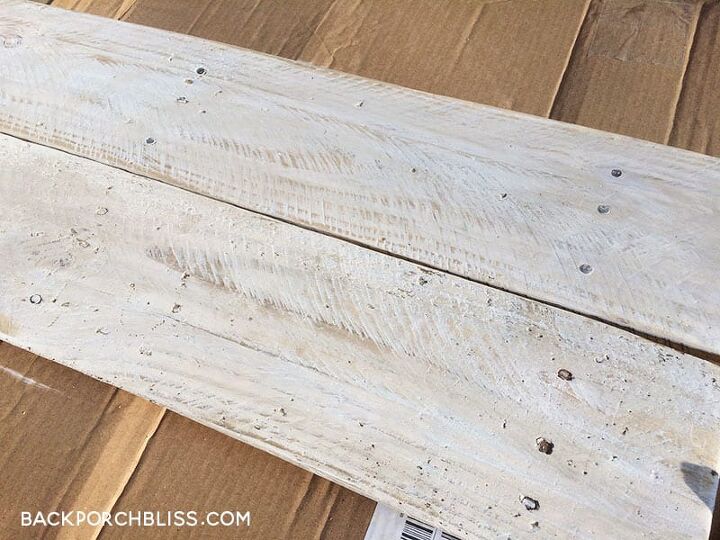
Finishing the sign: Your board will look something like this. Depending on what finish you want, you could leave this as is or use stain or paint to give it the look you want. It will also depend on the original color of your wood and how much it’s already weathered.
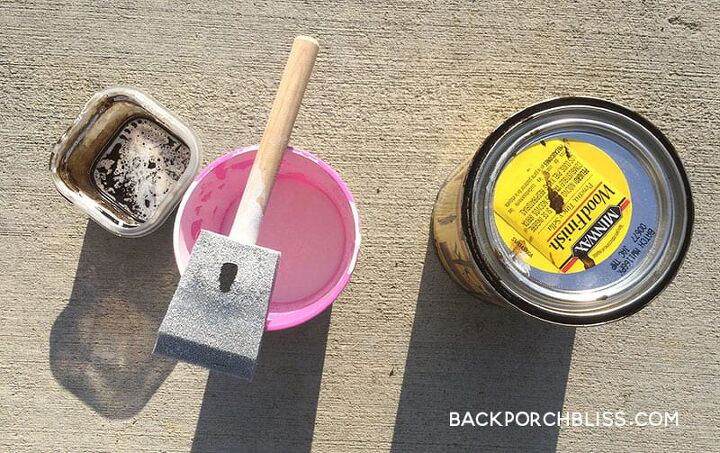
I wanted this sign more weathered gray, so I used a mixture of light gray paint and water, with a touch of stain in the paint. I did this in different layers, sanding in between to achieve the look I wanted. Play around with the finishes on scrap wood until you’re happy with what you come up with. I love this part because it’s not an exact science. Be creative!
This photo (above) is from another sign for my office, and I added in a hint of blue with this one. Let your pallet sign completely dry overnight before moving on to the next step.
Applying the artwork: If you have a Cricut or Silhouette machine, you could eliminate this step and use your die cut machine and materials for your design.
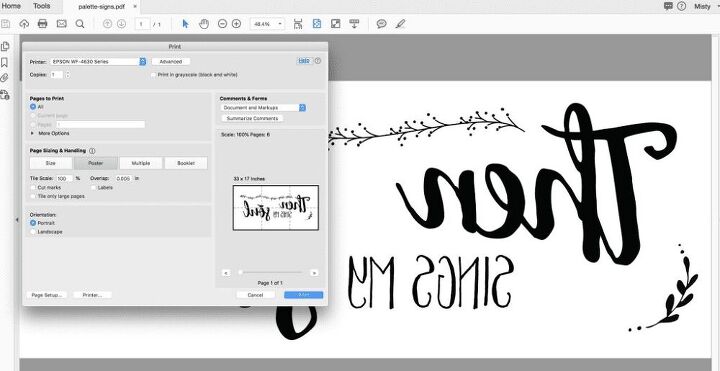
Print your artwork in reverse and select “Poster” in your printer dialog box (see below). This way, it will print actual size.
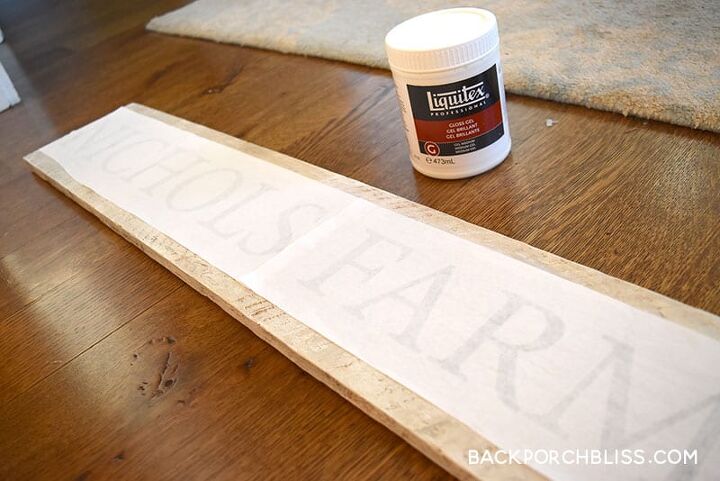
You’ll then need to cut and piece together your artwork. A paper cutter comes in handy when matching the text up. Tape your artwork together.
Generously apply the Liquitex using a foam brush onto the inked side of the paper. It’s not necessary to cover to the edges of the paper, and works best later if you don’t. You mainly want to cover the areas with the text/artwork. Carefully place onto your board and smooth out any wrinkles. It’s easiest to have two sets of hands for this step.
Let your sign dry overnight.
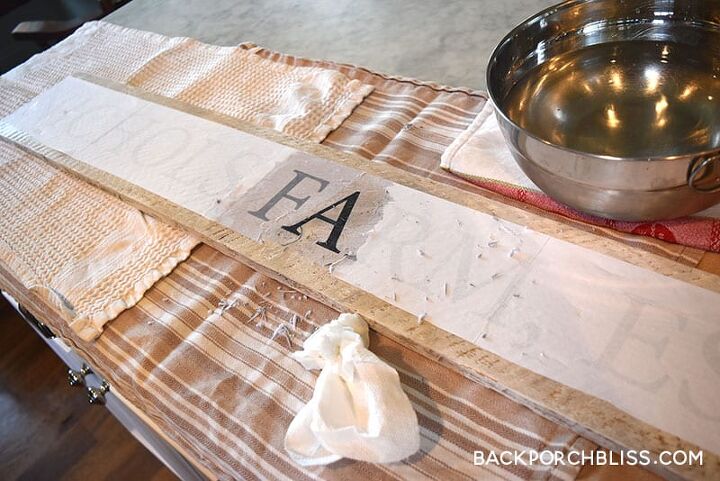
Next, you’ll begin the process of removing the paper. Saturate a section at a time using rags and water over the paper. Carefully peel off the paper. This takes some time and patience. Some of the ink will come off, which will lend itself to the distressed look.
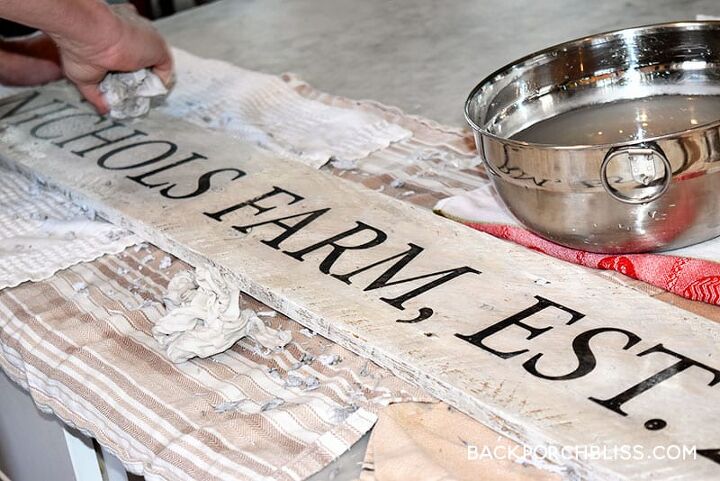
Once all the paper is off, you’re nearly done! If there are additional sections you want to sand, or paint for accent, do it at this stage. The final step is to use picture hanging hardware and display. Voila!
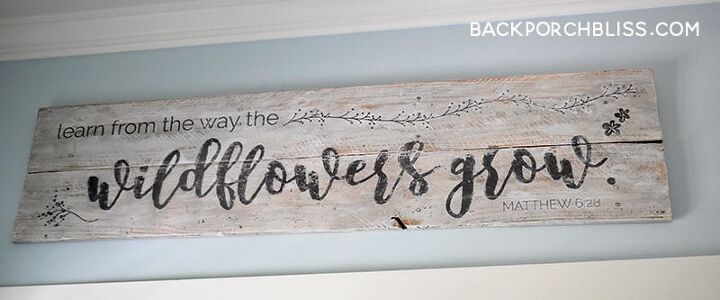
This is one of my all-time favorite verses, reminding me to live life without worry and trust the path. It’s displayed as a daily reminder in my home office.

Comments
Join the conversation
-
Absolutely love it!
-
Just. Wow!


Frequently asked questions
Have a question about this project?
Love this sign! Can you provide more information on the “Liquitex”?
The picture is kinda blurry, and I can’t read what it says on the can. Thank you!!