


Shade Garden Makeover
5 Materials
$200
4 Days
Medium
I've done several garden makeovers at our little fixer upper home that we purchased a few years ago, but this Shade Garden Makeover is definitely my favorite one yet. Let's get started.
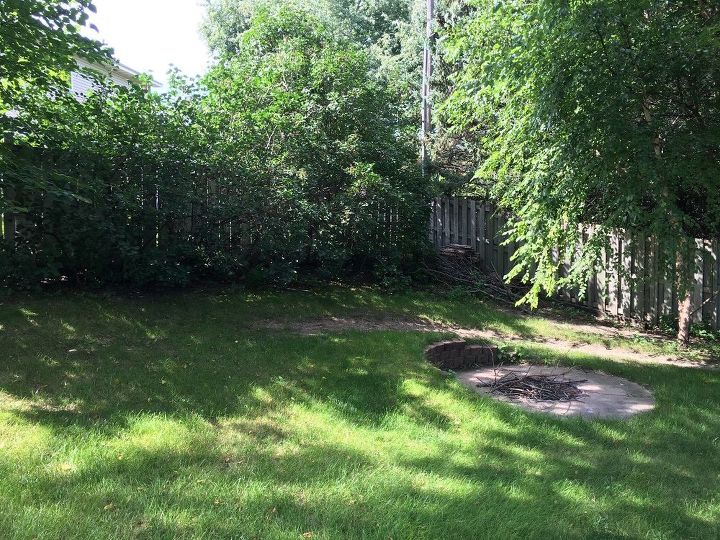
Before - Shade Garden Makeover
This is how the area looked when we moved in. Not completely hideous like some of the other areas I have worked over. We did like the fire pit area, but not all the junk wood in the corner that was left by the previous owners.
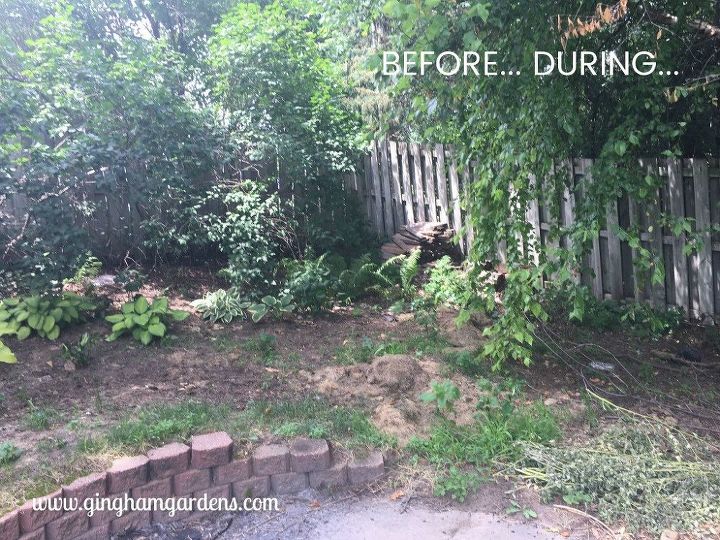
A few weeks after we moved in, I did start the process of killing off the grass and weeds by laying down cardboard and layering it with grass and leaf clippings. Also later in the summer and fall, I plopped in some hostas that I had rescued from full sun areas in the yard. The following spring, more hostas were added. I then moved on to other projects and ignored this area all last summer. This is one of those projects that went from looking okay to looking pretty bad before it got better.
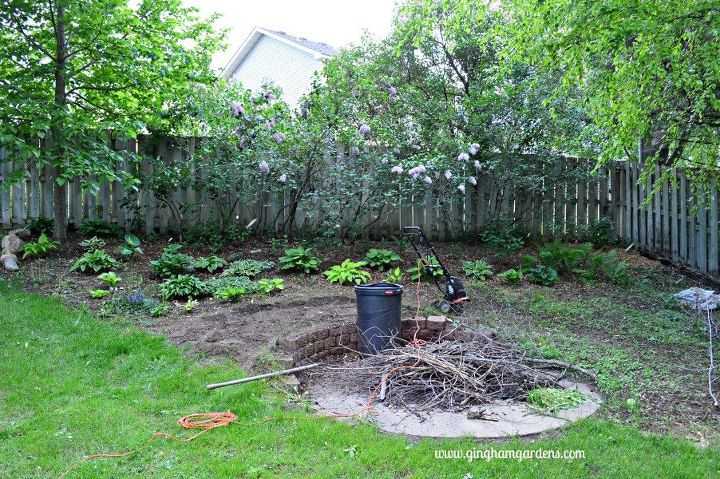
First of all we did lots of clean up in this area, like trimming the lilac bushes and hauling away the wood piles. And an overall, good weeding of the entire area. Next, we used our handy little tiller to break up the very compacted soil around the top of the fire pit area. Then we removed a couple of inches of soil to level the area out.
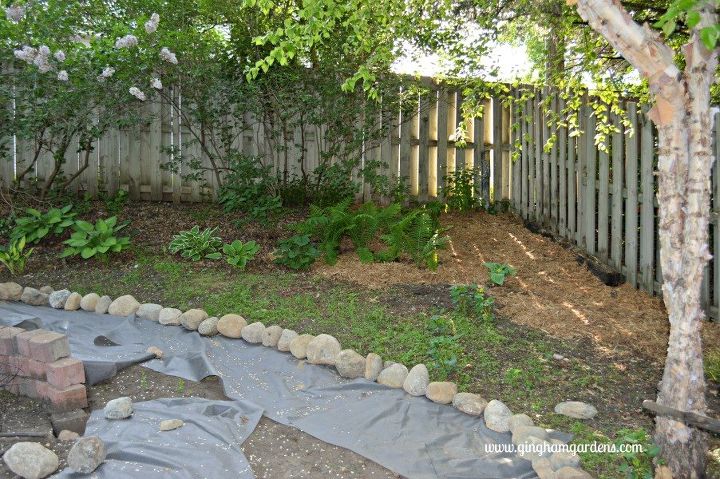
We then added landscape fabric as a weed barrier, just to the area where the pea gravel would go. Next came a border of field stones to separate the mulched, planted area from the seating area. Then we added a good layer of pea gravel and a good layer of mulch to the plant area.
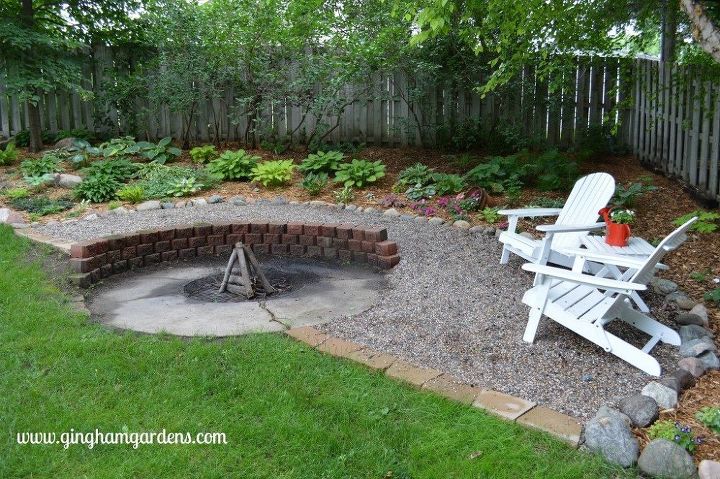
And this is exactly what I had envisioned. We couldn't be more pleased with how it turned out, and are looking forward to some bonfires this fall.
For more details and pictures, please pop over to my blog and check out the entire story. https://ginghamgardens.com/2018/06/28/shade-garden-makeover/
Resources for this project:
See all materials


Any price and availability information displayed on [relevant Amazon Site(s), as applicable] at the time of purchase will apply to the purchase of this product.
Hometalk may collect a small share of sales from the links on this page.More info

Want more details about this and other DIY projects? Check out my blog post!
Comments
Join the conversation
5 of 53 comments
-
I have began re-purposing plants and weeding a large scale area of weeds and over-growth trees and it has gotten to be much. I have a vision but not sure if I am going about my landscaping project properly to get the the best result, economically. You do inspire me to keep at it!
-
Amazing work. I will definitely try this for my garden


Frequently asked questions
Have a question about this project?
You said you got rid of the pile of wood; why not build a tall box in the seating area with a side door that opens so you could get to the wood and the top could be the table for pitchers of drinks, hotdogs, etc.? Seems like saving the wood, chopping it down into usable sizes, and storing it out of sight but near the firepit would be a good idea.
i want to do something in this area but have no clue can y’all help me ? Grass doesn’t grow in that area bc it doesn’t get much sun ☀️ I have started but I think I’m going to have to move my red hot fire pokers for hummingbirds and place in a different way. But sure would like some help or ideas 💡!!