


Watering Can Creations

3 Materials
$125
4 Hours
Easy
I found these fun, colored watering can planters at our local nursery and I HAD to buy them - and flowers for them!
I chose 8 watering cans of different colors and a flower, a vine/other to go in each.
I walked out of the shop spending about $120.
I chose 8 watering cans of different colors and a flower, a vine/other to go in each.
I walked out of the shop spending about $120.
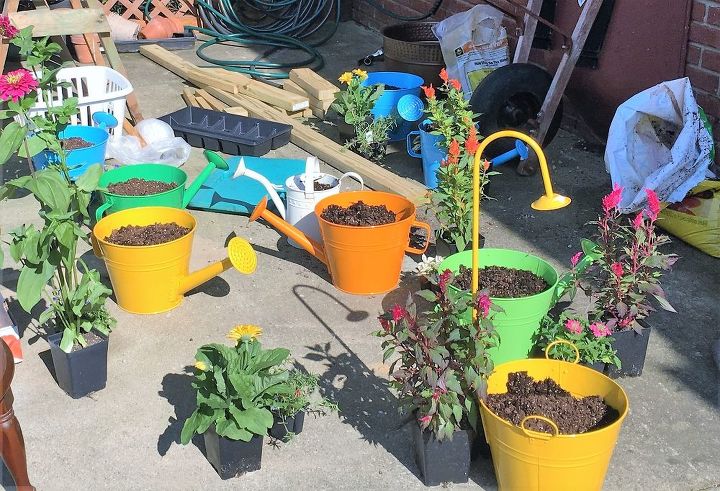
Flowers, vines and planters
I had no place to put these planters and a trip to Walmart proved fruitless. When I couldn't find a plant stand that would fit my needs, I decided to make my own. I started with this beauty from Goodwill for $15.
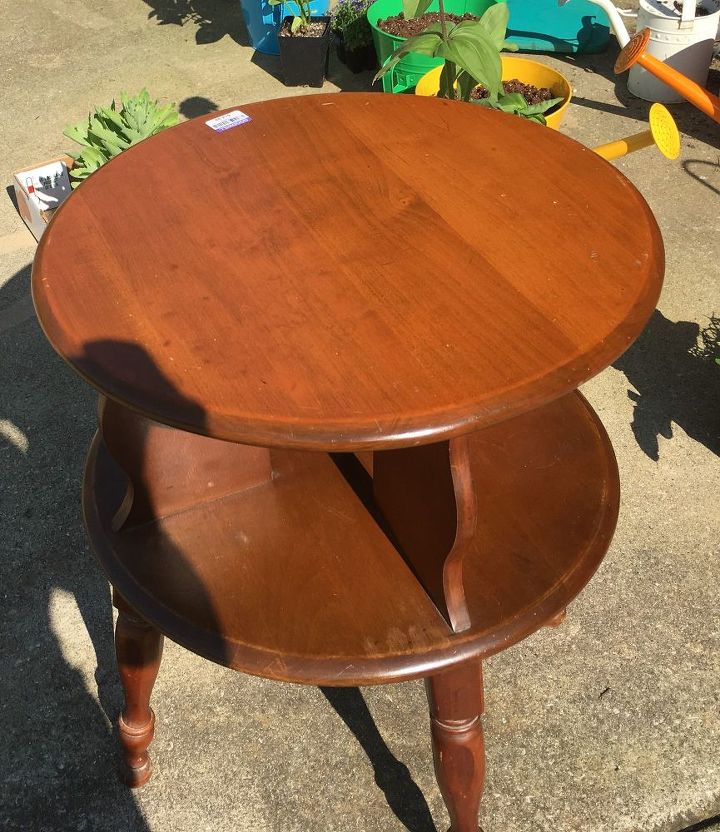
Goodwill purchase
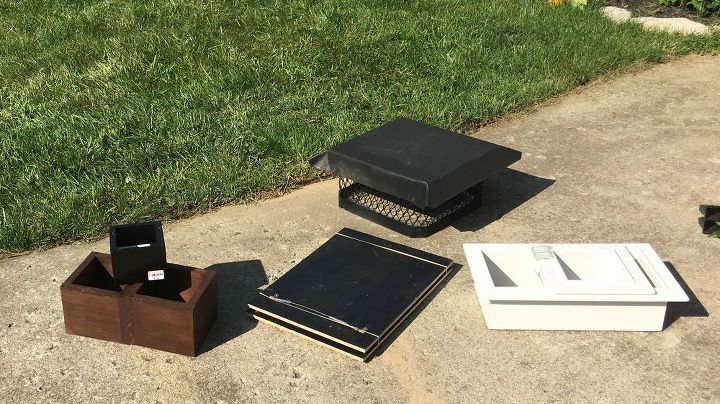
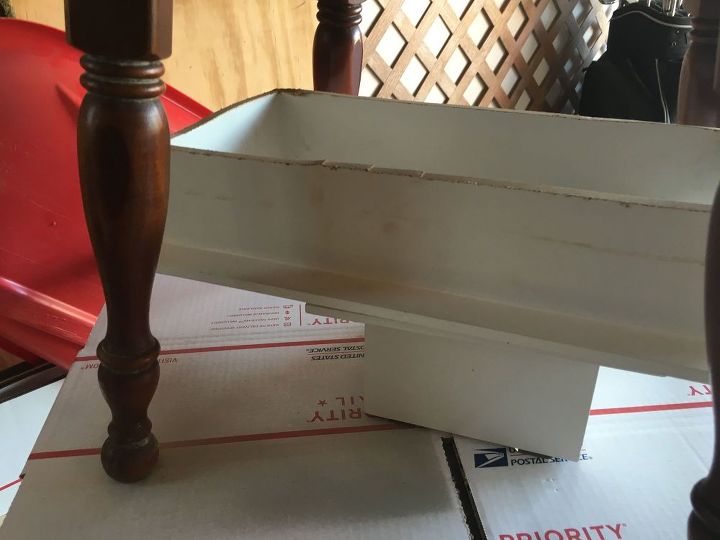
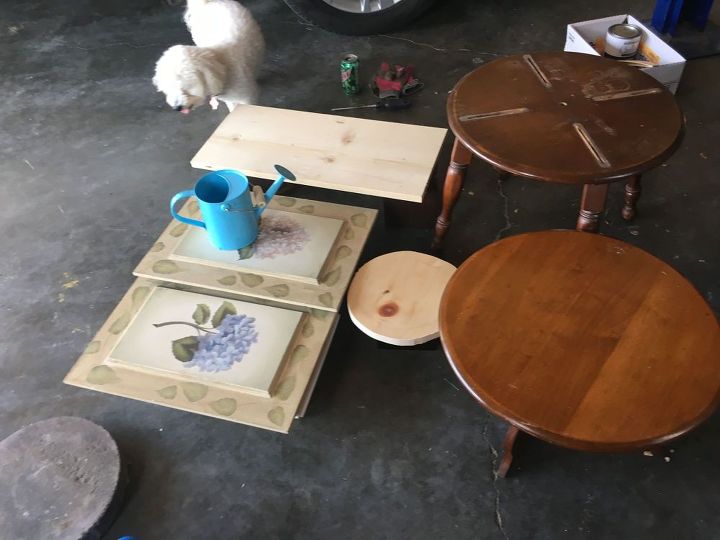
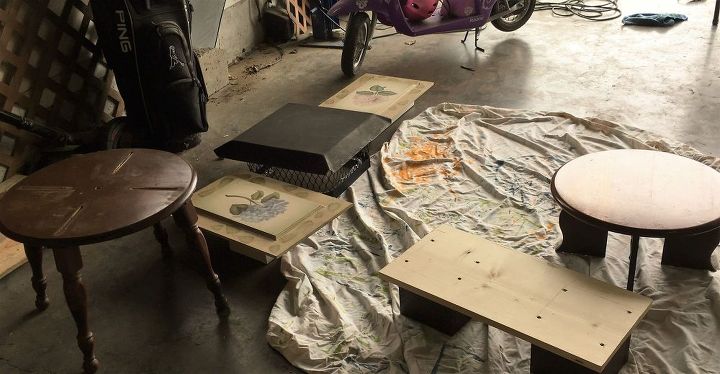
I then found several other items that could serve or be turned into shelves pretty easily, including a chimney cap, photo box shelves and wooden pictures.
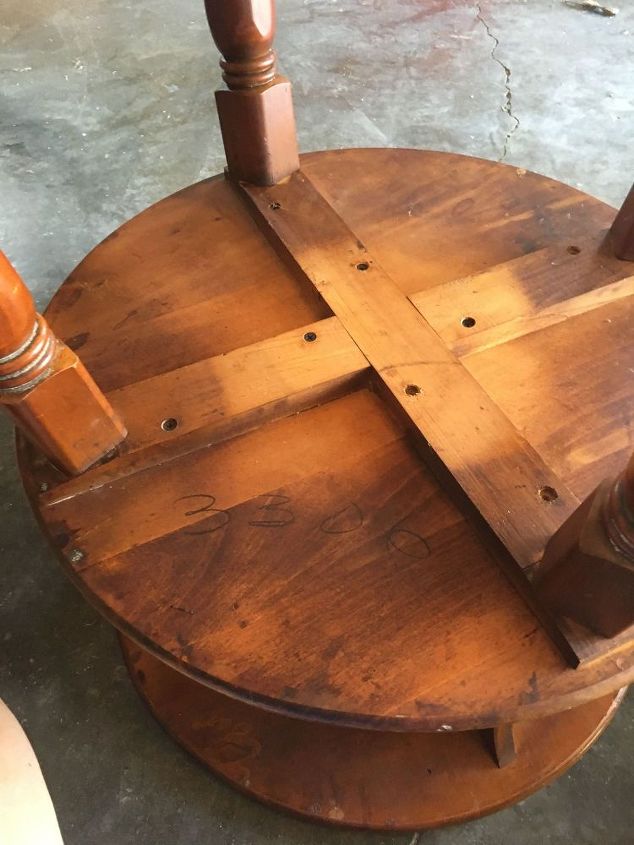
First up- make the table into 2 tables! With the removal of just a few screws and knocking out a bit of fill, it was finished in under 5 minutes.
I also used my jig saw to saw down one of the photo boxes so I would have different heights for my shelves.
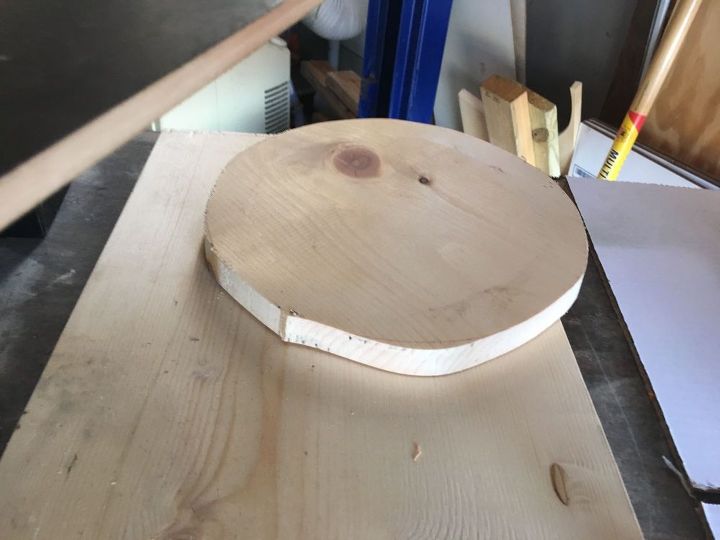
I also found some scrap wood for a shelf and then attempted to make a circle holder too. FAIL.. but what the heck, I'm not getting paid and I got to use an electric tool.
I then found a stepping stone, a 'Frozen' watering can my daughter no longer wanted and I created different levels of shelves.
I then assembled the shelves using a drill and 4 screws into each piece.
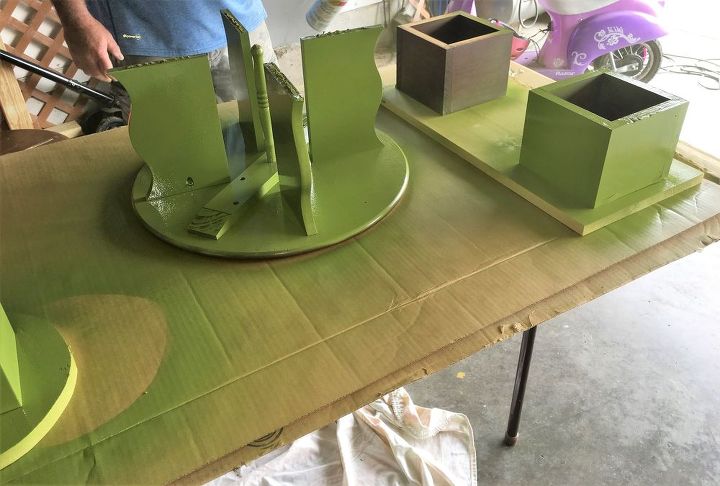
I went through 5 cans of Rustoleum 2x Spray but I loved the color of green. It was festive and complemented the other colors well.
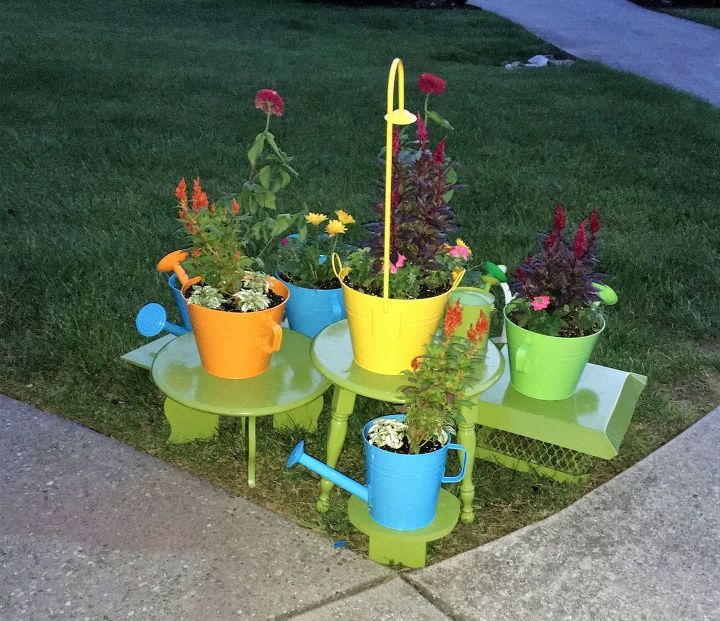
Final product - side view.
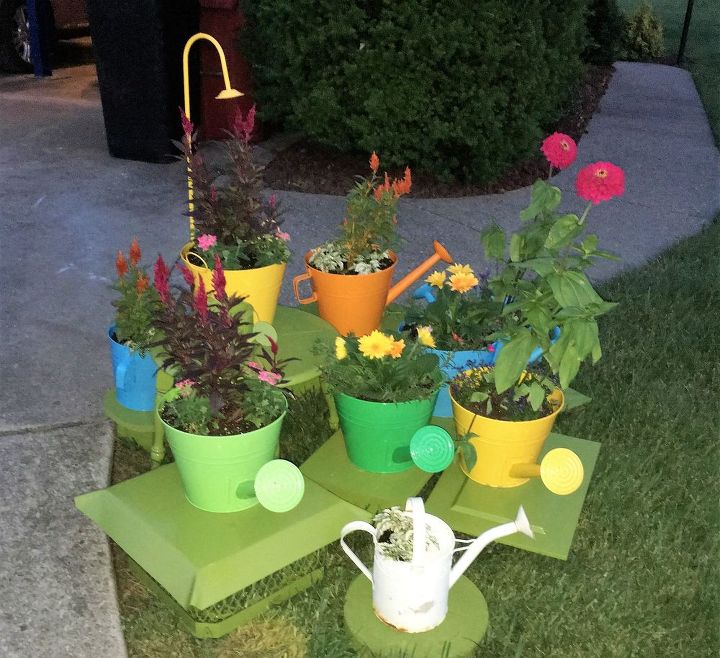
Another view.
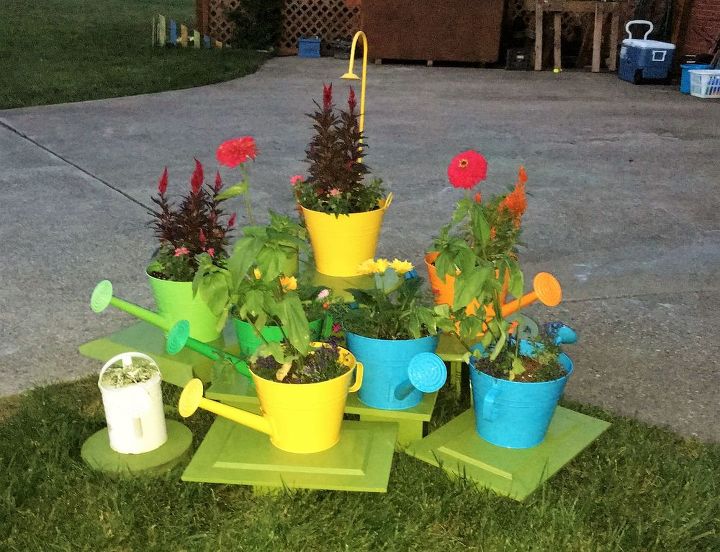
Front view.
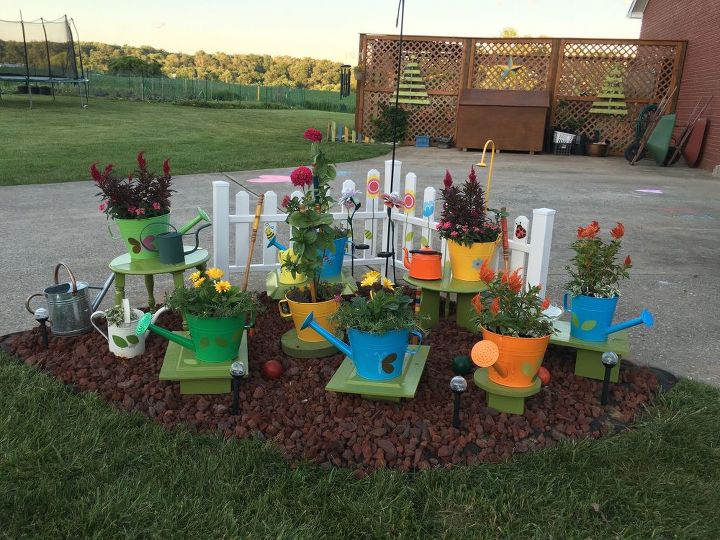
Final version!
OK!!!
Comments
Join the conversation
2 of 60 comments
-
I think this is a great use for an unused chimney cap. We have one that has just laid around for years and I think I'll paint it and use it in the garden now. Thanks for the inspiration.
-
Its cute scattered. It fills the area. So pretty. I love the color it brings to your yard.


Frequently asked questions
Have a question about this project?