


Window Dressing and DIY Board and Batten Shutters for the Potting Shed
4 Materials
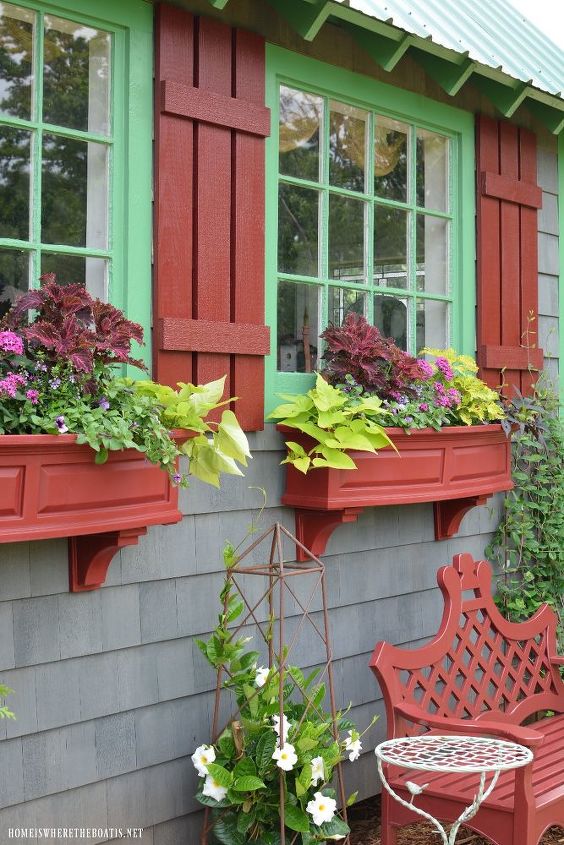
Adding some window dressing with decorative shutters has been on my to-do list. The challenge has been finding the size and width I needed, 18 x 48, and three shutters, hanging one in the middle between the windows to frame the window boxes. After pricing board and batten shutters online, I thought they would be easy to build.
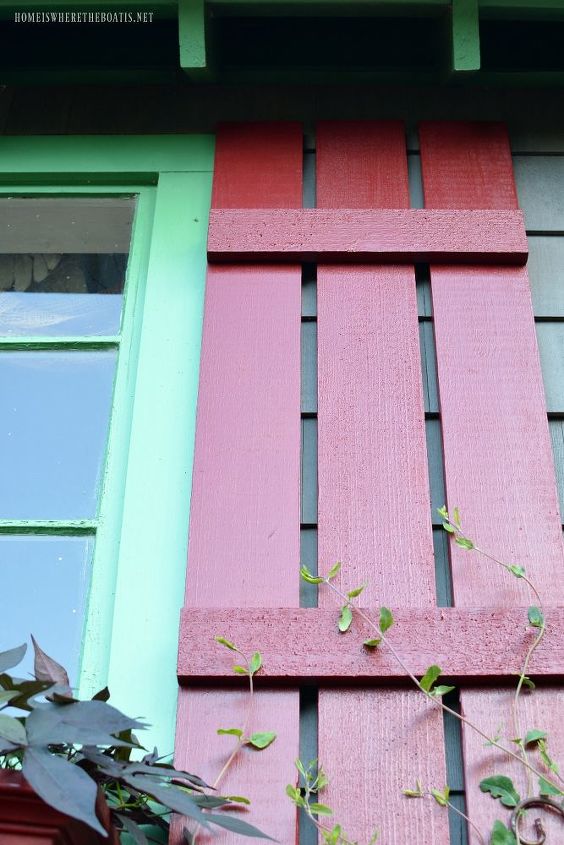
Building board and batten shutters for the Potting Shed would also solve the dilemma of having to purchase two sets of shutters to give me the three I wanted, without one left over. These board and batten shutters were an easy DIY, that you can tackle in a weekend, with the painting most time-consuming part.
Cedar boards sounded like a perfect fit for shutters on my west-facing windows that take a beating from the sun. Cedar can stand up the weather and is resistant to shrinkage, warping, and insects.
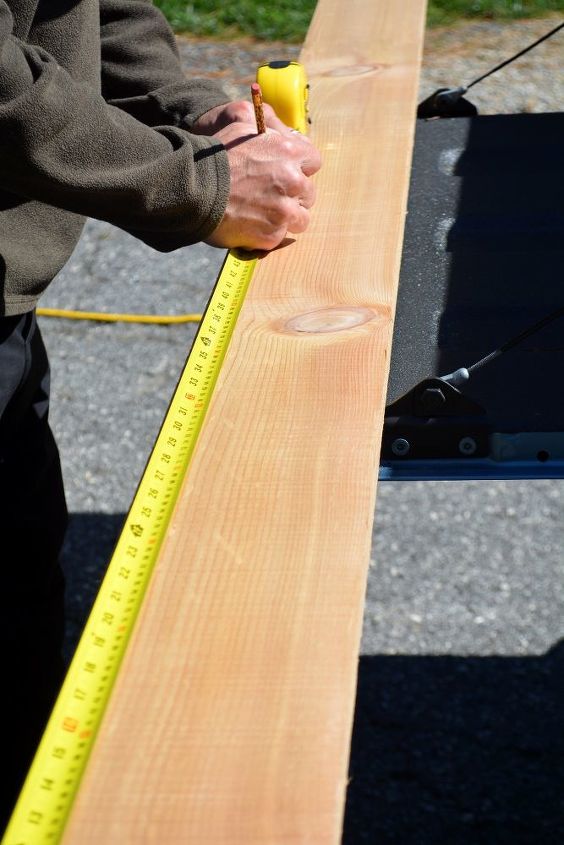
We purchased (5) 1-in x 6-in x 8-ft cedar boards from Lowe’s. In the world of wood, the actual finished measurements of a 1 x 6 is 0.875-in x 5.5-inches.
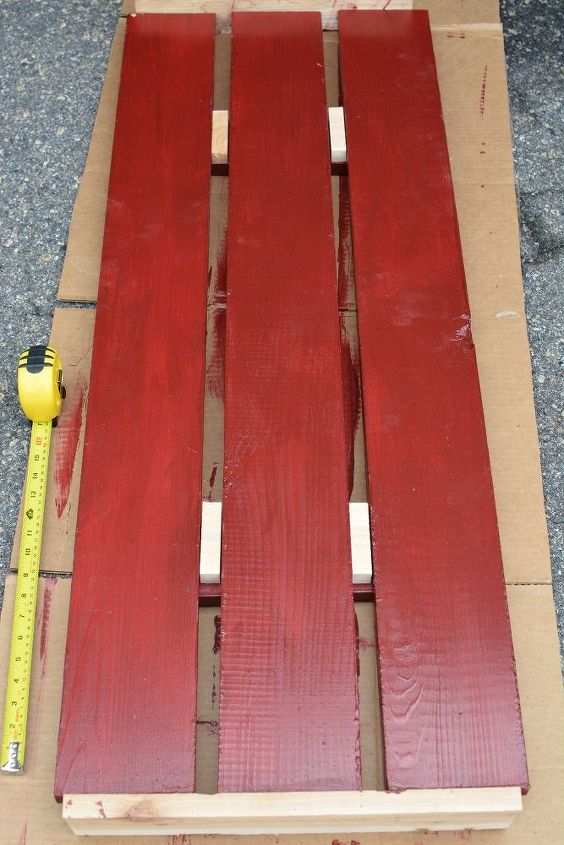
To get the 18 inch width needed, we decided a build a spaced board & batten shutter, with a 3/4 inch space between the boards to add the extra 1 1/2 inches to the width. My hubby cut the 8 foot boards in half for 4 foot lengths. A 1-in x 4-in x 10-ft cedar board (actual measurement 0.875-in x 3.5-in) gave us the six 18 inch lengths for battens we needed.
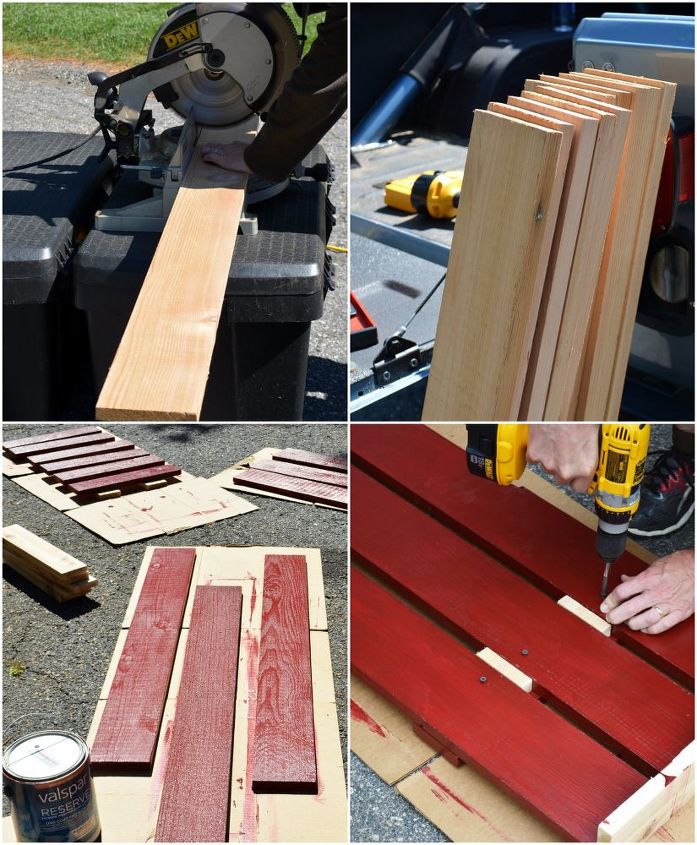
The battens were attached with wood screws from the back, after placing the spacers between the boards. The cedar boards are reversible with a rough and a smooth side. I chose the rough side to add to some texture and contrast to the window boxes and so my painting and brush strokes didn’t have to be perfect.
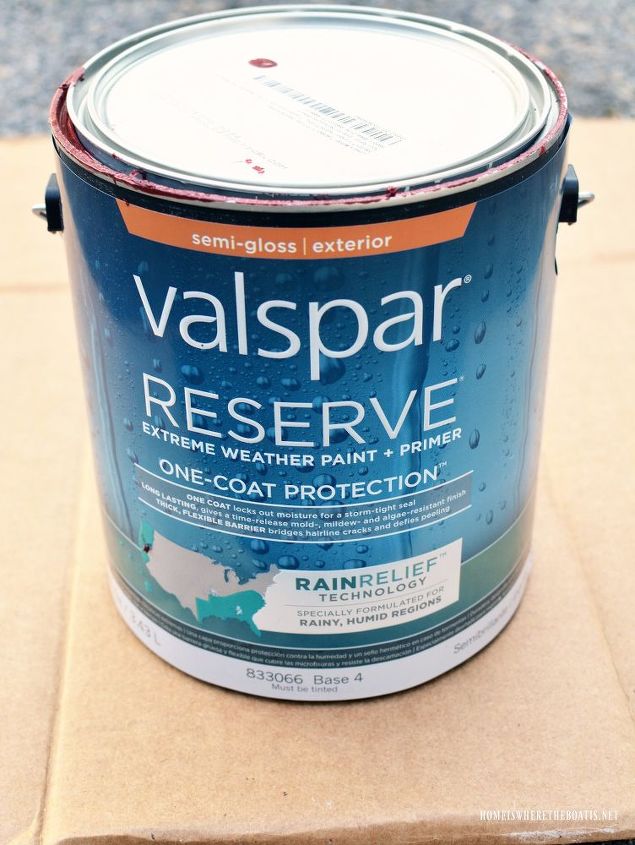
I used Valspar Reserve Extreme Weather Paint + Primer, saving me the step of priming the boards before painting. It’s formulated for the southeast US and rainy, humid regions. I chose the color Spanish Tile, to match the window boxes and my red bench.
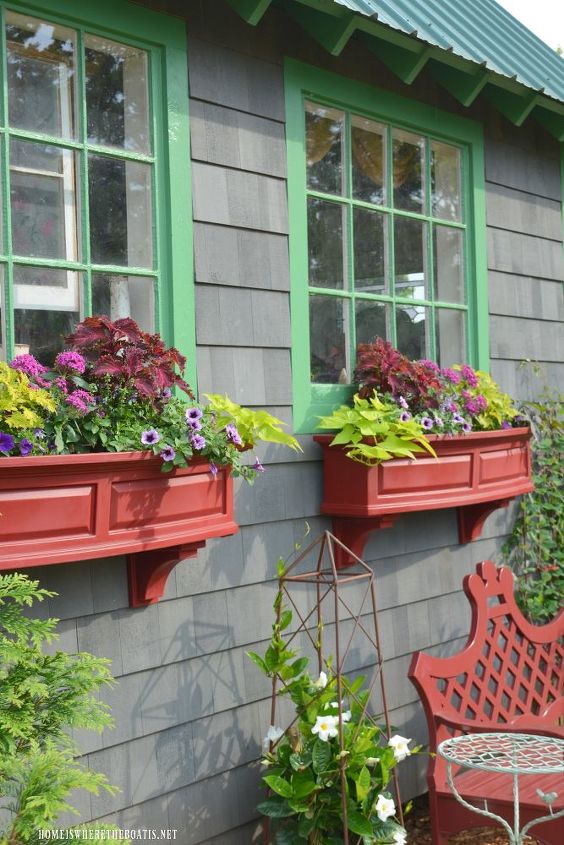
The window boxes were hung two years ago and are vinyl/ polyethylene material that can tolerate the UV rays and hold up to constant watering. They also have double wall design with a water reservoir to encourage root growth. The came from windowbox.com and have a 15 year limited warranty.
The window boxes were planted a month ago with a combination of petunias, angelonia, pentas, coleus and sweet potato vine, all summer annuals that can take the heat!
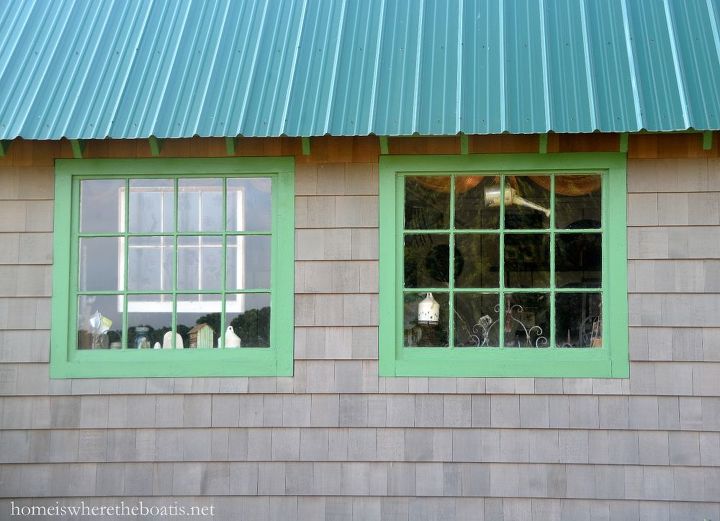
This is how the window side of the Potting Shed looked two years ago, before the additions of the window boxes, bench and shutters. You can see how she’s grown, here
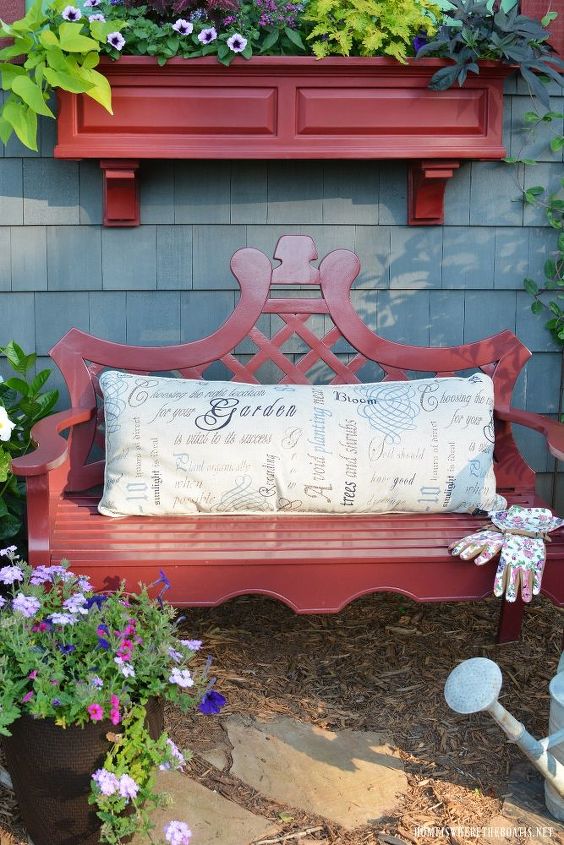
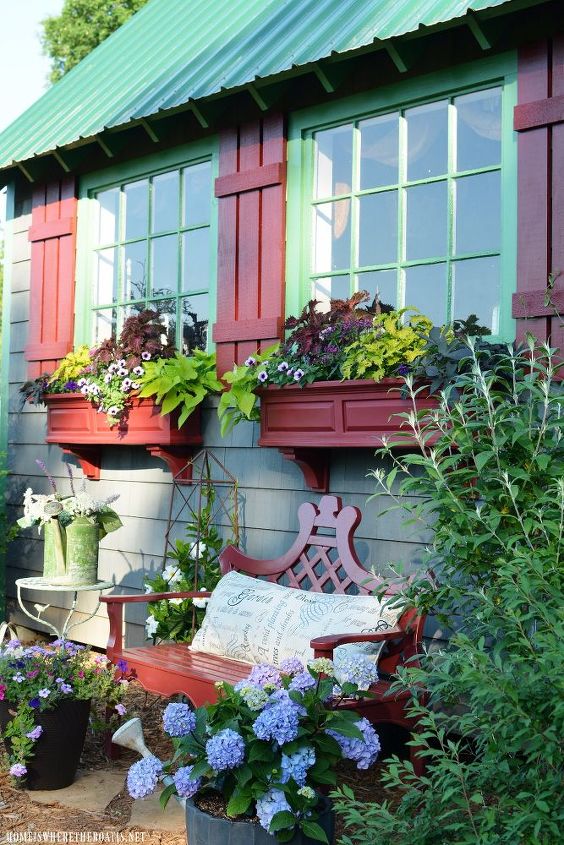
I’m pleased how well my red bench has held up after being outside for a year. It’s the Luciana® outdoor bench and is still available at Grandin Road. More photos and details at the link below!

Want more details about this and other DIY projects? Check out my blog post!
Comments
Join the conversation
3 of 33 comments
-
THIS ... is fantastic. Gorgeous design, quality craftsmanship and it looks truly inspired. Can't give this enough praise. Definitely "craft goals"

-
Oh my gosh! NO way!! We just moved to Hickory, actually - but my sister lives in Ballantyne! Will have to check it out in person some time


Frequently asked questions
Have a question about this project?
What did you use for spacers?
They look great - how would you attach these to brick?