


How to Build a Wood Fence In Your Backyard
If you love this project, grab your quick start DIY guide & subscribe to our blog!
Do you need more privacy in your backyard? Learn how to build a wood fence! No need to hire it out, you can totally DIY fence installation using these tips and tricks!
How To Build A Wood Fence – Video Tutorial
If you love DIY videos, be sure to subscribe to our YouTube channel here.
Step 1. Plan your fence.
Before you get started, be sure to check your lot’s boundaries to make sure you are building the fence on within your lot line. Also you should check with your HOA or CC&R’s for restrictions.
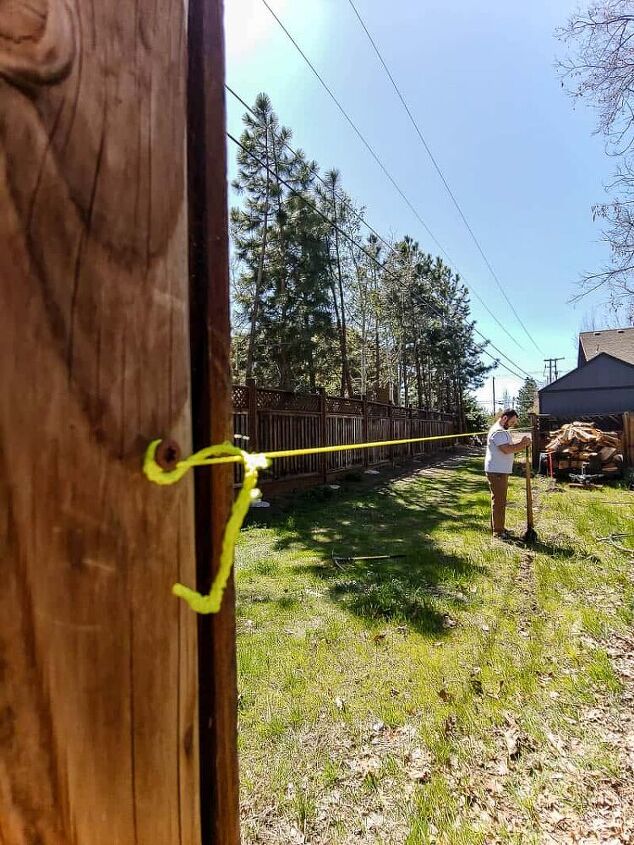
Step 2. Mark fence post locations
This is easier done with a friend, but you can do it solo. Start with the edges and corners, where there should also be a fence post. Next take your tape measure and mark out 8 feet in between each corner and edge along your fence line.
Repeat this step and mark 8 feet along your entire fence.
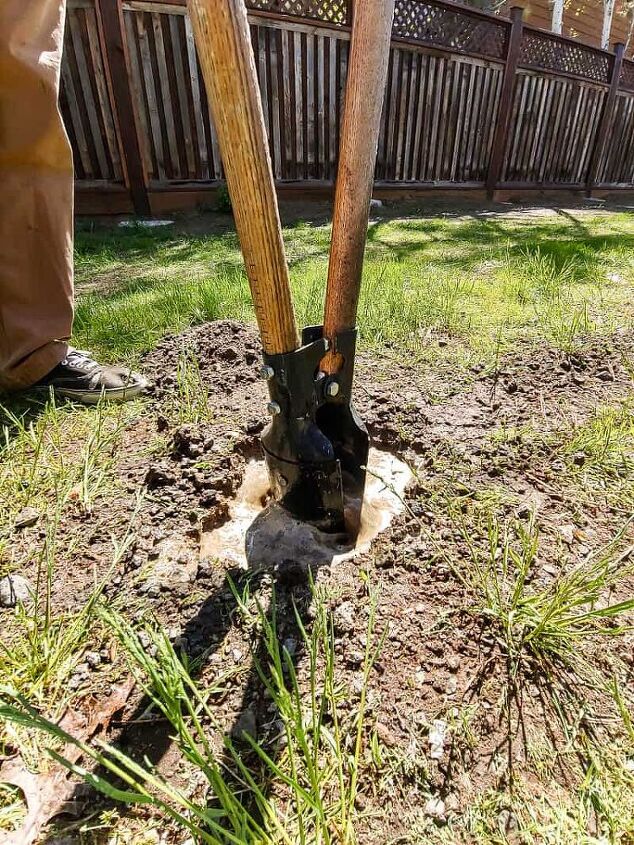
Step 3. Start digging post holes
Use a post hole digger to dig at least 2 feet down and 12 inches wide.
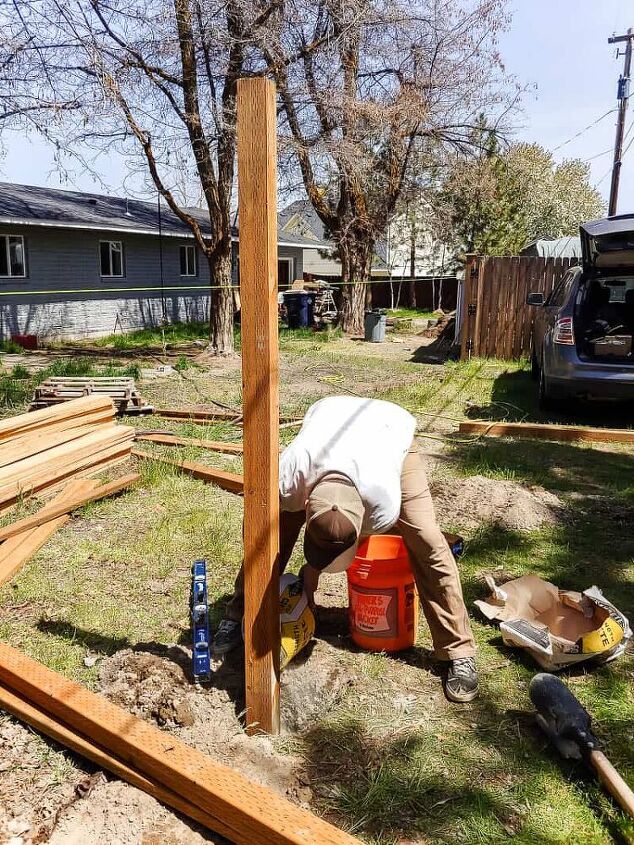
Step 4a. Set fence posts with cement
Before the cement hardens, make sure your post is nice and straight by using a level. Once it is straight, brace it to the ground with landscape stakes screwed into the fence post.

Step 5. Connect the posts
Once your cement has had time to dry, you can start connecting all of the posts and add your rails.
For a 6 foot privacy fence, you’ll need 3 rails – top, bottom and middle. Measure and mark your first fence post and screw the rail brackets into place on the posts.
Next place your 2×4 fence rail into the bracket and hold it level up to the next fence post and mark the fence post where the bracket should go.
Once both brackets are screwed into place on the posts, screw the 2×4 fence rail into the bracket.
Step 6. Attach fence pickets
Layout your pickets along your fence and start screwing them in one by one. There should be 2 deck screws per rail, so 6 screws total on each picket. Some people use nails but your fence will last a lot longer with screws.
Make sure your first picket is nice and level. You don’t need to install the pickets with any spaces in between them.
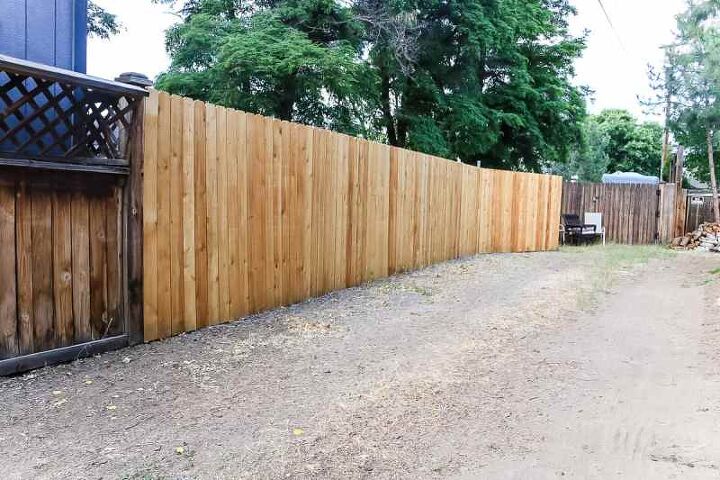
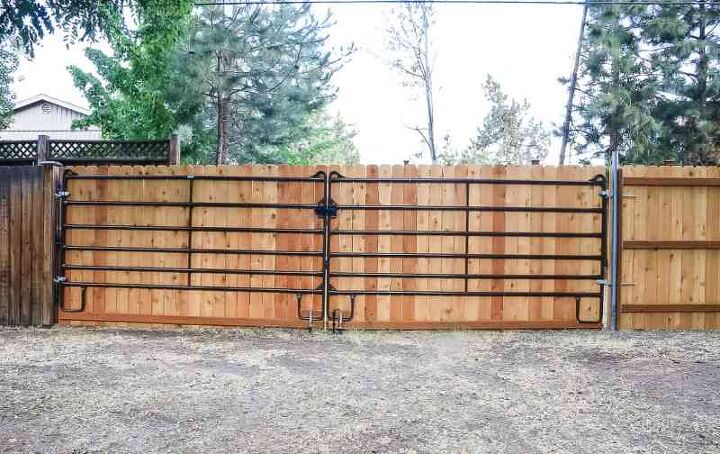
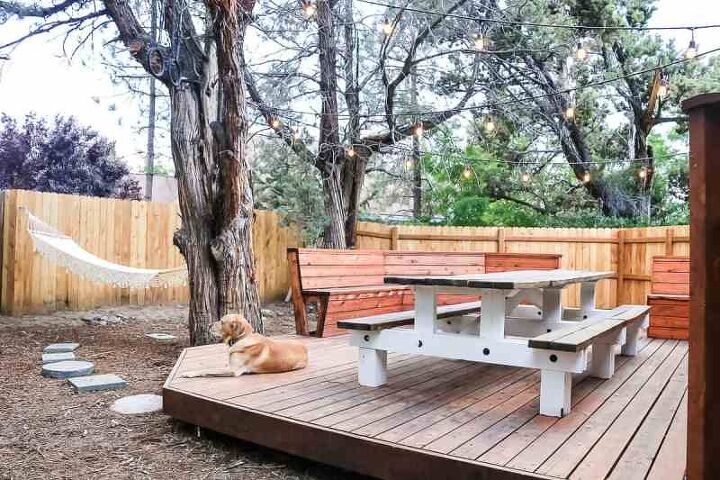
Building our wood fence was a huge project because we had to do the backyard and the side yard + two gates! But it was so worth it! After having the fence built our dog can run freely in the backyard, our kids can play safely and we can have privacy from surrounding neighbors.
If you love this, check out all of my outdoor projects tutorials in the archive here!
If you love this, check out all of my DIY outdoor tutorials in the archive here!mak


Frequently asked questions
Have a question about this project?
I thought you had to leave distance between the pickets for expansion? How did you do the gates? That's tricky.