


How to Install a Patio Landscape Block Pillar

How to Install a Patio Landscape Block Pillar : Landscape block pillars add so much to your outdoor living space. They can help to define the space by giving it definition. The create dimension by being a vertical element in the landscape. With the addition of landscape lighting your usefulness of outdoor space can be extended into the evening. The great part about using concrete landscape retaining wall block to build a pillar is that it's not really all the difficult to add such a beautiful landscape element. You can do it in three easy steps!! Just do a little planning, some excavation & base and build you pillar! it's as easy as one, two, three... Hopefully you give it a try and add some beauty to your outdoor living space! Enjoy!!
How to Install a Patio Landscape Block Pillar : Watch the YouTube video on how to install a pillar in Three Easy Steps!
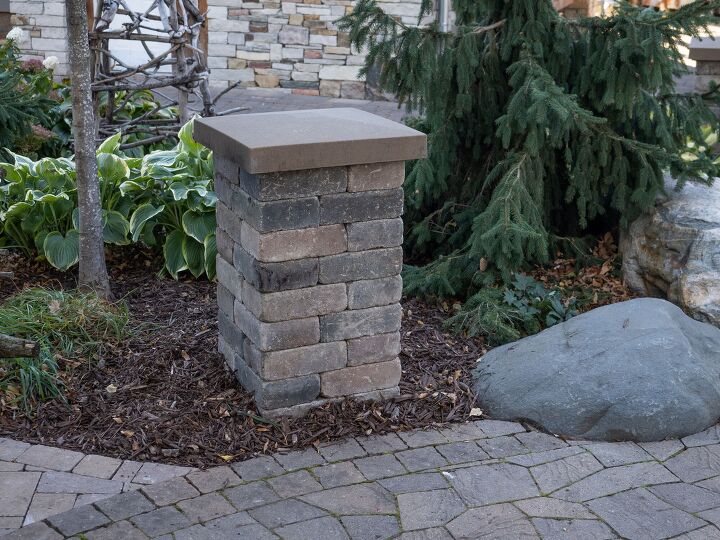
How to Install a Patio Landscape Block Pillar : Pillars add so much to landscapes and are easy to install by yourself.
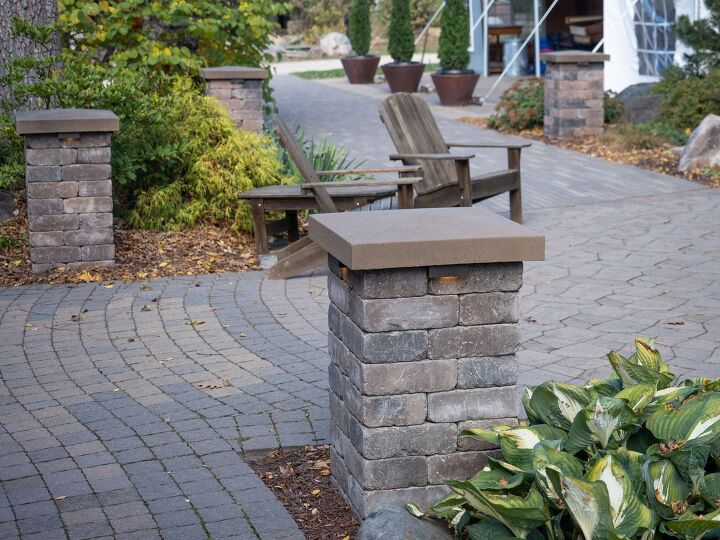
How to Install a Patio Landscape Block Pillar : By adding multiple pillars to your landscape you can help define the space.
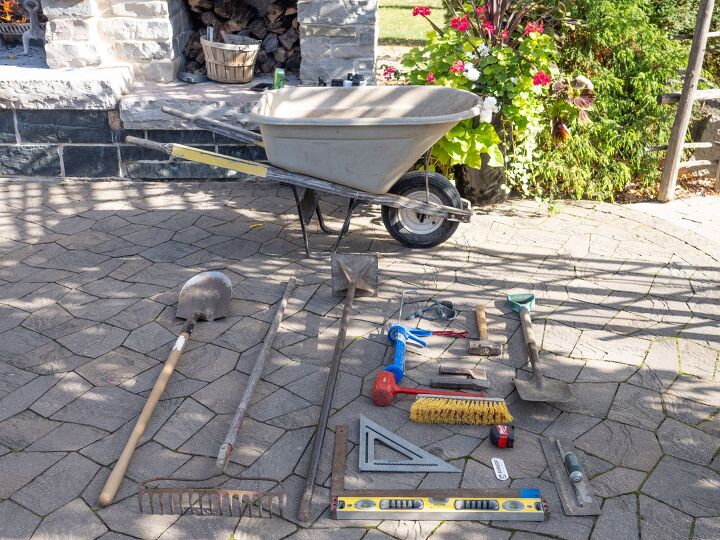
How to Install a Patio Landscape Block Pillar : Most will already have all the tools needed to complete the installation of a landscape pillar... no poser machinery required!
How to Install a Patio Landscape Block Pillar: Gather all of your materials before you begin it makes everything go faster once you start the installaion.
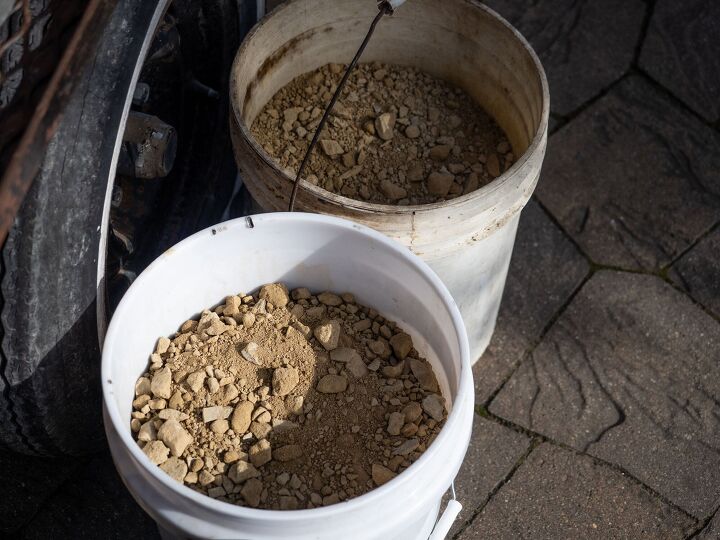
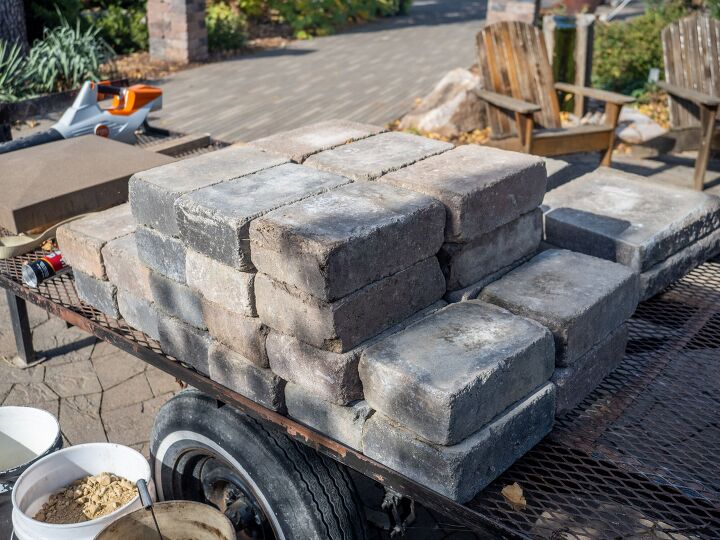
How to Install a Patio Landscape Block Pillar : Crushed limestone rock is perfect for the base and easy to work with. You'll need three or four five gallon pails full.
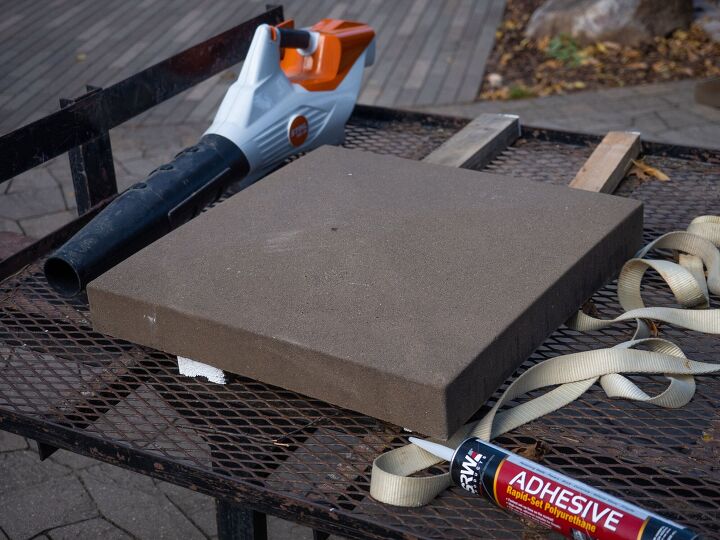
How to Install a Patio Landscape Block Pillar : There are many different types of caps you can use to finish your pillar from natural stone to formed concrete. I'm using the formed concrete in this installation. It is best to have an additional set of hands around to help place the cap into position.
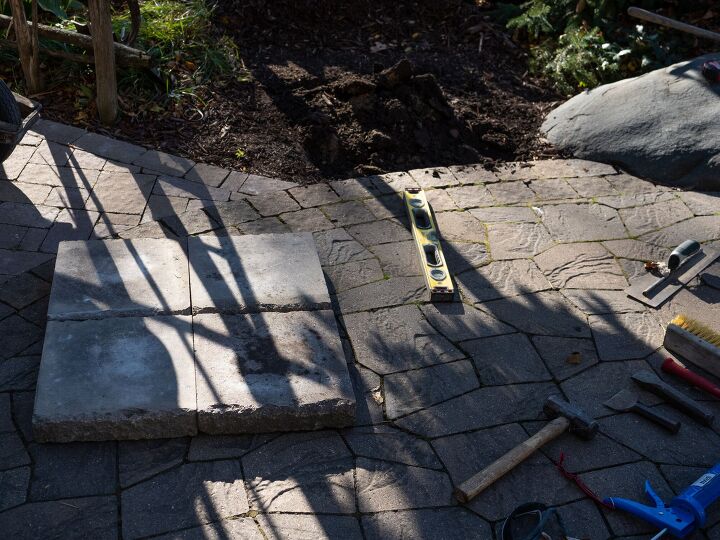
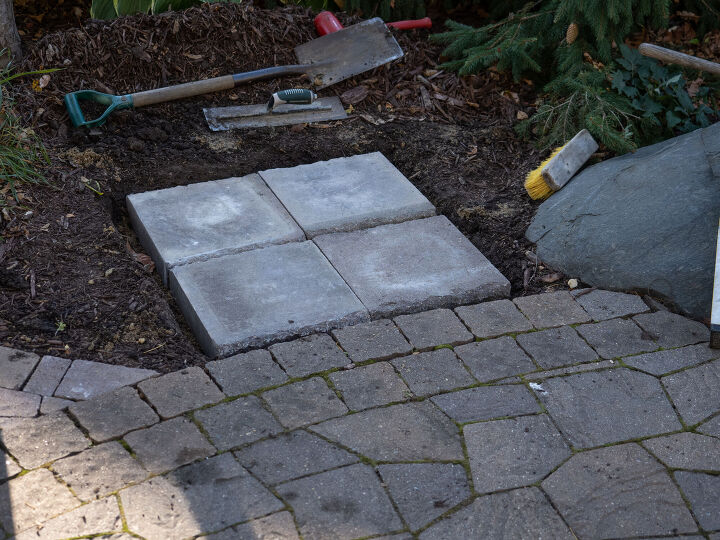
How to Install a Patio Landscape Block Pillar : Laying out the footing/base blocks and beginning the hand digging of the excavation. Excavation is only seven inches below the finished elevation.
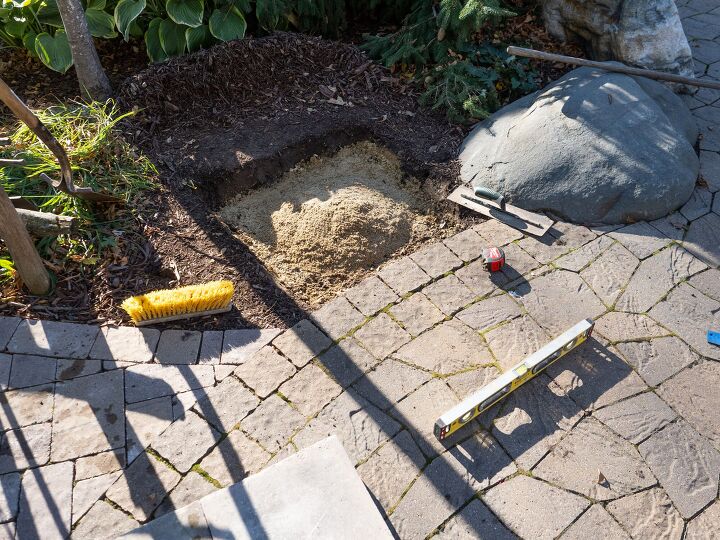
How to Install a Patio Landscape Block Pillar : Packed crushed limestone rock is covered with a thin layer of washed aggregate sand to make it easy to level the base blocks.
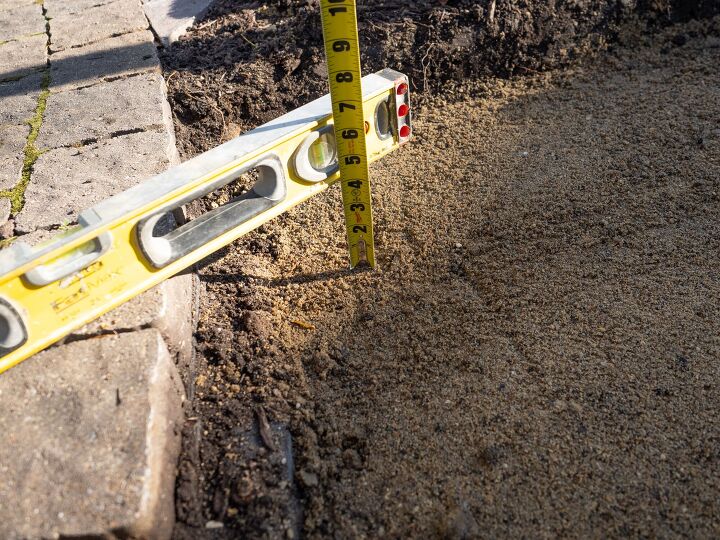
How to Install a Patio Landscape Block Pillar : All that you need to check elevations is a tape measure and a level.
How to Install a Patio Landscape Block Pillar : With the footing/base blocks all in place and leveled it is time to start building your pillar. This is where you should take the most time in getting everything level.
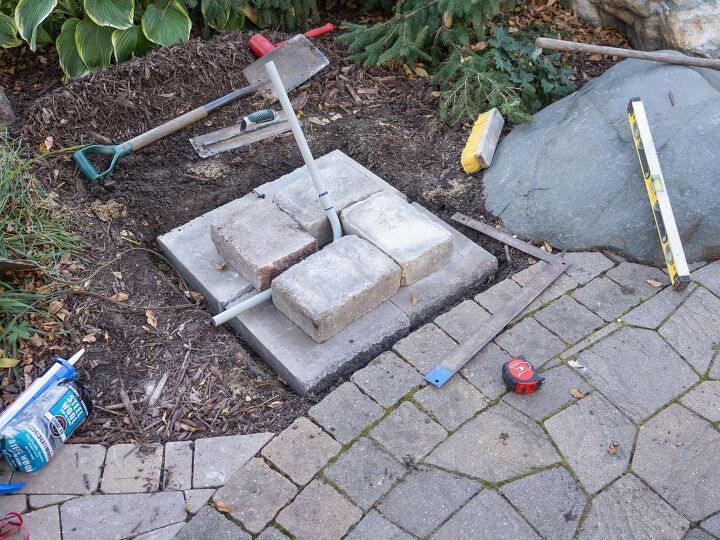
How to Install a Patio Landscape Block Pillar : We highly recommend installing landscape light on your pillar. This is the time you want to install conduit for lighting whether you install now or later.
How to Install a Patio Landscape Block Pillar : Lighting on the pillar gives a whole additional dimension to you landscape and extend the use of any landscape.
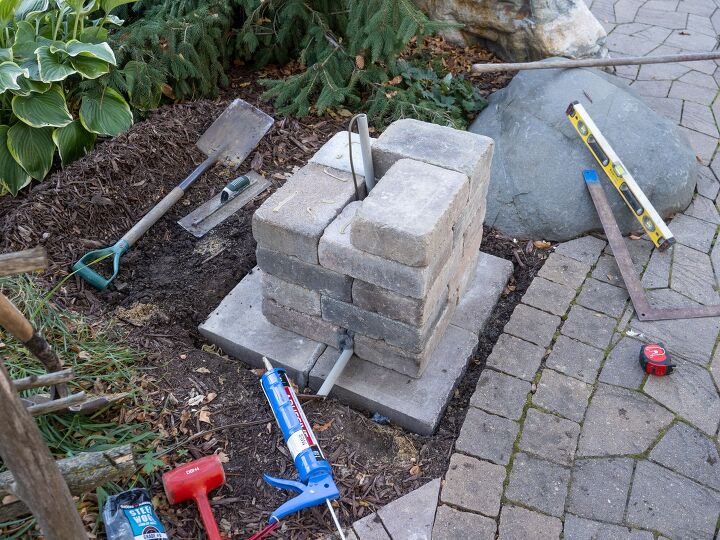
How to Install a Patio Landscape Block Pillar : A small bit of adhesive will keep all the blocks together as you build up your pillar.
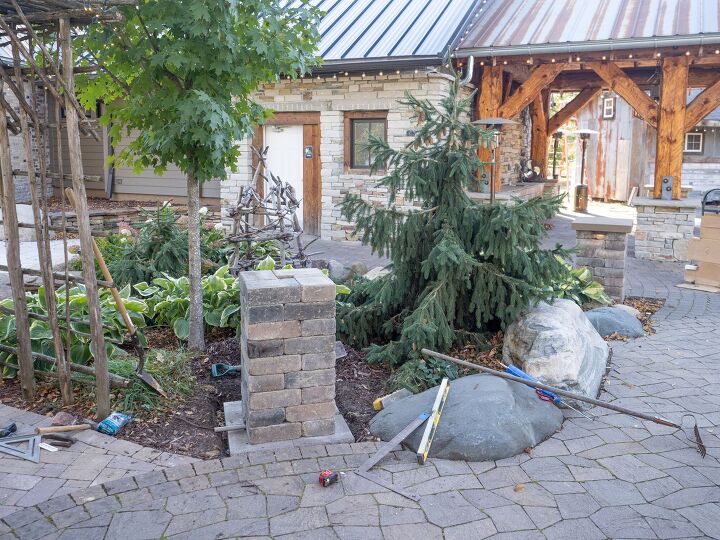
How to Install a Patio Landscape Block Pillar : All the block is stacked up and ready for the cap. If you choose to install the cap right a way just be aware that the adhesive has not setup and will allow the blocks to slide around. So check that everything is square and level as you proceed.
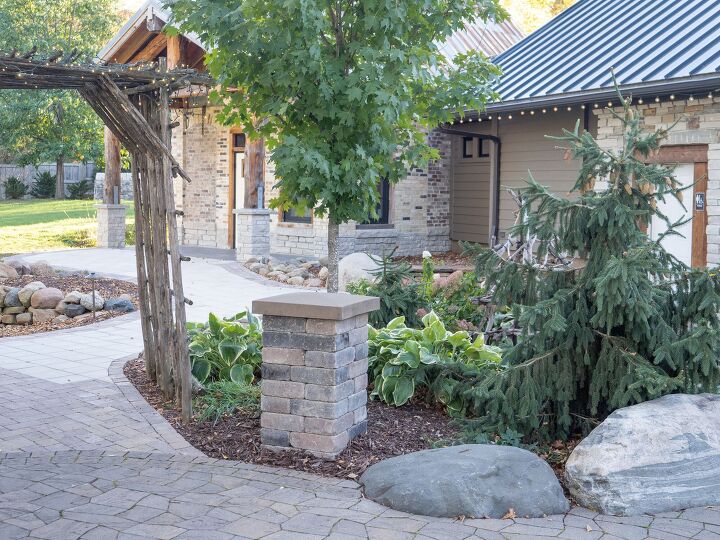
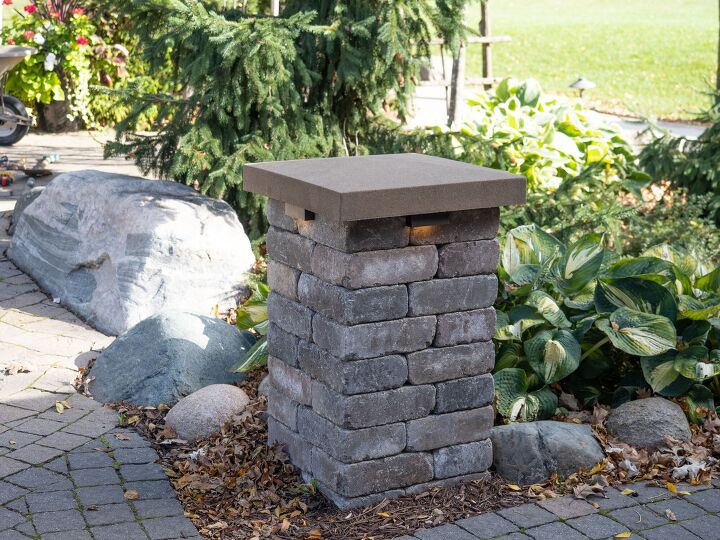
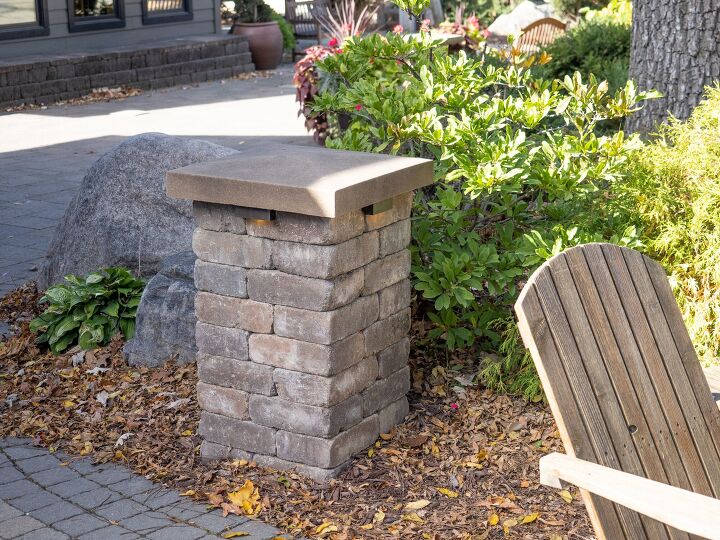
How to Install a Patio Landscape Block Pillar : With the cap installed it's time to reinstall of the landscaping! Wow, it looks so good and blends in with the whole patio.
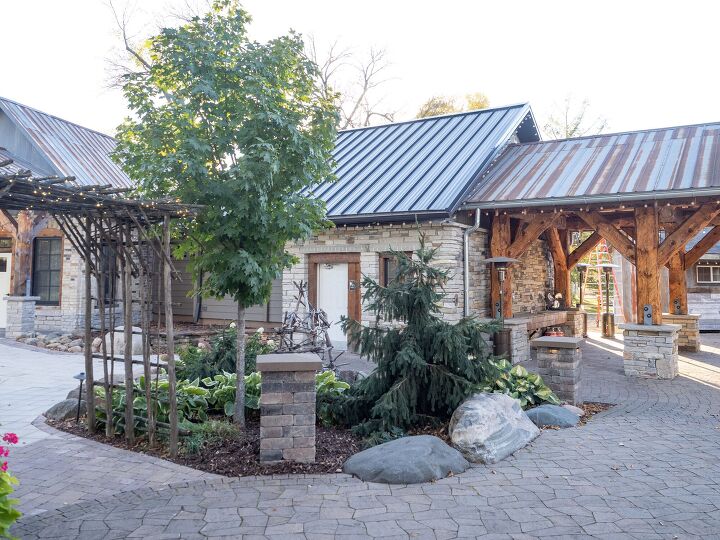
How to Install a Patio Landscape Block Pillar : Installing multiple landscape pillars can define the space and make the whole landscape look wonderful.
How to Install a Patio Landscape Block Pillar : Hopefully you'll give installing a landscape pillar to your outdoor living space and take it to the next level!
Resources for this project:
See all materials


Comments
Join the conversation
-
Super idea to give my yard some personality Thanks and you HAVE to have a tape measure string works for leveling 😁
-
This is helpful, thanks!
However, I’m guessing that you don’t live in Canada…or the Northern States because this wouldn’t work for those of us whose ground freezes 3-4’ down! 😊 The freezing & thawing cycle causes the ground to heave, thus cracking/shifting items that are made of concrete, mortar etc. 🙄 If we were to do this, (and wanted it to remain intact!) then we’d have to dig down 3-4’ below the frost line, put a ‘sonitube’ in the hole (a big cardboard-like tube about a foot in diameter), fill it with concrete and then attach the base to that! 🤪
I loved your project…but unfortunately for some of us, it’s a little more complicated than it looks! 😊 patti


Frequently asked questions
Have a question about this project?