


How To Make A DIY Privacy Screen From Salvaged Fence Pickets
Have you ever thought “what can I make with an old picket fence?” Read on to see how we made a privacy screen with a reclaimed wood fence.
I didn’t start this project thinking how I could repurpose an old picket fence. I wanted a privacy screen for our small front yard patio that would eventually be transformed into a trellis screen to block a huge rain water capture tank we have. When I thought up the idea, lumber prices had sky rocketed and I did not want to buy new, crazy expensive wood!
Necessity (ahem, cheapness ha ha) is the mother of invention!
So I started to look around on Nextdoor and Facebook Marketplace. I was looking for something already made or something that I could repurpose. I found a free listing for some very unique fence panels. I hesitated, thinking how will I get these huge panels home, how can the panels be fashioned into a screen, and how will my husband kill me for adding another project to his list!
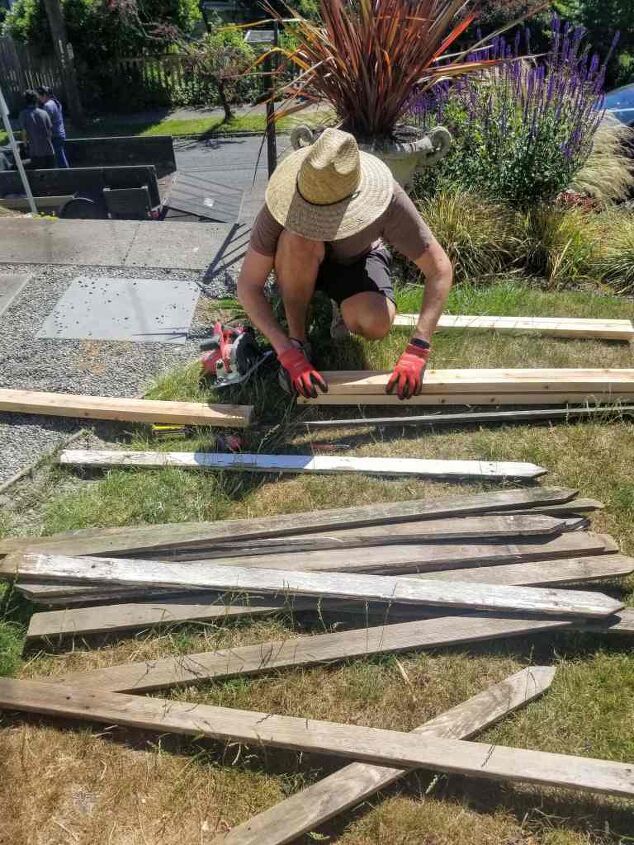
By the time I thought of transportation, came up with a concept and got over hubby’s possible reactions, I missed out! I was kicking myself for a few days. Then I saw a listing for salvaged fence pickets. The location was closer than the listing I lost out on and the fence was deconstructed and therefore easier for me to pick up on my own and easier to fit in our car. I messaged the seller right away and got them!
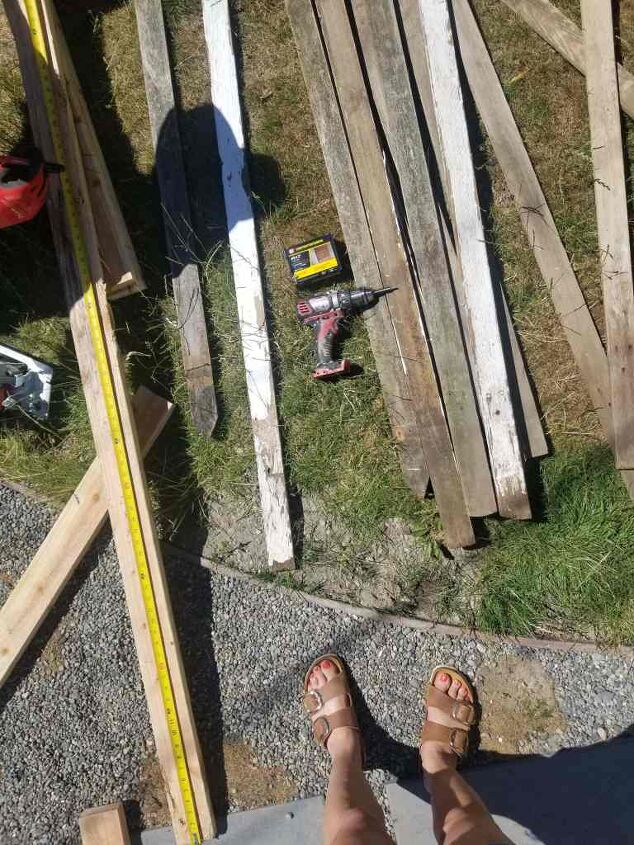
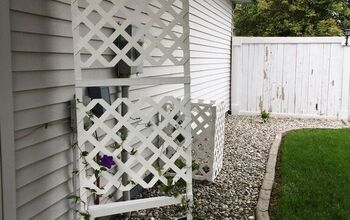
Deconstructed picket fence awaiting it’s glow up.
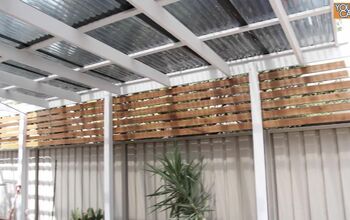
With the pickets already deconstructed, it was easier to envision how the privacy screen would come together. With a quick sketch shared with my husband, he understood the concept and got the materials together.
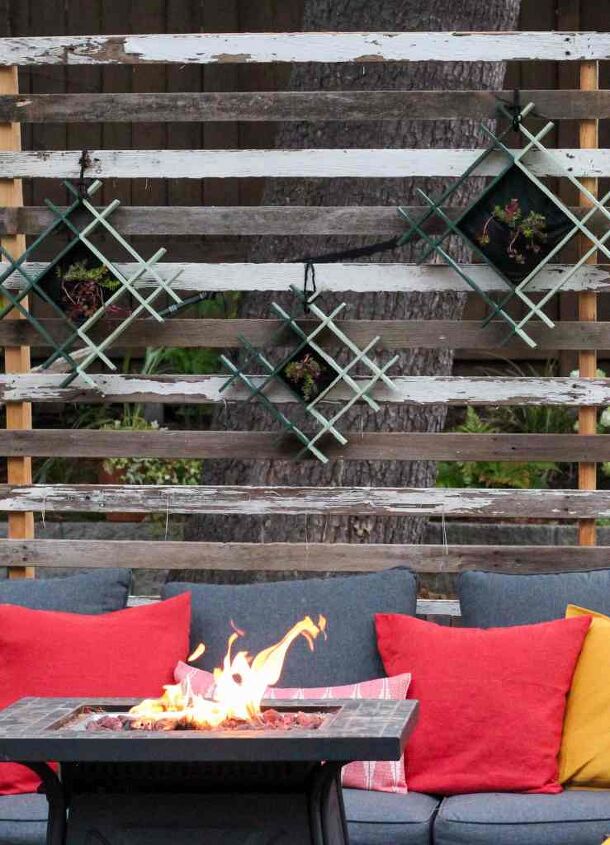
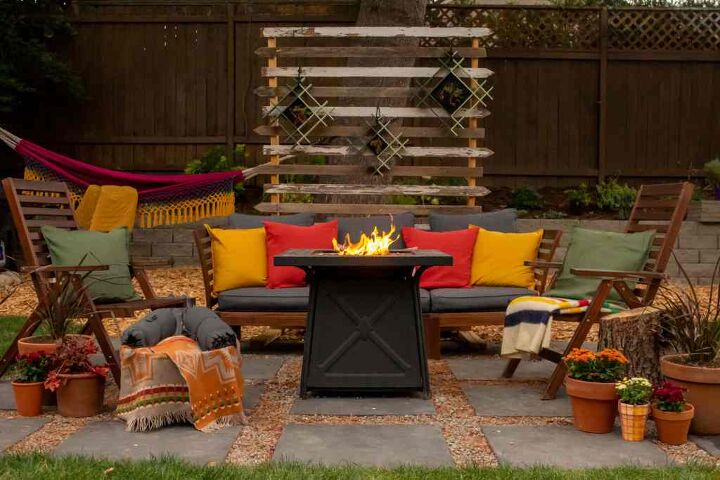
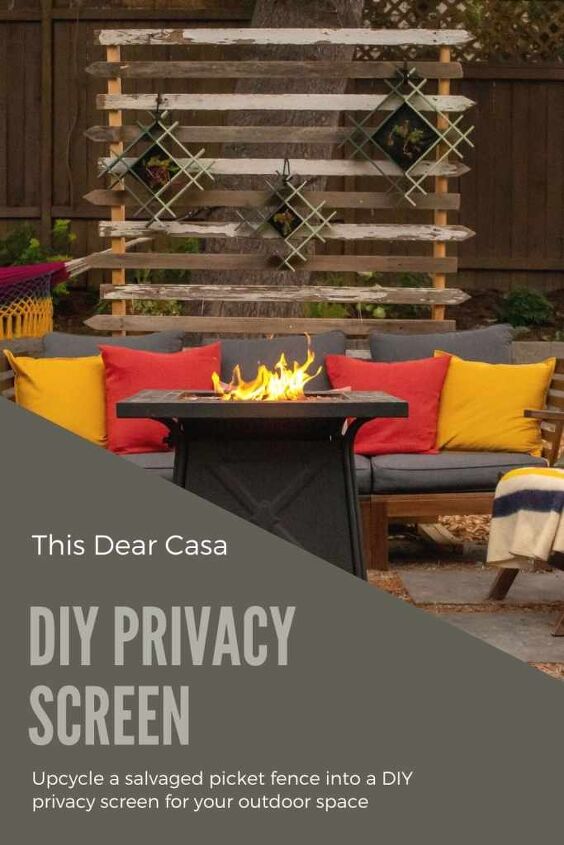
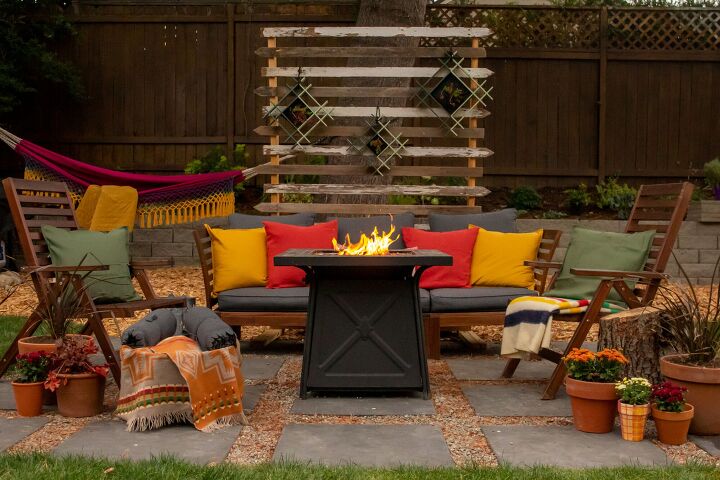
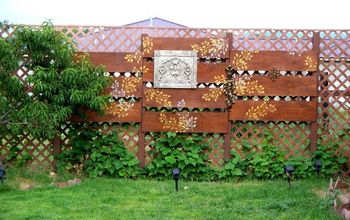
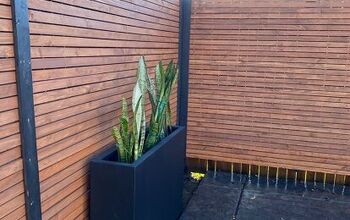
Our DIY privacy screen doubles as a plant hanger!
Steps to make your DIY privacy screen
Lay out the pickets or other salvaged wood pieces to determine spacing.
Note: lightly sand all pieces. I like the shabbiness of the pickets I bought, so I left them alone. Always use caution and wear a proper mask and PPE when sanding or cutting old painted wood.
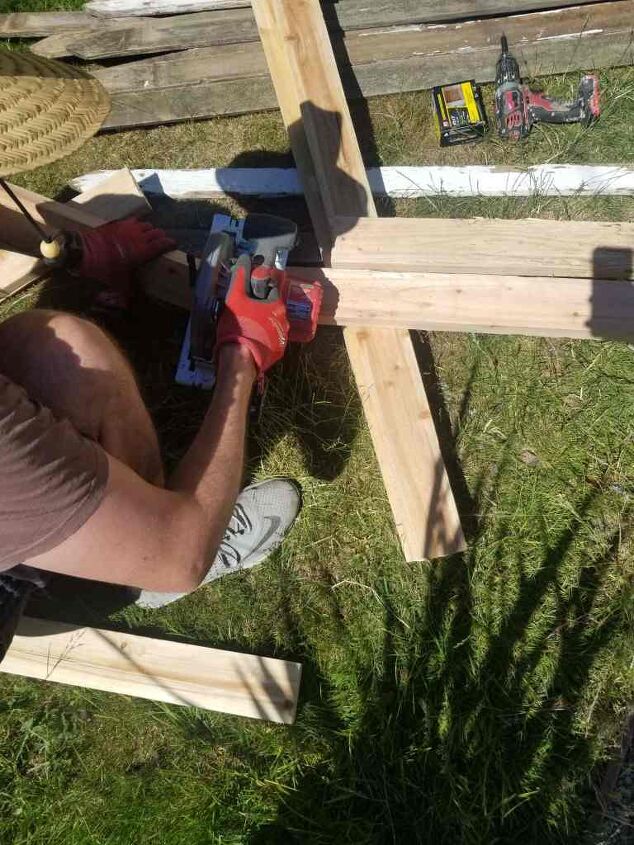
Cut pickets or other salvaged wood to desired length using a circular saw. The pickets I purchased were 5 ft and I left them as-is. I wanted them horizontal to make for easy hanging of decorations.
Build base that consists of one horizontal 2×4 cut to 4 foot 6 inches screwed to two perpendicular 2×4’s cut to 42 inches.
Screw two vertical 2×4’s that each measure 6 foot 4 inches to the base.
Screw a 2×4 cut to 4 feet 6 inches along the top to connect the two vertical pieces.
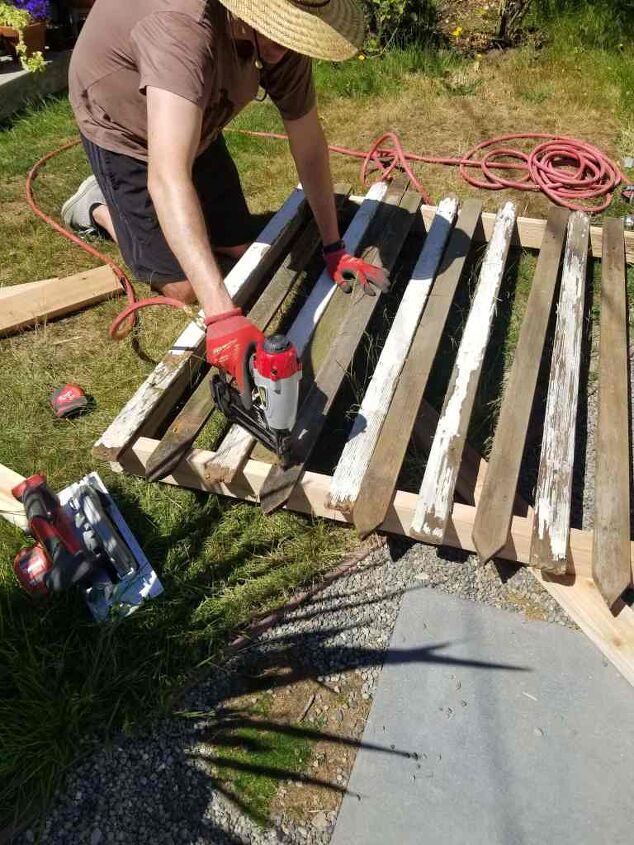
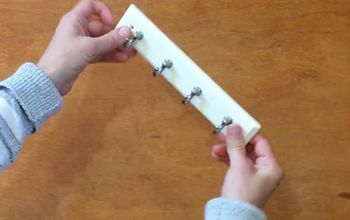
Using brad nails and nail gun, secure the pickets to the frame of 2×4’s. When we were laying out the pickets to visualize the screen, we forgot to take into account the height of the wood frame base. To compensate, my DIY guy started to attach the pickets at the top. This left a larger gap at the bottom, which we were fine with since furniture will cover the bottom.
Privacy screen diagram
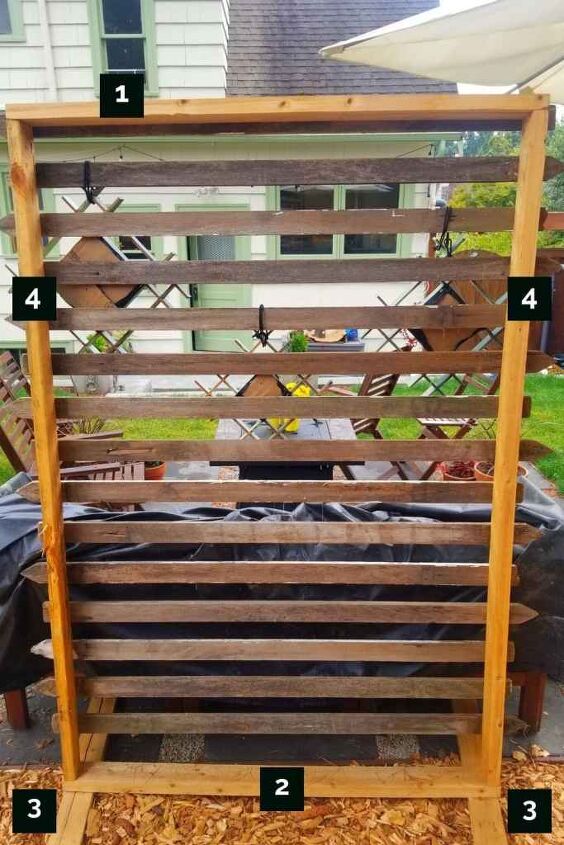
Cut list
#1 2 2x4's for Top of Frame cut to 4 feet 6 inches
#2 2 2×4's for Bottom of Frame cut to 4 feet 6 inches
#3 2 2x4's for Bases cut to 42"
#4 2 2×4's for Vertical sides cut to 6 feet 4 inches
Pin this to save for later!
Just a word on the budget: I came up with the budget with the idea that all power tools would already be in a person's toolshed. If you are starting from scratch and need to acquire tools, this project will cost more.
You can always borrow tools! Our neighborhoods have tool borrowing programs- yours might too!
Thanks for reading!
Hope you enjoyed this tutorial. I appreciate your visit to our casa.
For another fun diy project, you can see how I upcycled thrift store finds to make our living gallery wall.
Resources for this project:
See all materials


Comments
Join the conversation
-
What makes your build is the the attention to detail with plant pockets. These are the things that take any dyi from nice to wow and elevates to customized. Great job. Fun idea
-
Oh thank you so much Katen! That really made my day! 🥰


Frequently asked questions
Have a question about this project?