


DIY Wooden LANTERN (No Power Tools Needed)
I want to share with you how I made this DIY wooden lantern using no power tools whatsoever!
There is something beautiful about decorating with wooden candle lanterns.
They look good during the day and also at night once illuminated. Lanterns are also very versatile to use in decor. You can add almost anything to them, especially seasonal decor.
Recently I decided I wanted a tall rustic lantern that I could add a hurricane vase to. I wanted something simple to make that didn’t require any fancy power tools. Instead, I used four canvases. Here are the step-by-step instructions on how to make a wooden lantern using canvases.
DIY Wooden Lantern Supplies
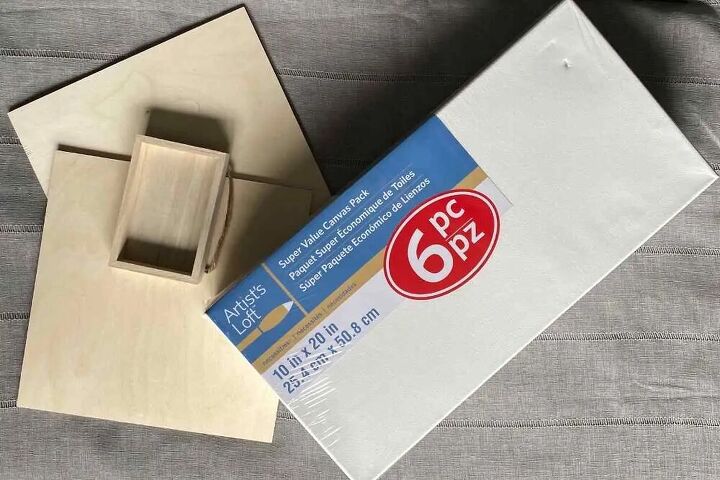
- (4) – 10X20 Canvases
- Gorilla Glue
- (2) – 12×12 Craft Wood
- (1) – 4×6 Craft Wood
- Clamps
- Kona Stain
- Rope
- Decorative Wire
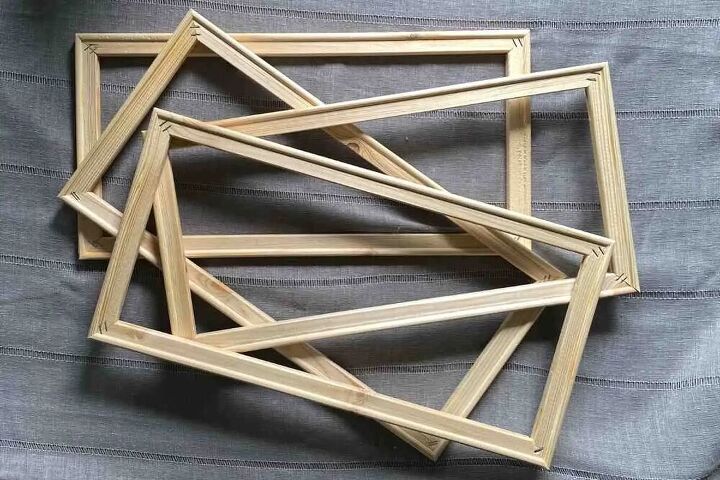
Step 1 – Remove Canvas From Frame
For this project, I used canvas frames to build the frame of the lantern.
First, remove all the canvas material from the frame.
Once they are all removed, grab a pair of pliers and remove the staples from the wood.
Just make sure to leave the corner staples as those are what hold the pieces together.
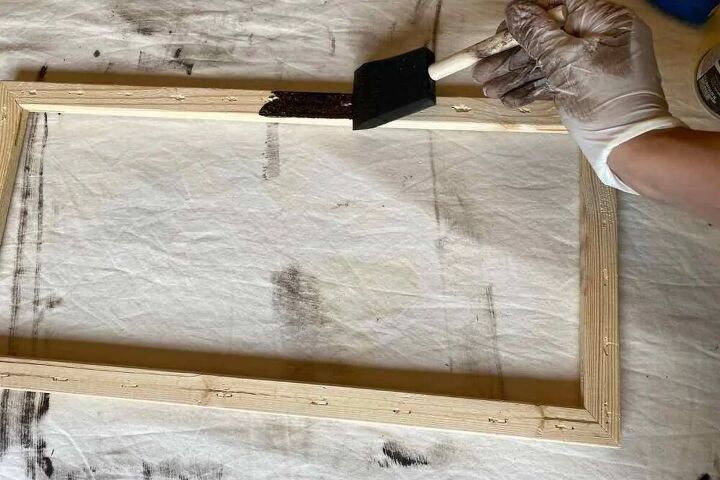
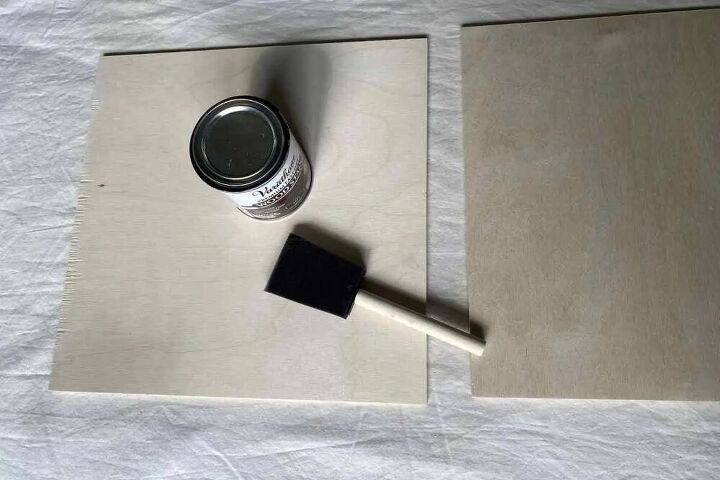
Step 2 – Paint or Stain Wooden Lantern
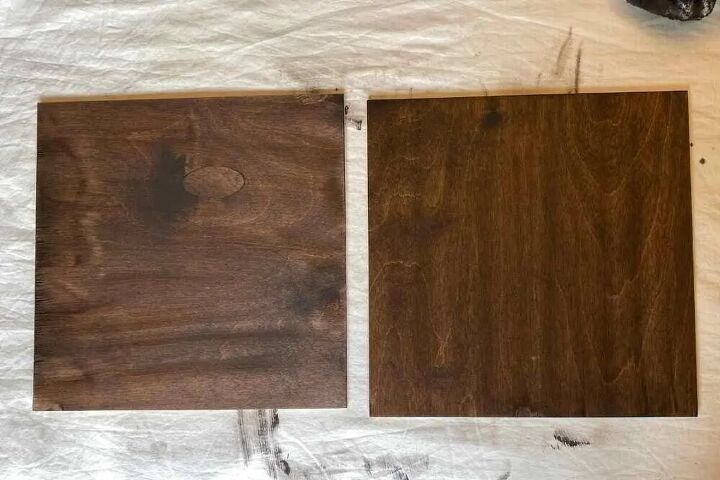
Once you have all the frames ready to go, give it a once-over with a piece of sandpaper. Now, it’s time to paint or stain them. I wanted more of a rustic look, so I chose to stain the wood.
Along with the canvas frames, I also stained the craft wood for the top and bottom of the lantern.
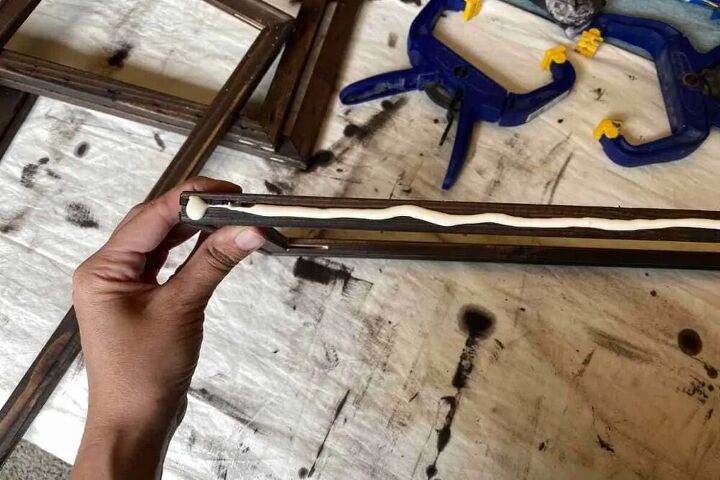
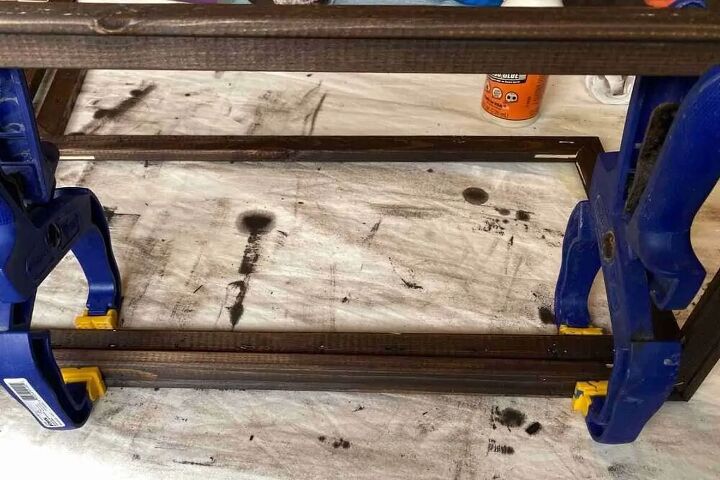
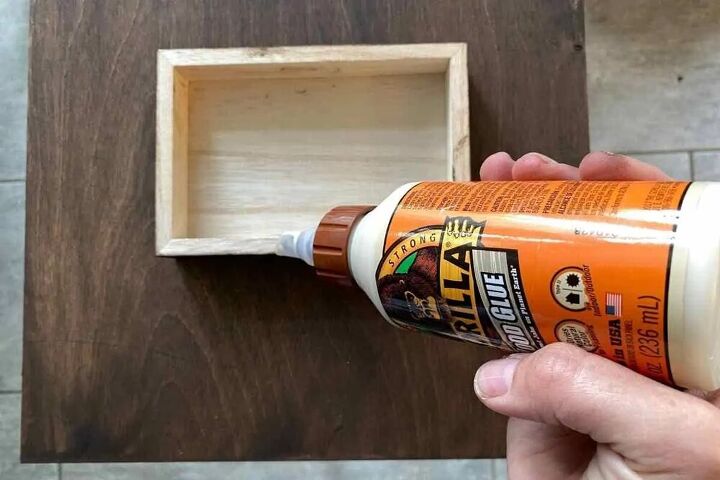
Step 3 – Glue Wood Frames Together
Now that the stain was dry, it was time to glue the frames together to create the lantern shape. I used gorilla glue for this.
Simply add some glue down the side of the frame, and use a clamp to hold them in place as the glue dries.
Step 4- Attach Top & Bottom To DIY Wooden Lantern
For the top and bottom, I used 12×12 craft wood. I used the gorilla glue again to attach the wood to the frame. Once I had everything in place I put a heavy object on the top to weigh it down and let it sit for a while.
Once it was dry, I added the 4×6 piece of wood to the top to finish off the look.
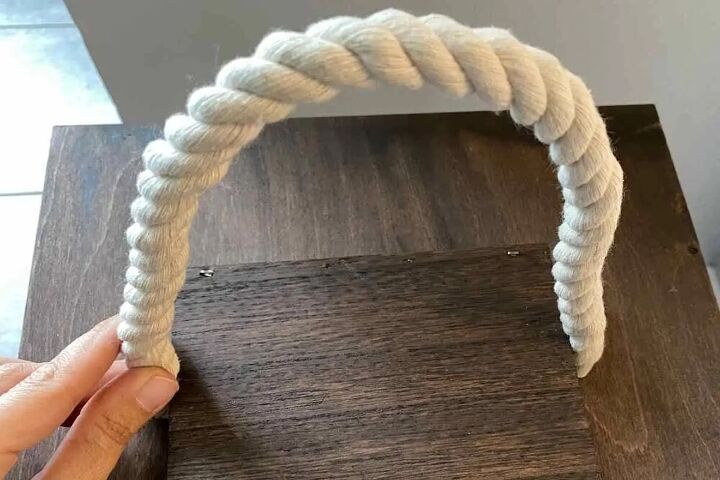
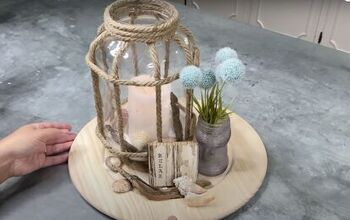
Step 5- Add Rope To Lantern (Optional)
As a finishing decorative touch, I added some white rope to the top of the lantern using a glue gun. You can simply add it and let it hang, or add some decorative wire to it like I did so that it stays upright.
Step 6 – Add Candle & Decor To Lantern
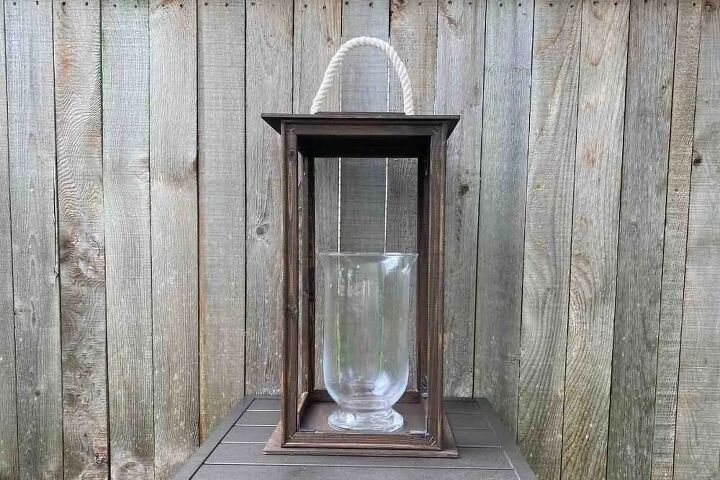
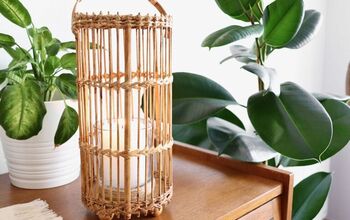
Finally, it’s time to dress up your DIY Wooden Lantern! I added a hurricane vase to it, but I will find ways to decorate it seasonally as well.
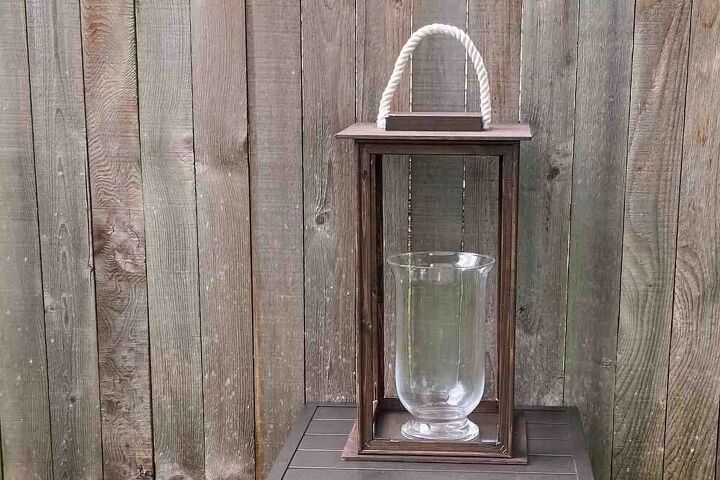
I love the way this DIY Wooden Lantern turned out! It was such a simple project.
Craft Wood 12x12
Resources for this project:
See all materials


Comments
Join the conversation
-
Love this ❤
-
I’m confused, but that’s my norm lol, but is the rope handle just cut and glued to the top? And is the strong enough to use as a handle? This looks great by the by!


Frequently asked questions
Have a question about this project?
Wouldn’t it be cheaper to just by cheap frames and glue them??
How do you get into the lantern after you've glued the top and bottom to the frame?
Question - Did you just put a candle in the glass space? That is what it appears to be in the photo?
Someone commented about the sides being open and you can get into the glass area. Did you design your project that way perhaps so you can change the candle or whatever you want to put in the glass space? Just curious.
If there is no flame you could use greenery, fruit & berries, gourds, squash, cucumbers, etc. vegetables for any season of the year - Christmas, Halloween, holiday or any time of the year. Your thoughts on my comments. Thank you. I know you designed it as a Lantern, but I like it as an option to put anything inside the frame you created. I love it.