


New Railing Footlights for My Deck

While I was putting in the new deck railings - I had an idea to add some low voltage lighting. Here's how I did it. If you want to try this you'll need to have some soldering skills or want to brush up anyway.
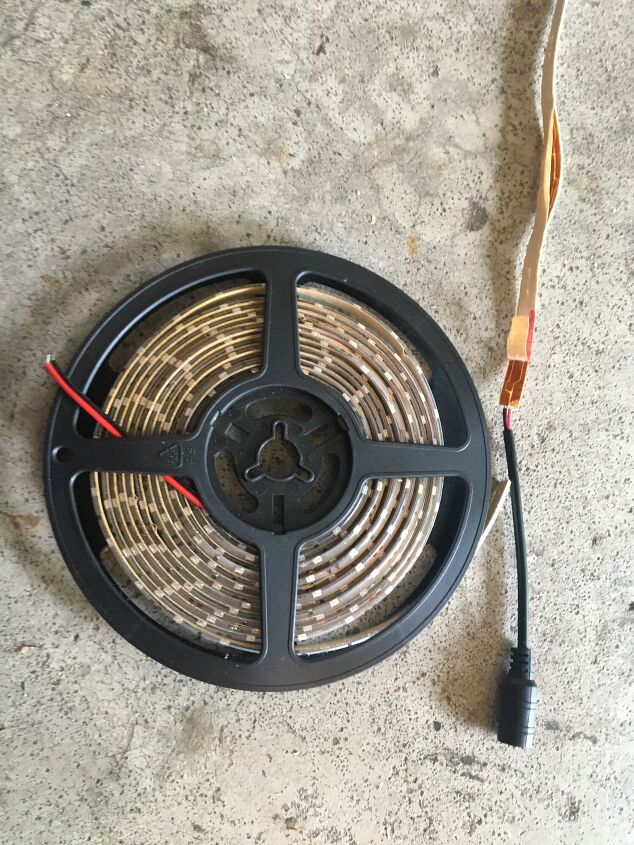
I bought a roll of this 'waterproof' LED strip from Amazon ≈15 ft / 5m for about $10 - Definitely cheap enough to play around with. One end has a good set of leads, the other end fits an old school AC adapter / wall wart ( like we used for answering machines back in the day ).

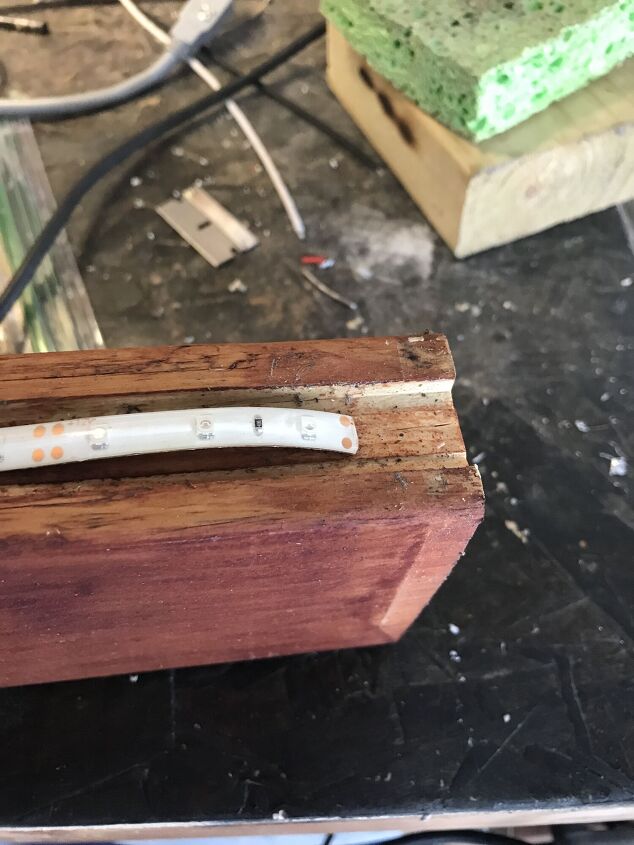
I was updating my deck railings etc, so I grabbed a few scraps of 2x4 and a dado blade set, and came up with a dado groove for the base rail. This would protect the LED strip from the elements, and hide the lights. I didn't want to see the lights, only the 'results'. When I had what I wanted, I cut a groove in one of my base rails.
Quick FYI: I built ONE 4 ft of these, and tested it for a full year, from July 2020, thru the winter (and the nasty polar vortex of Feb 2021 etc) all the way to Sept 2021 before I decided to proceed and finish it out. I wanted to make sure the idea was durable.
I cut a section of LED strip to fit the base rail, leaving about 1" at each end. You'll want to cut BETWEEN the four foil pad sections. Remove the tape on the back to expose the adhesive. BTW the adhesive will help you assemble, but won't hold the lights in place for the installation.
Note: If you can use an end that already has leads, you're saving some work 😉.
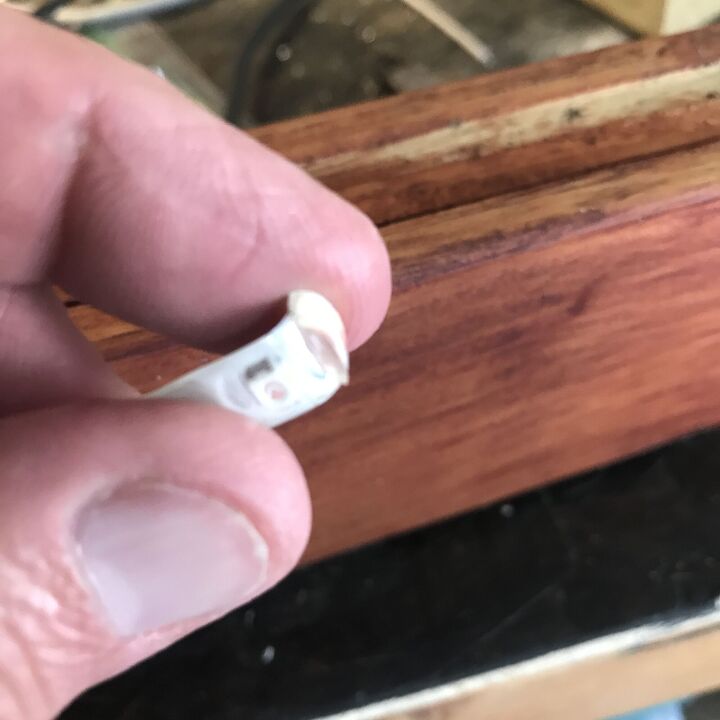
Just behind the foil pads, cut into the silicone, but not through the strip base. Bend the silicone until it breaks. Then you can peel it off the base to expose the copper foil pads. You may lose a strip or two thru trial and error.
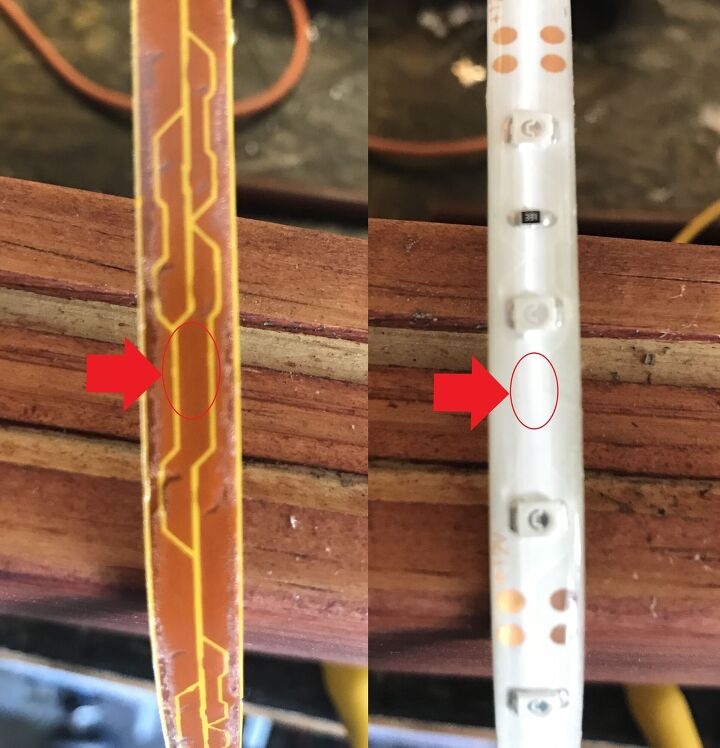
If you look at the back of the strip you can see a large empty spot between the LEDs on the 'circuit board'. This comes in handy for the next step. From the front side you can see it as shown with a red arrow on the right as well.
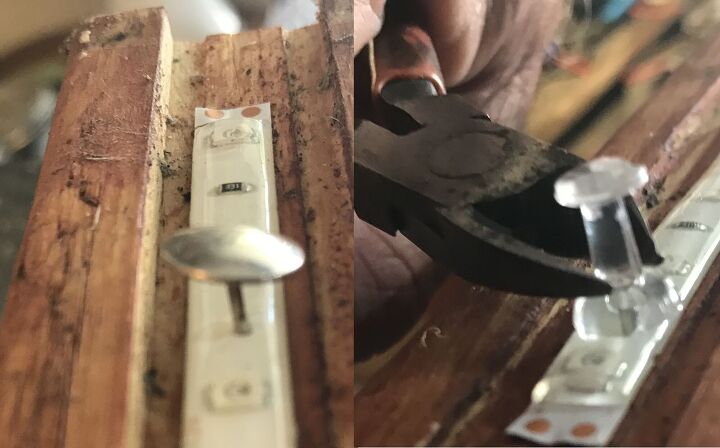
I used thumbtacks to secure the strip every 3" or so to the wood. I didn't expect the adhesive to hold up. The stainless thumbtacks have a nice low profile, but the clear pushpins worked well too. I cut them with a pair of sidecutters to make them shorter. The pushpins had a dual purpose as well which I'll show you in another step.
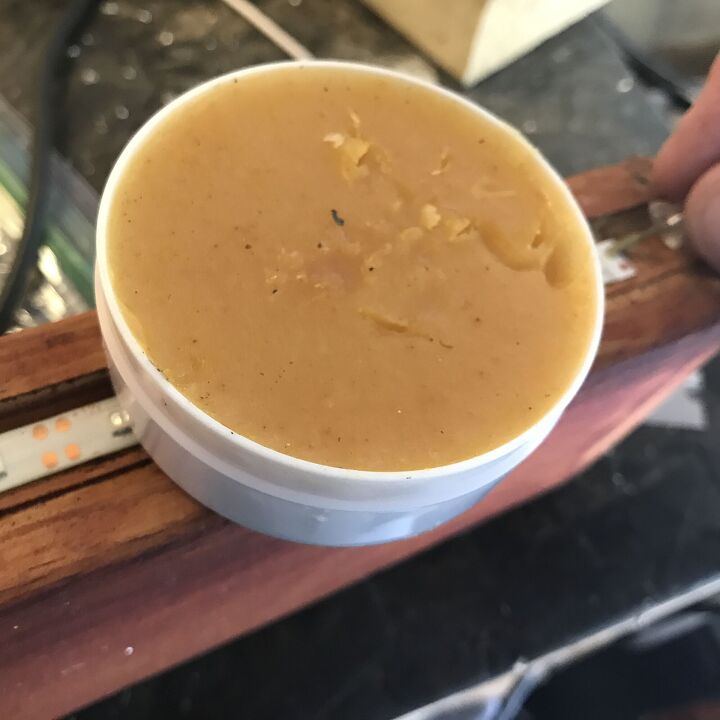
I bought a small container of paste flux from Amazon. Here you can see me dabbing some flux onto the copper foil pads with the tip of a push pin. (You could also use a toothpick etc)
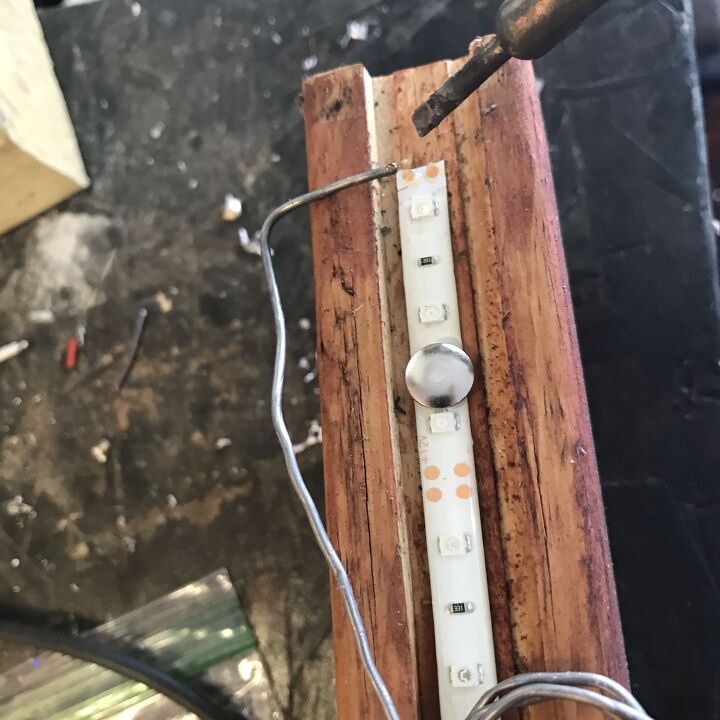
After you've applied the flux, tin the foil pad with a small application of solder. While you're at it, strip 1/16" off the end of your power lead and tin those ends as well.
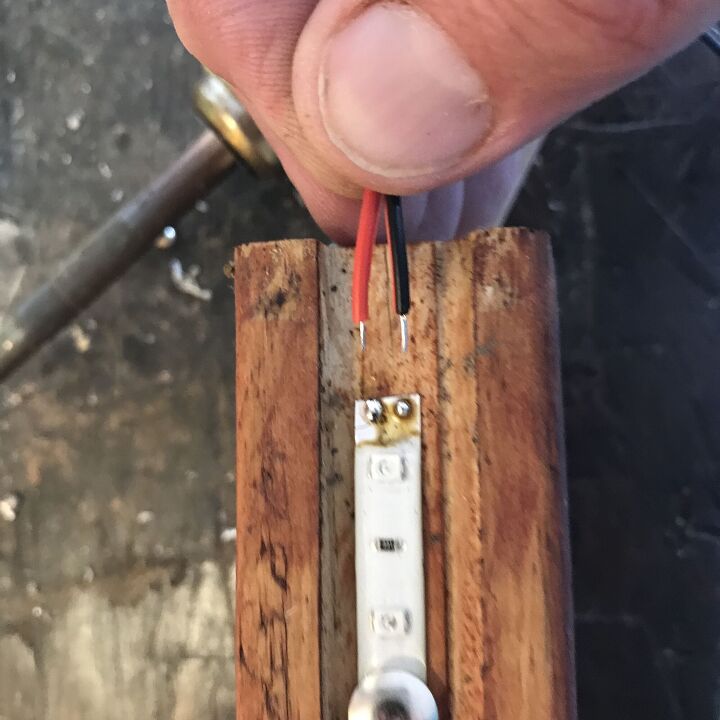
Here you can see the leads and the foil pads both tinned and ready to assemble. Stop and look at the polarity markings on your LED strip. One side will be clearly marked +12V. Give that side the red wire.
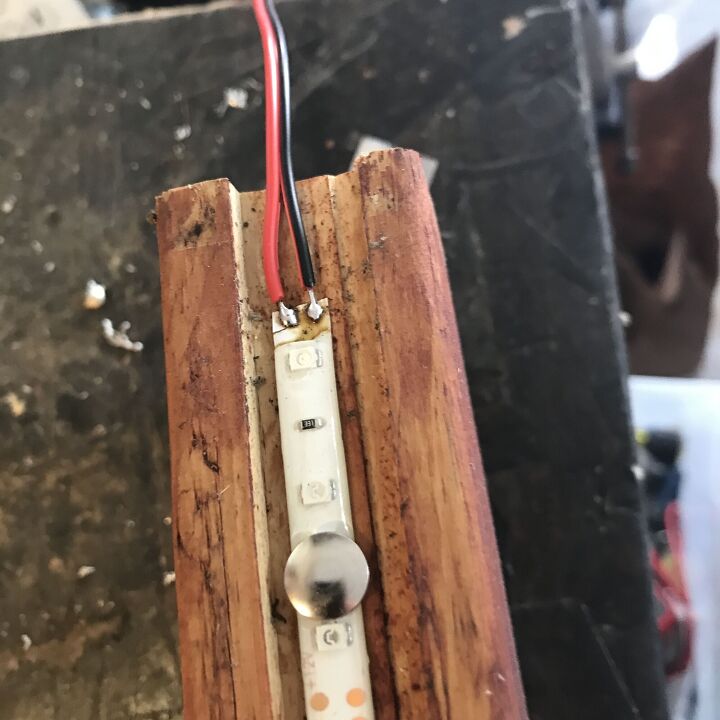
I hold the tinned lead on top of a tinned pad, then place my soldering iron on top of the lead. Once the heat passes thru the both of them, the two will melt together. Remove the soldering iron and allow the joint to cool. Repeat with the other lead. You will then have a pair of connections that looks like this.
I DID try some connectors sold on Amazon. I managed to damage some strips, and they also failed the weather test. I wasted $10 and a few hours, but that's called research, right?

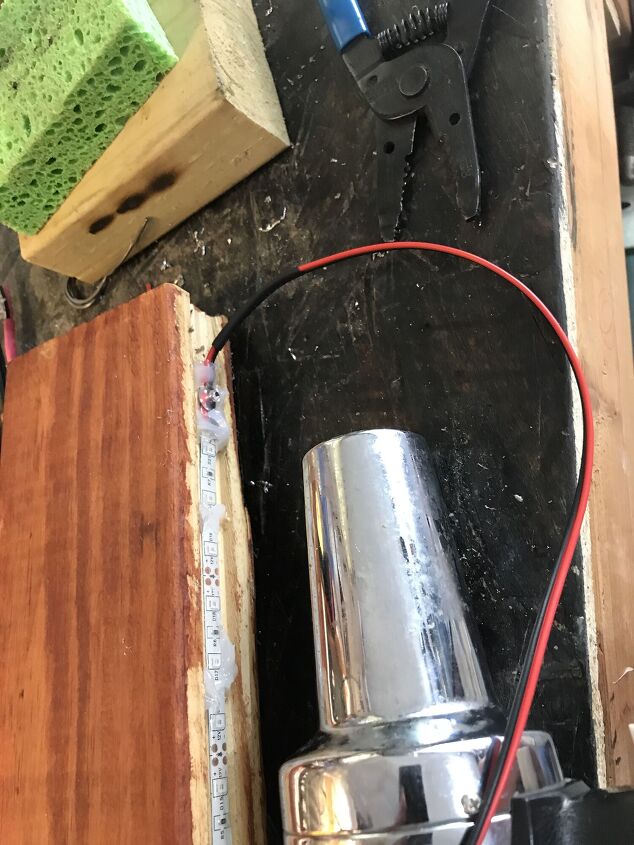
Time to test! I was super redundant, I put leads on BOTH ends, and planned on running power to both ends ( you know why we call our national electric system a GRID, right?? 😉) so that should one end ever fail the other end will keep things going.
I used a test power supply I had, but you can use the $25 power supply recommended here. You can also use an old wall wart from your answering machine etc. Observe polarity. Light Emmitting DIODES (LEDs) only allow power to flow one direction.
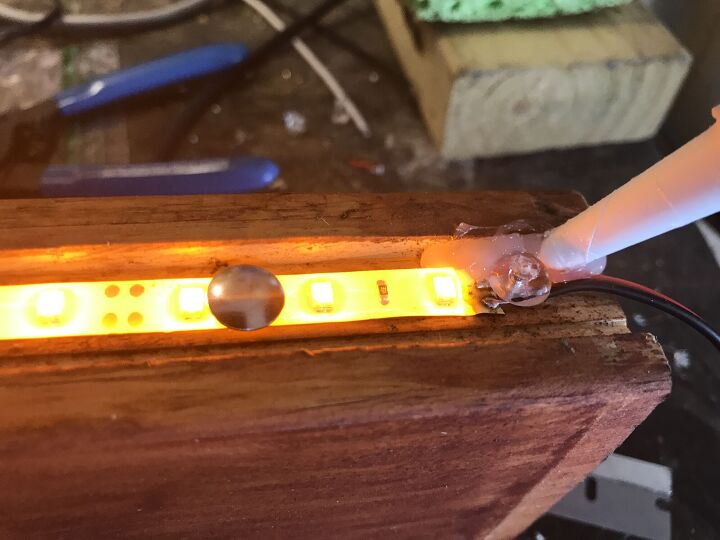
I added another pushpin after the power connection for strain relief, and then covered my connection in clear silicone for weather protection. (The plastic won't short across the power leads). If you leave the 12V power on it helps the silicone cure faster :)
I used yellow because so many of the other colors aren't subtle enough. Perhaps the yellow won't attract insects? Also, anything with RGB capabilities would also require a controller etc, and I'm just not interested in the complexity, or that 'look'.
( There will be phone and voice command ASAP, so I can turn it off from my hot tub  )
)
I put 2" of BLACK head shrink over the power lead for two reasons: First it will protect the leads from UV (the red will break down in sunlight), and it will hide the leads as well. I will drop the leads under the deck and connect them with crimp connectors behind my skirting and under the deck floor.
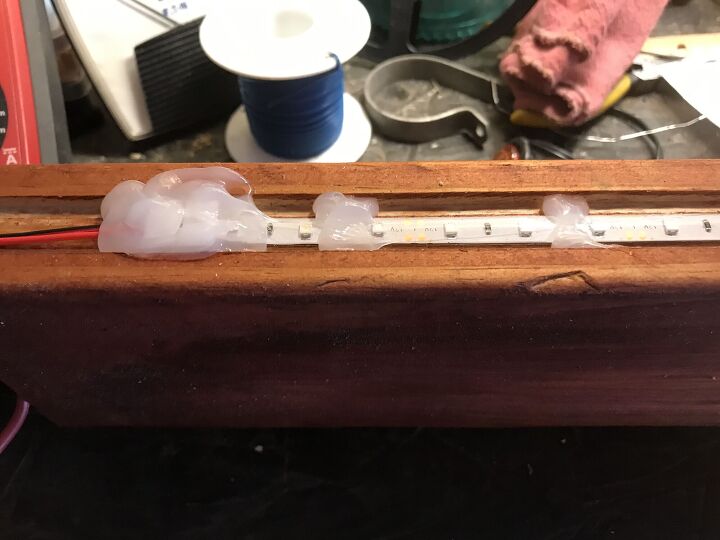
While it was out, I put some clear silicone on either side of the LED strip every 2" or so to help secure the strip. Just one more step to hold things in place.
(I did not include the hook up for the wires back to the power supply simply because of the 15 picture limit on posts. Hopefully you all can figure out plus to plus and minus to minus. I'll add a hint or two in the comments as I can)
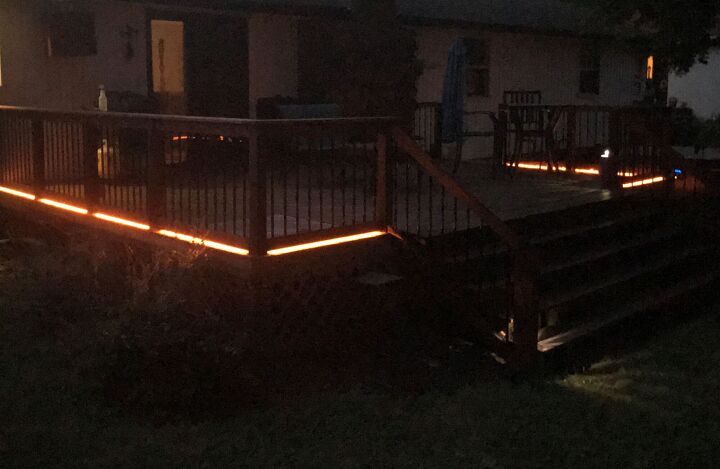
After I put my deck project together, this was the finished result. In this photo I have eight of the nine railing sections wired and lit (one in the back was still waiting for parts when I took the pic). I have an architect buddy that was pleasantly surprised with how well this turned out for the cost. You'll need to find an out-of-the-weather place for your power supply, and of course your outlet should have a proper weather cover if it's plugged in outdoors all the time. I'll answer questions as best I can. It took about 20 minutes per 4' section to make. After all of the wiring, it took about eight hours total. I'm not including my mistakes, or trial and error that didn't work out.
I priced it the way I did my project for the new deck rails and balusters , it's about $12 per 4' section plus the $25-ish power supply. Don't forget you need and outlet with a proper weather-proof cover.
I hope this slightly different post inspires someone to do something unusual with their outdoor space. I'll revise and update as the comments come in.
As always, Happy Hometalking
Resources for this project:
See all materials


Comments
Join the conversation
-
Such a great idea and thanks for all the tips!
-
Delightful, I love it ! ( above my pay grade !)


Frequently asked questions
Have a question about this project?