


Rustic Solar Lantern DIY
This tutorial shows how to make a rustic-style wooden lantern, using a solar yard light. Makes a great decorative piece for your porch or carry it between the house and the fire pit. You only need some basic tools and basic woodworking skills.
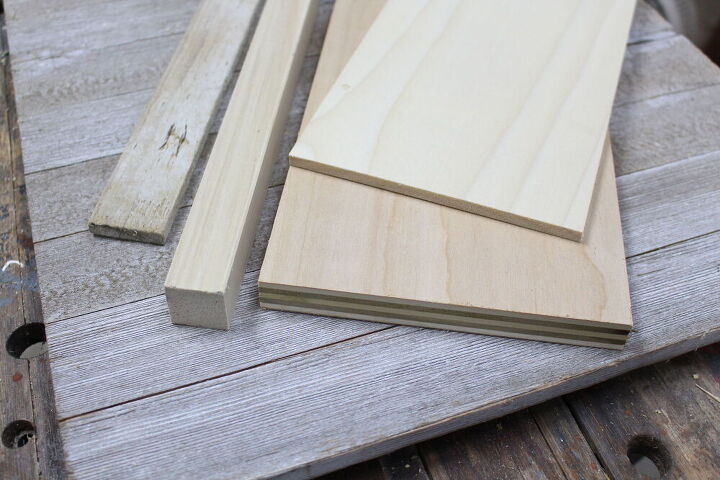
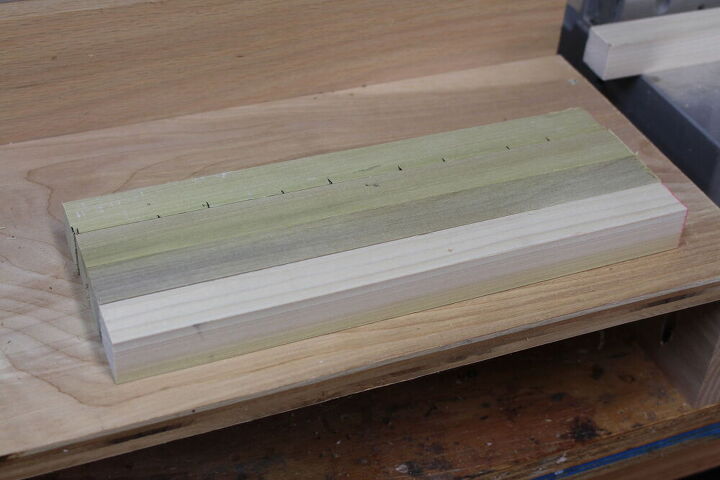
Use scrap wood or wood from the store. I used 1" by 1" poplar boards for the uprights and 3/4" plywood for the top & bottom sections. For the 1.5" slats I used recycled crab-trap doors, but you could also use scrap wood or something like old wooden rulers.
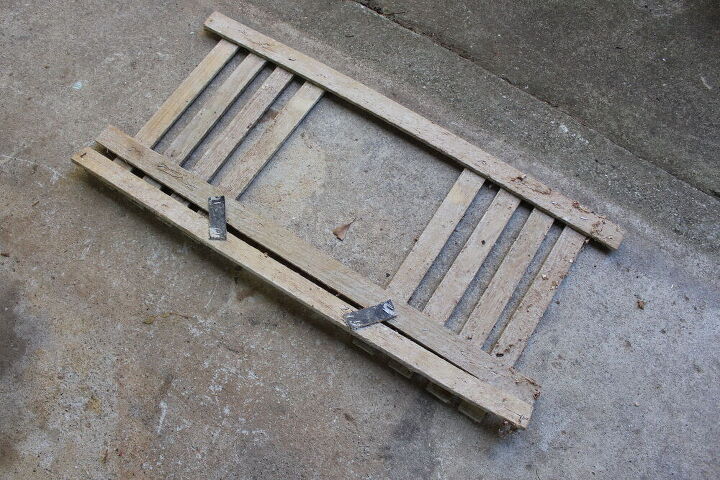
Photo of the crab-trap door. All I had to do was run a little sandpaper over them and clean them up. I found these for sale at a craft shop in the Florida Keys. It's amazing the different crafts this store was selling using the crab-trap door slats.
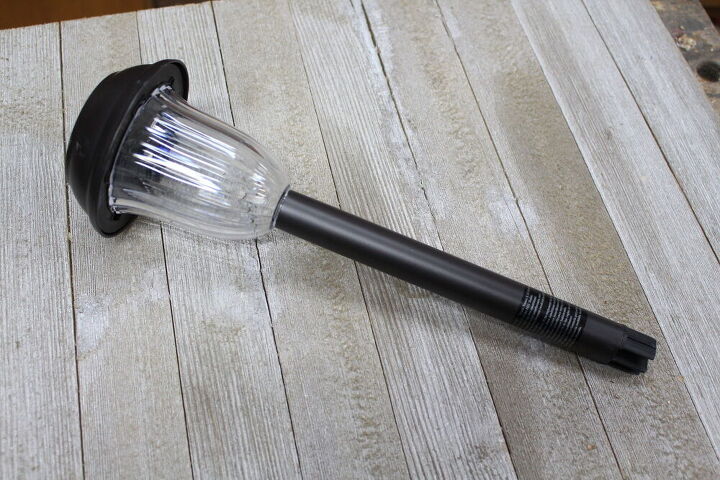
Grab a cheap yard light from your home improvement store. This was 5 lumens. The higher the lumens the brighter the light.
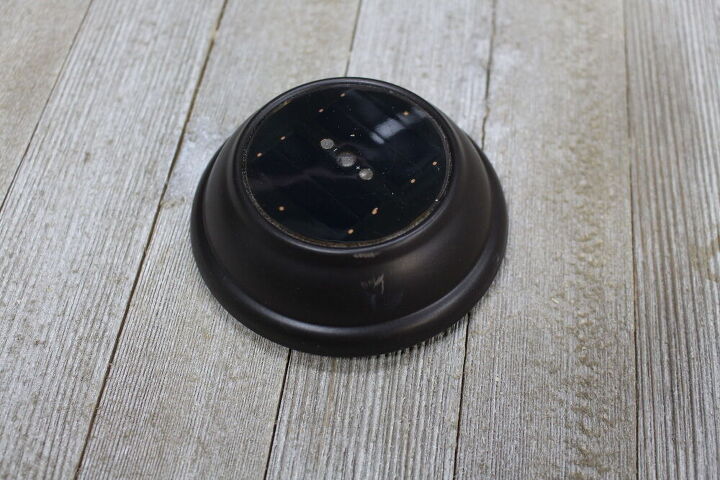
Take off the top of the yard light which is all you'll need for the lantern. It will simply twist off.
I used the miter saw to cut the 4 uprights to identical lengths.
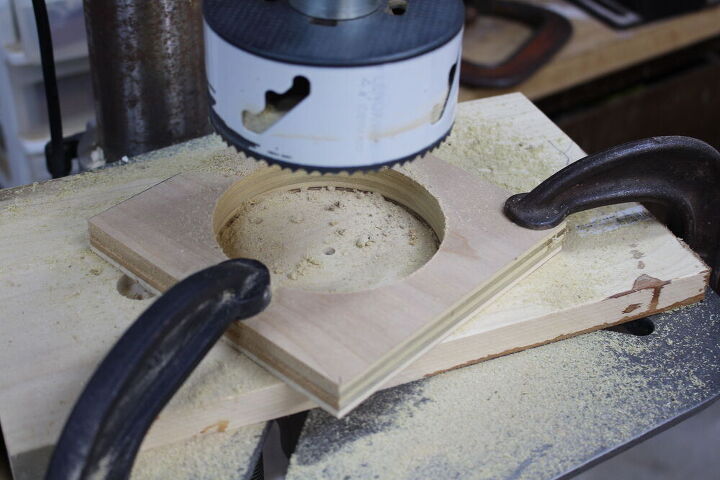
Cut out identical top and bottom sections from the plywood. And I used a 4 inch hole saw to cut a 4 inch hole in the top and bottom boards. Get all the dimensions in my detail plans on the website.
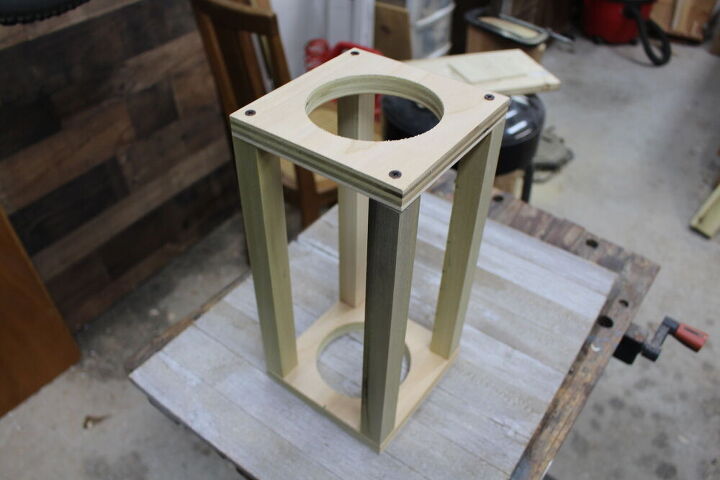
Attach the 4 uprights to the top and bottom boards.
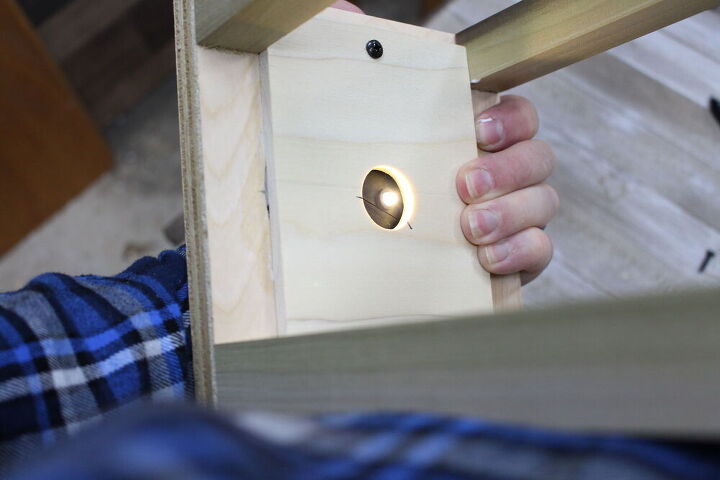
Add this thin piece of plywood with a 1-inch hole in the center for the solar light bulb. The solar light will rest on this board.
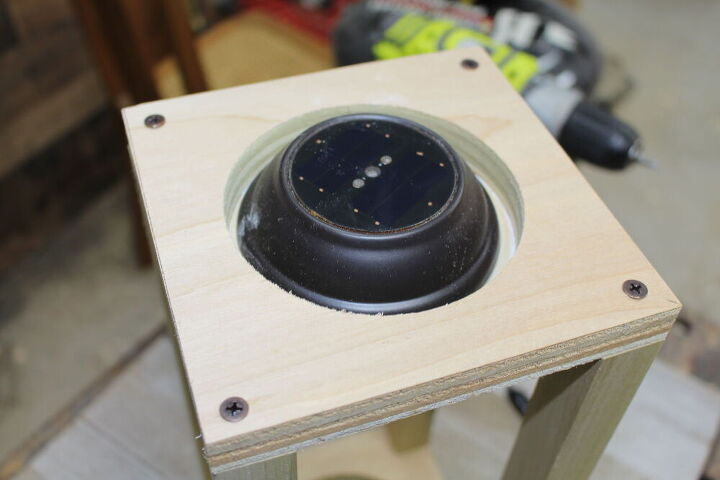
The solar light simply rests on top of the lantern in this "well" I created.
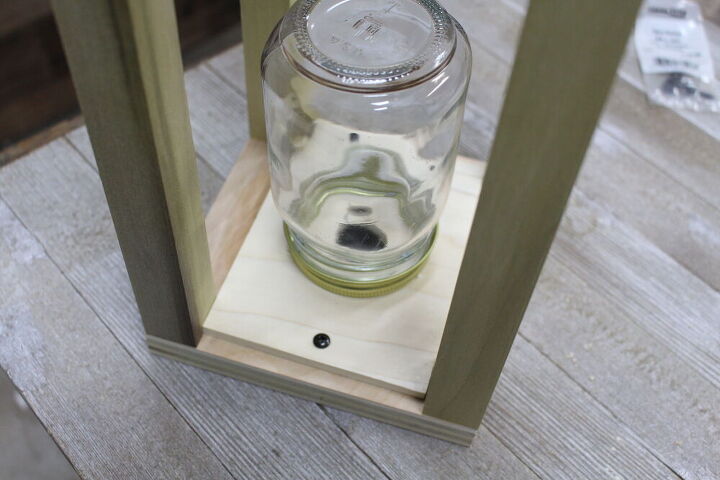
I used a small mason jar for a globe. You can use a globe or not use one or substitute something else. The globe does help to diffuse the light. The hole I drilled for the bottom also allows the light to spill out the bottom.
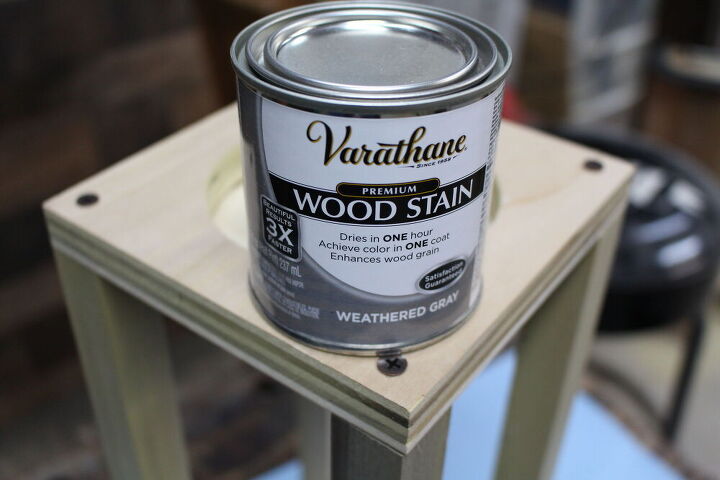
I used this Varathane wood stain to stain the main body of the lantern.
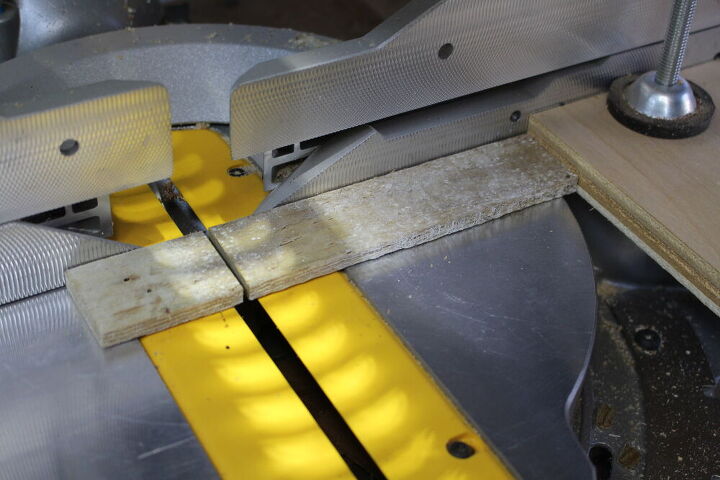
Used my miter saw to cut out all the crab-trap slats to equal lengths.
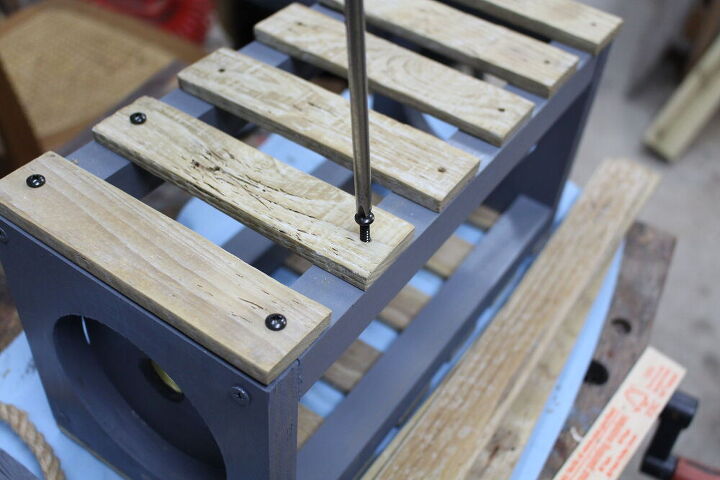
Next, I added my crab-trap wood slots. I also think some old wooden rulers would look good. I used black wood screws to make the attachments.

I went over the entire lantern with some spar urethane. This will help give the lantern a little protection from the elements.
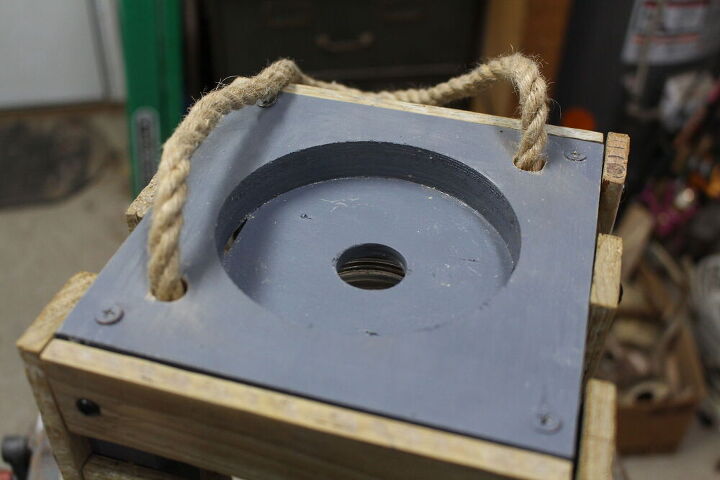
I drilled a couple of holes and added a piece of craft rope for a handle.
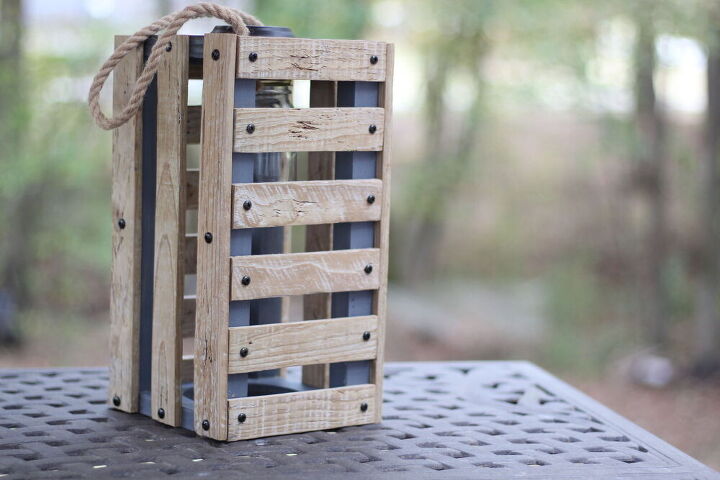
Finished solar lantern. I keep mine on my front porch next to my adirondack chair. Too see a more detailed tutorial and full plans, check out the link below:
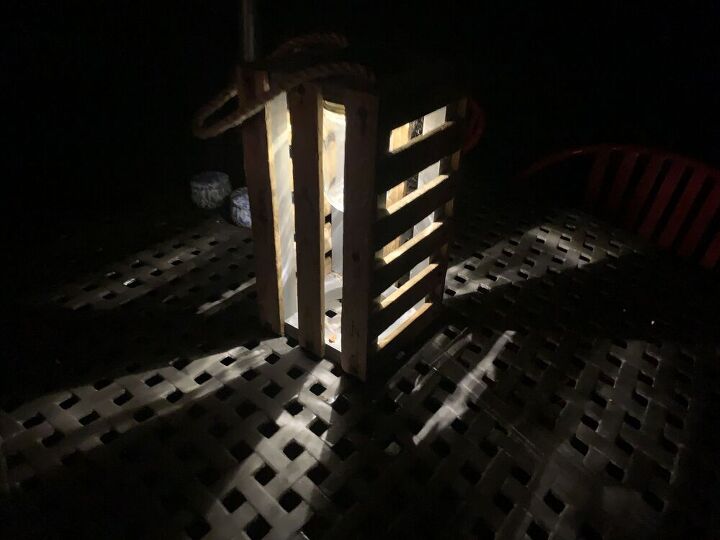
Here is an outdoor photo at night.
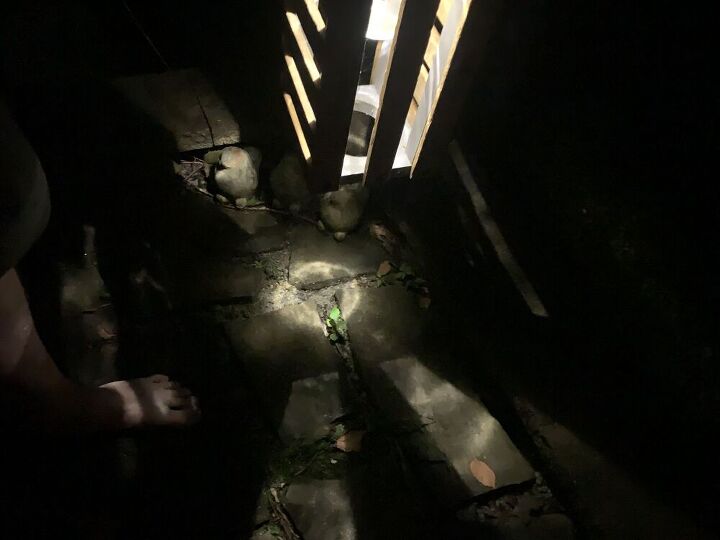
Another night photo. You can see how light is projected down through the bottom hole. Remember: more lumens = more light. If you need more light.

Check out more of my tutorials and woodworking plans for home DIY projects. And to help you set up your own shop for DIY projects, I created the Home Shop Safety & Tool Checklist. You can get the checklist for free by joining my email list. I send out monthly tutorials and YouTube videos. www.fouroakscrafts.com
Resources for this project:
See all materials


Comments
Join the conversation
-
I love this! Thank you for sharing! 🌺
-
Looks like a good moth / bug trap idea too. Just some tweaking.


Frequently asked questions
Have a question about this project?
Why is there no picture about the solar light in the dark? Maybe people would like to know how much light it gives out.
Just wondering, if you put aluminum foil inside will it reflect and make it brighter?
How is the jar attached?