


Solar Light Mushrooms
This post was transcribed by a member of the Hometalk editorial team from the original HometalkTV episode.
You will not believe how cute some vases and bowls from the Dollar Store can be with this fun summer project. You can see more of my crazy creations here
To start this project, you're going to need some Dollar Store solar lights.
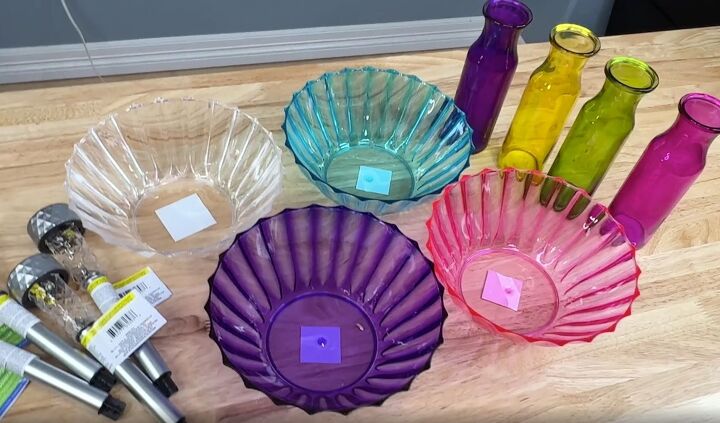
You'll also need some plastic bowls and vases. I chose them in all different colors.
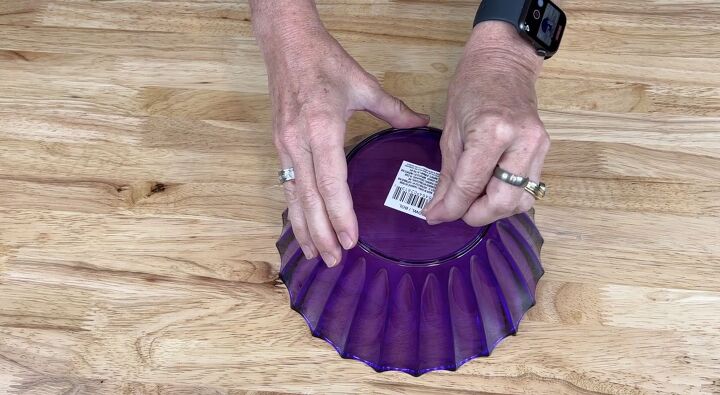
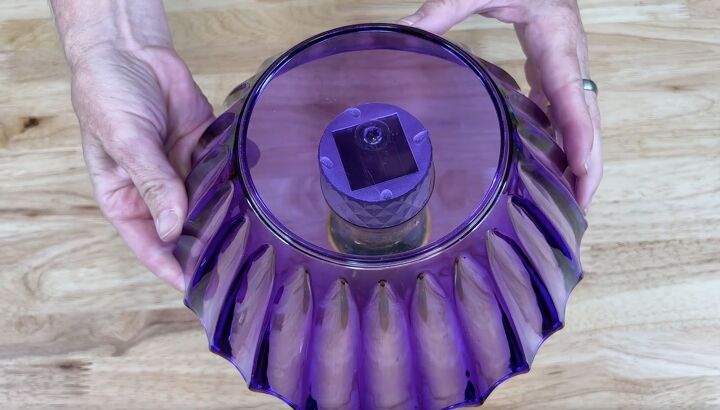
The first thing you are going to do is flip the bowls upside down and remove the labels. Some labels are easier to remove than others, but you want to just peel the label off because this site needs to be clear for this project.
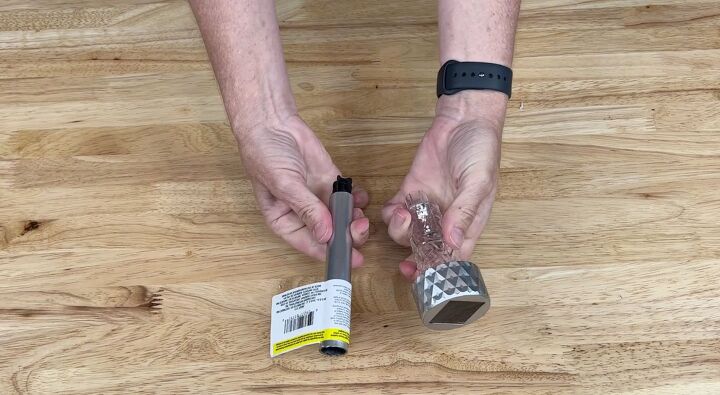
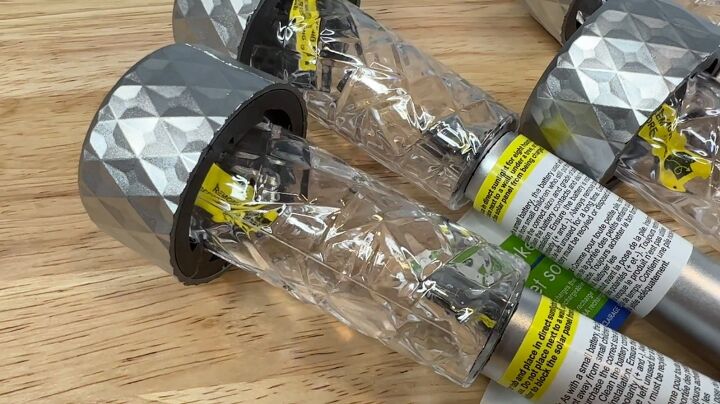
Next, you want to focus on the solar light. You don't have to worry about removing these labels because you want to pull them apart are discard the posts.
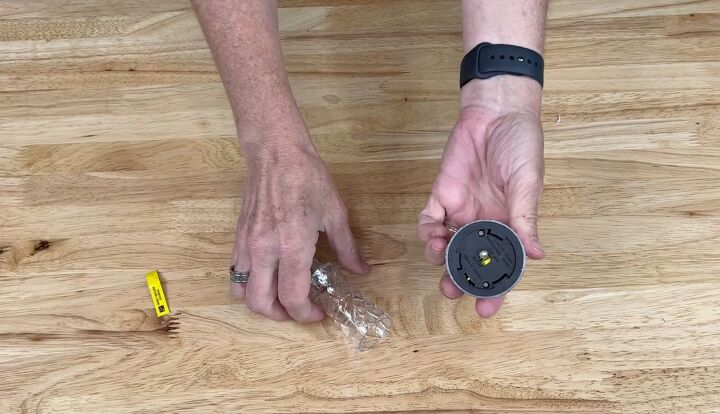
Once the post has been removed, you need to open up the solar light and pull out the tag so that the solar light works. Then you can place it back together so it is ready to be used.
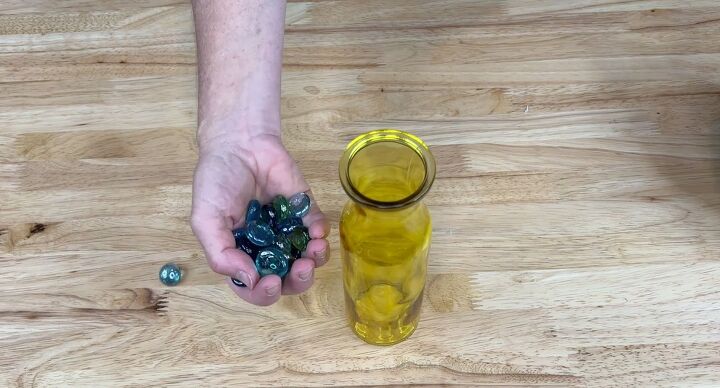
To add some weight to the bottom of the project, I filled my vases with colorful glass rocks. If you are placing your mushrooms outside, this will keep them from blowing over in the wind.
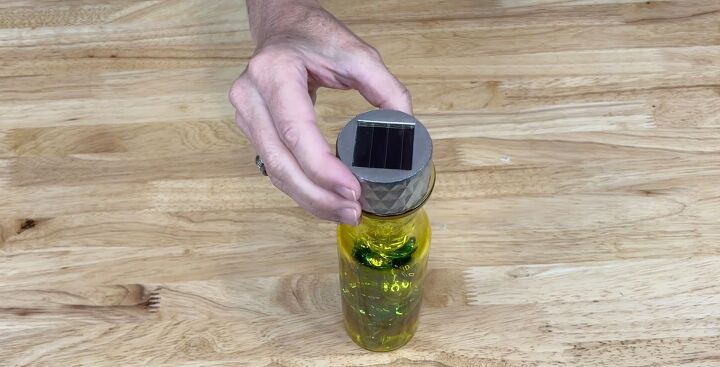
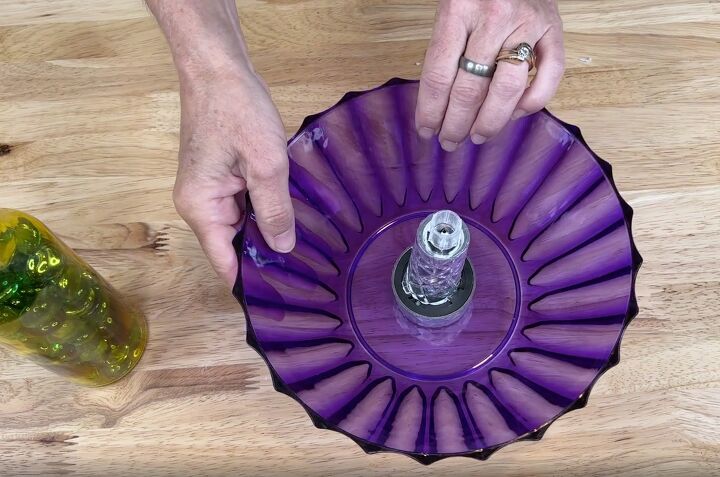
Next, you want to pop the solar light into the top of the vase. Make sure it fits in nicely and the rocks don’t push it up.

Depending on where you want to put this, you could put a little adhesive down here on the bottom and then have it stay in place. The light is pretty stable though and not going to move so I didn’t glue mine. I want the ability to change this solar light out if it dies.
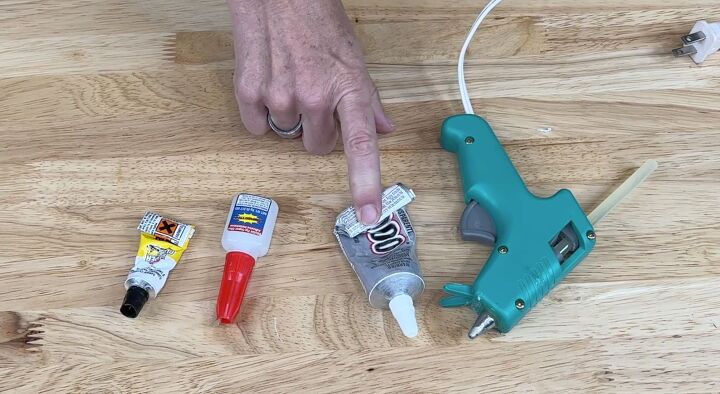
Now we want to add the top. Choose a glue that will work for the climate you live in. Hot glue does not stay long in hot and cold temperature fluctuation so you may want a more permanent glue like E 6000 or superglue.
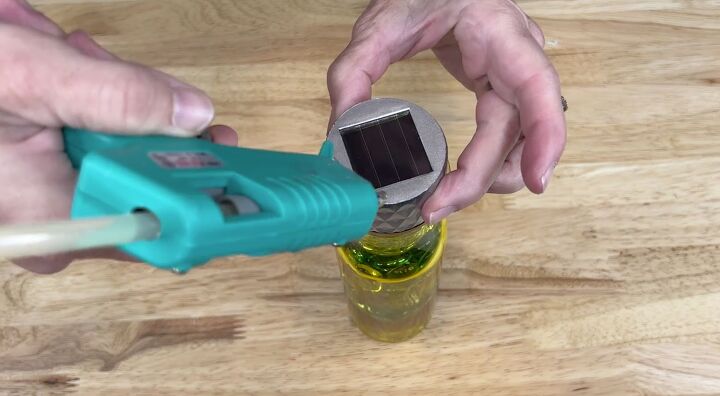
With your glue, you want to add a little bit on each side of the solar panel.
Then flip the bowl upside down and place it right on top so it's centered.
When I flip it back over, you can see that the solar light is in here. You can see that because I didn’t glue it in place, I can now get to it to remove or replace it if needed.
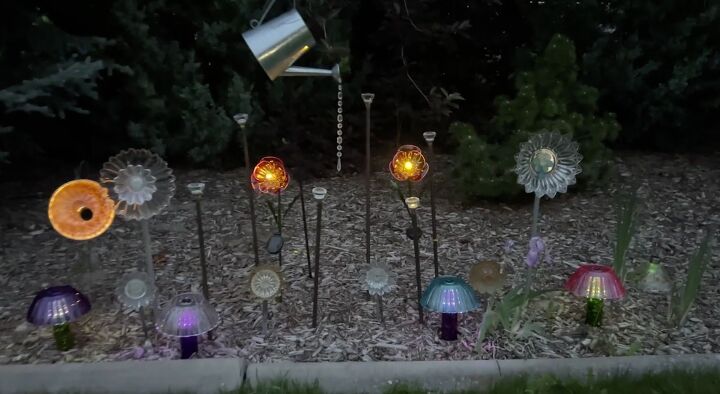
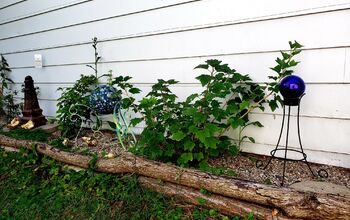
Here they are in my dish flower garden, and I'm thrilled with how they turned out. I hope this inspires you to create some solar garden mushrooms of your own.
I would love to have you stop by my blog Chas' Crazy Creations for the full tutorial as well as sign up for my latest creations, posts, recipes, exclusives, and more...
I would love for you to subscribe to my YouTube channel to see more of my crazy creations:
https://www.youtube.com/c/chascrazycreations
Resources for this project:
See all materials


Comments
Join the conversation
-
So cute! I'm going to try to make little mushrooms to go with my fairy gardens. 🍄


Frequently asked questions
Have a question about this project?
Very cute, but will the solar lights still charge through the plastic bowl??
You said you could replace it if it stopped working. But if you glued it down, how can you? The solar light is in the round part that you glued down...correct?