


Tin Can Garden Lanterns
$5
5 Hours
Easy
Bring light and beauty to your backyard, porch, or walkway with these lovely lanterns made from recycled tin cans!
First, begin by cleaning out several 28 oz cans and removing the labels. Make a batch of homemade spaghetti sauce and you'll have plenty of cans! Let cans dry.
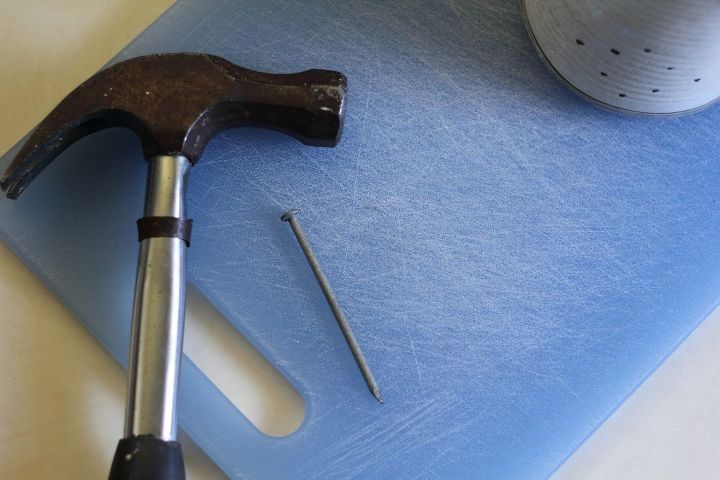
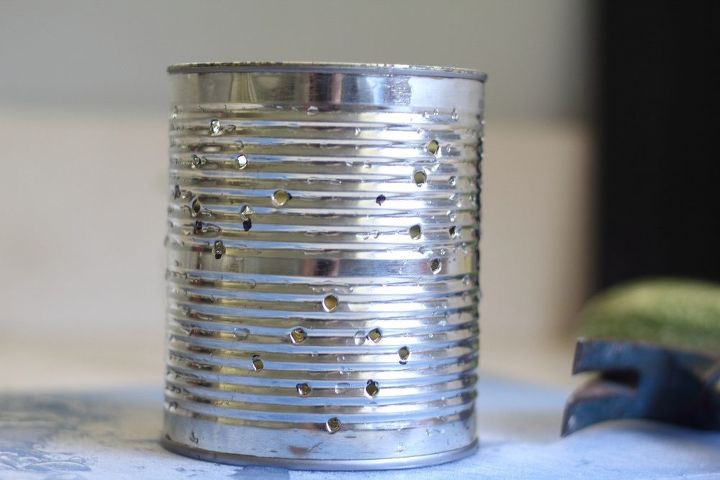
Next, use a sharpie and "dot" a pattern onto your cans. This can be random dots or a pattern like larger circles, lines, stars, or flowers. Then fill your cans up almost to the top with water. You want to give your water room to expand, so don't fill it to the top. Place filled cans in the freezer, and let freeze for several hours or overnight until frozen through. In the meantime, grab a hammer and thick nail
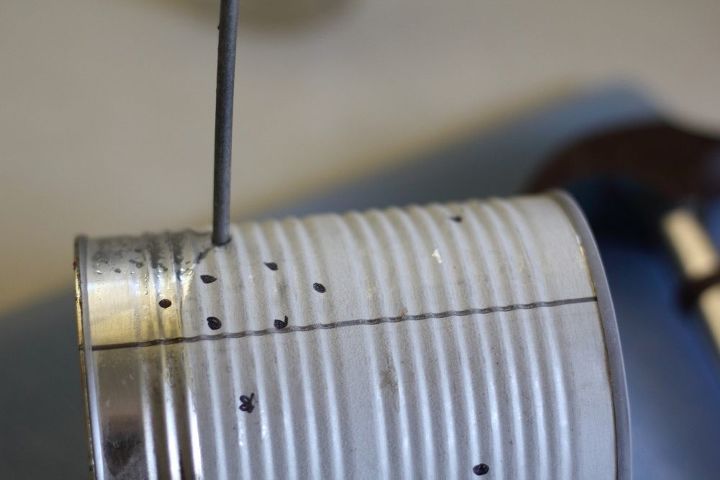
Once the water in your cans is frozen, take them out of the freezer one at a time. If working inside, place a cutting board down on your work surface and place the can down on its side. Using a thick nail begin hammering holes into the dots you created with your sharpie. Once you get the hang of it, you'll be punching in holes in two taps and moving quickly along.
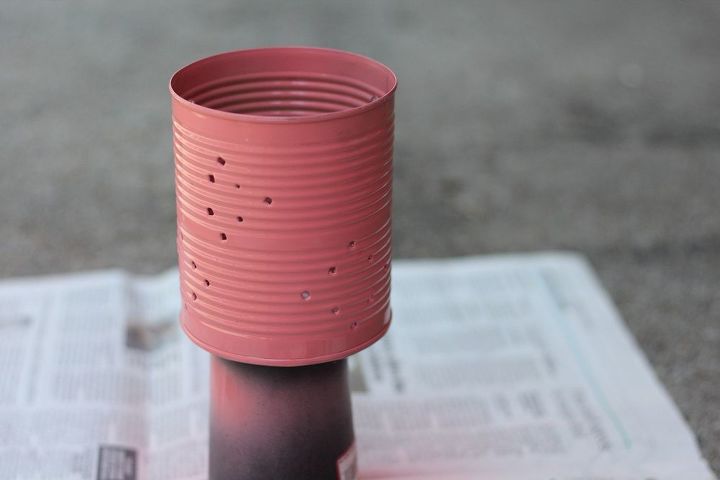
Once the holes are complete and can is dry, grab a can of your favorite spray paint. The more colorful the better! And paint your can(s).

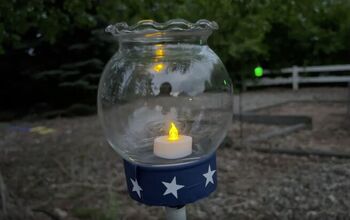
Once cans are dry, grab a few citronella candles, place them inside your lanterns and light them. You'll have a beautiful light display for your outdoor area!

Want more details about this and other DIY projects? Check out my blog post!


Frequently asked questions
Have a question about this project?