


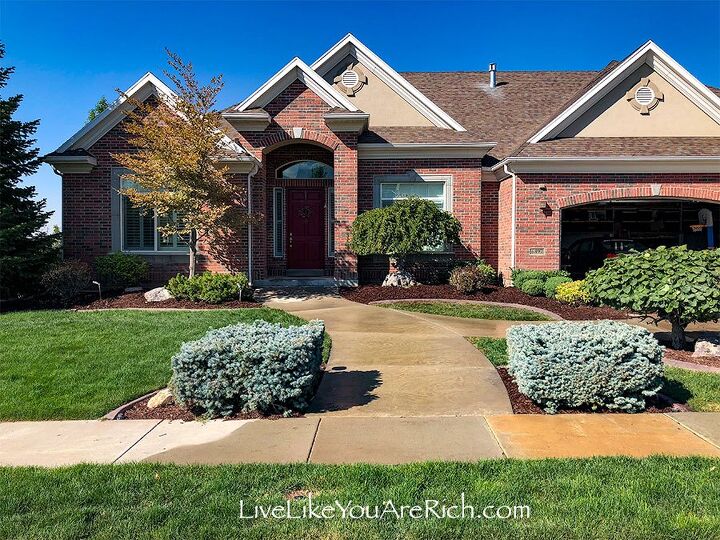
Maintenance-Free Weedless Flower Beds in 10 Steps
I love nice looking gardens! However, I do not like weeding for hours each week. That is what I was having to do from spring until fall…and I still couldn’t keep the weeds in my flowerbeds at bay. Once I used this Maintenance-Free Weedless Flower Beds in 10 Steps System, I no longer have to weed my flower beds!

Before
After
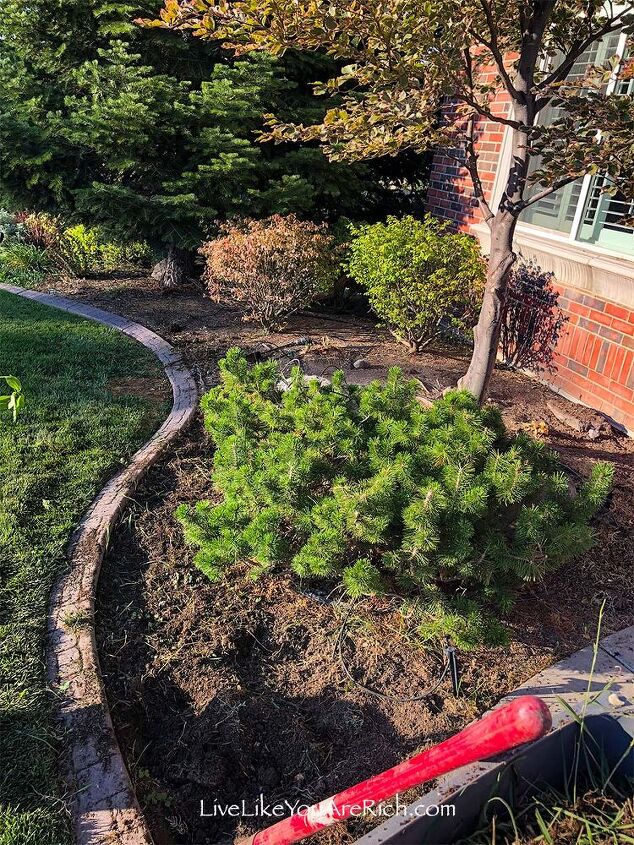
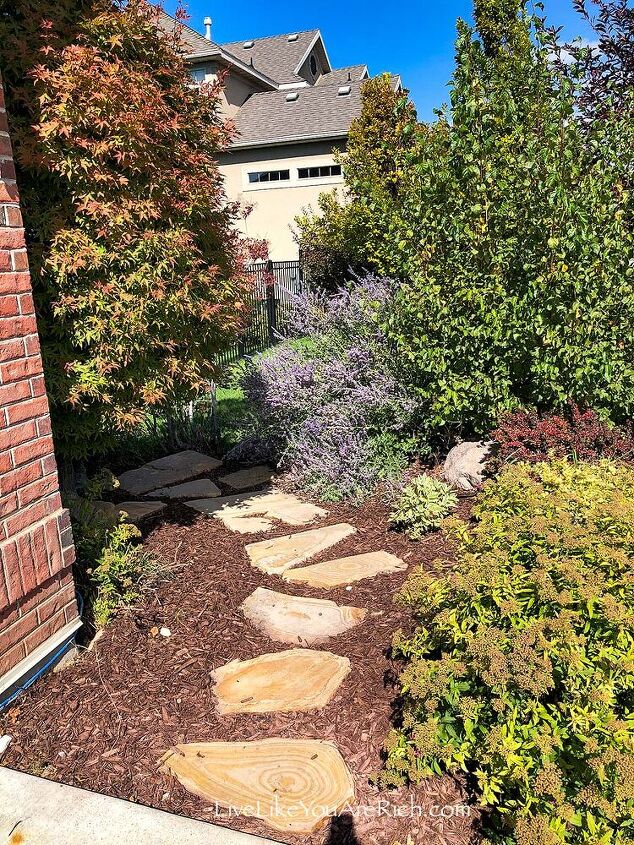
Before Sideyard
1. Trim bushes, trees, etc. with electric trimmer and sheers.
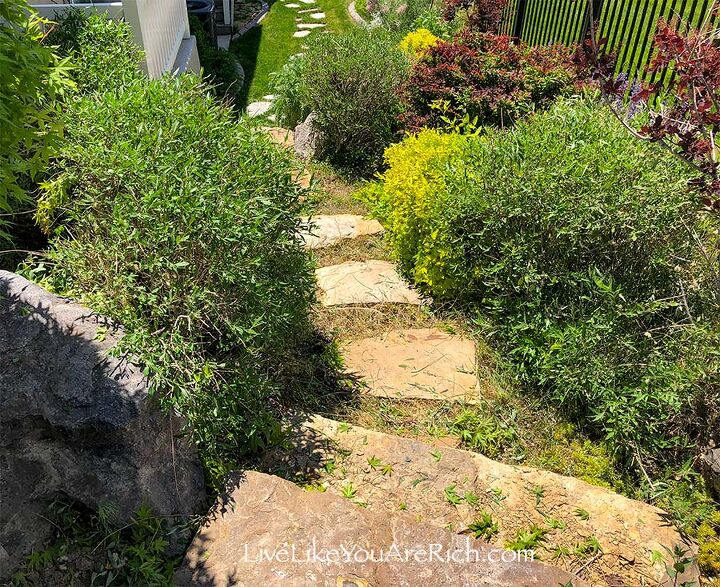
After Sideyard
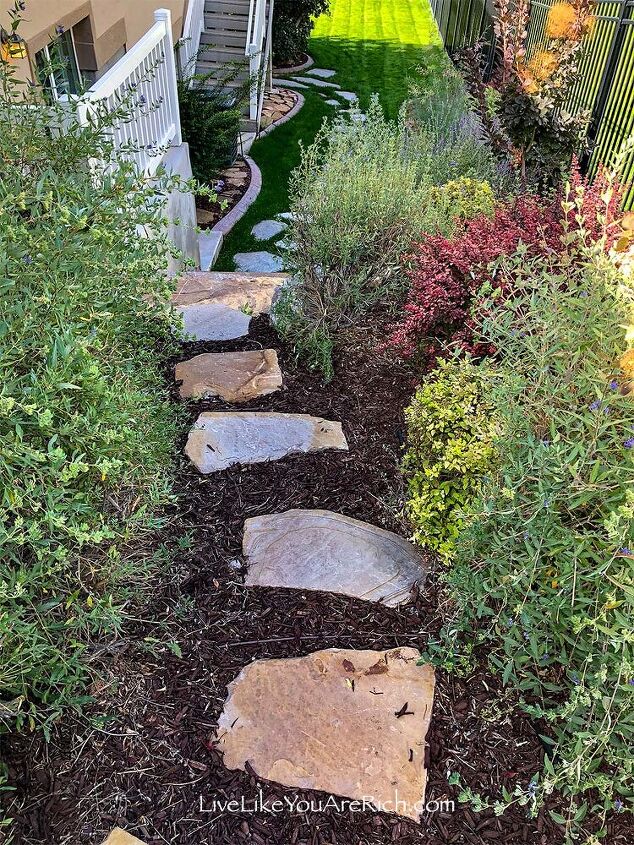
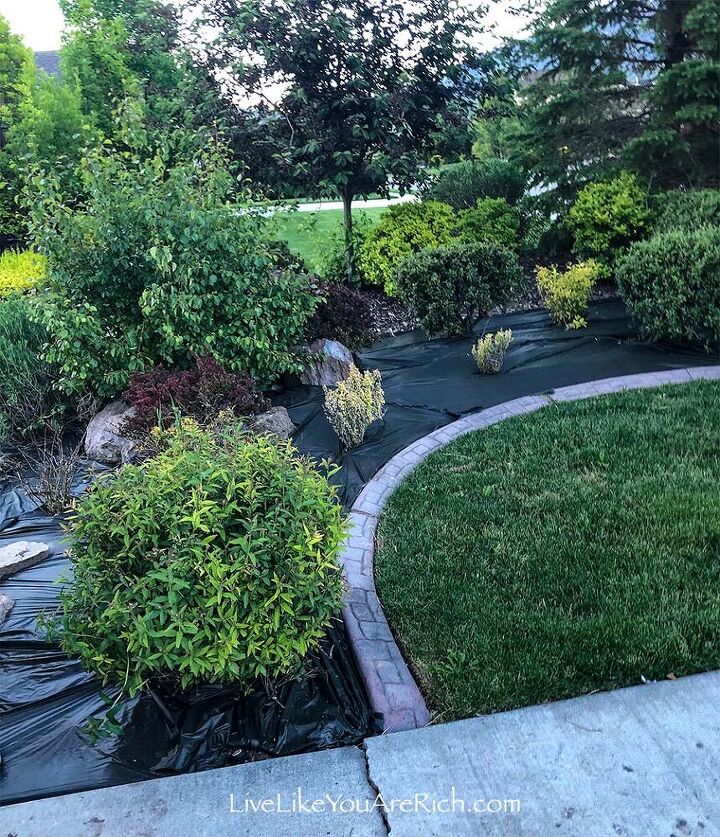
Before backyard
2. Dig out what plants you do not want, plant the ones you want. If you have annuals (tulips, etc.) you will want to make note of where those are and be sure to make holes for them in the paper and barrier or dig them up if you would rather not worry about them.
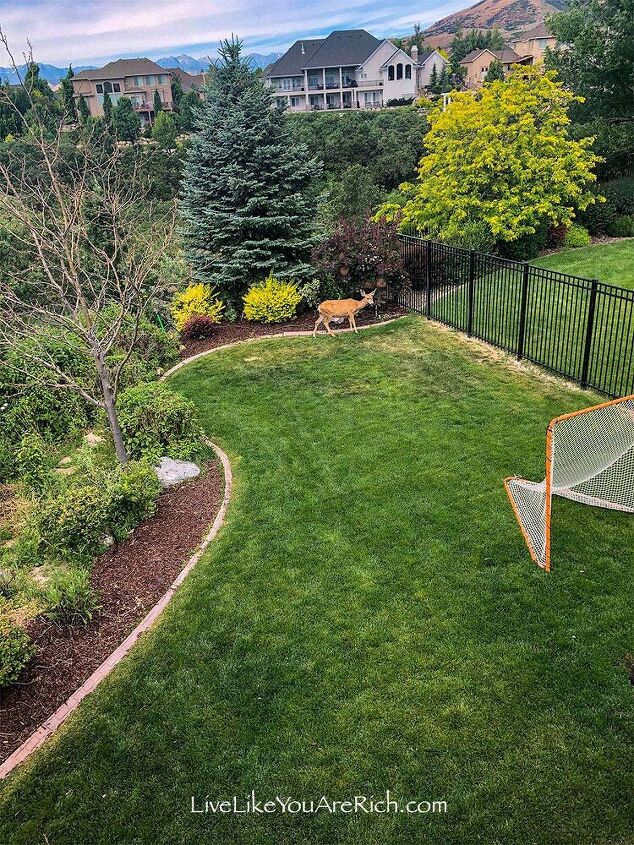
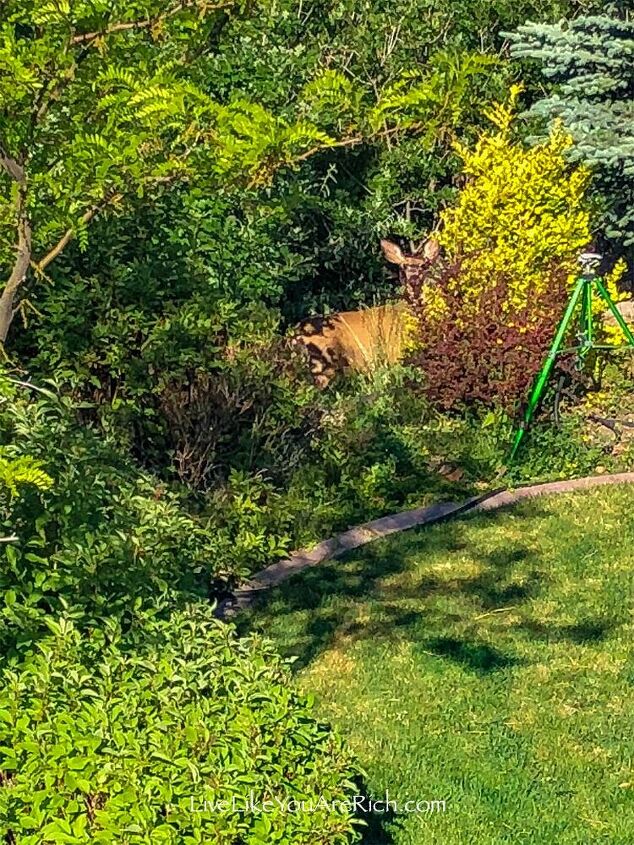
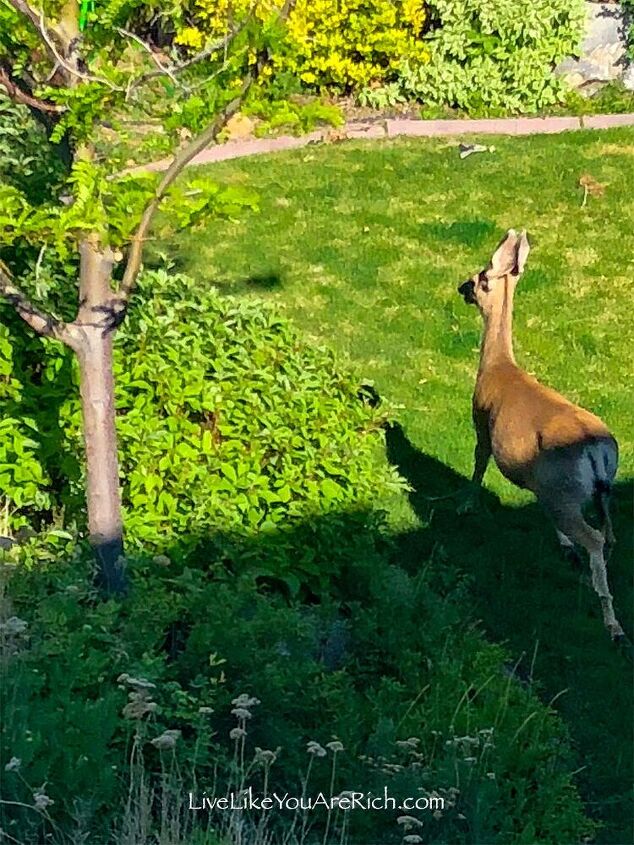
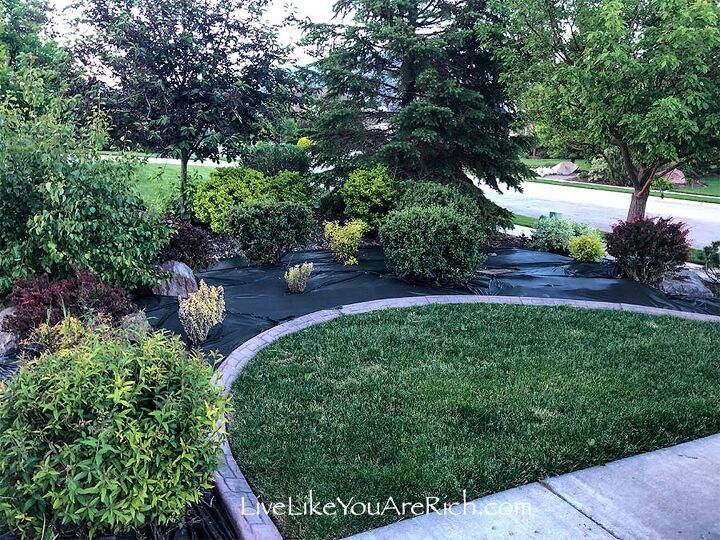
After Backyard. And yes, deer live in our yard.
3. Weed ground so there are very few weeds. Clear large decorative rocks to use later. Clear away irrigation system (it's best to just install all new with this project).
4. Sprinkle a little bit of weed killer (Preen) and rake it into the ground. (Optional)
5. Dig a small trench (a foot shovel works best but a hand shovel will do as well) around the dividing line from the grass/garden edge.
6. Lay down tar paper. Yes, tar paper aka felt roof underlayment. This is the paper you put on a roof under shingles and many put under hardwood flooring. I bought the #30 (because it is thicker than both will work). I bought the rolls from Home Depot and Lowe’s.
7. Lay the weed barrier over the tar paper getting close to edges and under bushes and trees. Again, leave an inch at the root of each plant for the water to drip down to the roots.
Staple the weed barrier and of course the tar paper which is underneath it down in multiple areas. The weed barrier will not rip when stapled down so the staples will secure it and the tar paper well.
The weed barrier serves as a rip free-tear free layer that also helps deter moisture and sunlight but holds the tar paper firmly in place. Don’t skip this step. You do need this layer, it is important.
8. Run the sprinkler drip system/irrigation line to each plant and tree. Secure the drip head so that it is very close to the plant and so that the water will drip down past the weed barrier and tar paper to water the root of each plant and tree. Make sure that the system is working properly.
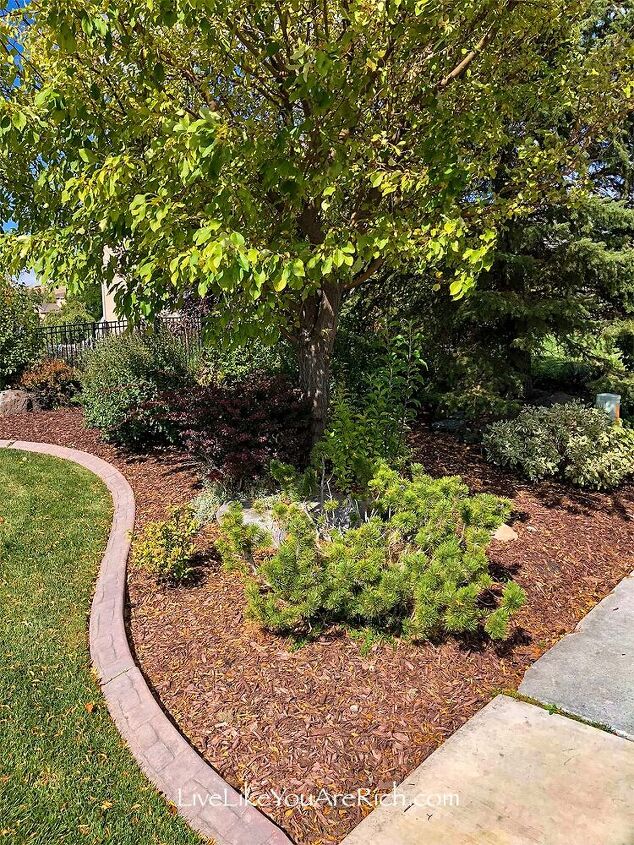
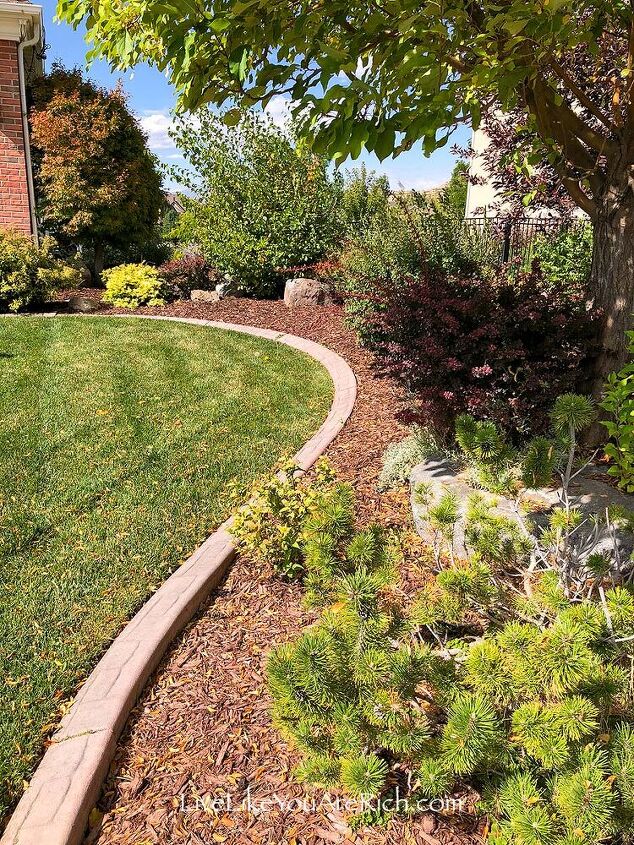
2 months after the project with no weeding.
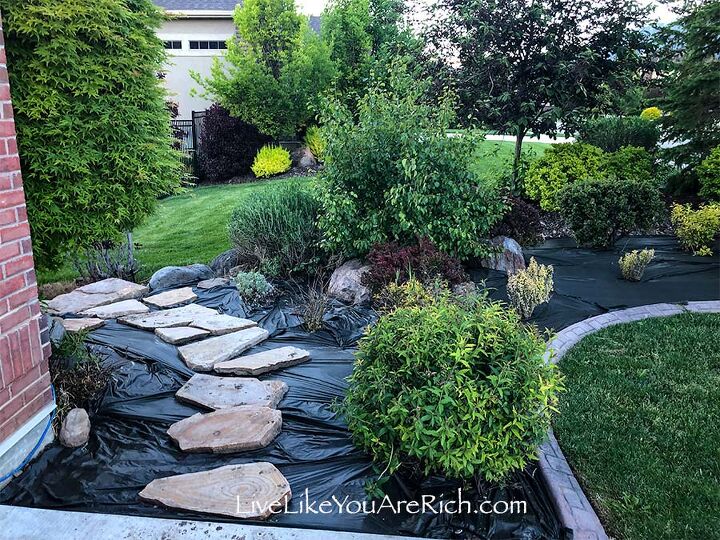
9. Put mulch or garden rock everywhere covering the weed barrier and irrigation lines. When using mulch lay it about 3″-4” thick everywhere. Rock, lay enough to cover the weed barrier well.
Put the large rocks you removed in step 3 down decoratively making sure not to crush any irrigation lines.
After mulch and/or rock are laid, if some weed barrier or tar paper is sticking out on the edges, use high-quality scissors to trim it back, tuck it under the mulch, staple it/secure it, and cover it to be out of sight.

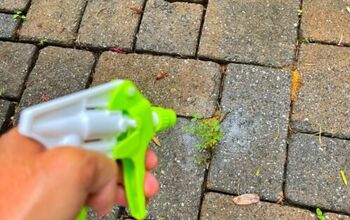
10. Spray edges with weed killer.
Now you are finished.
Sit back, relax, and enjoy your maintenance-free weedless flower beds!

Comments
Join the conversation
-
Great tip. I've used newspaper and some people use cardboard under landscape fabric. Never thought of using tar paper. Wouldn't use it in a vegetable garden though.
-
Beautiful yard!!!!


Frequently asked questions
Have a question about this project?
Do you have to have an irrigation system?