


How I Created a Secret Garden Area- Part 2

I have been transforming the east side of our front yard from grass-edged by flower gardens to what I have been calling a Secret Garden. The grass hasn't been doing well since our neighbor's walnut tree shades it most of the day. I finally decided how I wanted it to look and got busy!

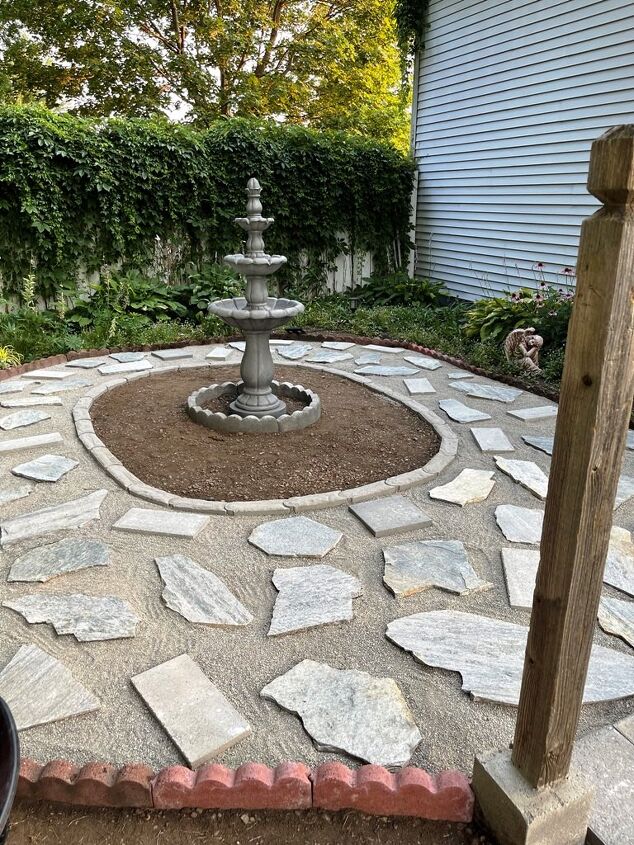
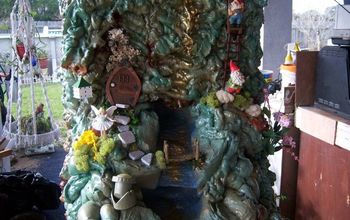
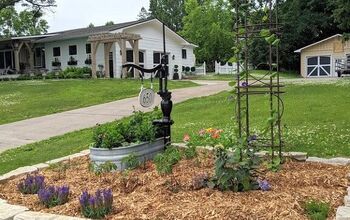
In part 1, I removed the sod and gave it to a neighbor. I then bought a focal point for the Secret Garden - a 3-tiered, 60" tall water fountain and created a garden area around it with edging bricks. You can read all about that part of the project here.
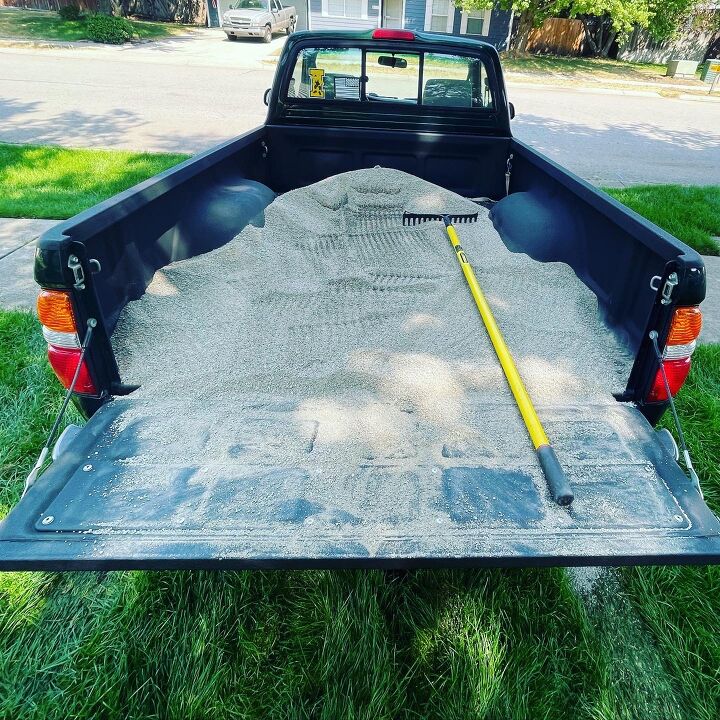
Now that I have the bricks set around the fountain area, it's time to add a pathway between the old garden area and the new one. Here is where the cross-fit training continues....sand, gravel, bricks, flagstone all need to be moved from the truck to the east side yard.Hubby tried to back the truck up to the space but the angle of the truck bed was too high for me to easily reach the contents. So I loaded my garden wagon and tugged it up the hill to the spot where I needed it - over and over and over again . The first truck load was 1/2 yard of paver sand. We buy the sand and gravel from a local landscape company. It's a lot more economical to get it this way if you have a truck (or can borrow one). The sand was $17

To prevent the grass or weeds from growing into the path, I laid down newspaper. I have used landscape cloth before but have found that newspaper is more effective for weed control. And since we buy it anyway, it's a good way to repurpose it.
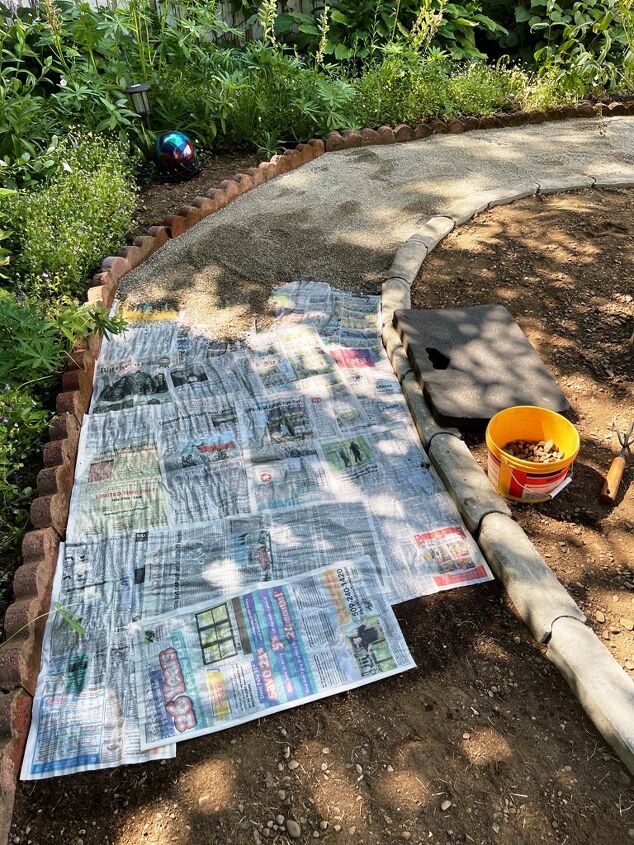
After laying it down, I soak it with water then lay the sand on top of it. It's easier to do this if you work in sections. That way, you aren't walking over a lot of wet newspaper which will rip it.

After all the sand was in place, I raked it to level it out.
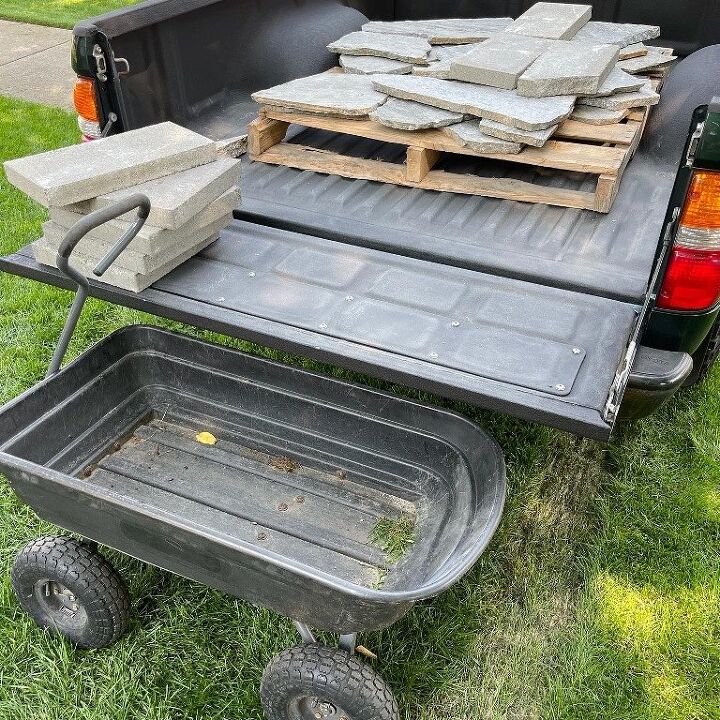
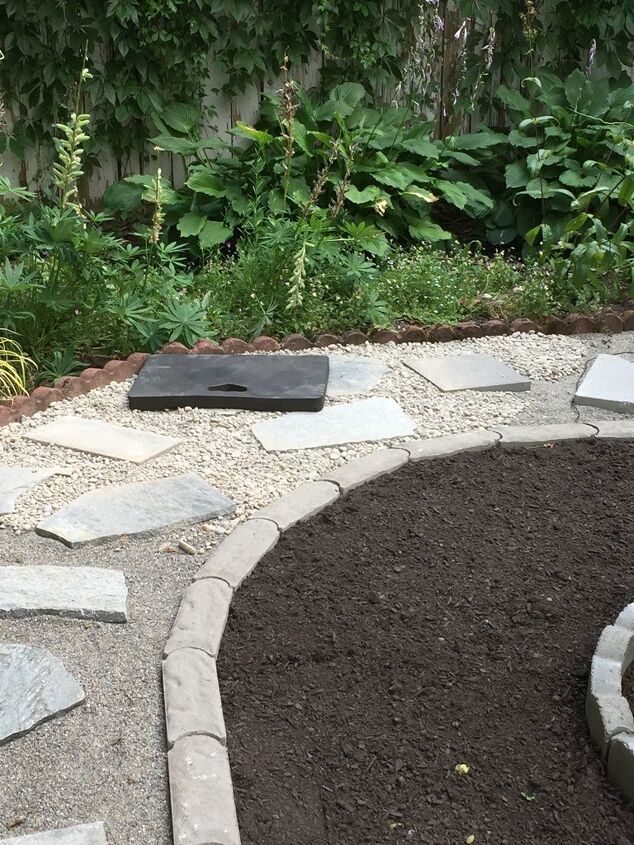
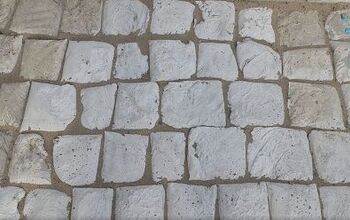
The next 2 loads were stepping stones. I used flagstone (which is mined locally) and bricks that I bought at Home Depot.
I spaced them out on the sand and using extra sand, leveled them.
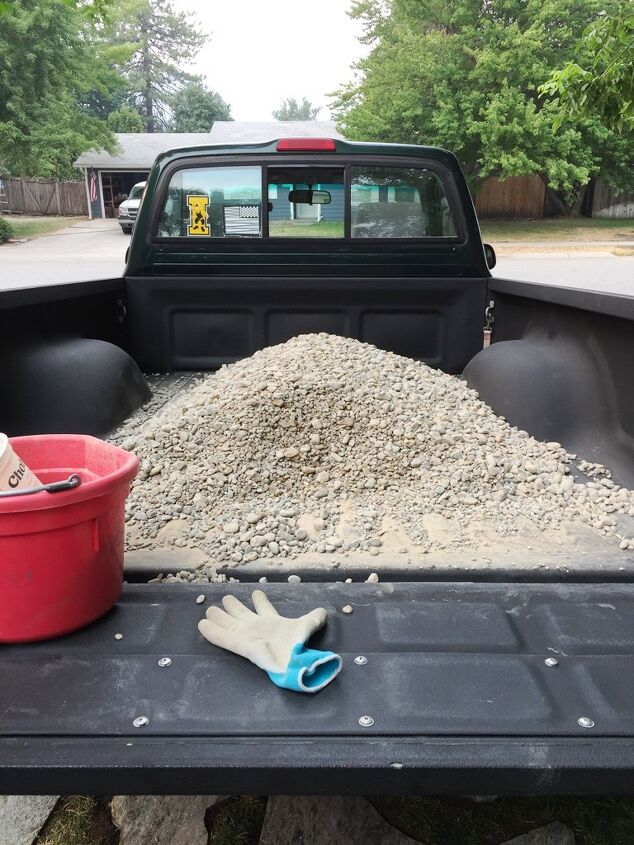
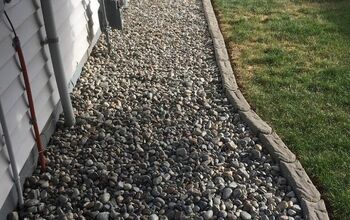
The last truckload was the small rock that would go between the stepping stones. We bought 1/4 yard @ $9.
Placing the rocks between the stepping stones helps provide stability and serves to keep them in place. I also used my wagon to bring them from the truck to the walkway.
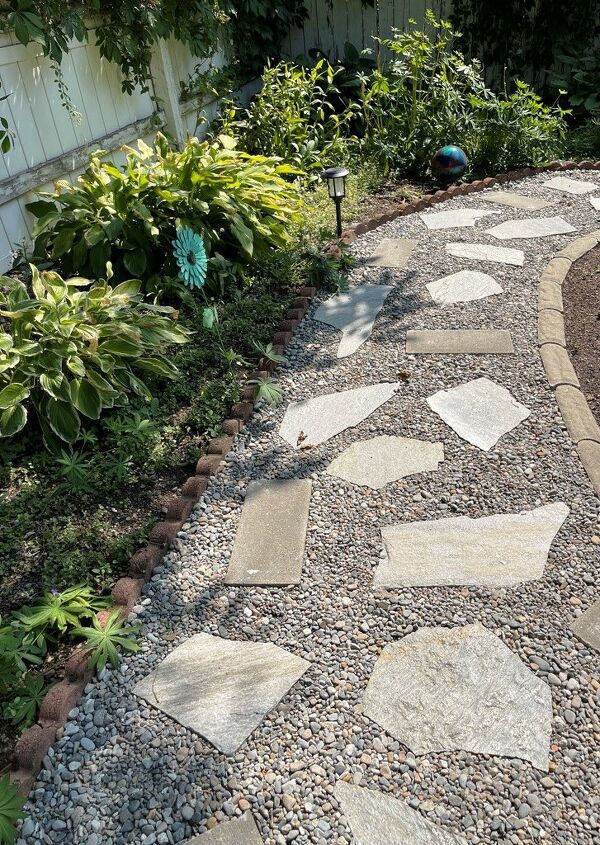
I filled the spaces between the stepping stones then brought the level of the rocks to the top of the flagstone & bricks. The rocks will settle over time.

With the walkway is done, it's time to add some plants to the new garden area. I decided to use perennials for this section so they will come back every year. The plants in the existing garden are all perennials.
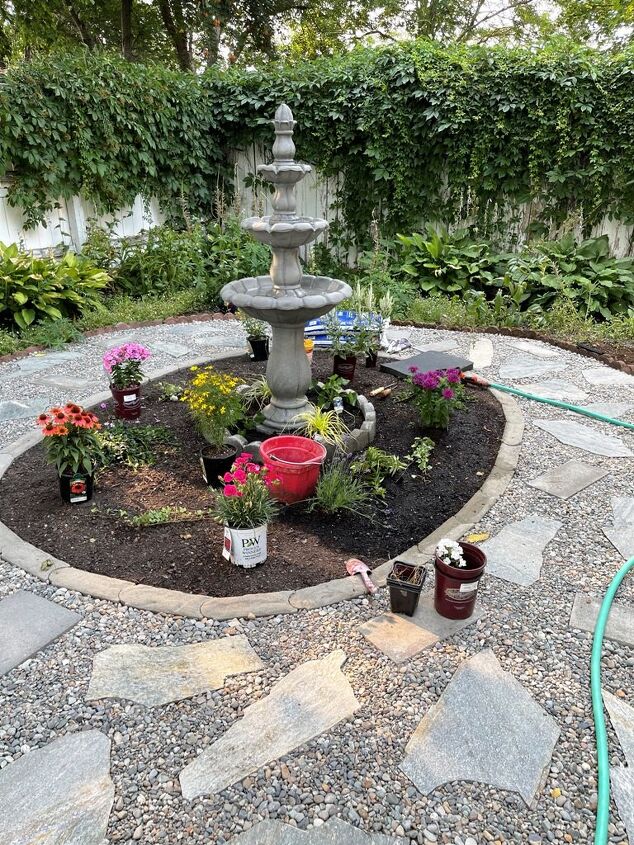
I bought 5 ivy plants and 9 flowering plants (2 of which are lavender) for the oval. Yes, I do know that these plants will be a bit big for the area
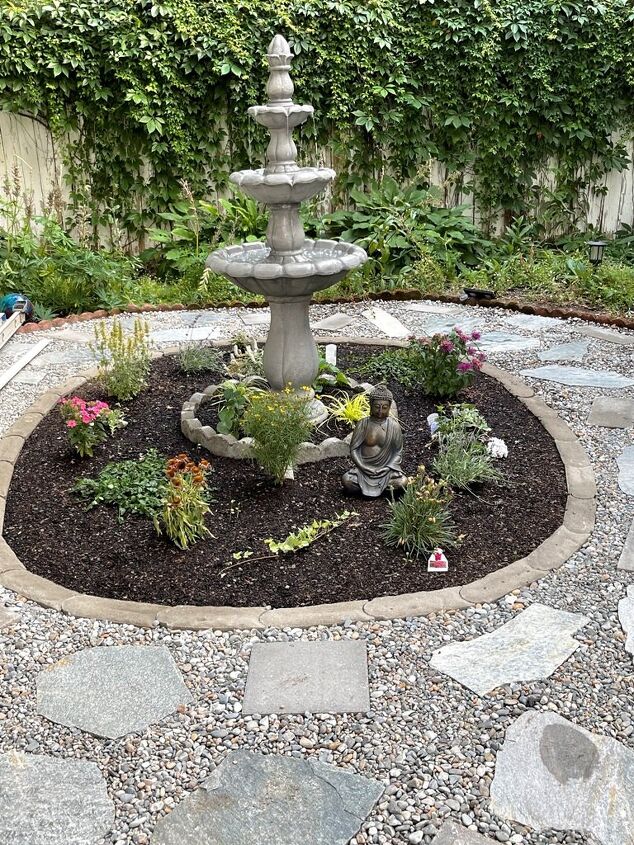
I'm sure I'll be doing some transplanting in the future. But they look great for now, hehe. For the circle around the fountain, I bought 2 spider plants and a couple of flowering ones. I'm looking forward to seeing how they grow.
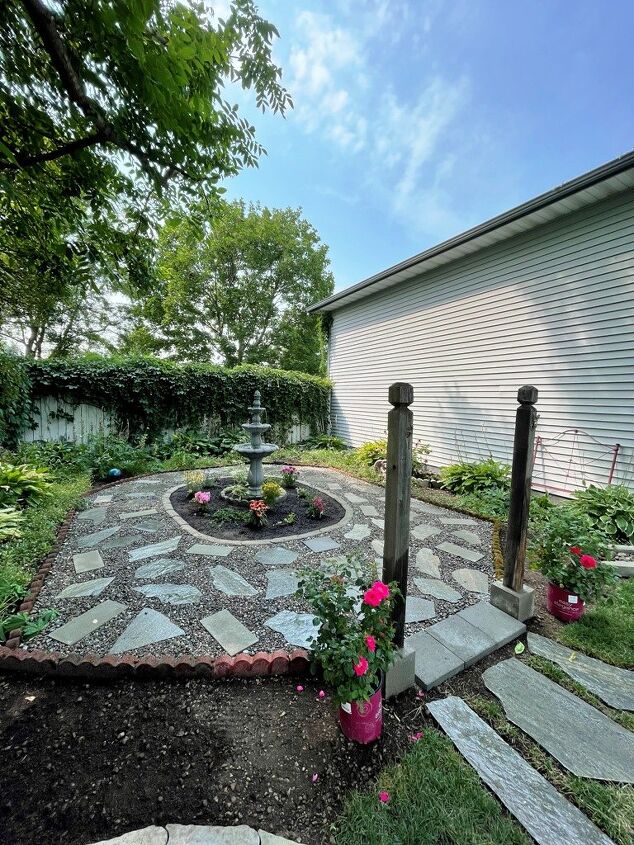
Hubby also wanted rose bushes, so I bought two. They will be planted by the posts leading into the garden once the picket fence is built. I plan to add more plants on the inside of the fence once it is completed and I have an idea of the amount of space I will have.
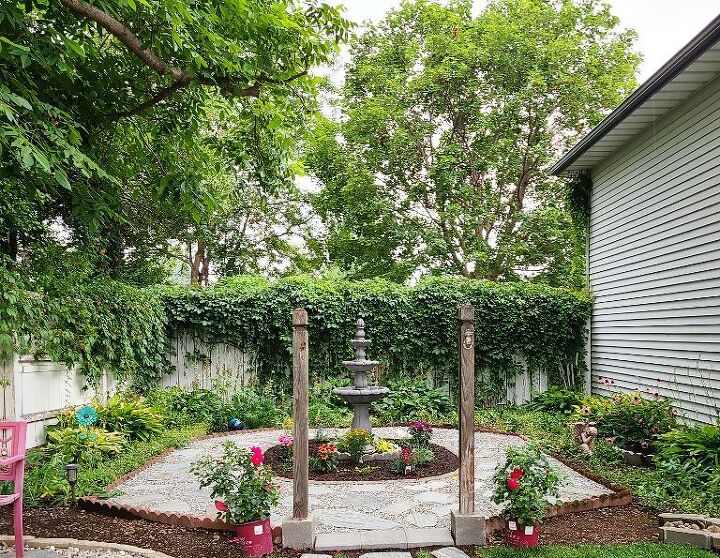
Whew! Part 1 took 3 days, approximately 20 hours, for me to remove the sod and a couple of days to arrange the bricks and dig the trenches. Part 2 took 2 days to build the walkway and plant the perennials. Instructions: *Lay down newspaper and wet with water *Cover newspaper with paver sand and rake level *Add pavers, bricks, and/or flagstone *Level using more paver sand *Fill in spaces between stepping stones with small rock or gravel *Plant perennials Part 1 can be found here. The next step will be to build a picket fence! I will be using reclaimed wood for the fence. I saved the wood last year when the deck floor needed to be replaced. The boards are 2" x 6" so I plan to split them in 1/2 for both the pickets and crossbars. I've never built a picket fence before.... so stay tuned! I'm so excited!!!
Part 3 can be found here
Resources for this project:
See all materials


Comments
Join the conversation
-
I love it.
-
You did a most beautiful job on this! Congrats!


Frequently asked questions
Have a question about this project?
How are you going to keep algae out of your fountain. I have seen so many remedies including cider vinagar and none help me. I have to change water every day and still get algae! I want to keep it safe for birds and dogs if they happen to drink it without me catching them.
Beautiful.
Not really a question, ABSOLUTELY BEAUTIFUL, WELL DONE!!!!!