


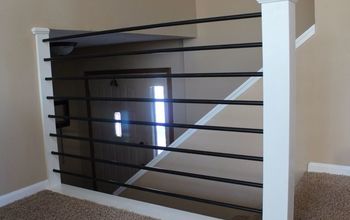
DIY Glass Balcony Railing

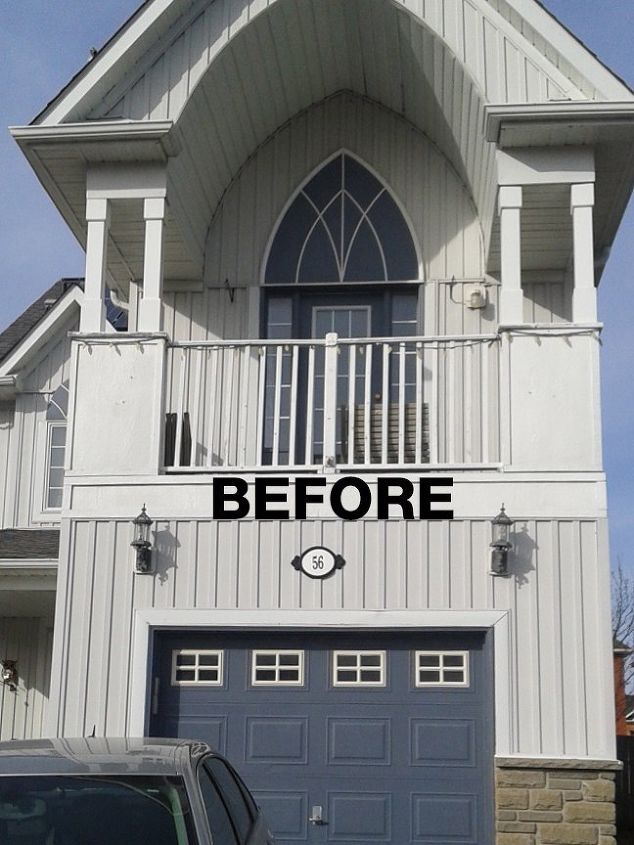
Someone in our neighbourhood had replaced their wooden balcony railing with glass panels and I just loved how much better it looked. After speaking to them and finding out they spent $5000 I thought there’s no way I’ll ever spend that on railing! So I decided to research and find out if I could DIY it myself. Being a single mom with a full-time job I was skeptical. But I did it…and for less than $1000!
Step 1:
I purchased all the items I needed at Home Depot. I went with an aluminum Peak RailBlazers system. I did glass panels in the front and narrow pickets on the sides.
A friend helped me with the glass on the front, which went pretty smoothly following the instructions in the box.
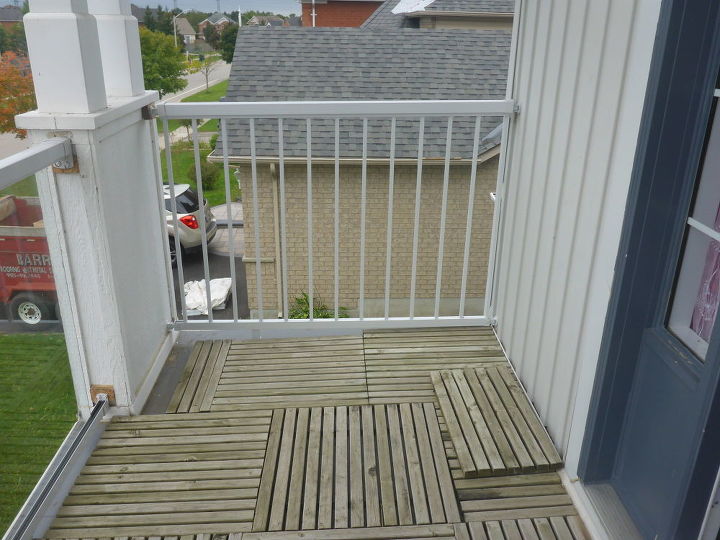
Step 2:
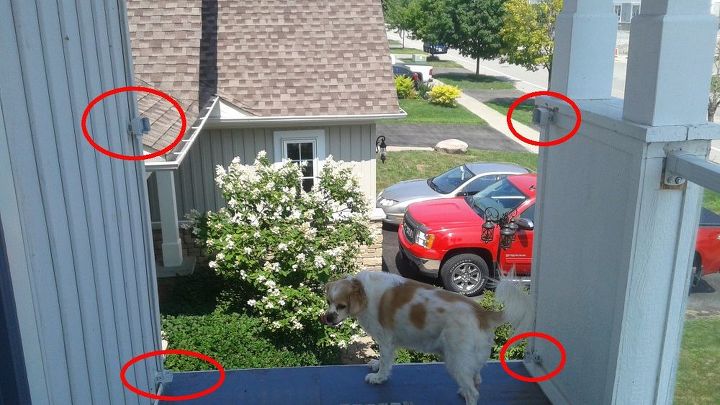
The side railings - these were a challenge! I attached the universal connectors to the house and the front pillar. Then I cut the hand and foot rails to fit. I installed the hand & foot rails and attempted to insert the pickets and spacers.
It was then that I realized this system is designed so that the last 3 or 4 pickets need to have clearance to swing to the left and then up into the handrail, by moving away the corner post temporarily. But because I was not using posts on the sides and was going directly into the the house on one side and a pillar on the other, there was no way to move those aside to accommodate the last few pickets!
At this point I debated returning the system to get something better suited to my set-up, but because I had already cut the hand & foot rails – and drilled holes into the connectors, there was no turning back now!
So I then attempted to lay it all flat and build it on the balcony floor and then tilt it up to fit into the connectors. During this attempt to lift it…all the railings fell over the side down to the ground!! Thankfully it was the grassy side of the house.
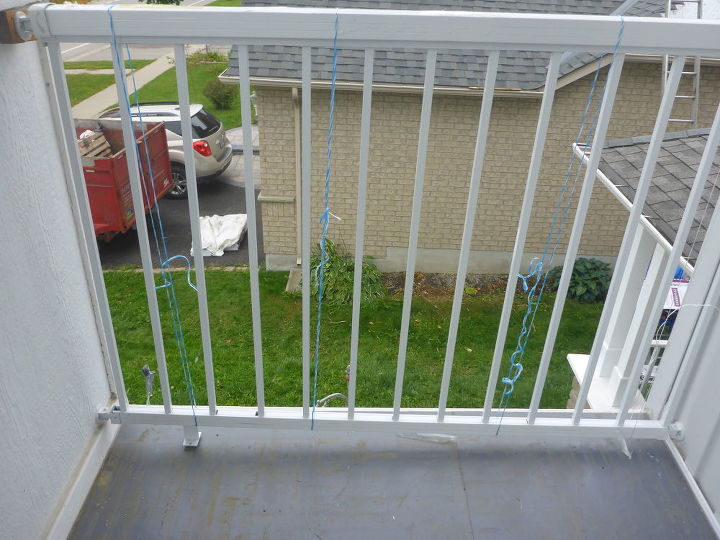
Step 3:
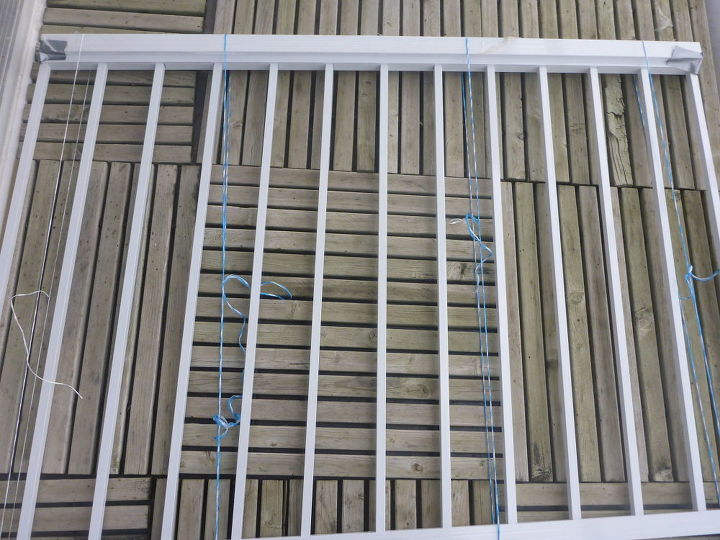
My second attempt with the side rails was to again build it on the floor, but this time I used string around the hand & foot rails to hold the pickets and spacers in place. After each few pickets I added another string.
Then I used duct tape on the ends to make sure the pickets didn’t slide out as I was moving it into place.
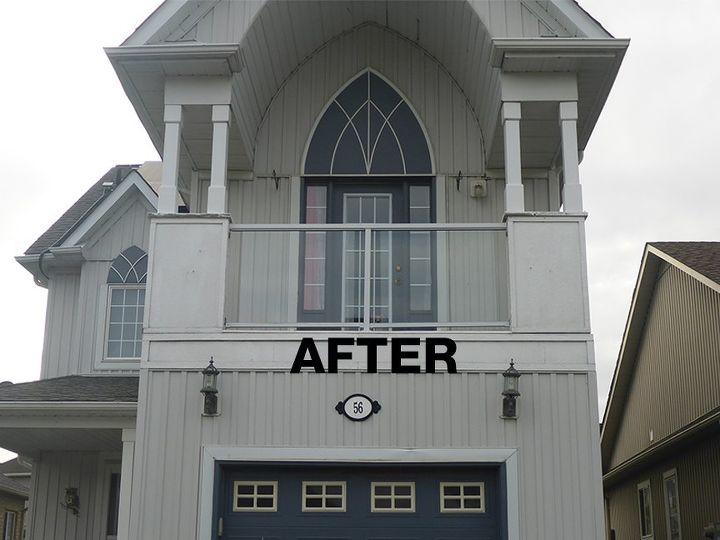
It worked! I slid it into the brackets and snapped it all in place, fastened all the screws and breathed a big sigh of relief!
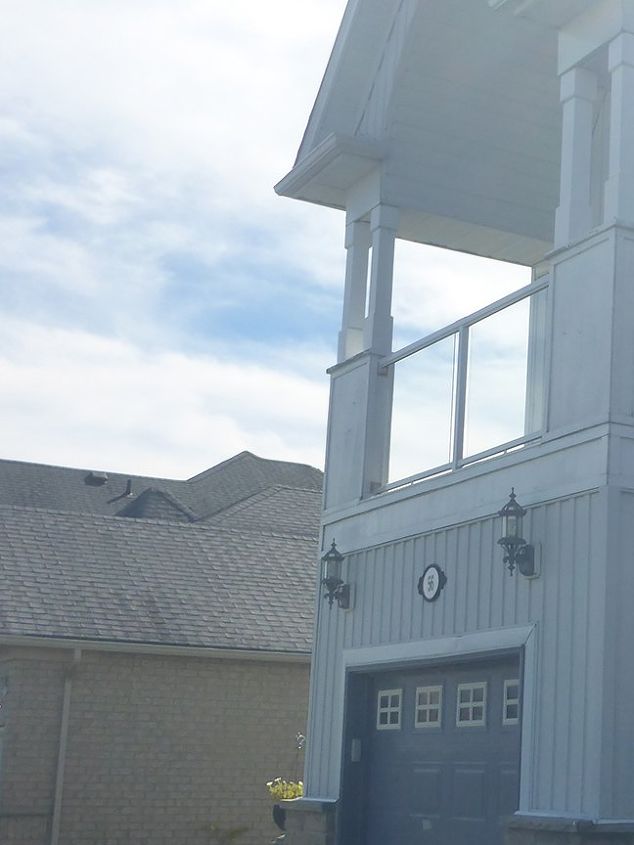
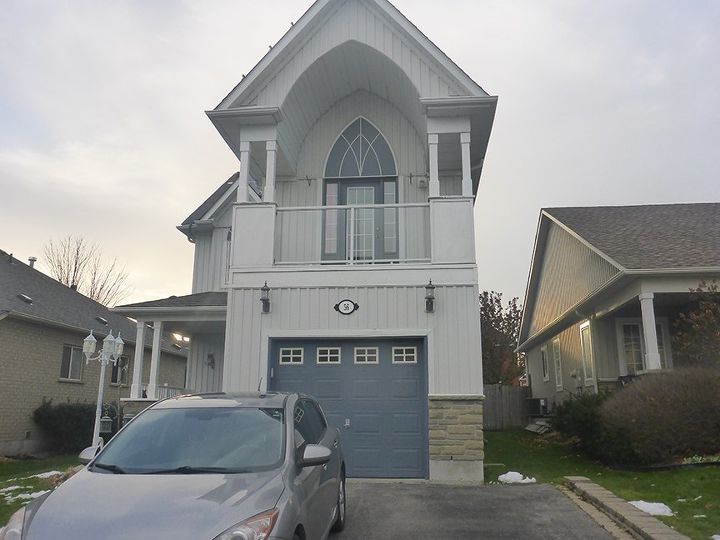
I love our new railing. The balcony is off our living room so it makes that space feel so much bigger as well as there is nothing obstructing our sight lines from our couch! This was a very challenging project for me – but well worth it in the end. In the spring I need to do some paint touch ups on the pillars, but at least I'll never need to paint the railings again. :)

Comments
Join the conversation
-
Looks grand and impressive. More open and makes a statement. Great job.
-
Wow, William is right- it looks just majestic!


Frequently asked questions
Have a question about this project?