


How to Cover Metal Columns

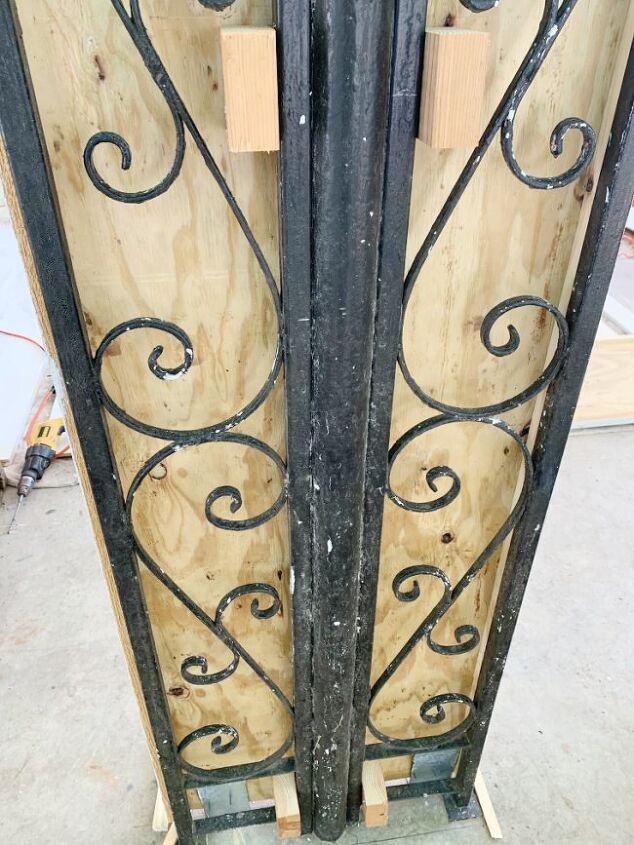
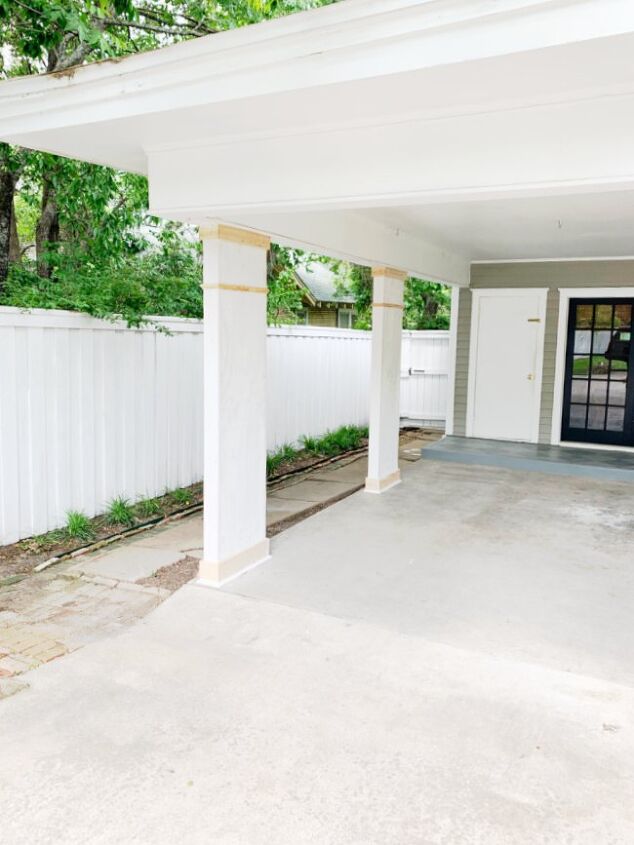
Here’s a before picture taken of the columns on our carport before we started this project.
Yikes.
See how they needed a little help? And when you looked at the house, these metal columns were almost invisible on the carport.
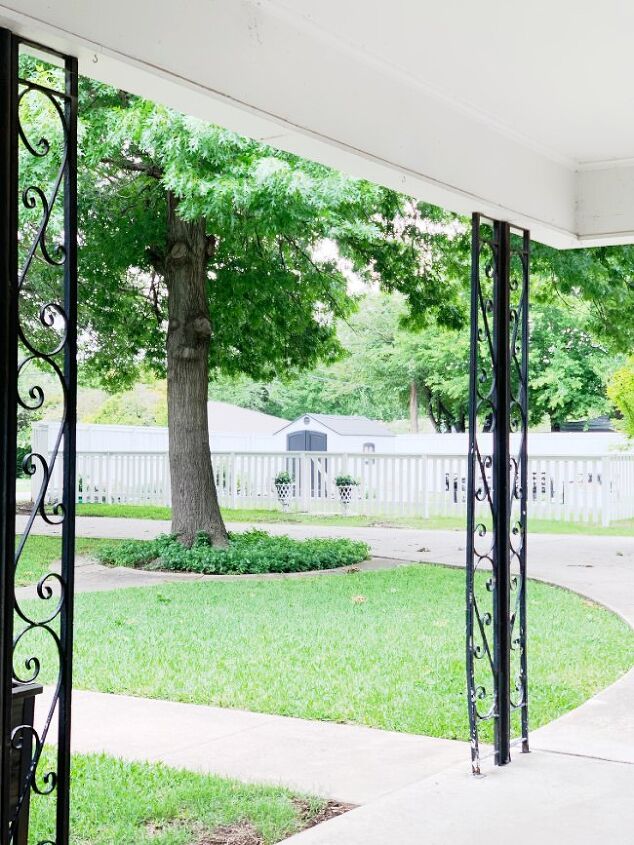
They needed a little updating.
Here’s an easy and economical way to update your metal columns with tons of money left over for summer vacation.
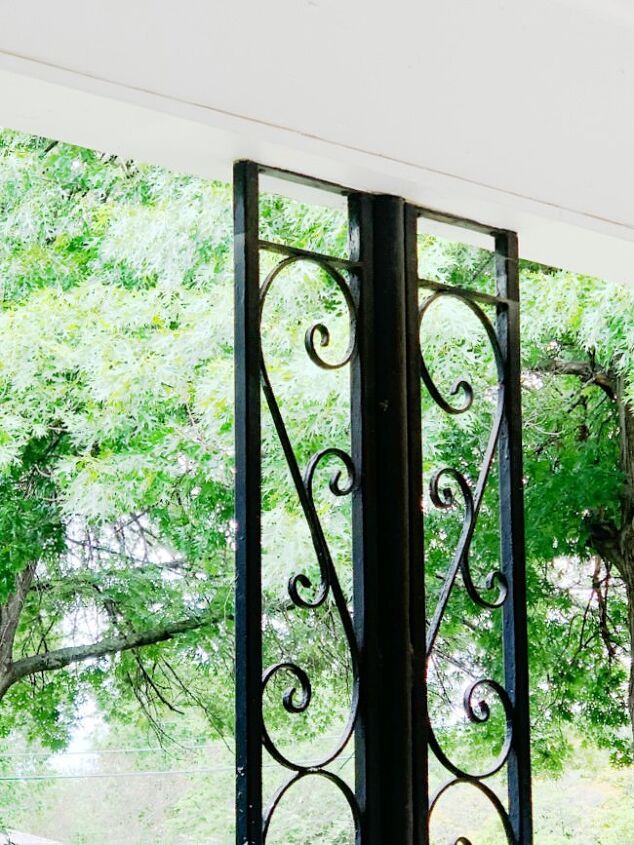
They were definitely pretty once upon a time and if I found them at a yard sale, I’d take them home and make something creative out of them for my house.
But holding up my carport?
Ummm.
We needed to change them up a little.
I’m sharing the step-by-step of what we did below, but if you want the Reader’s Digest version?
Here’s a video we filmed of the process with all the details.
supplies:
treated plywood
wood glue
wood putty
1″ x 1″ pine
1″ x 4″ pine
1″ x 5″ pine
1″ x 6″ pine
1/4 round
decorative molding
exterior white paint
caulk
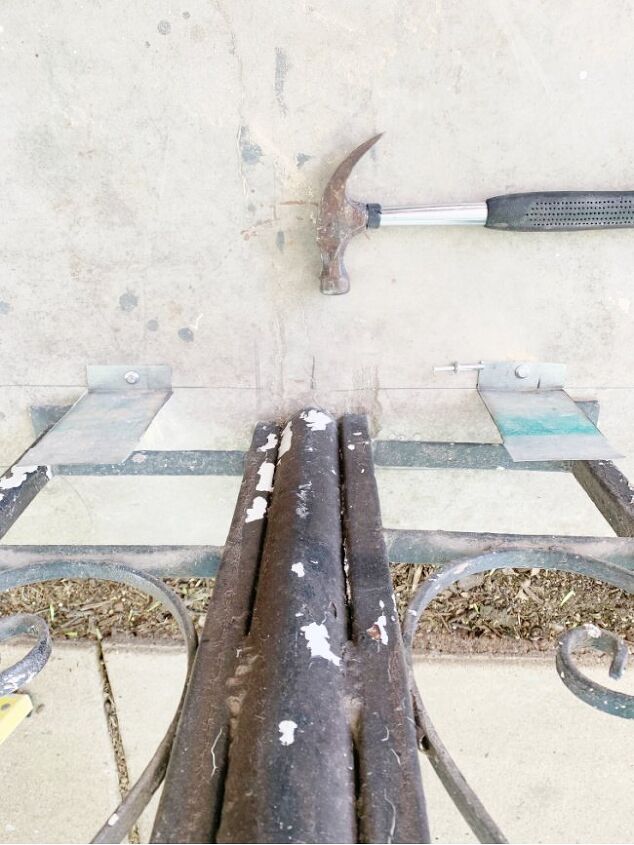
Step 1: Cut plywood boards
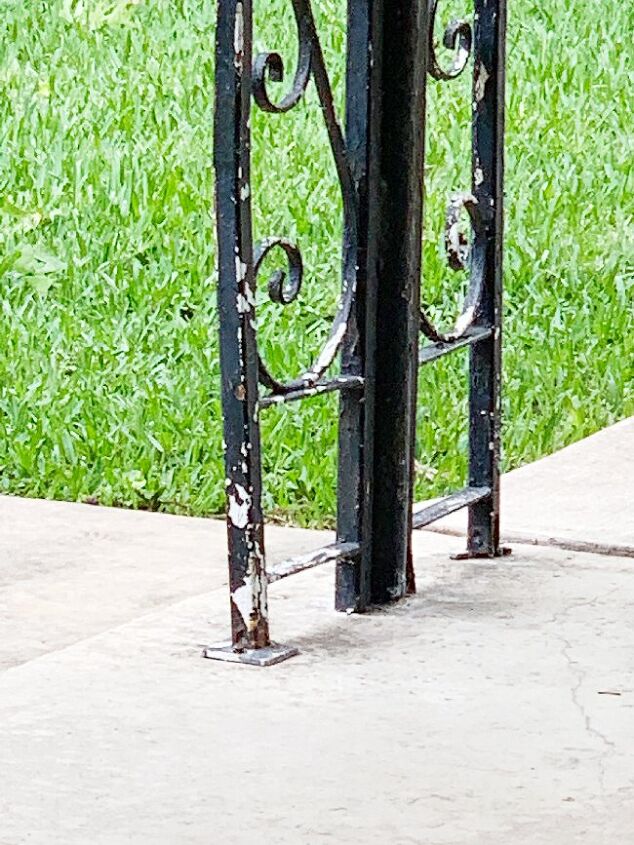
Our metal columns were 21″ x 1″ x 8′.
We cut two treated plywood boards for each column—one for each side.
Our plywood boards were cut 24″ x 1″ x 8′ to fit the metal columns.
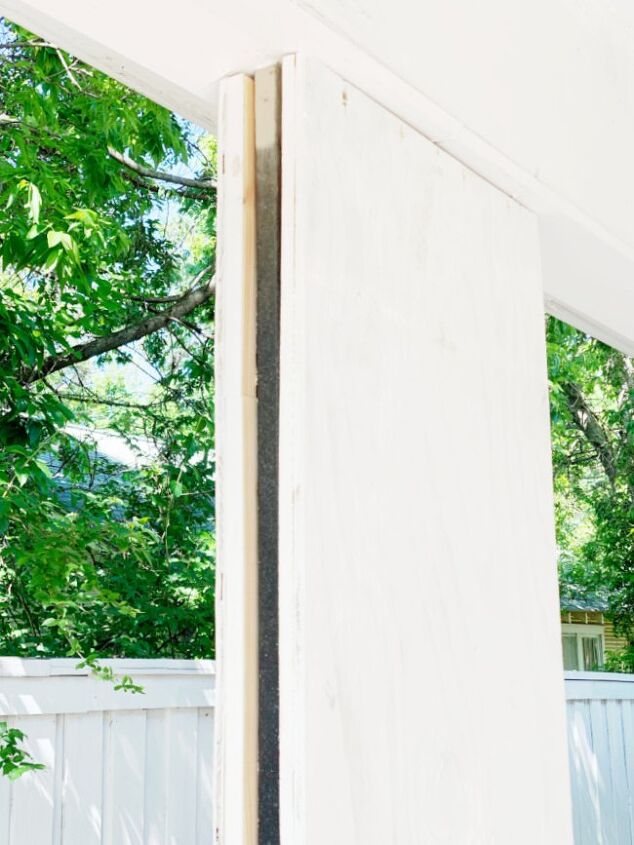
We also cut a 1″ x 1″ pine board and glued it to each side of the larger plywood boards (the video shows this really well).

Step 2: Attach a foundation to the top and bottom of the columns
We then attached 1″ x 1″ boards on either side of the column at the top.
This was a foundation for the larger boards to attach around the columns.
For the foundation at the base of the columns, we drilled holes into the concrete and attached these metal brackets.
We repeated these steps for each of the columns.
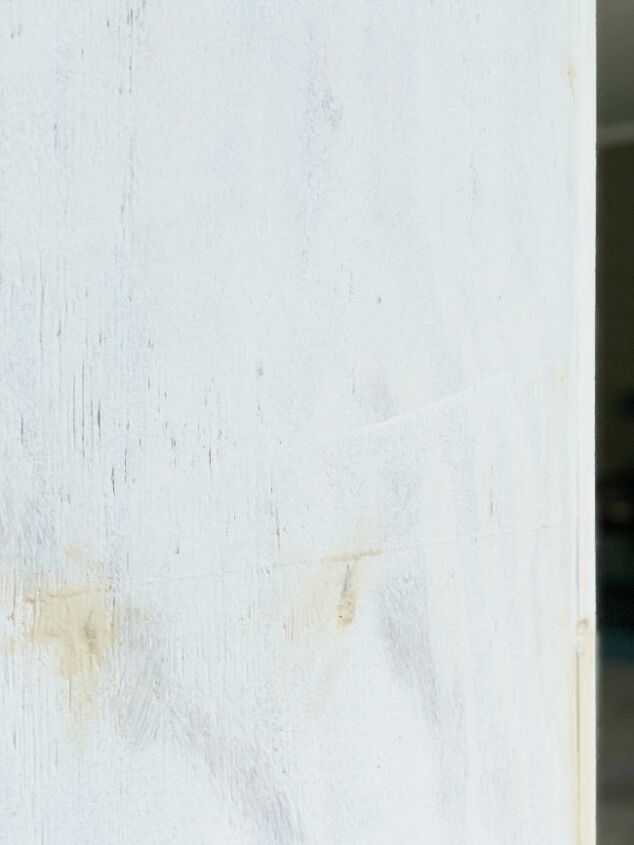
Then we primed the plywood boards.
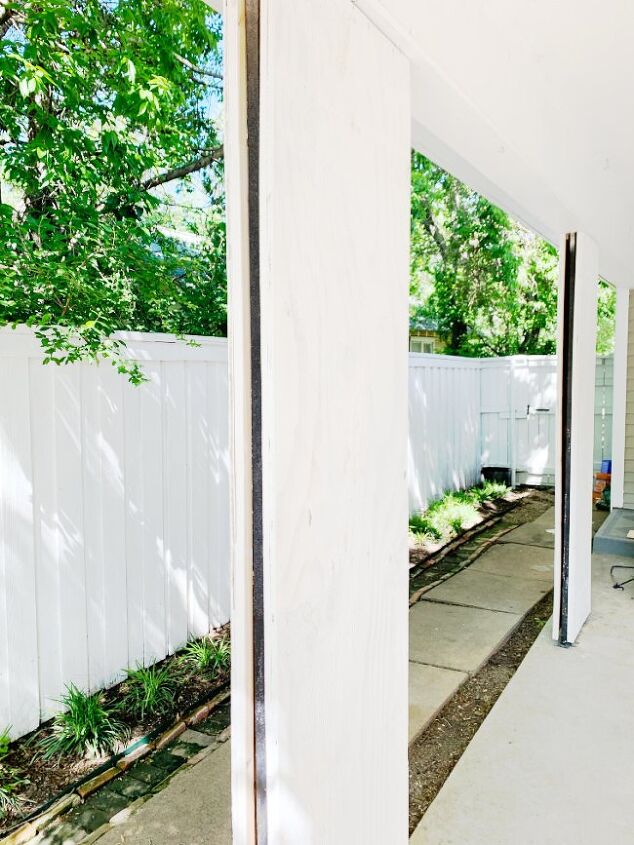
Step 3: Attach the plywood boards
The next step was to attach the plywood boards to either side of the column.
We added one side to the top and the bottom using our foundation pieces.
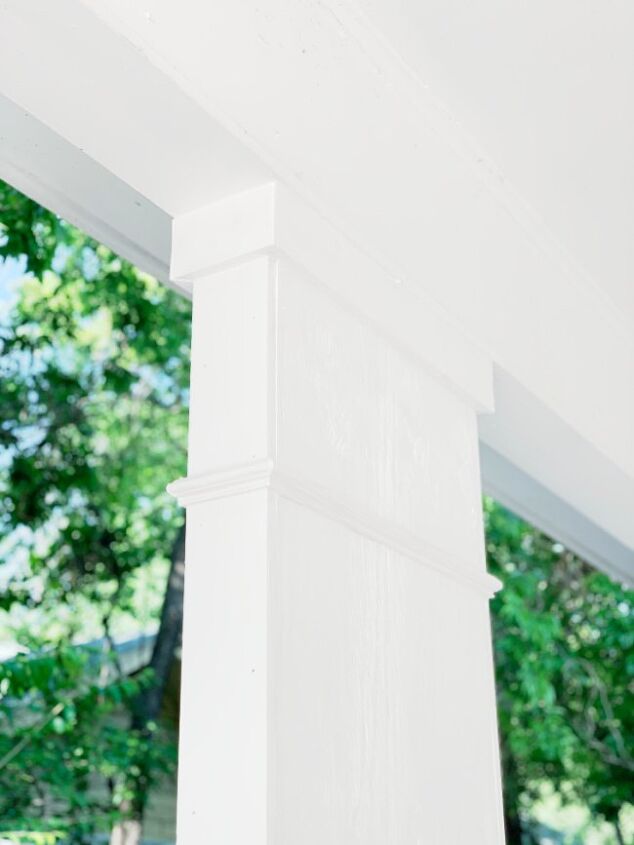
Next, we reinforced the middle (as shown in the top picture) with some additional braces.
Then we attached the other side of the plywood with finish nails.
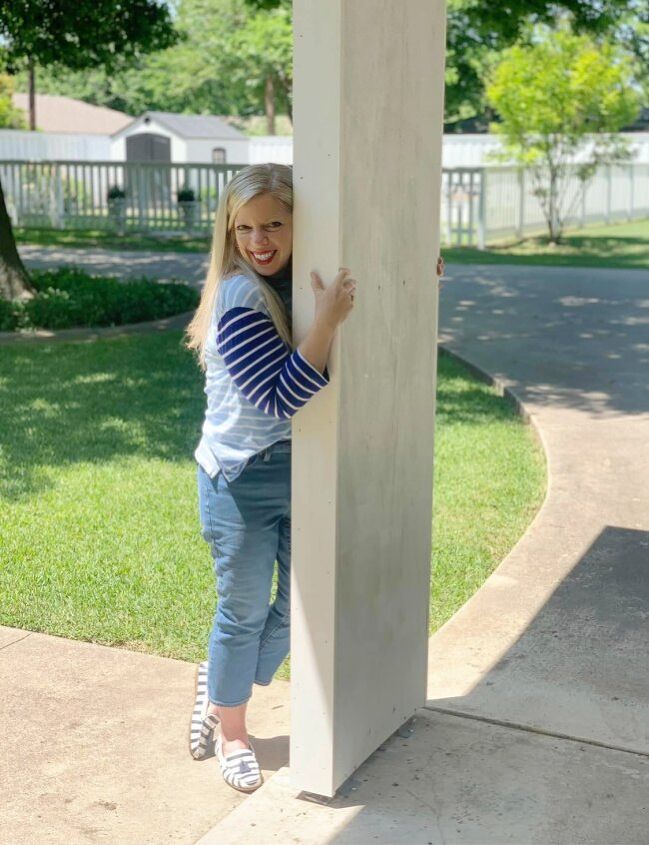
Step 4: Attach 1″ x 5″ boards to the side
We ripped down 1″ x 6″ to 1″ x 5″ boards to fit the sides of the columns.
Then we used finish nails to attach the 1″ x 5″ boards to the sides of each column.
We attached one board to side of each column.
This is when I fell in love.
Step 5: Attach moldings
The last step was to cut 1″ x 4″ pieces for the top of each of the columns and nail them in place.
Then cut 1″ x 6″ pieces for the base of the columns and nail them in place.
Add 1/4 round around the base of the columns.
Add a decorative molding 16″ down from the top of the column.
Step 6: Caulk and fill in with wood putty
Make sure your boards are primed and caulk all around the edges where the boards connect.
Use wood putty to fill in the small nail holes.
Sand smooth.
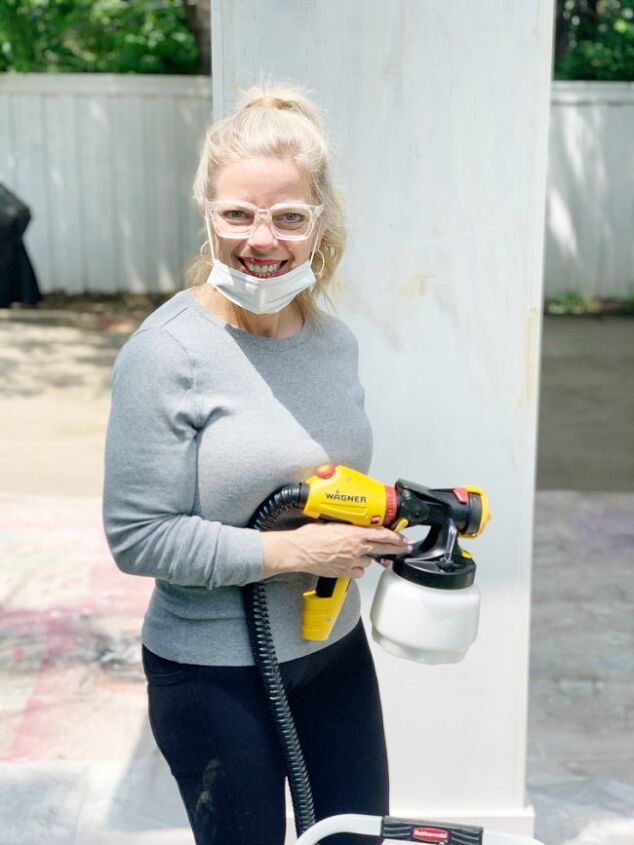
Step 7: Paint
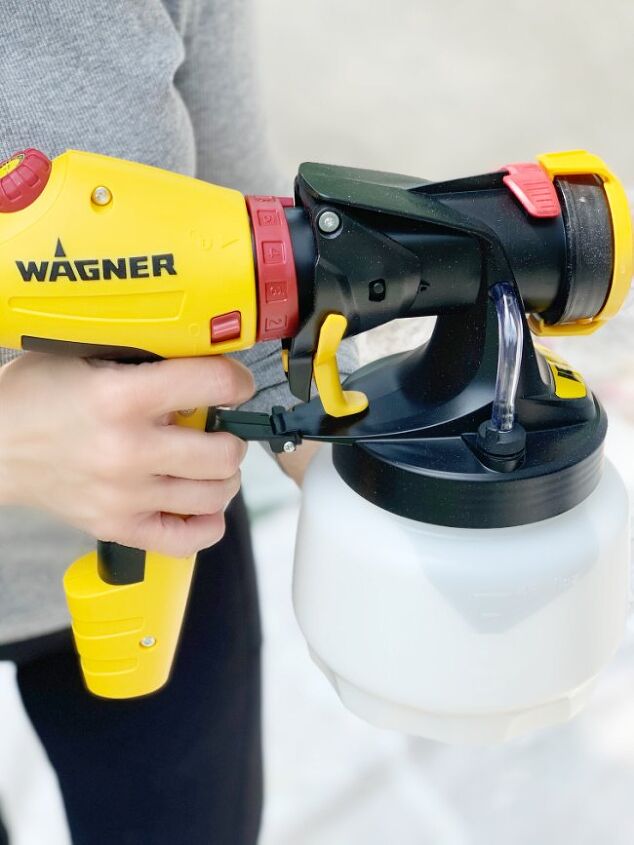
Now you’re ready to paint.
A paint sprayer on a project like this saves you so much time (especially on a project like this) and the results are so professional and it’s SO EASY to use.
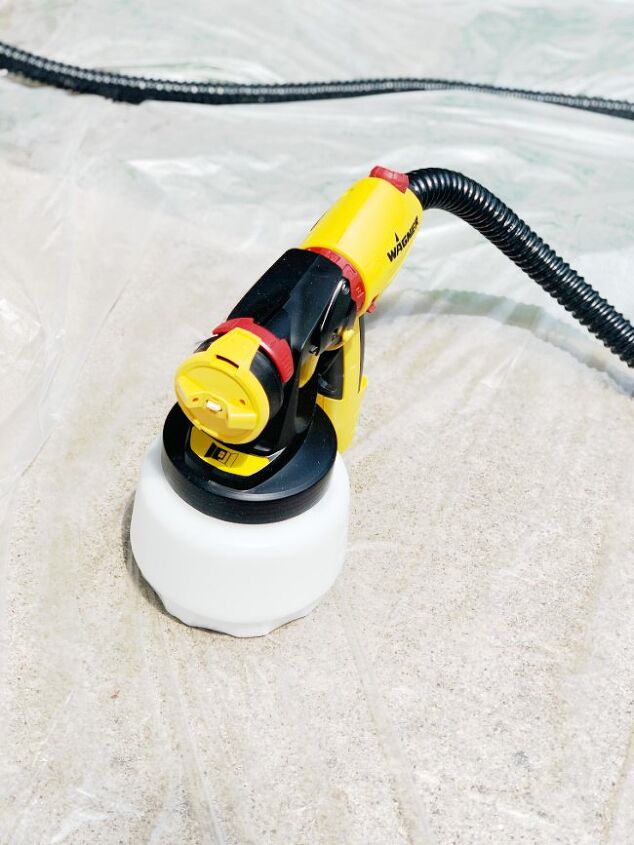
All you do is remove the base, fill with paint (we used exterior white paint for this project) and reattach it.
No messy tubes or trying to connect with paint cans.
Just add paint and go.
Then all you have to do is plug it in.
Turn it on, pull the trigger and spray.
(total aside: You can see the entire paint sprayer in action in the video).
And after we used this?
The project was finished before you could say stirrup pants.
Want to see the after?
Just a reminder.
This is where we started.
And now?
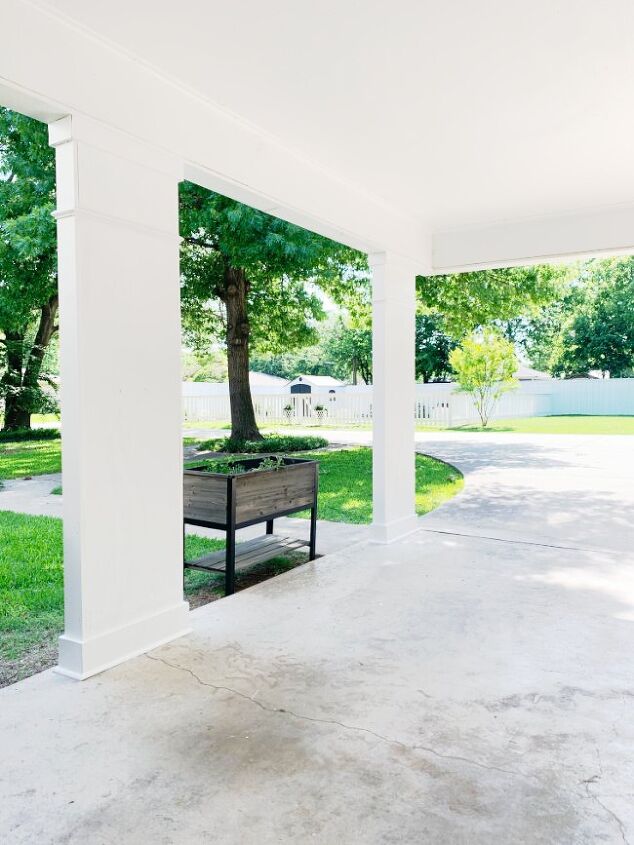
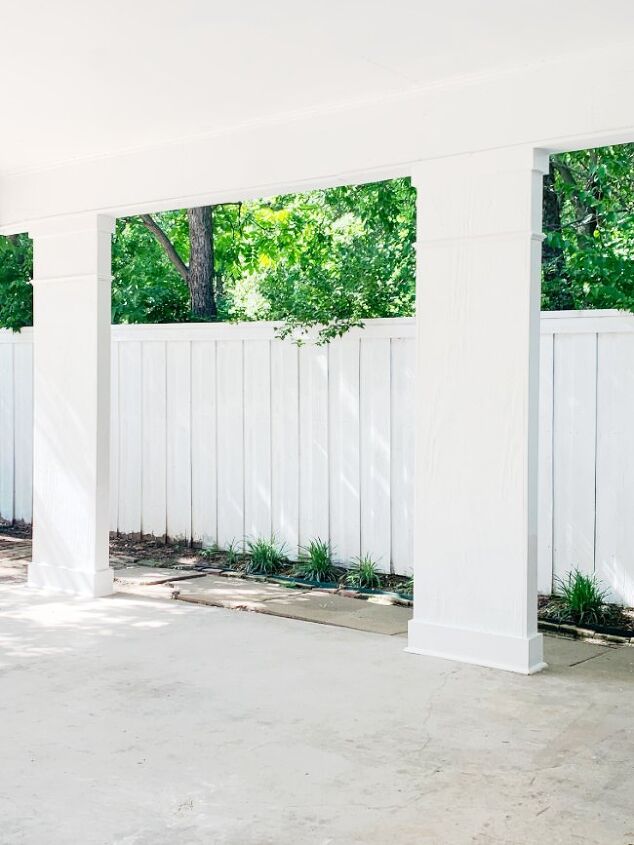
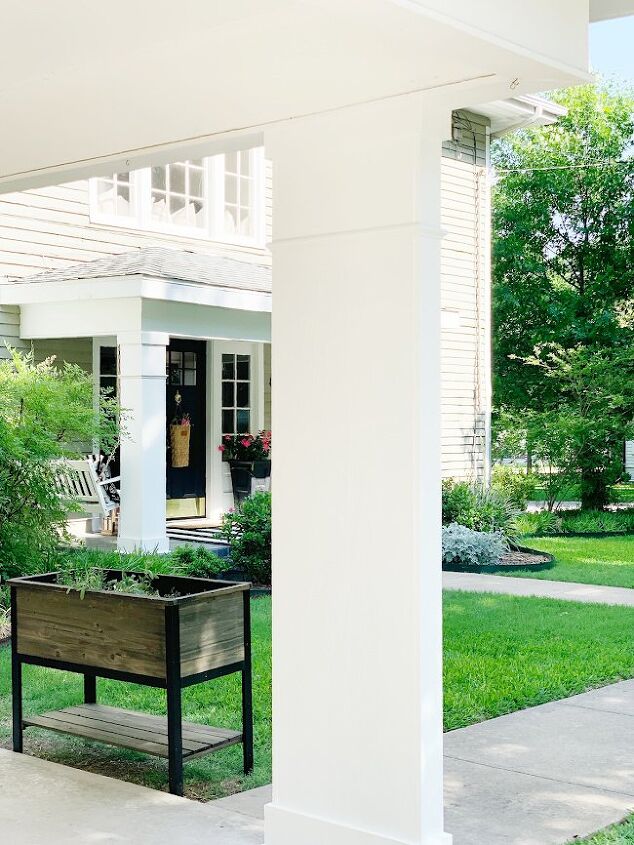
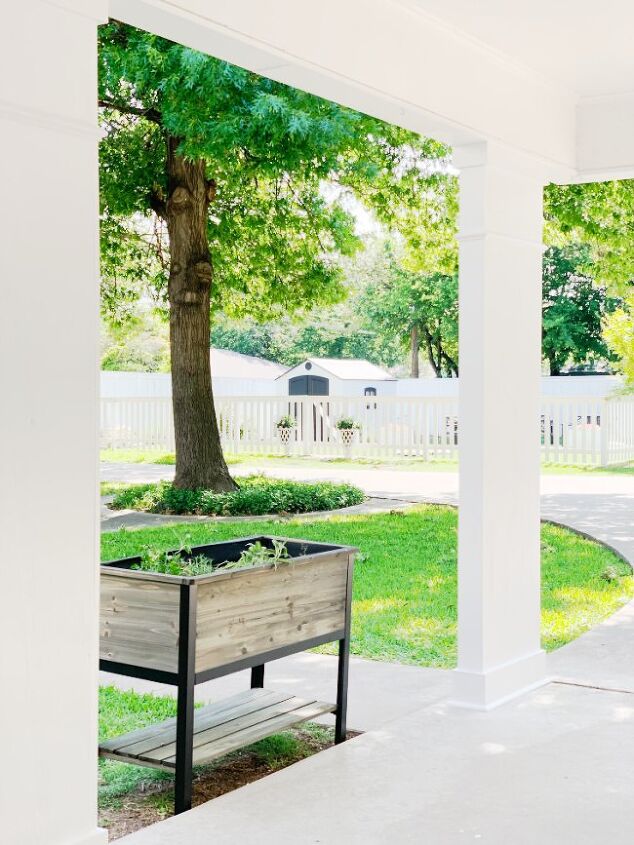
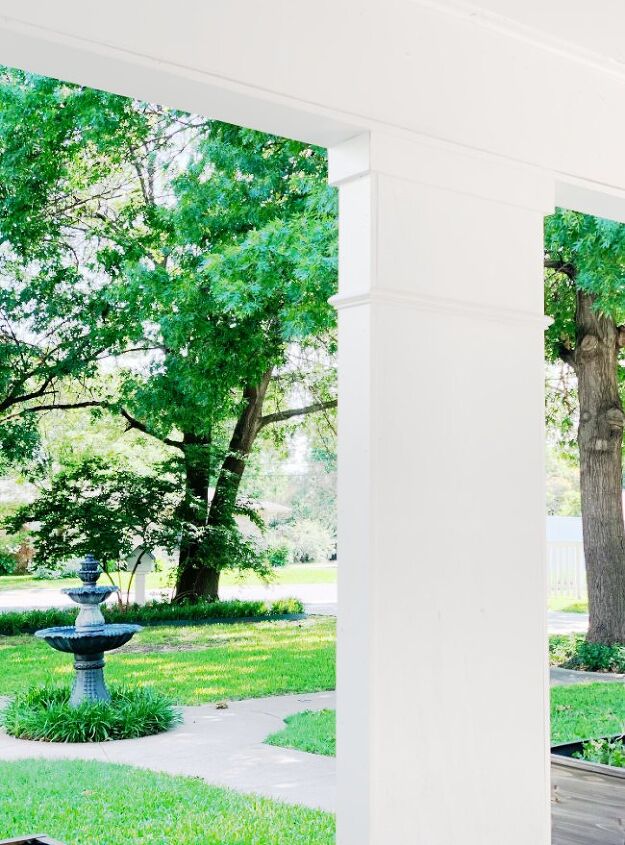
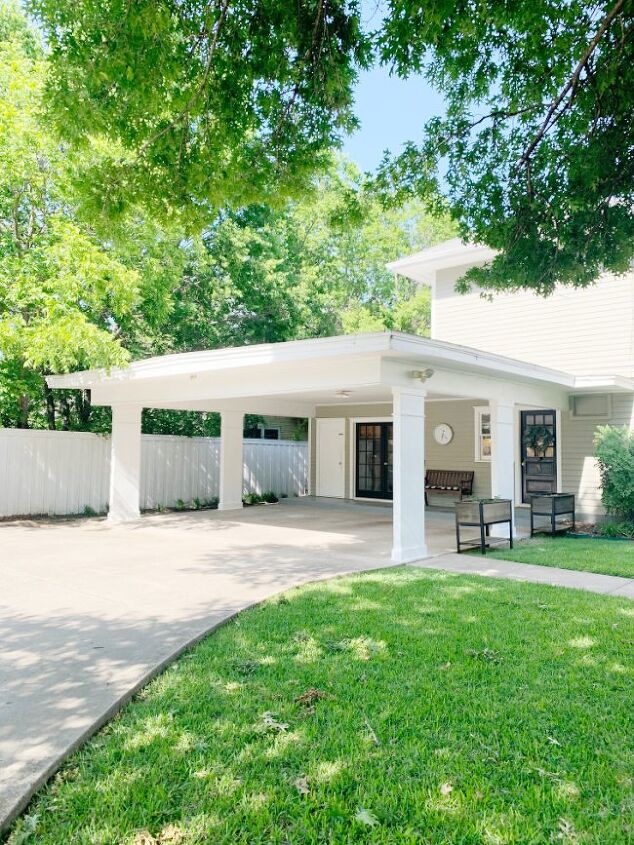
It’s seriously one of my favorite DIY’s EVER.
The carport is happy.
I’m happy.
And the columns are ready for summer!
Resources for this project:
See all materials


Comments
Join the conversation
-
Awesome job!
-
WOW what a change. Sure gave your house a classy look!! Updated isn’t the word!! Go Girl!!


Frequently asked questions
Have a question about this project?
Very good. How about using the top of the carport as a balcony doubling your entertainment space or adding a room to your house?
I applaud you! Great work and it’s so beautiful! I love the clean look to it! In the future, if it’s your taste, corner corbels can be installed for a dramatic effect or even plywood to round off the corners into archways using the same technique you did here. Enjoy the beauty of your work for now! It’s great the way it is!
Excellent Pictures! Really captures your process. Beautiful results!