Can you install river rock tile on an outdoor stoop over old concrete?
Related Discussions
Vinyl plank flooring vs pergo (laminate)
I currently have stinky dirty carpeting in my living room and I want to replace it with a durable flooring that can stand up to dogs and kids.
How to remove popcorn ceiling that has been painted?
Does having a paint over a popcorn ceiling change how I'd remove the popcorn ceiling?
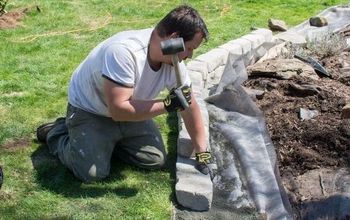
Can you pour concrete over river rock? Will it hold up?
We have a rental house, that for some reason our tenants made a patio area out of pretty big river rock (without permission). Now we are stuck with removing the rock ... See more
Porch Railing or Porch Wall? What Do You Think?
We've in the process of building a porch onto the front and side of our house (wraparound). We have the porch floor on, and now we're stuck, trying to decide which wo... See more
Can outdoor carpet (the green stuff) be applied to an exposed deck?
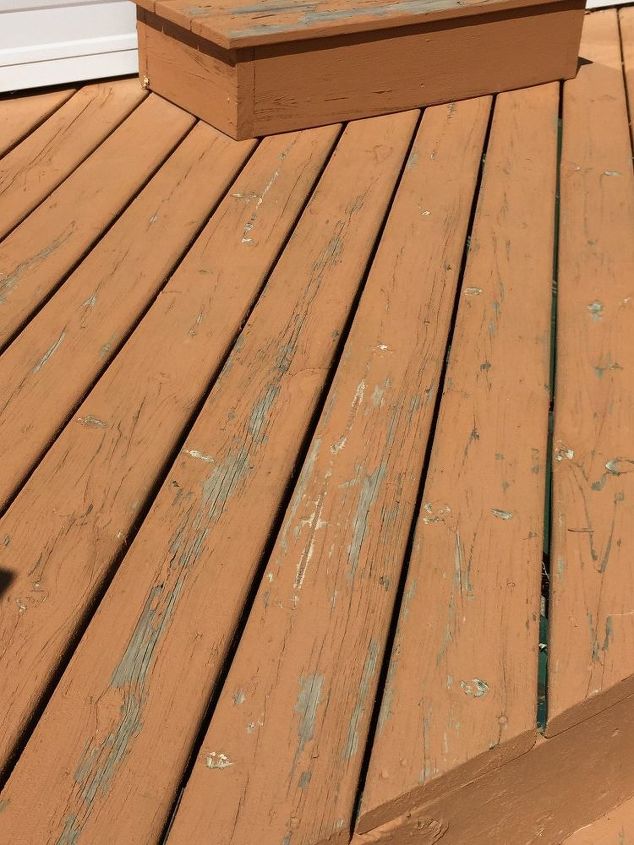
We have a deck that we spent three weekends re-doing with a HGTV recommended deck restoration product that peeled in 9 months. Cleaned and scraped, replaced rotted bo... See more
What to do with this space?
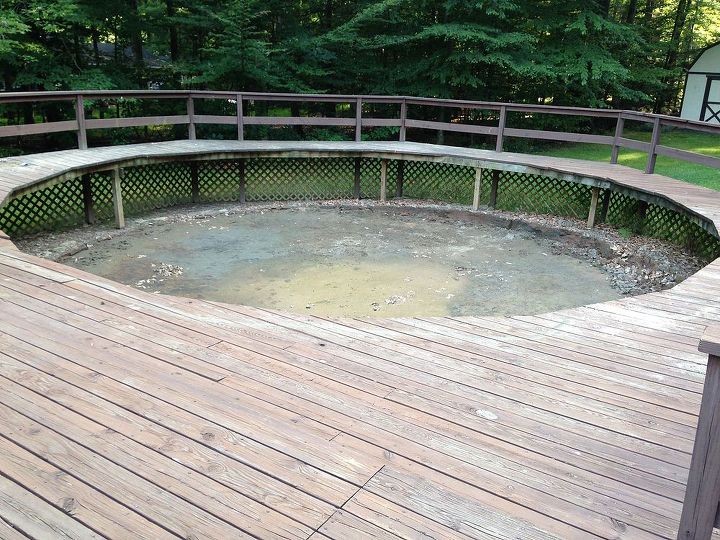
Removed a 27 ft above ground pool (not replacing it) and now need suggestions on what to do with this deck, it's attached to a larger deck that is attached to the hou... See more
Thompsons Water sealer disaster
Since we just had our deck pressure-washed, we decided to apply Thompson's Water Sealer to help preserve it. Big mistake. It seems to have a permanent stickiness. Any... See more


I found a Youtube video that shows how to...
https://youtu.be/htEAXybcZbs
One tiny warning: river rock is slippery when wet. Make sure you have a railing and a wide step. ☺️
Yes, how thick is the concrete? If it is the actual old stoop floor, you might want to reinforce from below before starting this project because you are adding more weight to the original foundation of the stoop.
Also,
though there should be a slope going slightly downward from the house/building,
otherwise, the existing concrete needs to be "level" before you lay
tile on it. Make sure you leave a slight slope, so water can drain, but you may
need to grind or build-up an area after you clean the concrete, but before you
begin to lay tile. The larger the tile, the more level your surface must be, or
the tile may crack or "rock" with use, over time.
Before
you begin - you will need to clean the concrete with TSP (tri-sodium phosphate,)
following mixing directions on the container - this is a dangerous substance,
so take necessary precautions and keep children and pets away!
You will want to "scarify" or grind
down the surface of the entire area of concrete where you will be laying the
tile, if the concrete was sealed, which I will have to assume it was as it was
an outdoor stoop. You may want to rent an electric tool for this purpose - this
ensures you will have a tight bond between the existing concrete and the mortar
Next
question is - are there any cracks in the existing concrete? If so, you will
need to install a piece of "membrane" used for this purpose and
thin-set over each cracked area - the membrane should come with instructions.
Determine
your tile layout - assuming the door is centered on the stoop – a good line
would be the center of the door to the front edge of the top step. If the door
is off-center, determine where you want to see the grout lines in relation to
the door. I would probably lay my line even with the side of the door that is
closest to where you walk up. Then, you will lay another line at 90 degrees
from the first line – if you have steps, that is where you want your line, if
no steps, the front edge of the stoop would be a good line. Snap two lines with
a “chalk line.” You will want to lay your tile “dry” beginning with a tile on
either side of your two lines and working your way outward in all four
directions. You will probably end up with “cuts” on at least 2 sides – this is
normal and the reason for this is it is a more pleasing look than just starting
at one side and having partial tiles only at the other side. You will You can
also get fancy and lay them in a diamond pattern or a bricklayer’s pattern or
1000s of other designs, but, since I assume you are working in a fairly small
area, and the tiles are the same size, I would probably suggest a standard
layout. You might consider using a small, rectangular border tile (or cutting
some from your own tile, if you have extra.) You may also want to get a rounded
“bull-nose” tile if you are tiling concrete steps, as well. Please look at “tile
layout” on the internet to get an idea of what I’m talking about here. NOTE: If
your layout ends up with one or more edges having 2 inches or less width of
tile, make adjustments to the center lines to avoid this. On regular tile, you
can go as small as you can cut – I’ve cut 1/16th inches on hundreds
of tiles in old houses where none of the walls were square! But, with the type
of tile you’re using, you want at least 3 inches wide.
Depending on your level of expertise, cutting tile, particularly if it has uneven edges like “river rock” tile, can be tricky. Is your tile embedded in mortar, or glued to a netting backing? The cutting of these two types will be completely different and too extensive for me to cover all the possibilities. You may need to rent a “wet-saw.”
Using
thin-set (also called mortar or mud) follow the mixing guidelines (try not to
mix more than you can use before it starts to get dry. Begin laying your tile,
per your chosen design – begin where your two lines intersect and work down one
of the lines, making sure you are getting an even edge. If your tile is square
(with completely embedded rock,) you will need to use plastic spacer at all the
corners to ensure an even grout line. If your tile has uneven edges, it is made
to fit into each other, like a puzzle – read the box and see if you need
spacers or if you are to just “eyeball” the distance between two tiles. All the
time, continue to check your work, before it dries to make sure you have not gone
off the lines. As you get close to each edge, double-check the distance from
your current row of tile to the edge; if you are slightly off, you can get away
with laying some tile a little closer together and, going to the other edge, laying
some a little farther apart. I wouldn’t “fudge” this space by more than about 3/16th
of an inch, or it will be noticeable. If your edge pieces are narrow and there
is a big difference as you are approaching the edge, you will want to remove
and readjust your previous rows. Sometimes, you can just “nudge” the tiles with
the heel of your hand. This is why you work with fairly small areas and continually
check the “squareness” of your tile rows. As you lay your tile, use a rubber
mallet to gently tamp each area of each tile into the “mud” to ensure a good
bond.
After all tile is laid and, usually after 72 hours (don’t let anyone walk on it!) and check what your thin-set suggests for setting time, the next step is grout. Being outside, the temperature and humidity can change setting time. I’ve also had to cover tile work because of unexpected storms!
I NEVER use light-colored grout outside as it will get dirty very fast! Decide on your color, buy the proper type of grout for your tile, for the amount of traffic in that area, and for outside.
Mix your grout, only mixing as much as you can complete before it starts to harden. Start to push the grout into the spaces between the rocks, going in all directions across the tiles if they are the type where the rocks are uneven. This will ensure grout will go under all the rocks all the way around. There may be special instructions for your grout and/or for your tile – those instructions supersede my instructions (unless it tells you you don’t need to level the floor first! 😉
Complete a small area of grout, using a rubber float. Use a damp rag to gently remove excess grout. After about 30 minutes or so, use a wet sponge to remove the “haze” the grout will leave on top of the tile/rocks. Continue until all tile is complete. Wait AT LEAST 24 hours or whatever your grout suggests. Do not let anyone walk on this area.
You can, and probably should, seal the grout with an outdoor grout sealer. This will protect the grout and make it easier to keep clean. Buy the correct type for your grout and for outdoors.
I hope this helps – I am not a professional tile mason, but I did sleep at a Holiday Inn Express last night! Just Kidding – my fiancé is a 3rd generation tile mason and I have helped him many, many times and learned what I know about tile laying from him and his father 😉 Good Luck!