


The Best Idea To Make Door Shutters
Y’all I had this idea to add shutters to our front doors. So the search was on for vintage shutters the height of the doors. The problem wasn’t finding shutters the correct height, it was finding some in good condition that we could afford.
After several attempts to find old, taller shutters, we realized that finding exactly what we wanted, at a reasonable price, was daunting.
Therefore, another plan was born.
We could add on to the existing shutters to make them tall enough.
After several attempts to find old, taller shutters, we realized that finding exactly what we wanted, at a reasonable price, was daunting.
Therefore, another plan was born.
We could add on to the existing shutters to make them tall enough.
Materials & Tools for Project – extend the Shutters
- 2- 6x8x1 lumber from Hardware Store (depending on your shutters, this width may vary)
- Jig Saw
- Biscuit Joiner
- Miter Saw
- Cordless Drill
- Joining Biscuits
- 3/8″ Dowel Rod
- Wood glue
- Clamps for Woodworking
Before you begin, measure the length of your shutter and the distance from your porch to the bottom of your light fixture. Then measure from that point to the top of your door. This will determine the length of your extensions.
Important NOTE:
For today’s tutorial, I’m using the measurements that we needed to extend our shutters. Your exact measurements will most likely vary.
Once you have your measurements, you will begin using the miter saw to cut approximately 12 boards from the lumber.
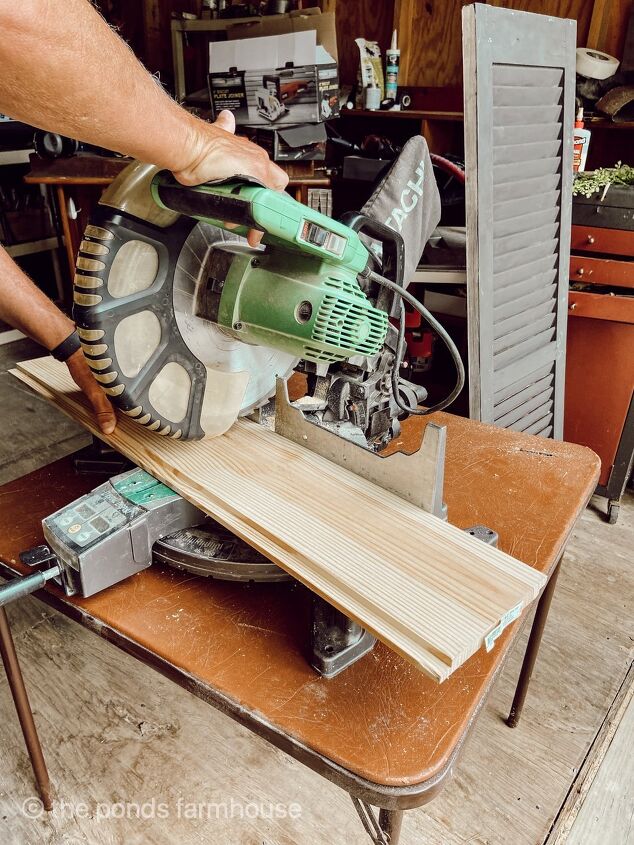
Be sure to cut the boards the exact width of your existing shutters. We needed 12 – 16 inch long boards.
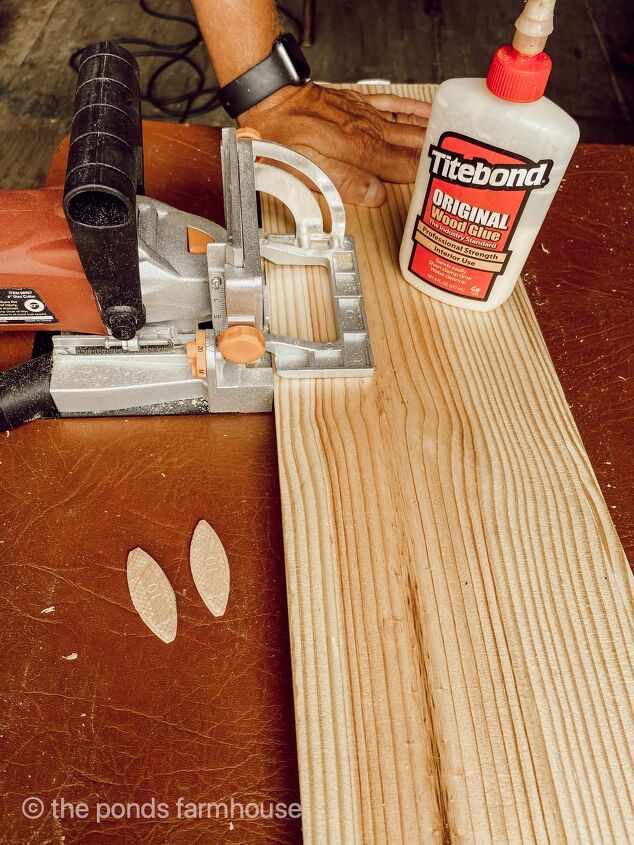
Next, use your biscuit joiner to cut and add biscuits to join 3 of the boards together.
Be sure to mark the placement of the biscuits so that the boards will align once glued together.
Use wood glue to secure the biscuits between the boards and along the edge of each board.
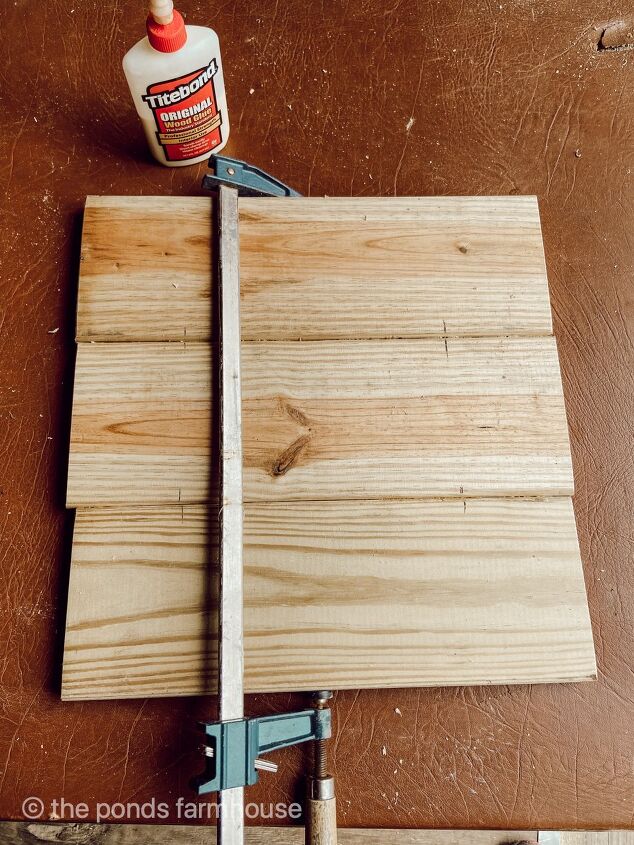
Once the three boards are glued, use the clamps to hold them in place for approx. 30 minutes. After removing clamps, allow 24 hours before proceeding.
Repeat this process until you have 4 sections.
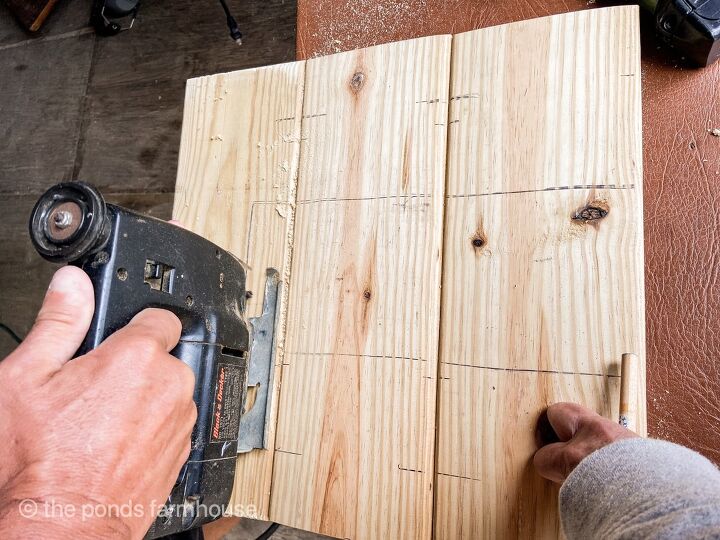
Because the top section will fit around the light fixture, careful measurements are needed to cut out for the opening.
Use the jig saw to cut the opening in the two top sections.
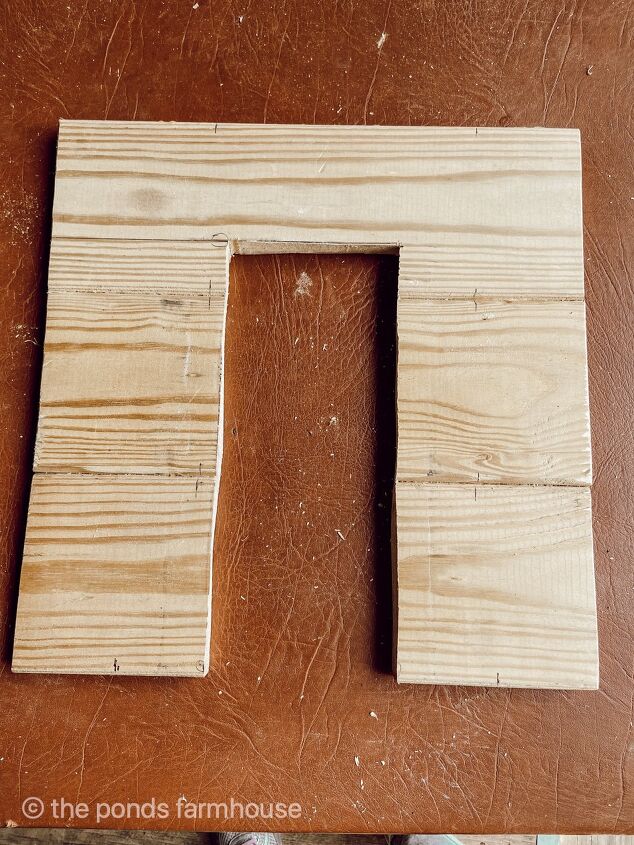
Use the jig saw to cut the opening in the two top sections.
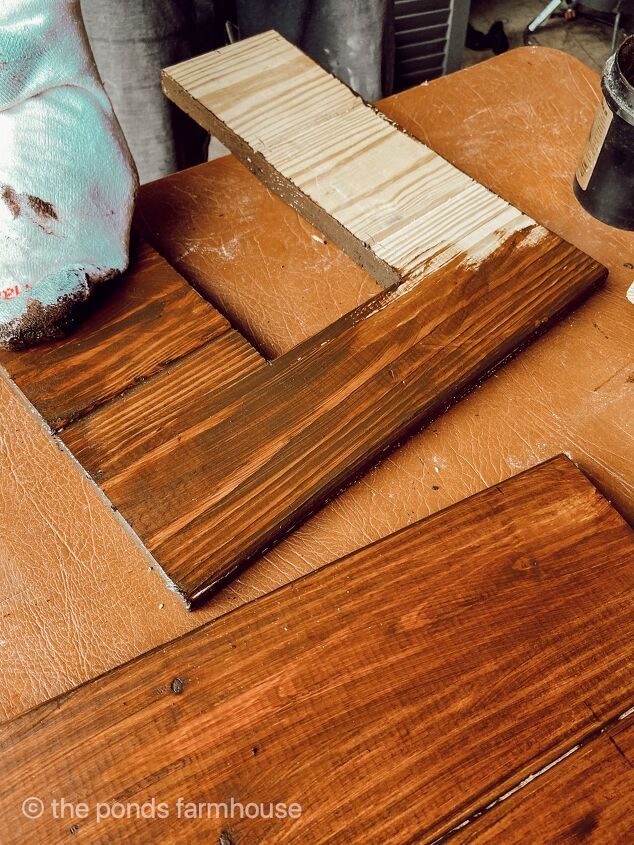
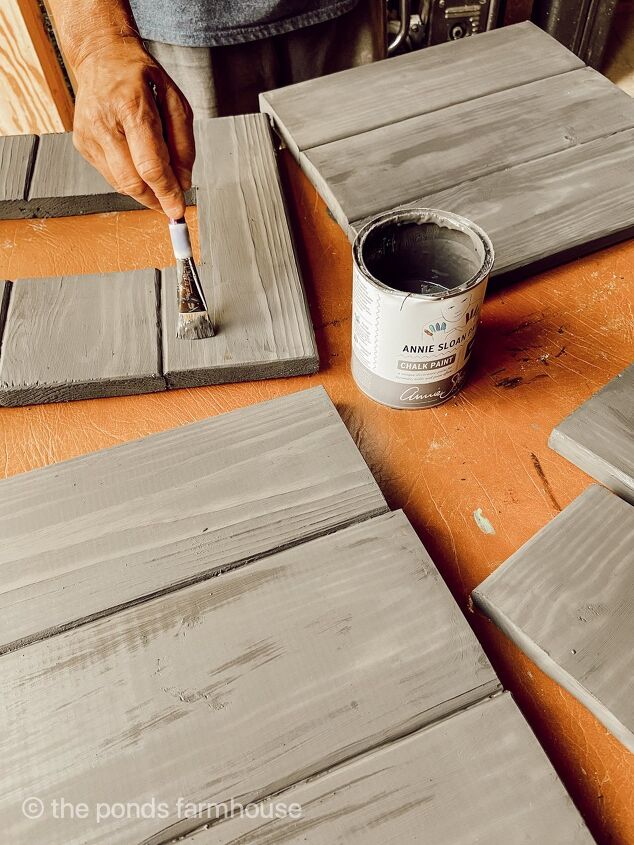
Once everything is dry, stain the sections and then paint to match your shutter. You can wait to paint, just before installation, however it’s easier to do in small sections that are easier to work with.
If there is any damage during installation, the paint is easy to touch up.
I always get asked why I stain before I paint so I’ll explain. The original shutters were dark brown before I painted them. In order for the paint color to look uniform, stain the wood first and you will not be able to see a difference.
Attach the bottom section
To attach the bottom section, use biscuit joiner to cut and join the bottom of your shutter to one of the sections.
Use wood glue to secure and add a clamp to hold until glue is set, approx. 30 minutes. Once again allow to set for 24 hours before proceeding.
Attach Top Section to Door Shutters
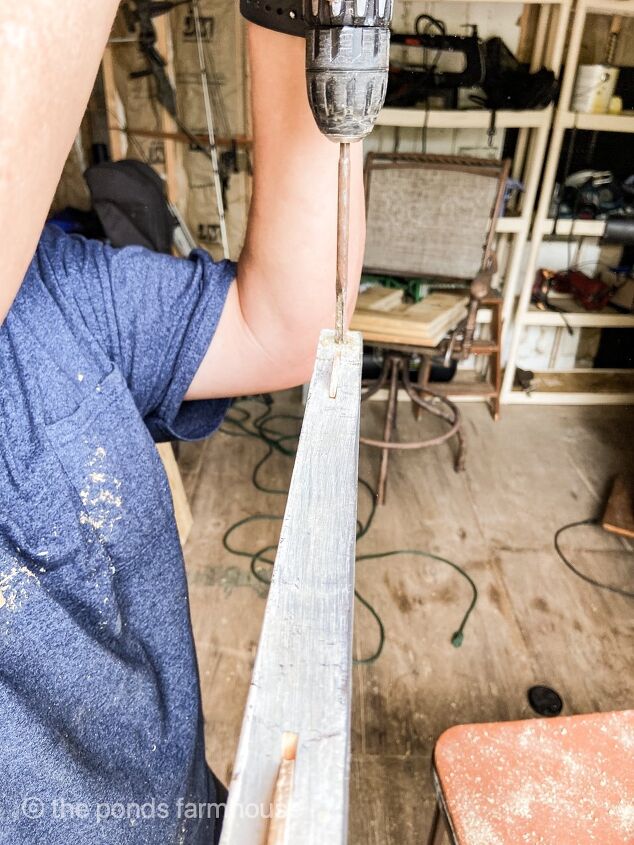
Next, you will want to use your biscuit joiner and drill to create a way to join the top section to the shutter top. Align the top section to the top of the shutter, with the cut out area at the bottom.
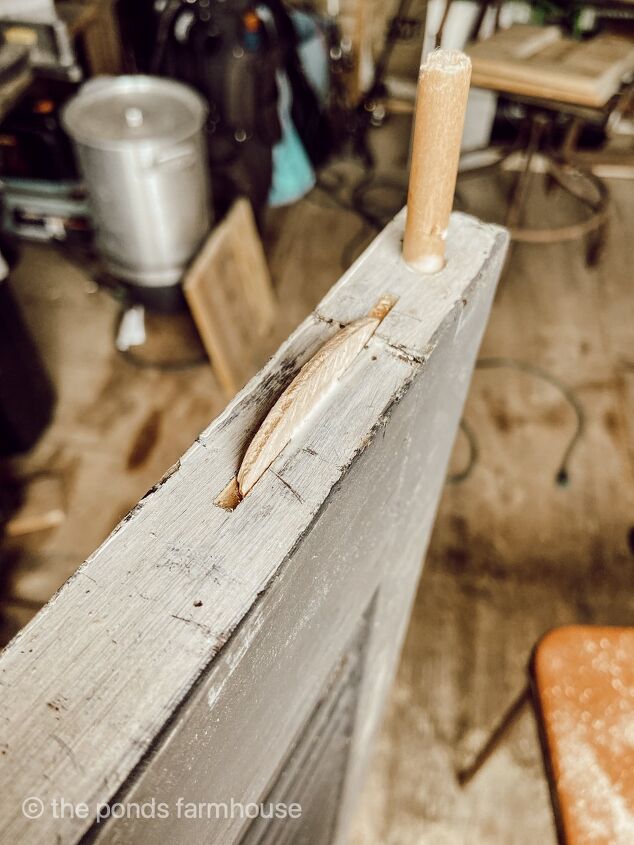
Glue the biscuit and dowel rod into the shutter only. Be sure that the holes drilled for the dowel rod allow the shutter and top section to meet.
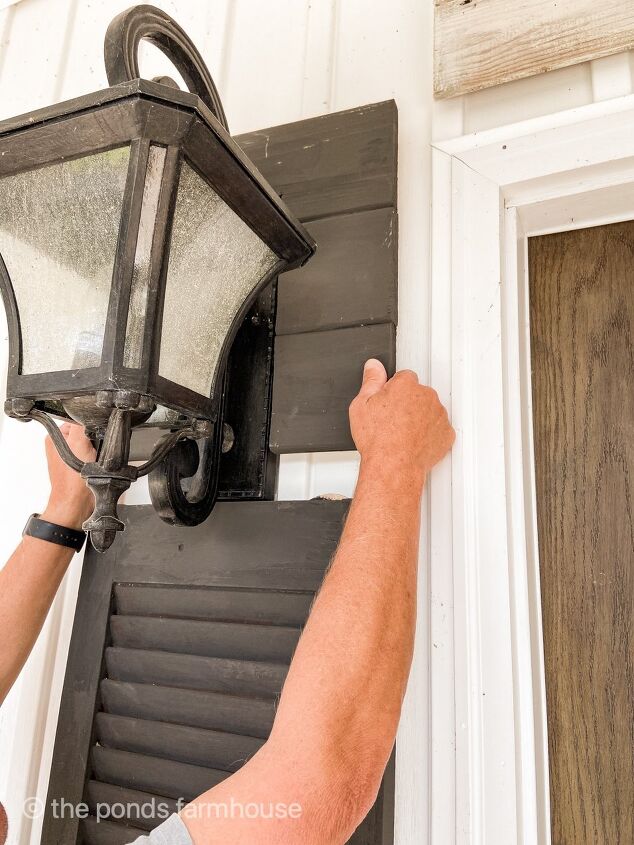
Install Door Shutters
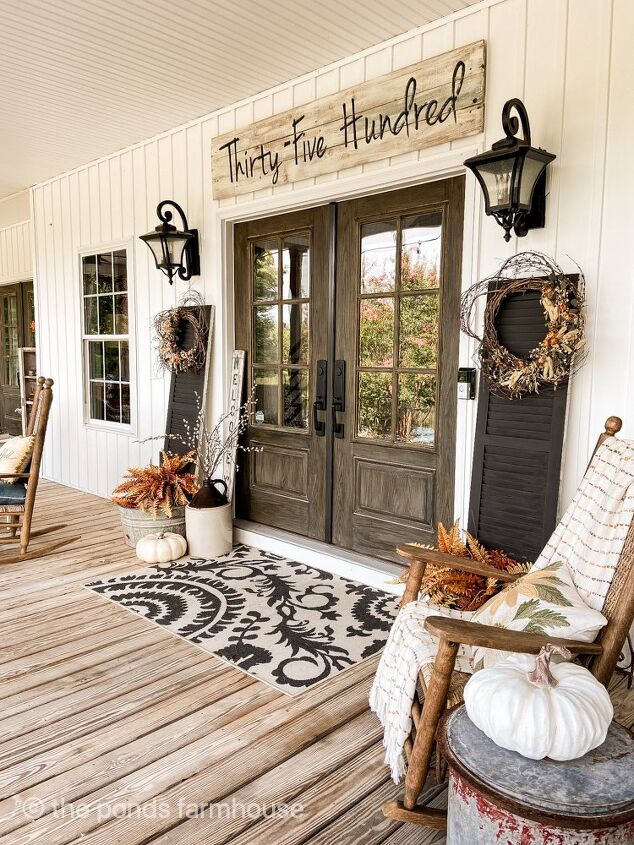
Begin by aligning the shutter under the light fixture and then bring the top section over the top as shown below.
Allow the dowel rods and biscuits to slip into the top section.
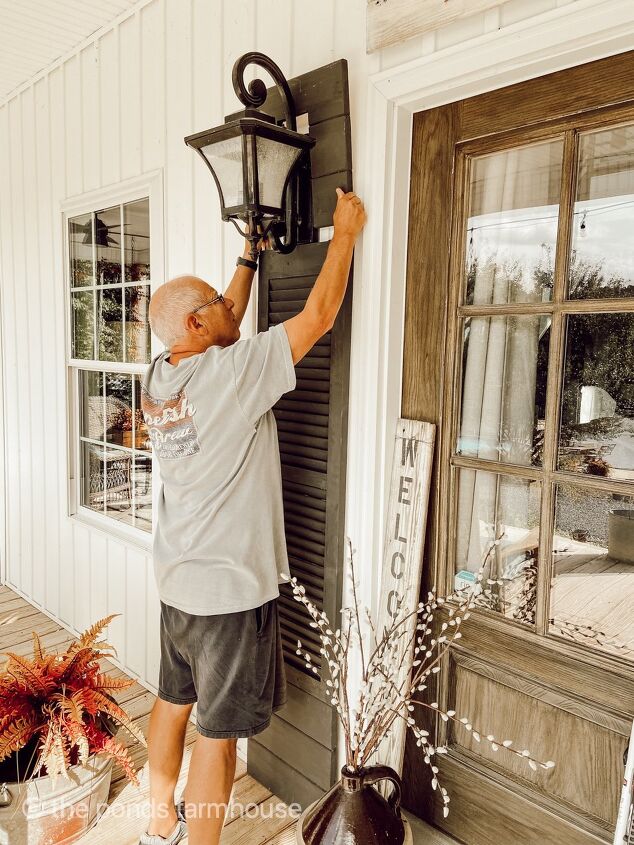
We did not glue the shutter to the top section because we might want to remove the shutter at a later date. It is easy to slip the top piece off to remove.
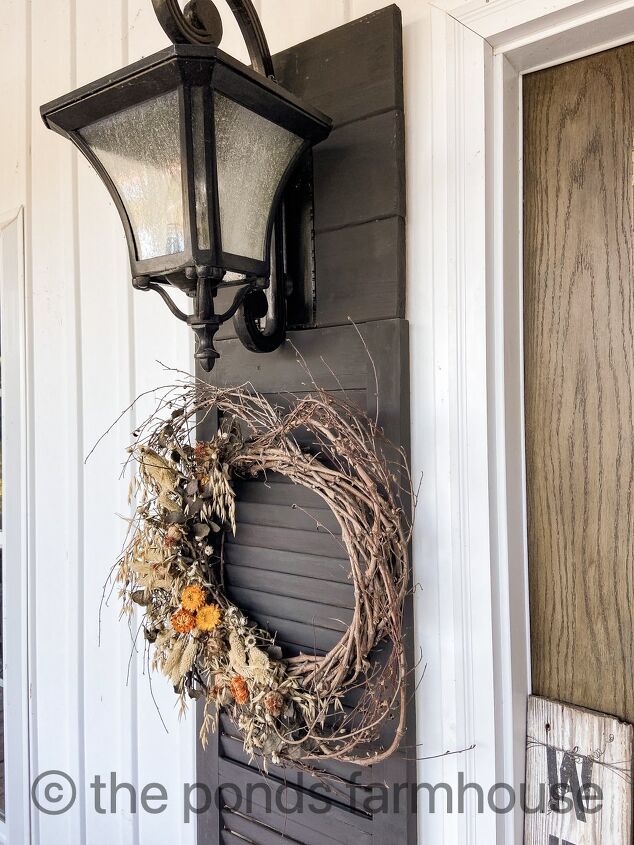
The light fixture secures the shutter in place and I’m loving this updated front porch appearance.
You might also like seeing How to make a Shutter Headboard out of a yard sale shutter.
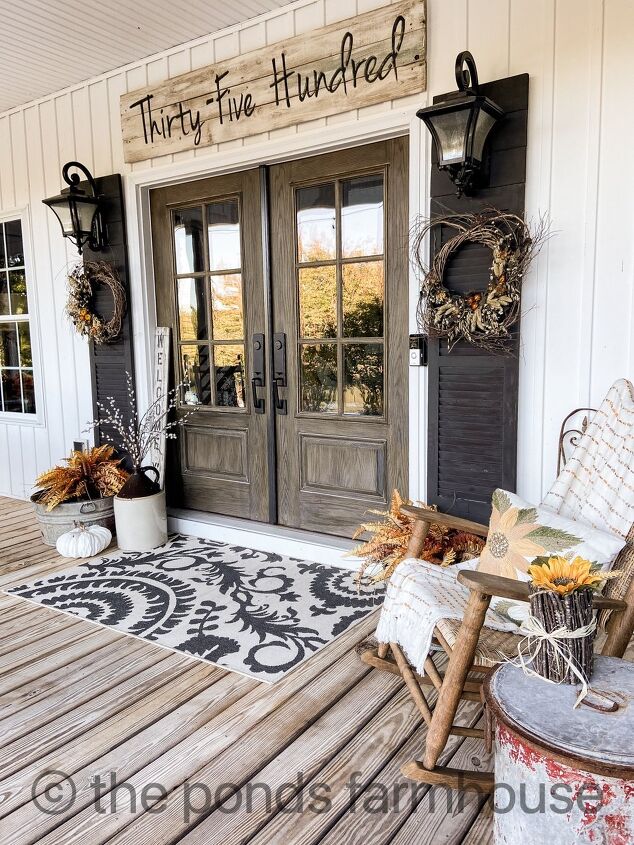
Be sure to see How to Make an Address Sign like the one above.
Thanks so much for stopping by today. I look forward to sharing my next adventure with you!


Comments
Join the conversation
-
Your front porch, wow, just wow!
-
Absolutely beautiful! Love the doors, too! 😍 That porch is very inviting!


Frequently asked questions
Have a question about this project?
I do not even know where to begin. I Love the Shutters and how you wrapped them around your light's, such a great idea and one that I will absolutely be copying immediately! LOL. I have brick around my front door and there's a rectangle brick design that I have always thought shutters would look perfect inside of, except that the porch lights are right in the way. Your post has just solved that issue for me! Thank you for sharing!
I Also wanted to add that There isn't one thing about your porch that I do not just love. It is decorated so warm and welcoming. I love the address sign over your door and I have to ask where you got the rug? I love the pattern. I am a Realtor so I walk across a ton of front porches in any given week and your porch is hands down the prettiest I've seen in a very long time!