


How to Build a Beautiful Concrete Bag Walkway | 8 Easy Steps

Get ready to take your outdoor space to the next level with an amazing DIY project: a cement-in-plastic bag walkway!
In this guide, I'll show you how to create a durable and eye-catching concrete pathway for your front yard or garden path.
This post was transcribed by a member of the Hometalk editorial team from the original HometalkTV episode.
Best natural weed killer!
Say goodbye to ordinary paths and hello to a charming and rustic stone walkway that will enhance the appeal of your home.
Let's delve into this exciting outdoor walkway idea that will guarantee your guests are impressed the moment they arrive at your front door.
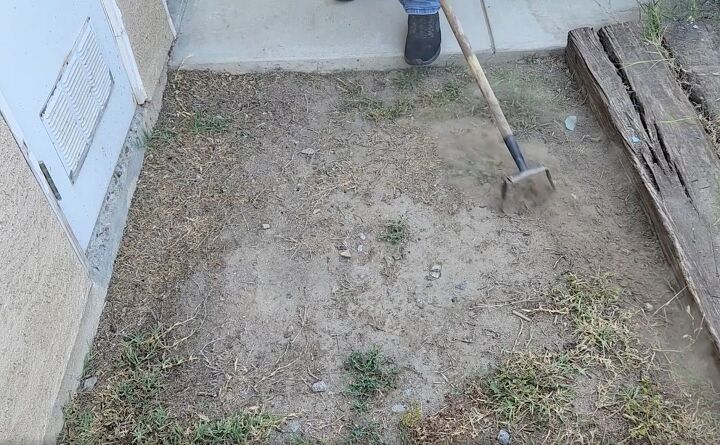
1. Preparing the Area for Your Cobblestone Path
Get ready to create your rustic paver walkway by prepping the area.
Clear away any grass and make sure the ground is nice and level.
Having a well-prepared and smooth surface sets the stage for a solid foundation for your cobblestone pathway.
2. Splitting the Concrete Bag for Easy Handling
Here's a simple trick to make working with a bag of concrete cleaner and easier:
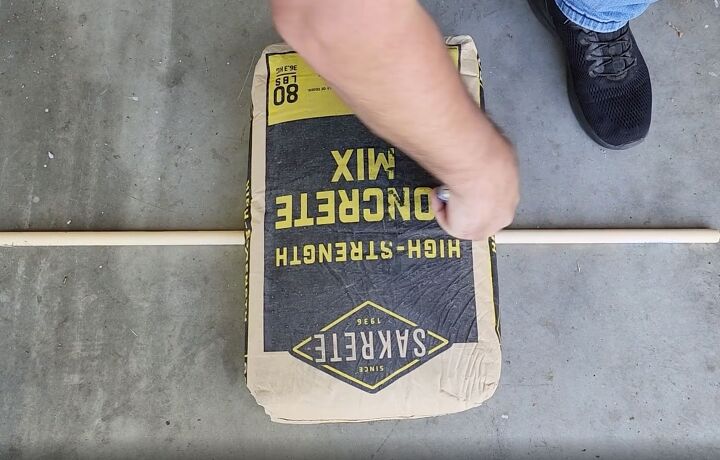
Start by positioning a sturdy dowel beneath the center of the bag.
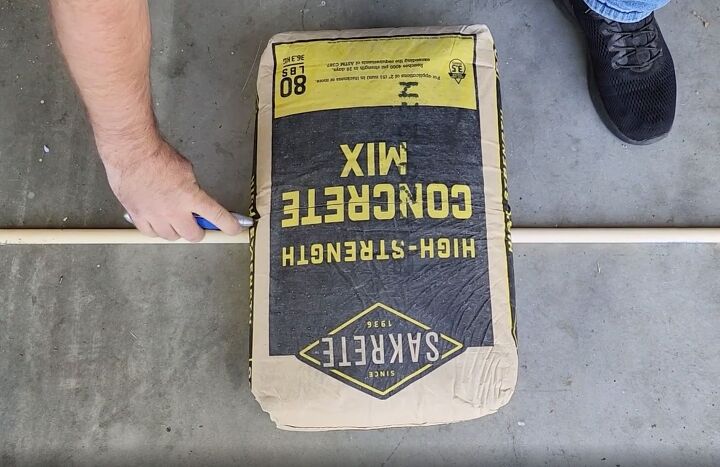
With the dowel securely in place, cut the top of the bag straight across the middle.
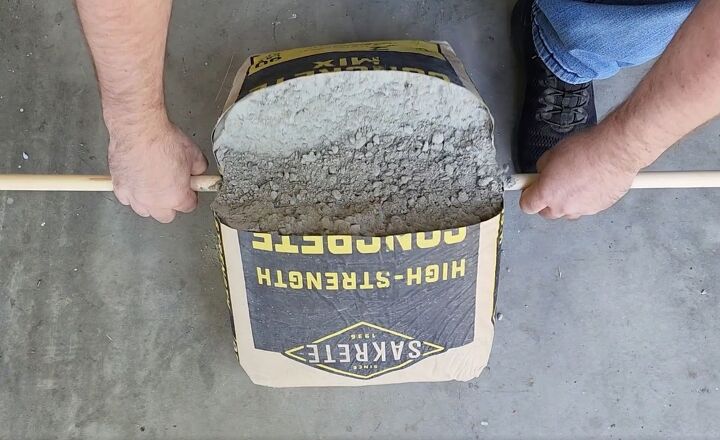
Then, gently lift the dowel, allowing it to effortlessly split the bag into two halves.
This ingenious method eliminates the need to strain yourself by carrying heavy bags of concrete mix and it keeps your workspace tidy.
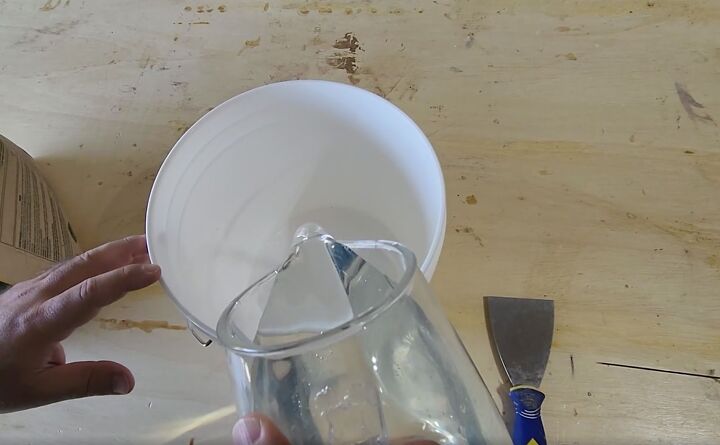
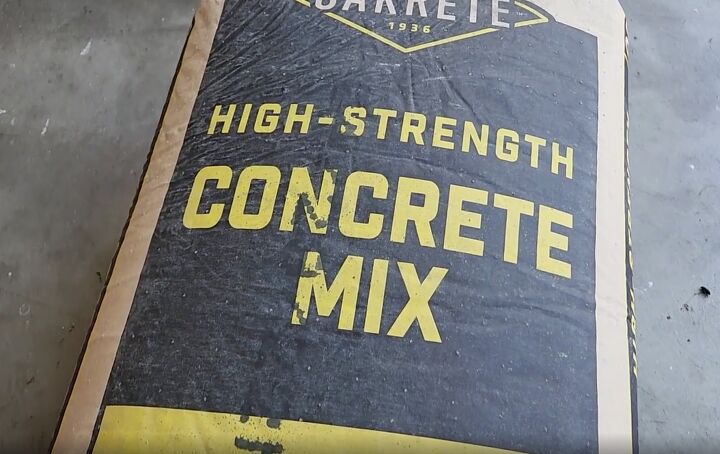
3. Achieving the Perfect Concrete Mix
Let me walk you through my tried-and-true concrete mixing technique that guarantees a smooth consistency for your project.
First, grab a bucket and begin by pouring water into the bottom. This simple trick prevents the concrete from sticking to the bottom of the bucket.
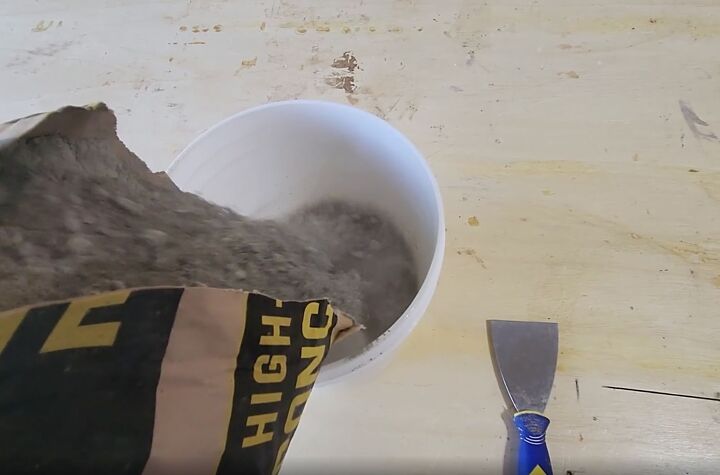
Next, add the concrete mix, allowing it to settle in the water.
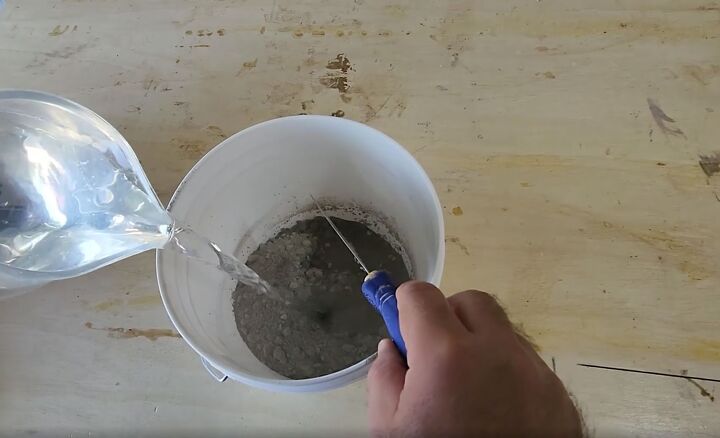
To get the ideal texture, gradually pour in additional water while continuously mixing. For this particular project, I opted for a slightly runnier mix than usual.
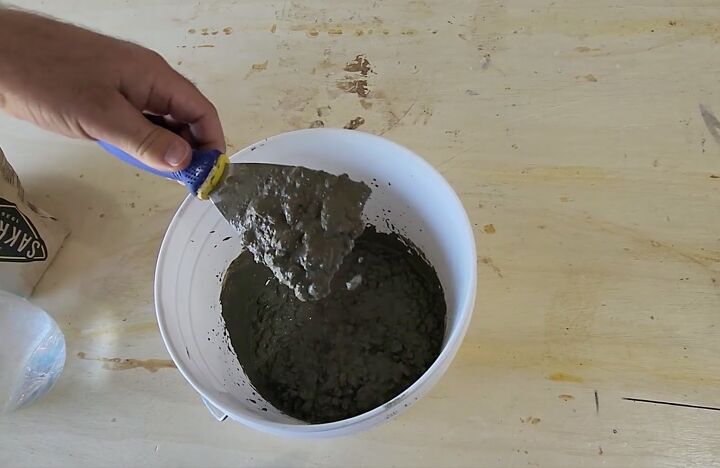
The goal is to achieve a fluid consistency that effortlessly glides off the scraper. This ensures easy application and a seamless finish for your cobblestone path.
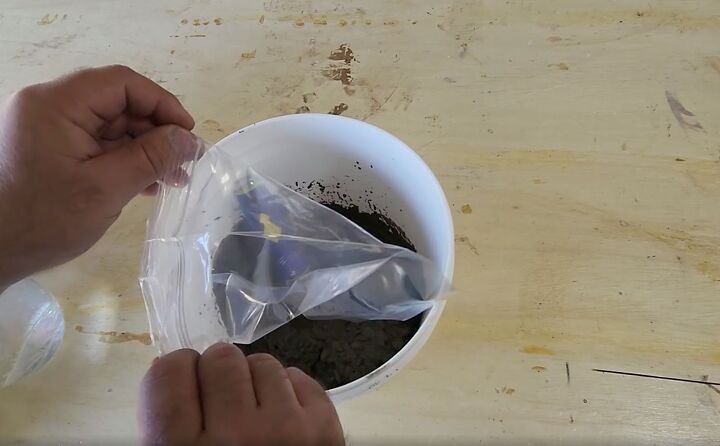
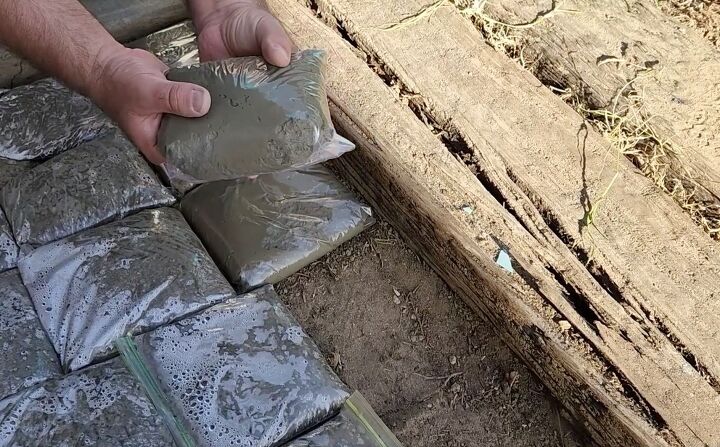
4. Creating Concrete Stones for Your DIY Cobblestone Path
It's time to dive into crafting your very own DIY concrete stones with plastic bags.
Grab some 1-quart Ziploc bags and start filling them up.
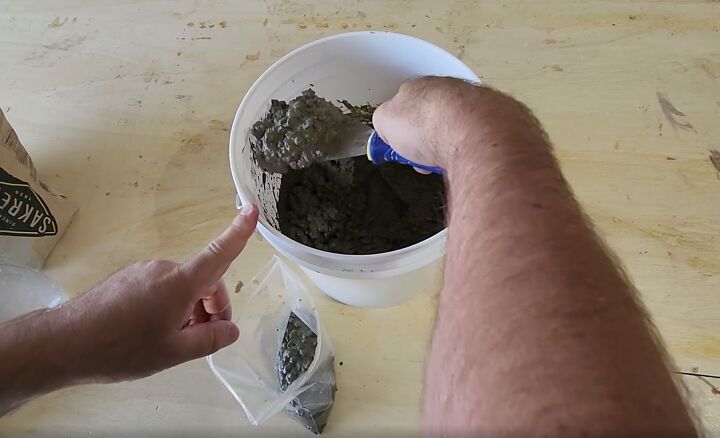
You want to aim for no less than half a bag and no more than three-quarters of a bag full.
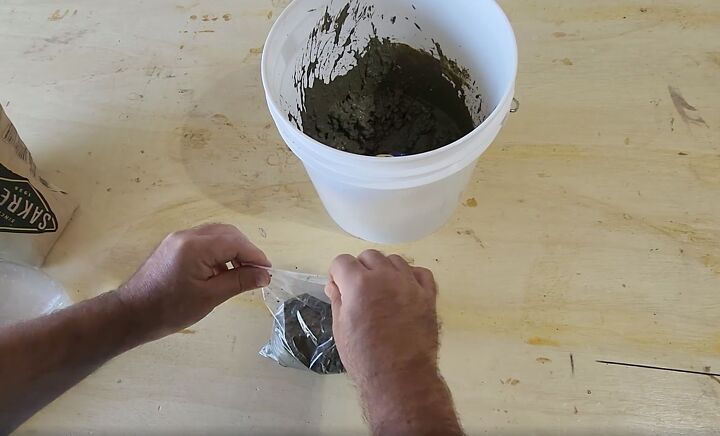
After the bag is full, gently squeeze out the air and zip the bag closed.
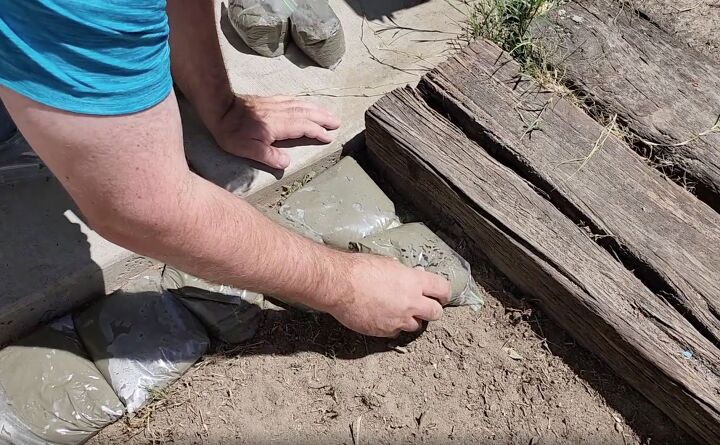
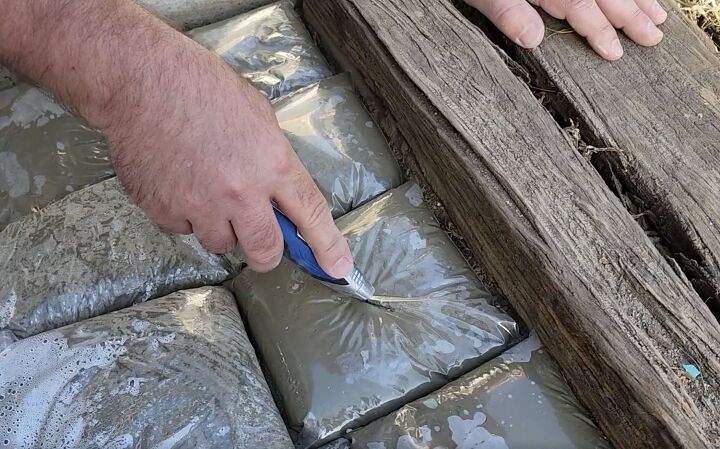
5. Placing the Concrete Bags for Your Cement Bag Walkway
Let's move on to the exciting part: laying the concrete bags in your desired space!
Carefully position the filled bags making sure to tuck the zipper under each bag when you place them down.
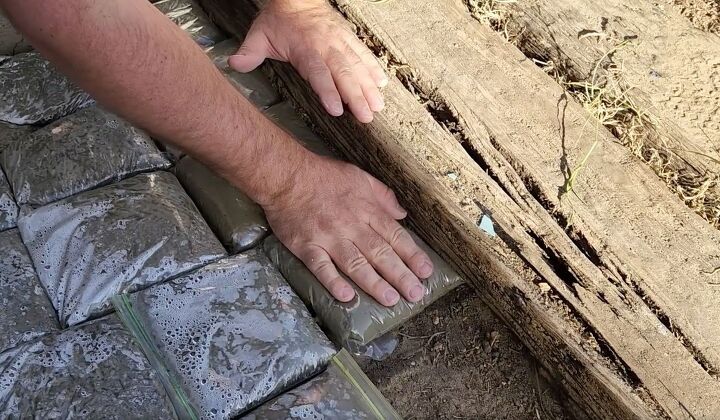
Make sure the concrete is evenly distributed, by giving each bag a gentle jiggle. This will allow it to settle into every nook and cranny.
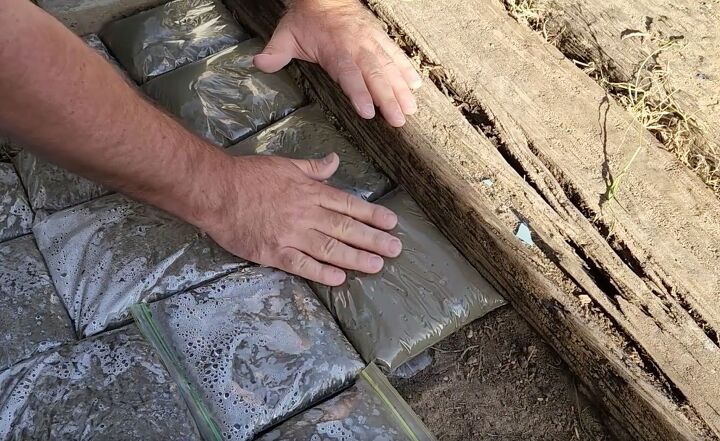
Smooth out the bags using your hand, creating a level and flat surface for your cement bag walkway.
6. Adding Magic with Glow-in-the-Dark Stones
Let's sprinkle some magic into your concrete bag walkway by incorporating glow-in-the-dark stones.
These special stones will draw the eye across your DIY cobblestone walkway, especially during nighttime strolls.
Start by splitting each bag in an "x" shape, revealing the hidden concrete mix underneath. This creates a space to nestle the glow-in-the-dark stones.
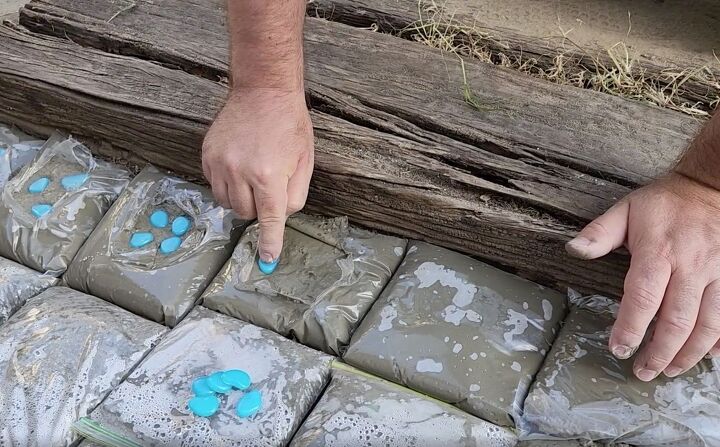
Carefully press 3 or 4 stones into the exposed concrete.
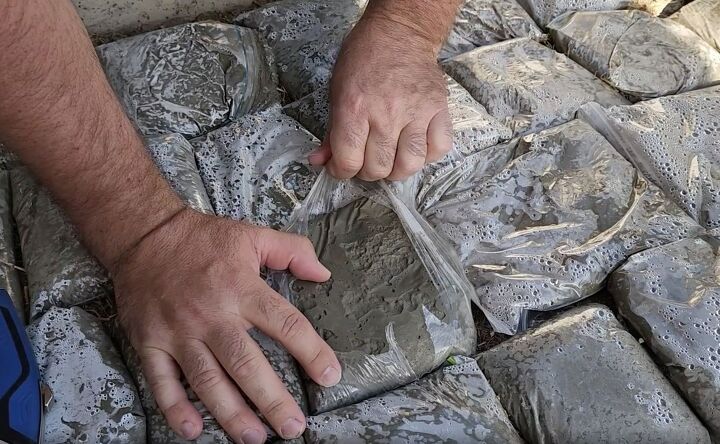
7. Allowing the Concrete Bags to Dry and Removing the Plastic
Let the concrete set overnight.
With the concrete still slightly wet, begin the process of removing the plastic from each paver.
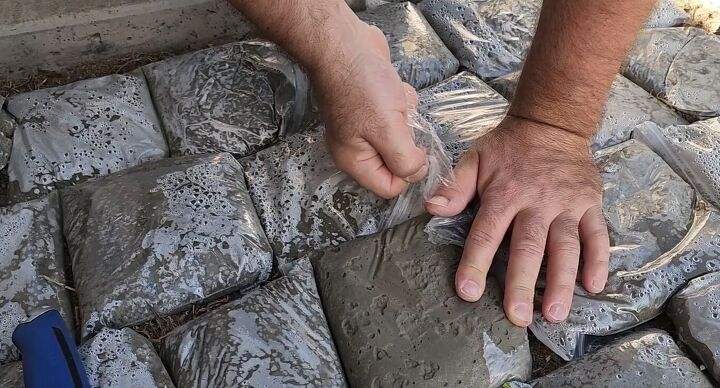
Slightly lift each paver and peel off the plastic to reveal the charming rustic cobblestones beneath.
If you find it challenging to remove all the plastic, don't worry! It can actually serve as a helpful weed barrier, keeping your pathway looking pristine.
Now, it's time to let your cobblestone path dry completely.
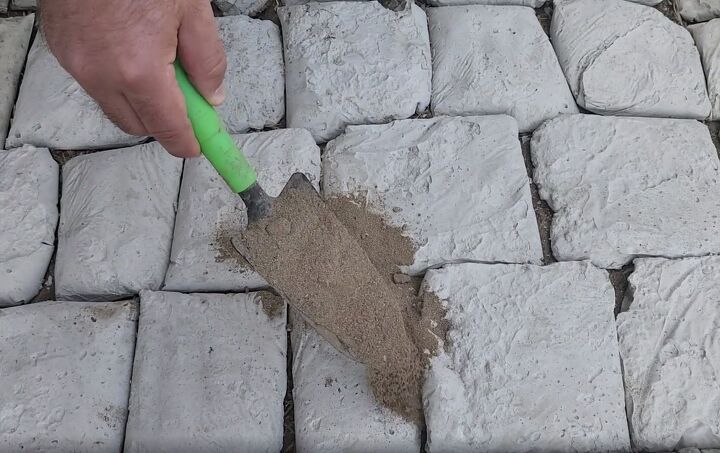
8. Filling Cracks with Sand
Let's give your concrete walkway the perfect finishing touch.
Fill the gaps between the stepping stones by carefully pouring sand between each stone.
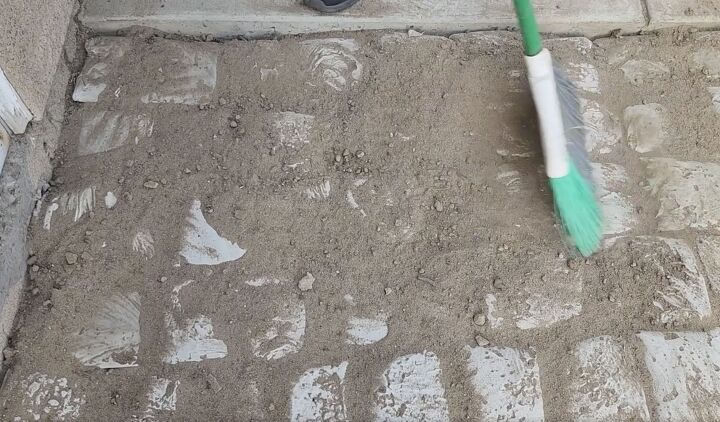
Grab a broom and gently sweep the surface. Remove any excess sand.
This step not only adds stability to the pathway but also gives it a polished and professional look.
More Concrete Projects
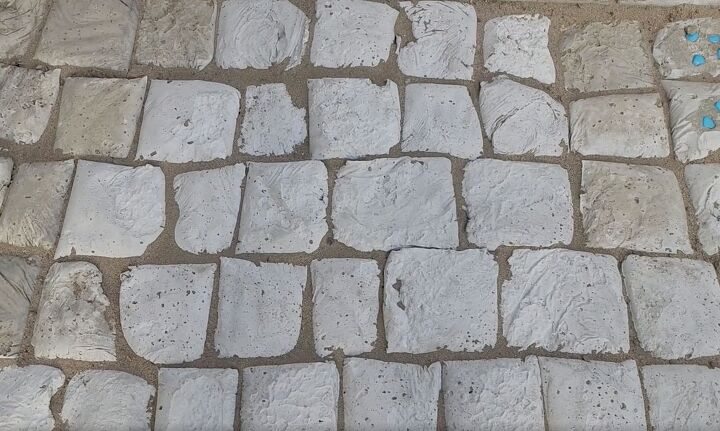
Step-by-step guide for creating a concrete bag walkway
Creating a DIY concrete walkway with plastic bags is an easy and rewarding project.
Follow these simple steps and transform an unused area in your outdoor space into a rustic cobblestone walkway.
This clever project not only enhances the functionality of your yard but also adds visual interest to your outdoor landscaping design.
Let us know how your cobblestone path turned out and any tips or tricks you discovered along the way.
Resources for this project:


Comments
Join the conversation
-
or.. you can use a concrete stamp. easier.

-
We did the same thing,it was beautiful,but when it was walked on, it cracked


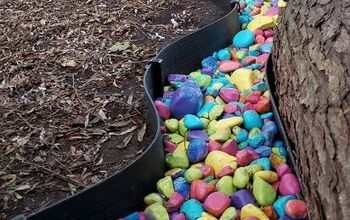


![Faking It [brick Paver Edition]](https://cdn-fastly.hometalk.com/media/2017/04/05/3806609/faking-it-brick-paver-edition-animals-appliance-repair-appliances.jpg?size=350x220)


Frequently asked questions
Have a question about this project?
How did you keep it at $10???!!!!
I do love the idea though! Might even try it as my green house floor!
With regards to the Ziploc cement pathway, would you have any advice as to how you could create multi-colored "pavers" (i.e., like the colors of reclaimed brick)? Also, has anyone mortared these by brushing in dry cement in the cracks and misting them with water to cure? Thanks in advance for your help!
I have seen several tutorials for the same thing--it's a fabulous, low-tech idea! Has anyone tried it with larger ziplock bags? Wondering if that would be a good idea or not. AND--has anyone tried it over the concrete surrounding a pool? We removed the ugly tiles that were there but the bare concrete is yucky. I have been searching for a low cost solution and think this could be it! Thank you so much for sharing!