


Walk and Pad for Pergola

by
Rhonda S
2 Materials
$300
8 Hours
Advanced
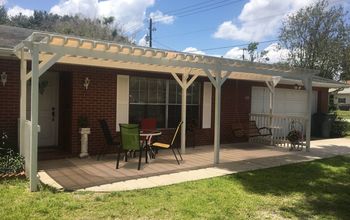
We poured a concrete walk and a pad for a pergola. Here are some photos of the project. We are NOT professional grade workman, so there are flaws, but we like the rough broom finish for the traction it provides on wet and icy days. We hired a college kid to help. The 2 x 4 forms were reclaimed after for a future building project, so the cost of the delivered concrete was the only significant expense. I'm 62 and my husband was 63 when we did this last fall. A bit of "yes you can" for you!
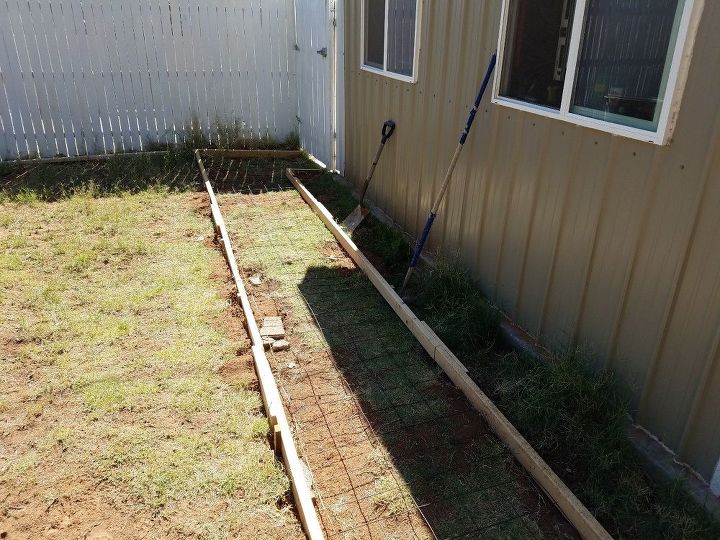
We leveled the section of ground and put in a wire grid for reinforcing after building the simple 2 x 4 forms.
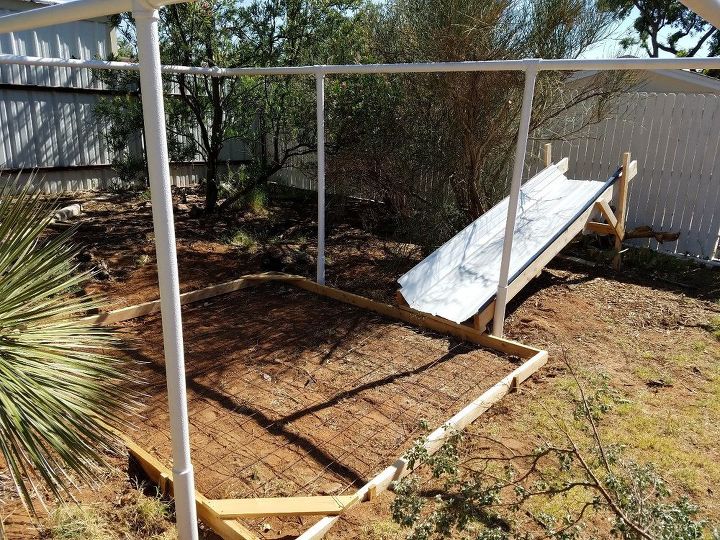
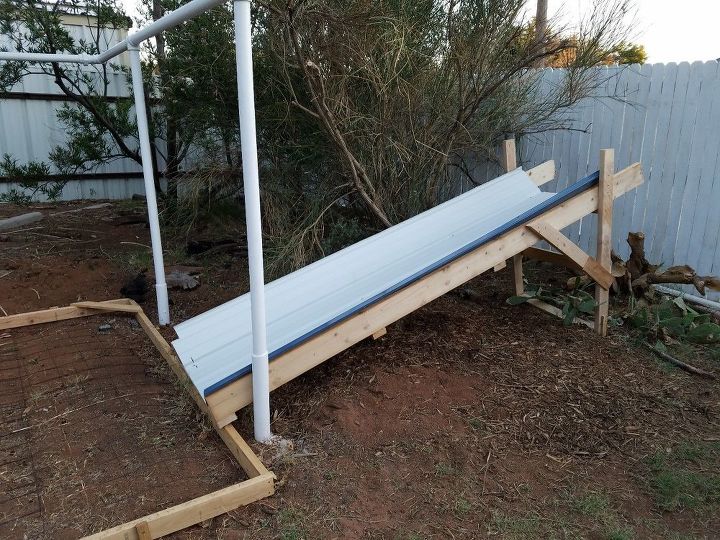
We had a sheet of metal left over, and we knew we were either going to have to haul the concrete in a wheel borrow of make a way to get it from the truck to the form. When we took down a section of the fence, the truck's own shoot reached this "extention."
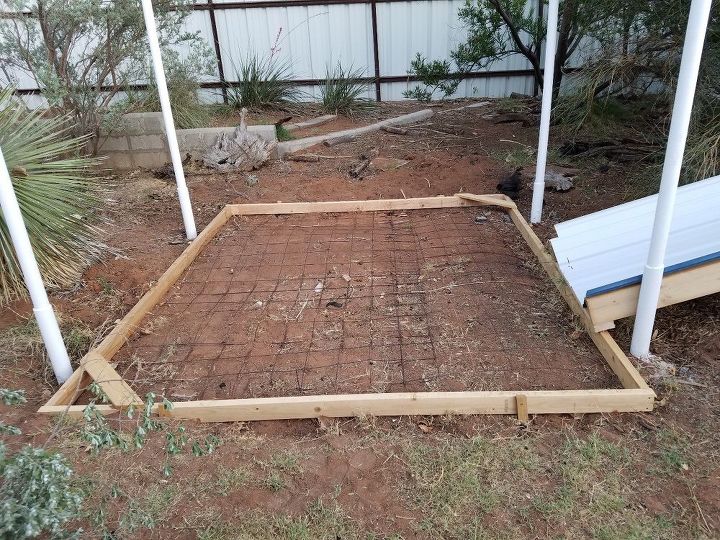
bracing at the corner helped keep the form sqare
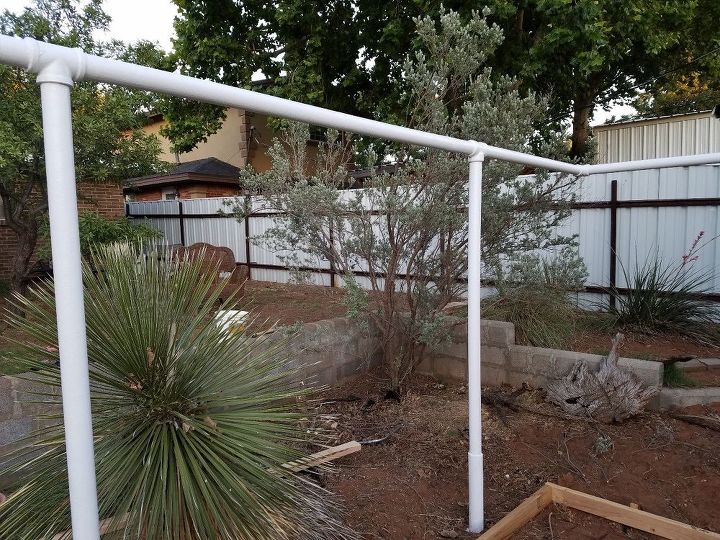
a few of the desert plants near the pergola.

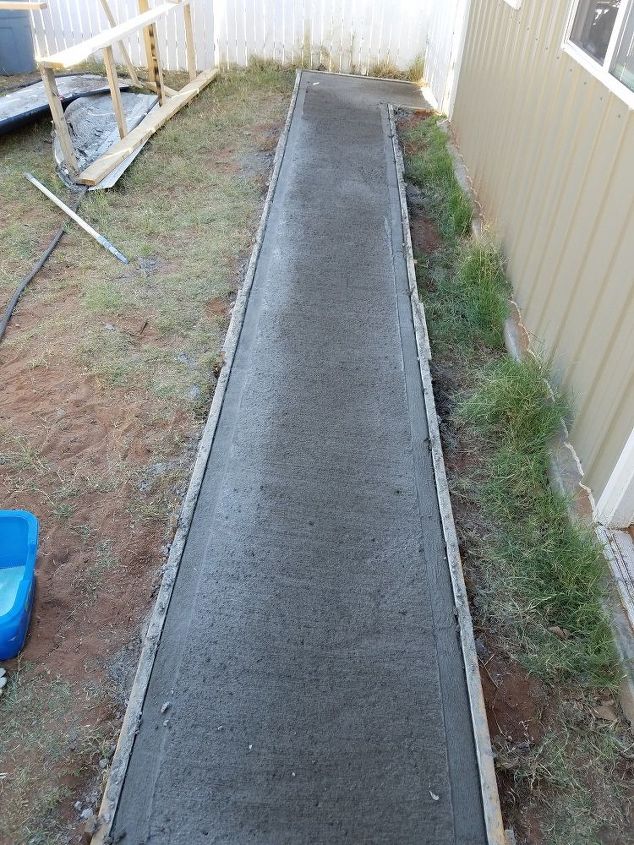
After the forms were filled, we leveled the concrete out with a wooden float. This process can also be called "screeding the surface." Then, we ran an edging tool down the sides and used a push broom to create a texture. It's pretty rough, but we wanted traction.
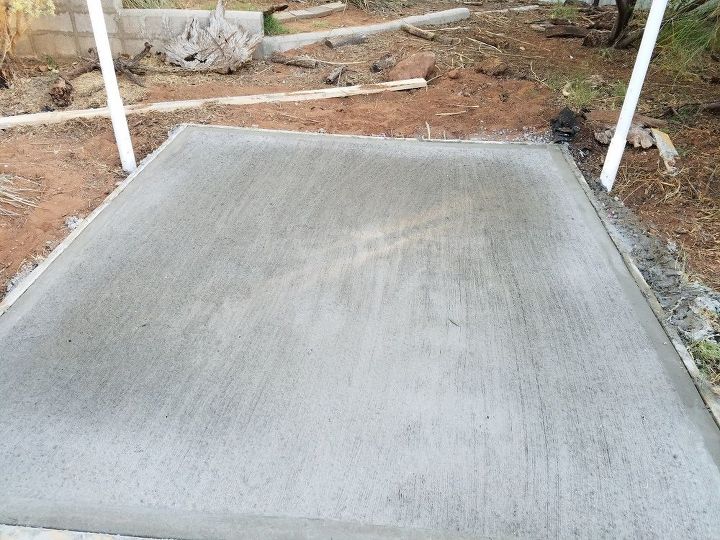
You can see the 2 x 4 in the back that we used to screed and level this larger pad.
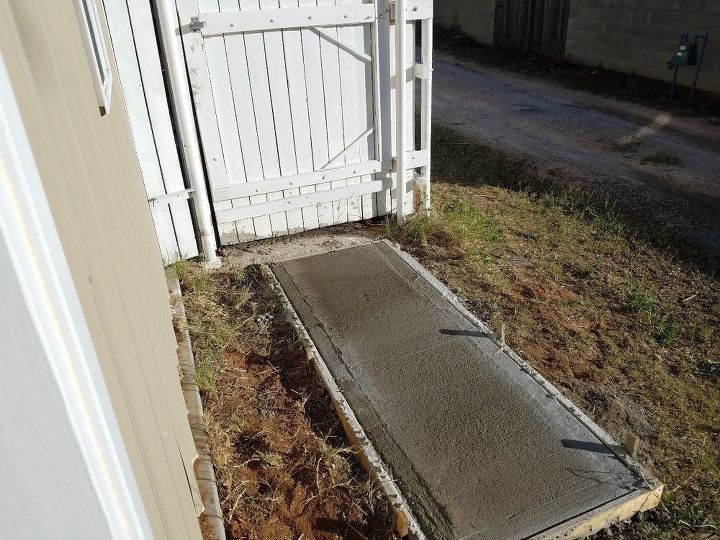
Before we started, we built an "in cased" form. In case we had any concrete left, we would have a place to put it. This is a small walk from the back gate to the drive of the shop using the same methods. Had we not had enough, we would have done this a different day, probalby with sack-crete.
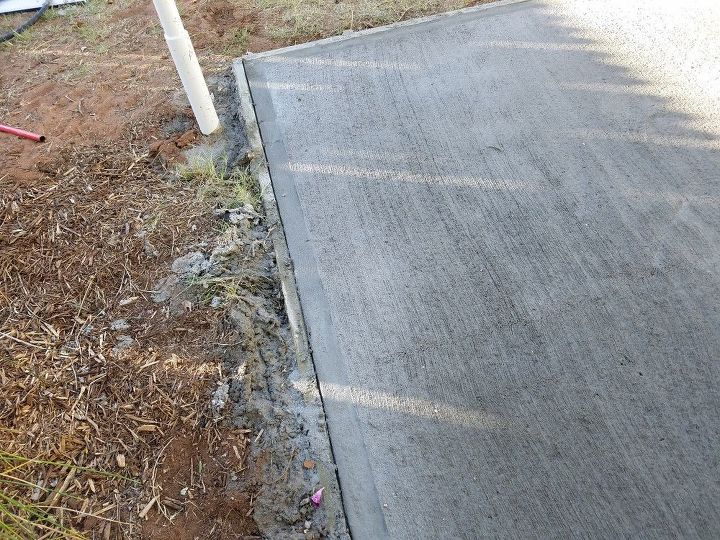
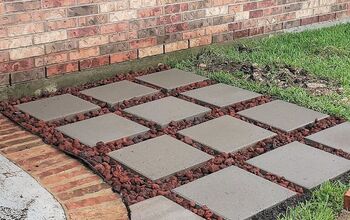
When the forms were ready to take off, we had quite a bit of clean up to do. That's the problem with our not being pros...we get to clean up our own messes! Notes : The 8 hours included about 4 hours to build the forms, an hour and a half to work the concrete, and a few hours to clean up. I call it advanced because it is heavy work, but not complicated. Wear old boots! I would recommend anyone who has never poured concrete start much smaller, and work up to walks and poured pads. Explore this site or the internet for better tutorials on techniques. The majority of the price was for the concrete. That will vary with your location. I don't have any good "finished" pictures, but if I get some, I'll add them. I might mention that I graveled the space between the walk and the building and we used concrete squares from the lumber yard to make a step at the door. We also put a bit of PVC pipe under the walk where the down-spout from the building will eventuall drain to allow it out to the rest of the yard.
Comments
Join the conversation
4 comments
-
Lot of work involved. Looks great! I would have dug down below grade. Poured and tamped a few inches of gravel. 2X6 forms then pour the concrete. Concrete walk and pad should at least be 4". Hopefully it will last.
-
Wow, you put a lot of work into this, great work!


Frequently asked questions
Have a question about this project?