


"WEED-FREE" BRICK DRIVEWAY UPDATE: 6 YEARS LATER (PLUS IMPROVEMENTS)
6 Materials
$240
4 Hours
Easy
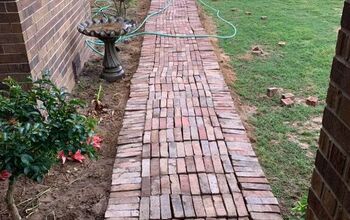
Hundreds of thousands of readers have visited our post to learn how we made our brick driveway weed-free. We've heard great success stories from lots of people! Six years later it's time to update you on how it's doing - and to make a couple of improvements.
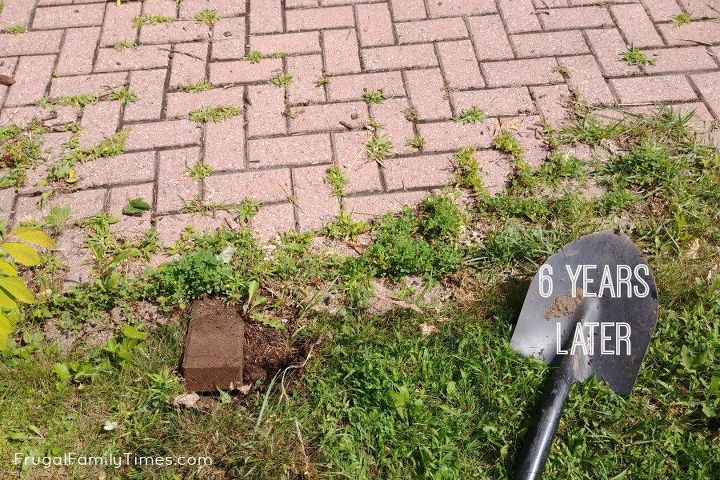
It's held up really well. The almost knee-high weeds from years gone by have stayed gone.
There are a couple of things we're wishing we did six years ago. That's what we're tackling out there today - and sharing for you here.
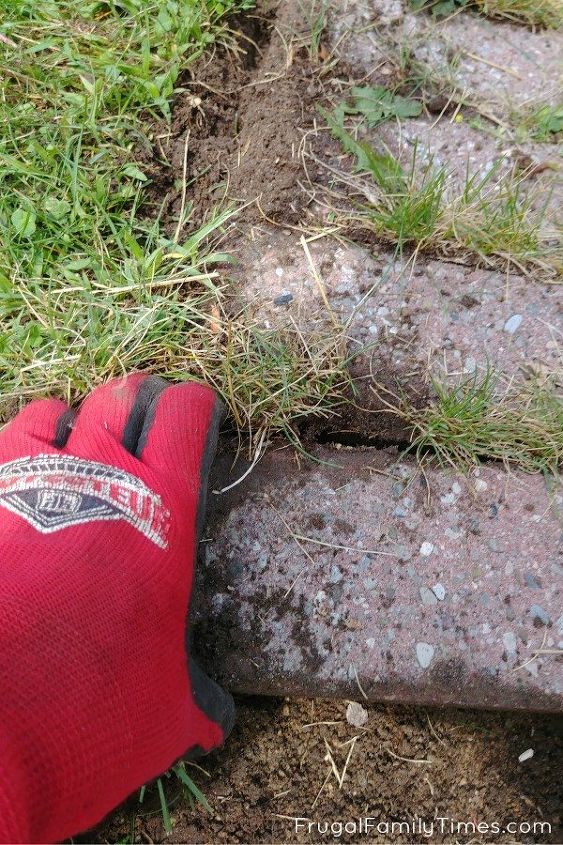
We realize now that the problem we could have solved back then - and we're forced to tackle today - is the edges. Darn you, Edges!!!! Don't forget to address your edges, folks, they will haunt you later!
When we first completed the project we did not place an edging material along the sides of the driveway - and this we believe is the source of our problem.
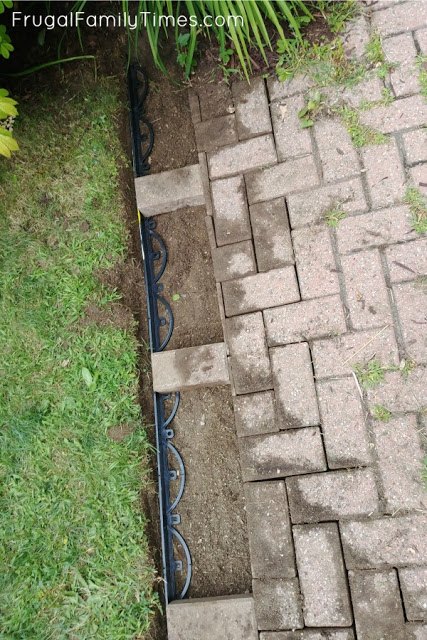
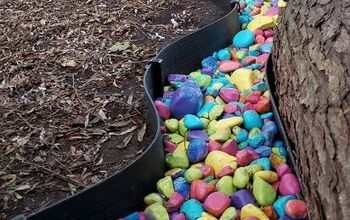
When you get things cleaned up you can begin testing the plastic edging in place. I used some bricks to verify depth and find out any areas that needed more cleaning back.
When you reach a point when you border is all set and the edging looks good, drive some spikes in (our product suggested every 20 inches).
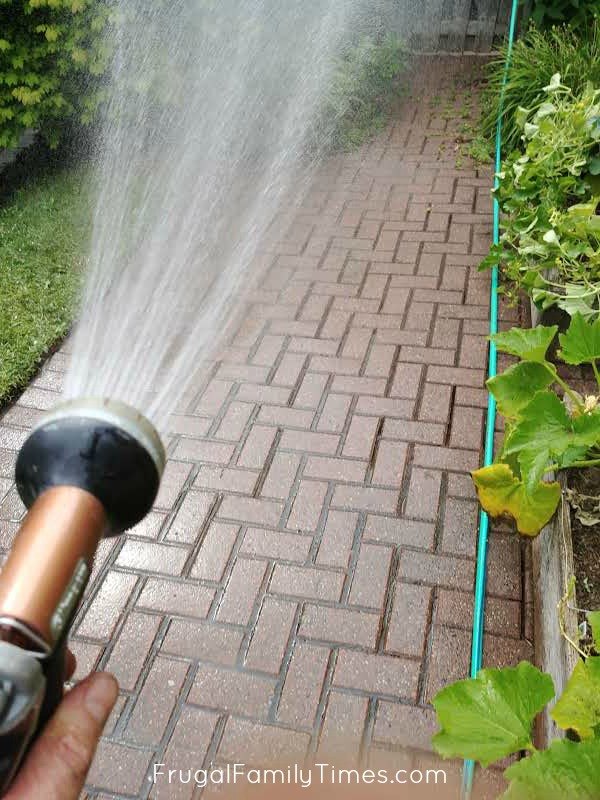
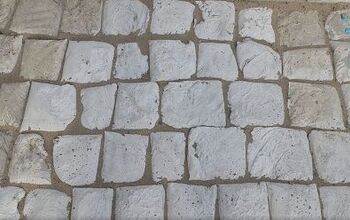
After adding in the edging, and laying all of our bricks back down, we then added the special sand (you can learn more about in our post) and finished everything up... Above, you can see how it turned out!
Be sure to check out all of the full details and more photos, as well as our plans for properly maintaining this driveway in the future, by heading on over to the blog!

Want more details about this and other DIY projects? Check out my blog post!


Frequently asked questions
Have a question about this project?