


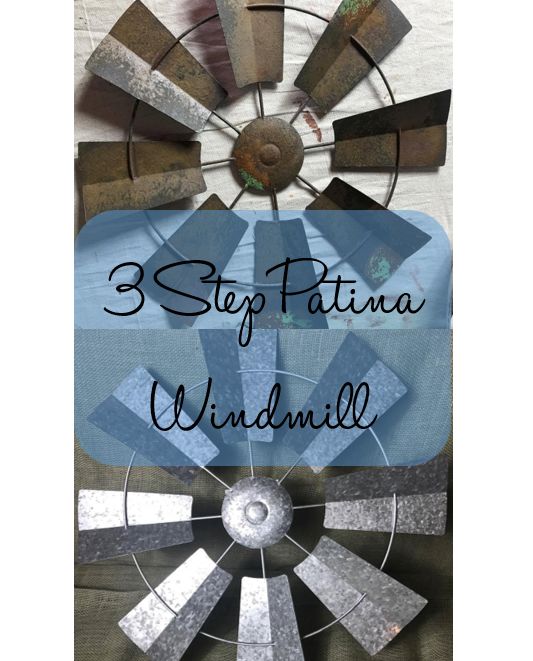
3 Step Patina Windmill!
3 Materials
$35
1 Hour
Medium
Follow these simple steps to learn how to create an authentic rust on your painted projects!
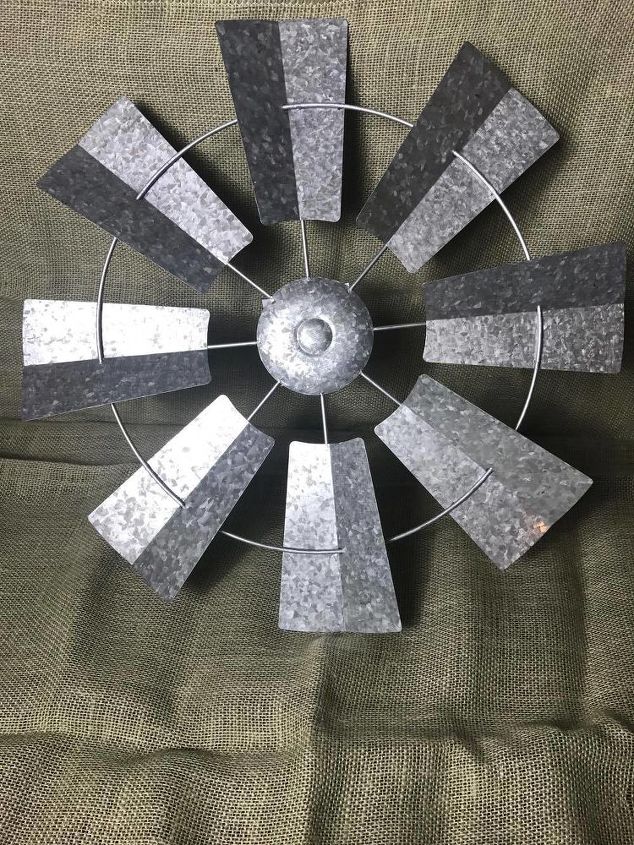
This windmill was purchased at Walmart and it is perfect for your farmhouse-style decor. This windmill replica was purchased for $10. With a few simple steps we created a unique patina that makes it look weathered, old and rusty!

The first step is to protect the metal blades so that we can manage how much corrosion takes place.
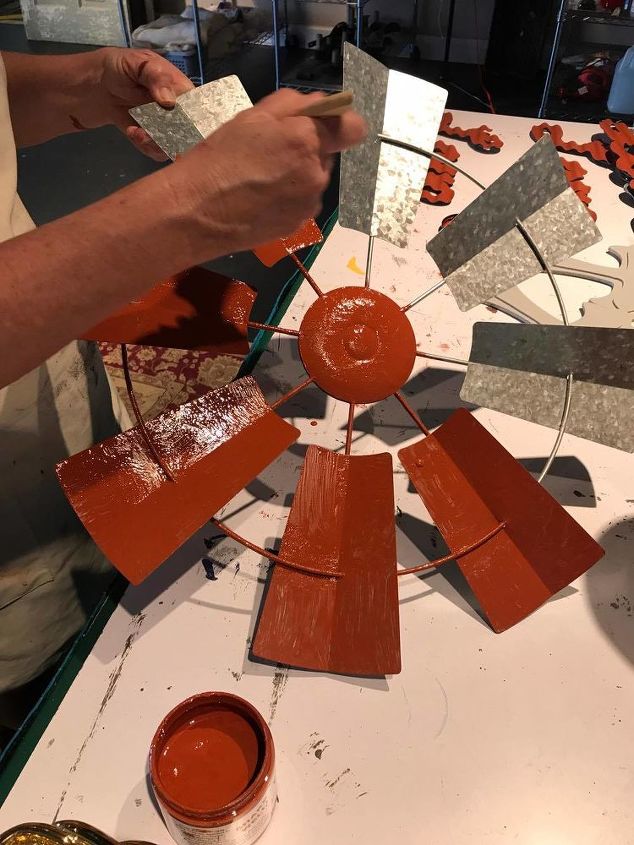
This is a base coat but it is only needed for metal pieces.
This formula prevents the patina layer from affecting the underlying metal before.
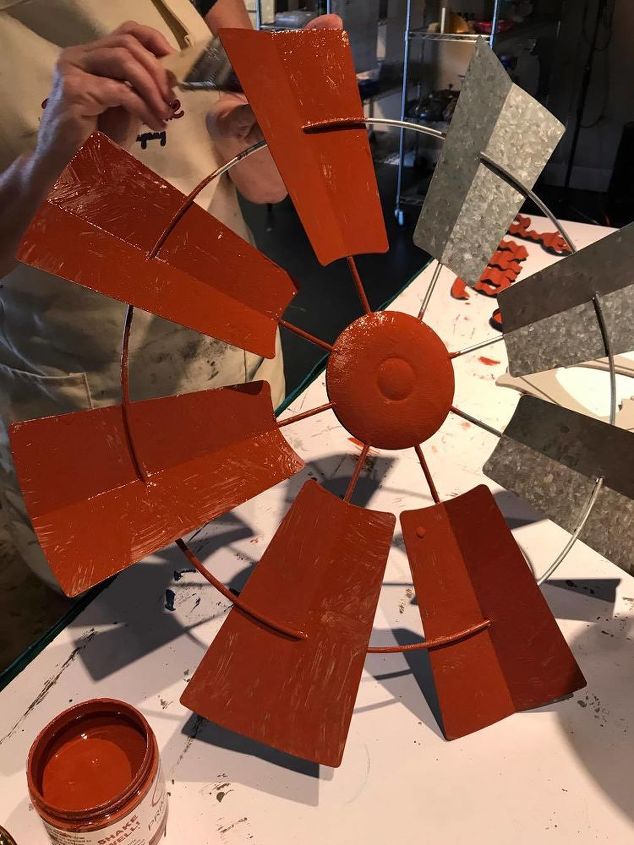
After placing two coats of Patina Paint on the windmill it was activated with Patina Spray.
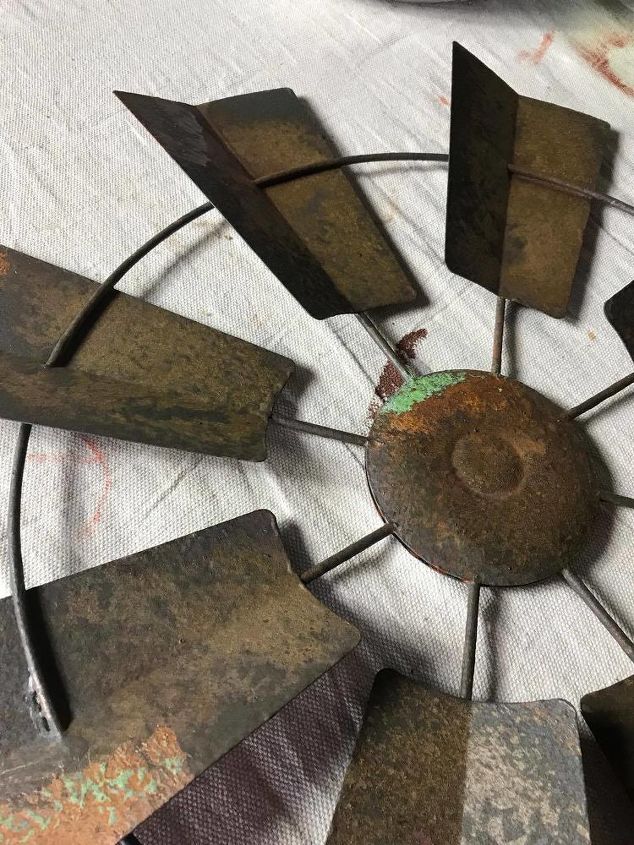
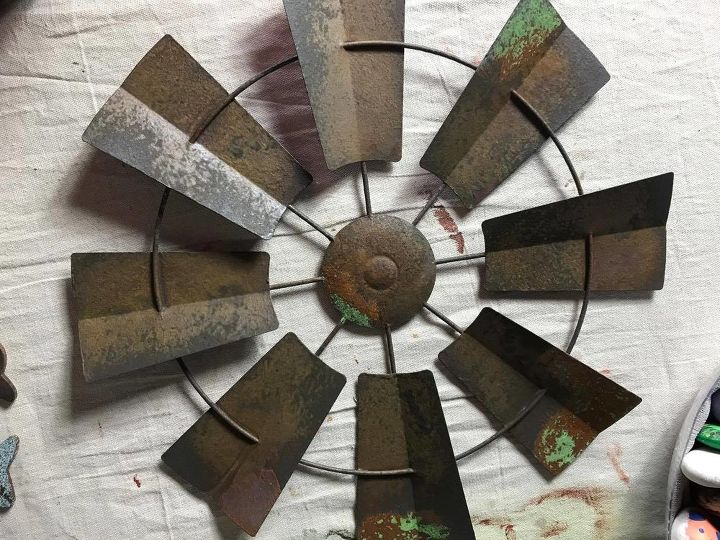
Here are some close up pictures of the patina that was created!
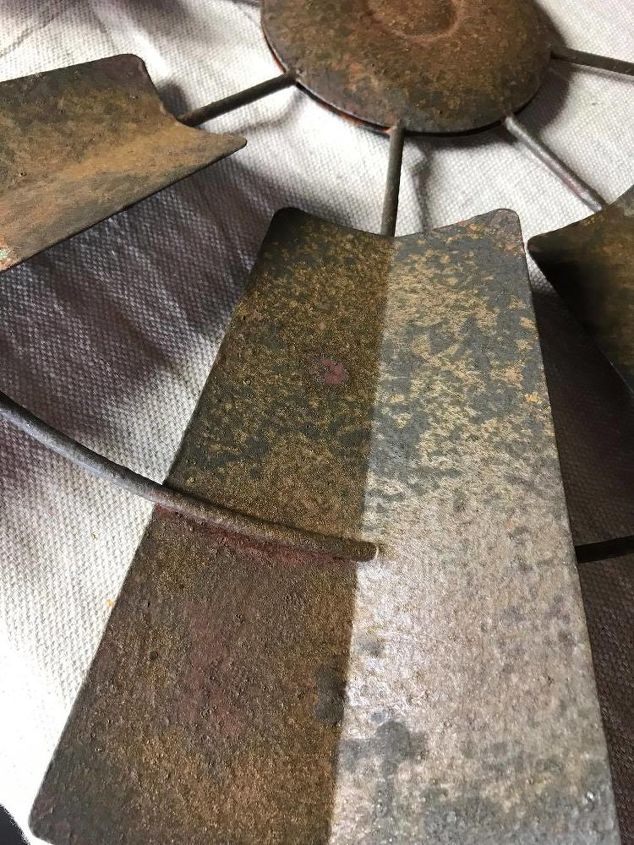
This is a mix of patina combinations. The rusty looking patina is Iron patina Paint and Green Patina Spray!
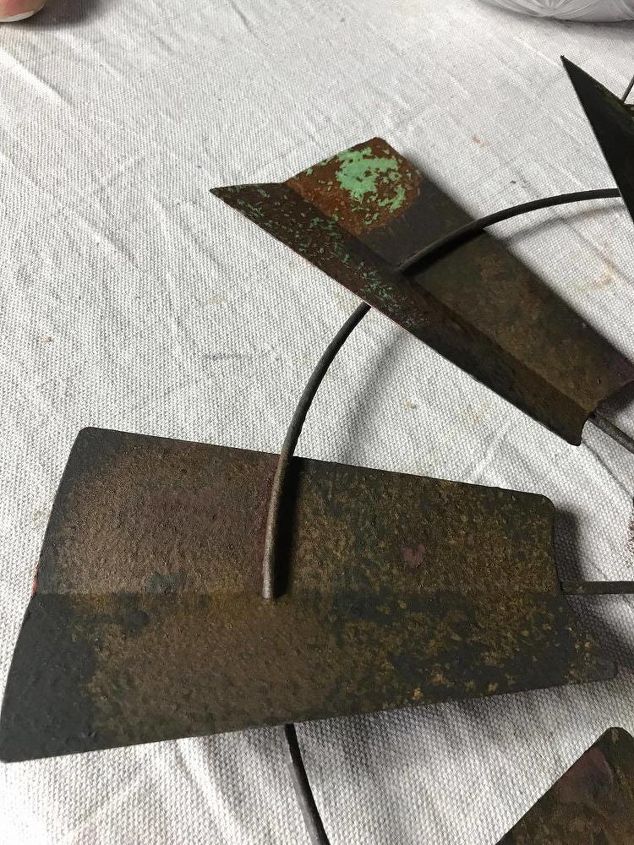
You can also see the Copper Patina with Blue Patina Spray concentrated toward the middle.

On the upper left hand side the rusty patina has reached a vibrant green color. One of the great things about the Dixie Belle Patina Collection is that each projects comes out unique! Check out our next patina project for a peek into different techniques!

Want more details about this and other DIY projects? Check out my blog post!


Frequently asked questions
Have a question about this project?
Hi, can you please tell me what products were used to create this and if it’s good to use on something going’ outside? Thank you.