


New Tips for Cabinet Painting!
$60
1 Week
Medium
Painting kitchen cabinets is quite the thing these days and there are lots of ways to go about it. Here are some great new tips and lessons for the Rustoleum Cabinet Transformations Kit! A you will not regret!
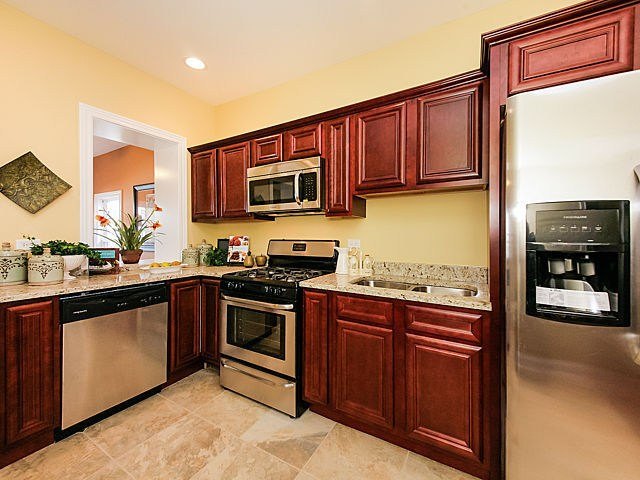
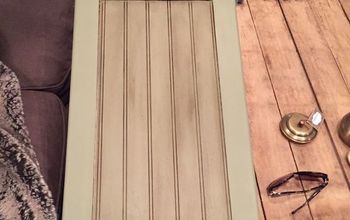
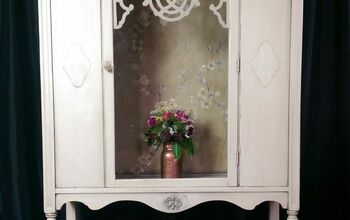
The before...
Despite giving the appearance of photographing well, the flipper we bought from installed this dysfunctional, one-person-at-a-time, no drawers, lackluster cheap kitchen. TLDR that last sentence: our kitchen is a thumbs down. Shockingly, my husband said, "paint the cabinets black," words I *never* thought would come out of his mouth. I was far too eager to appease him!
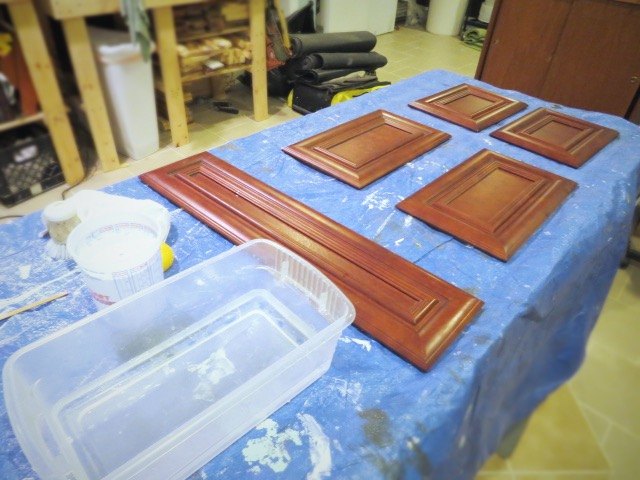
First new tip? Try using a TSP substitute to clean your cabinets. It's suds-free making it less of messy hassle. It's a heavy duty cleaner and meant for a job like this.
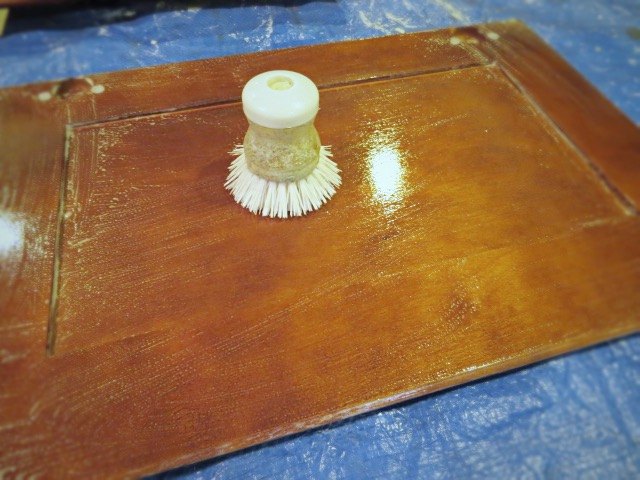
Second new tip? Use a scrub brush for the deglosser step and finish with the enclosed scrub pads. A scrub brush makes it super easy to get into all those tight spots. Plus, it saves the environment from a huge stack of destroyed scrub pads!
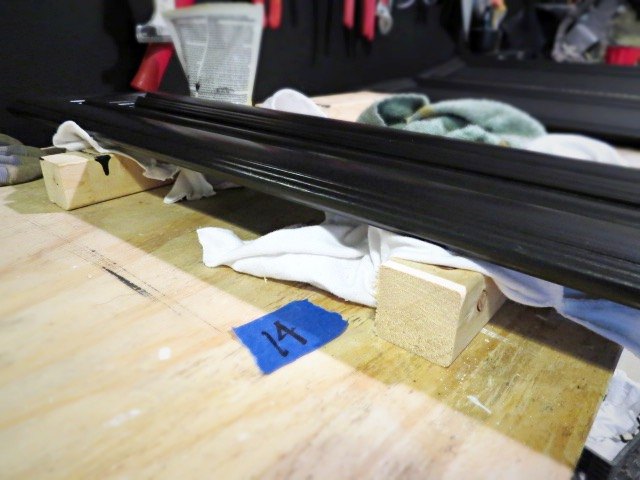
Third new tip? Don't risk damaging your cabinets or paint job by balancing the doors on pointy screws as Rustoleum suggests. Use blocks of wood with clean rags or reuse the vinyl door bumpers you removed reattached to wood blocks. Be scratch-free! I've got more super handy tips over on my blog plus a slew of other fun stories so be sure to swing on by: Flipping the Flip at humboldtartdept.blogspot.com!
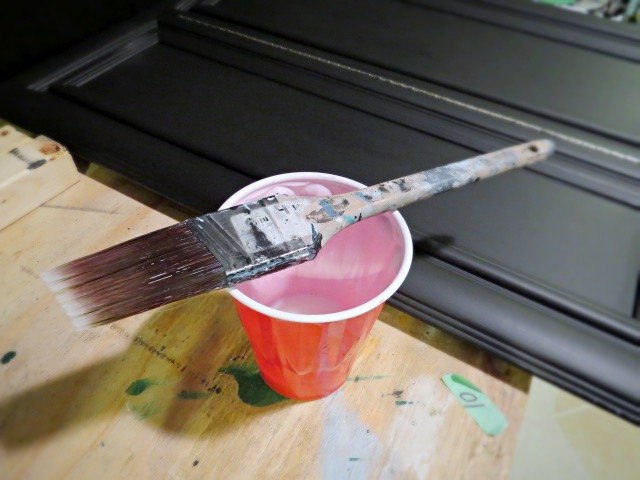
Fourth? Use a brush with a thin tip -- it is way way easier. Oh and no need to spend your entire paycheck on a brush. They're all nearly the same, honest. Make sure it's synthetic and a size that works for you.
Fifth? Do not panic after the first coat of paint! It will work out in the second coat, promise.
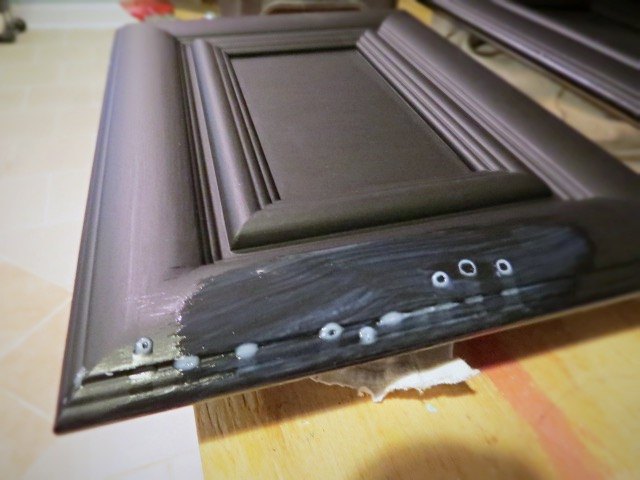
Using the enclosed protective sealer is tricky, but it can be done. Something I couldn't find advice about? Drips! I know, right? If they happen, carefully peel them off (still half wet is the time), let the area dry completely then give a light sanding with 220 grit or so. From there, touch up with two coats of color again then the sealer and I swear, it'll be like drips never happened.

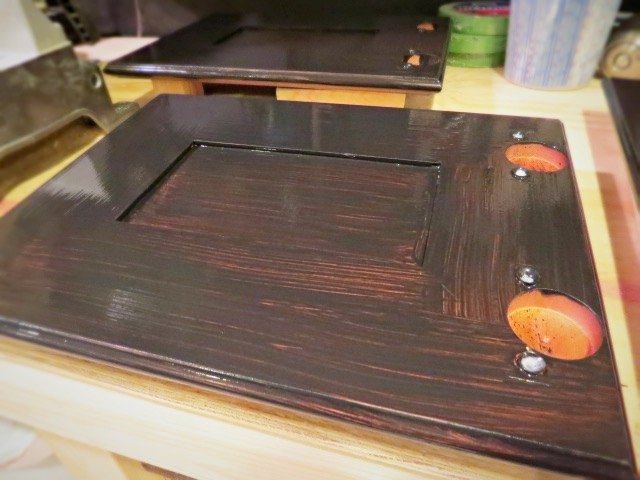
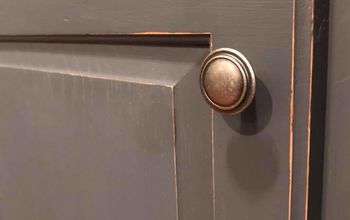
Last tip? Give black a whirl! Such an excellent color! While the function (or lack thereof) of our kitchen still remains poor, at least we can tolerate looking at it now! Come read all about this project, all the handy tips and lessons, plus much much more by clicking the link below!

Want more details about this and other DIY projects? Check out my blog post!
Comments
Join the conversation
3 of 58 comments
-
thank you becky
-
I am painting my 20+ years cabinets this summer and black or dark grey are at the top of my list. Yours look fabulous! Thanks for the tips!


Frequently asked questions
Have a question about this project?