


Dustpan Painting

This fluid painting technique results in a gorgeous finish and is so much fun to do.
I want to show you how to create a dustpan painting. This type of painting is perfect for a tabletop or canvas.
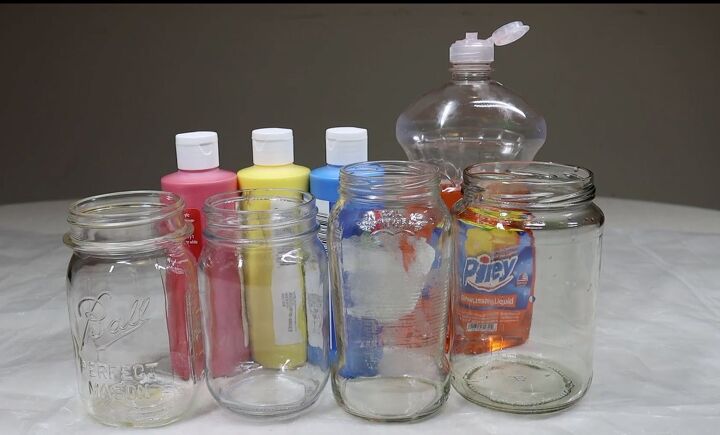
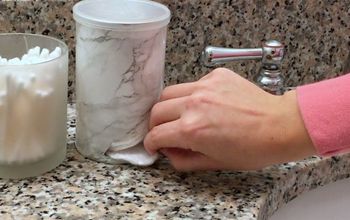
To create it I started by pouring a cup of warm water into one jar,
and then poured dish soap into the container until it slightly changed color. After pouring it in, I mixed it up until it was fully mixed.
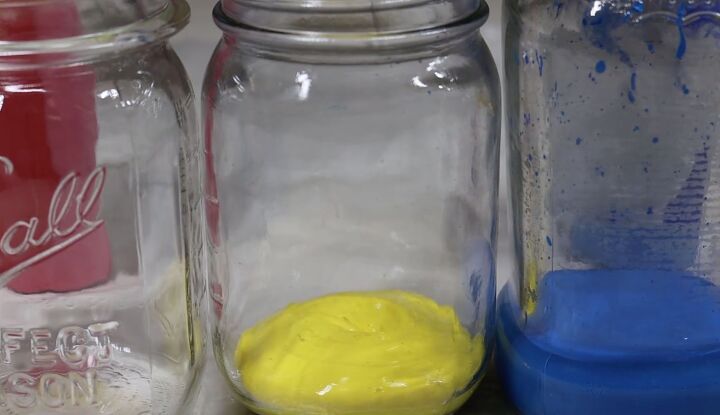
I then filled 3 glass jars with an equal amount of paint or around half of a cup of paint. The paint I used was acrylic paint because it spreads out a lot better than other types.
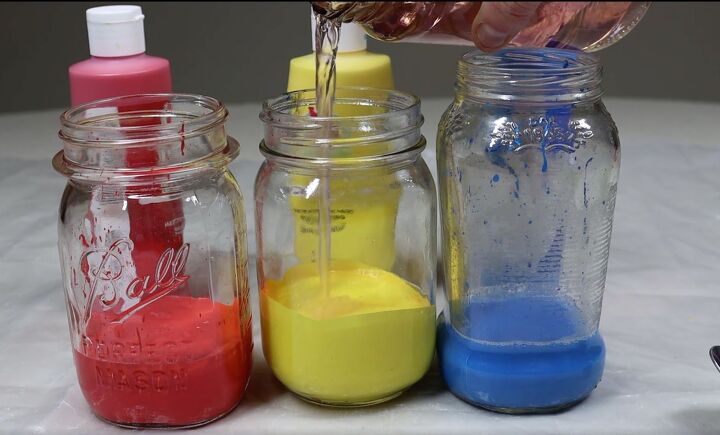
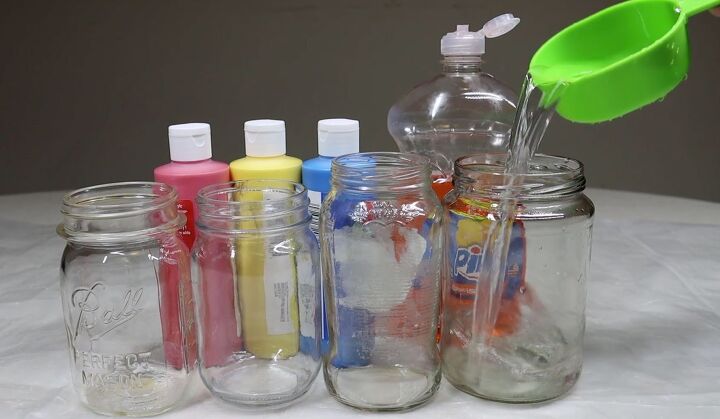
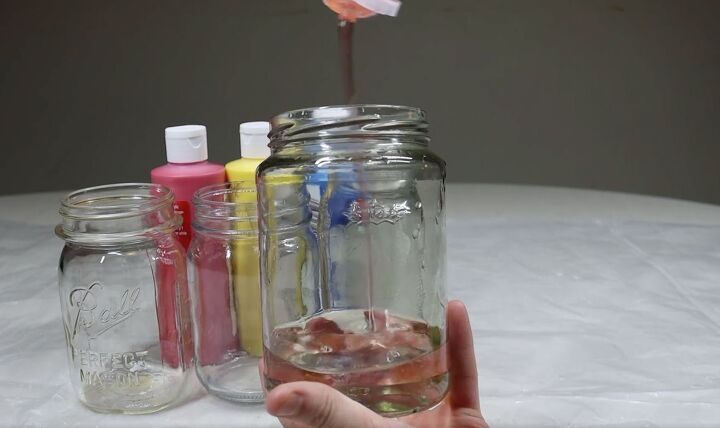
Next, I added the soap and water mixture to each container. I added about a fourth of an inch of water mix in each of the containers. The paint should run off of your mixing utensil just as water would. If there is any little bit of extra viscosity when adding a small amount of water and mix it up again and test.
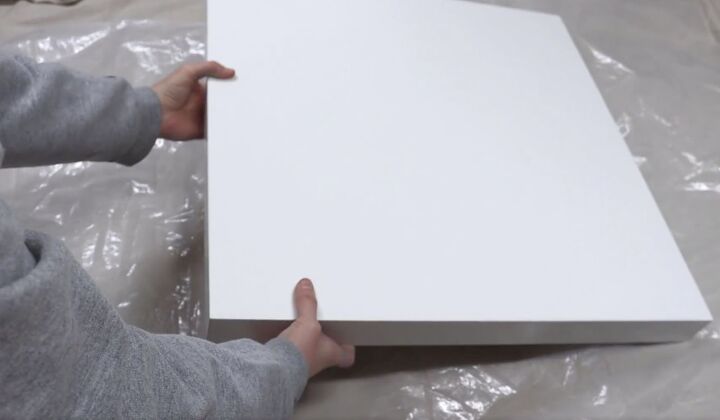
Before I can begin to pour the paint, I prepped my space with a drop cloth and plastic and laid down the tabletop I wanted to paint.
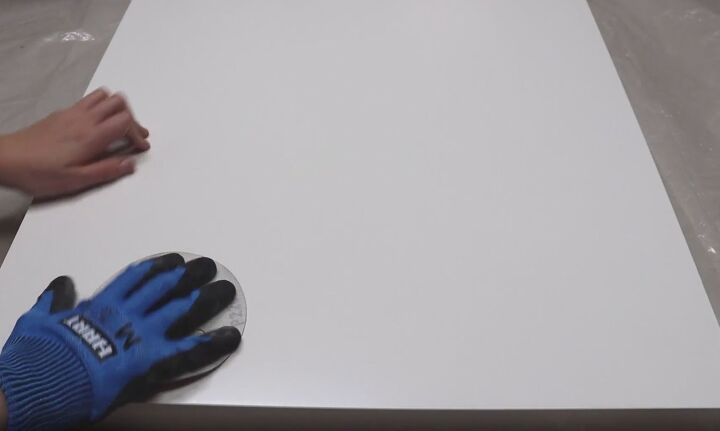
Since my tabletop was slick, I gave it a light sanding so that the paint would stick to the surface.
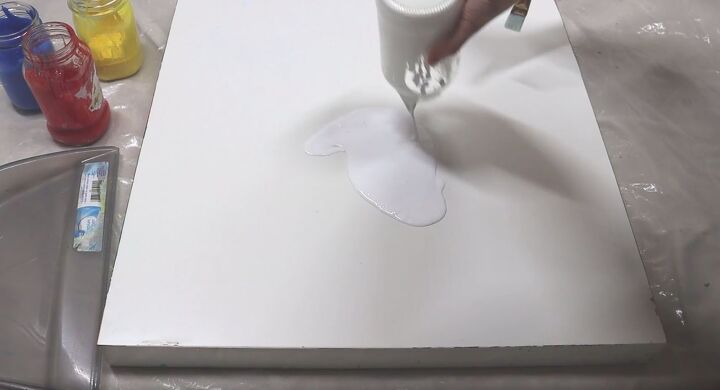
Next, I poured white paint onto the surface of the tabletop and spread it out. The white paint should cover the entire surface.
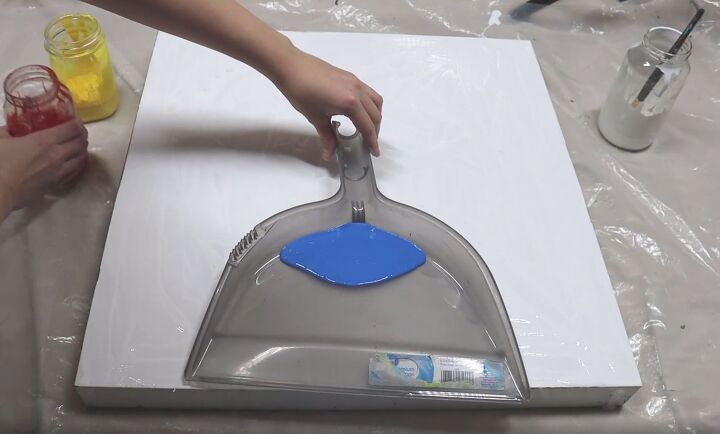
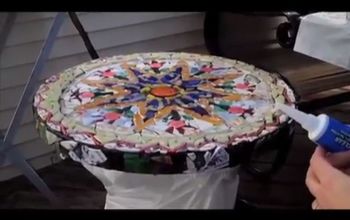
With the white paint on, I laid a dustpan on the top of the paint and lined it up with the table edge.
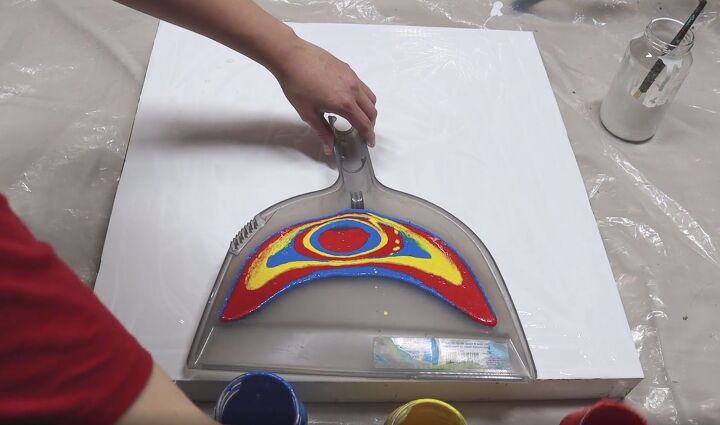
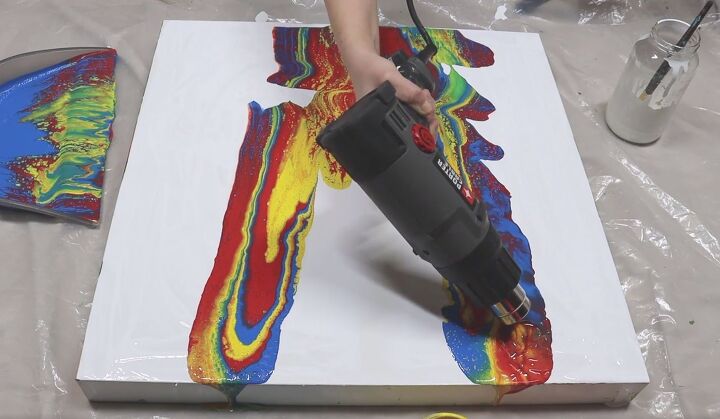
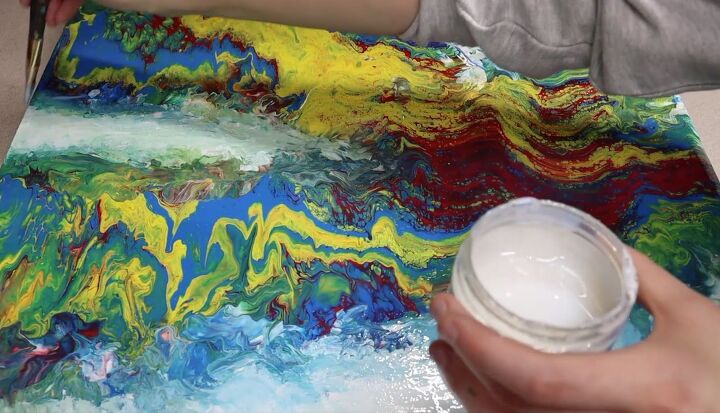
I began pouring paint into the backend of the dustpan. You might need to slightly tip it back so that you can get all of the paint in without it leaking out. I added paint until there was just enough to where it's almost touching the little lip on the dustpan.
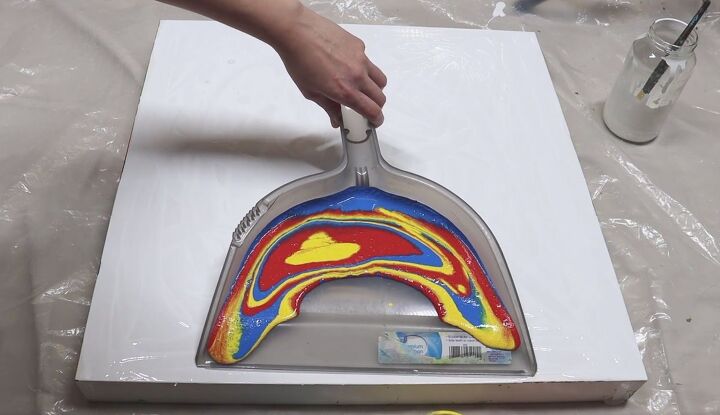
After all of the paint was poured into the dustpan, I slowly tilted it and let the paint run down.
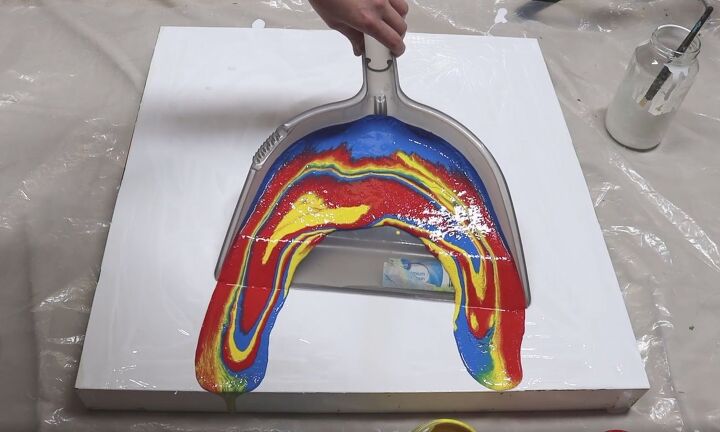
As the paint was running down the dustpan, I also slowly moved it backwards so that the paint covered the entire tabletop.
Once the paint was on, I had to work quickly so that the white paint didn’t dry. I grabbed a hairdryer and spread the paint around the edges.
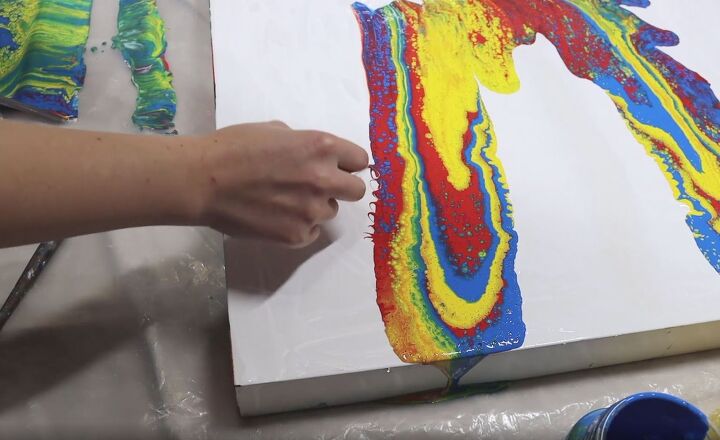
You can use a toothpick to stretch the colored paint out and then follow up with a hairdryer to go and extend it out as well.
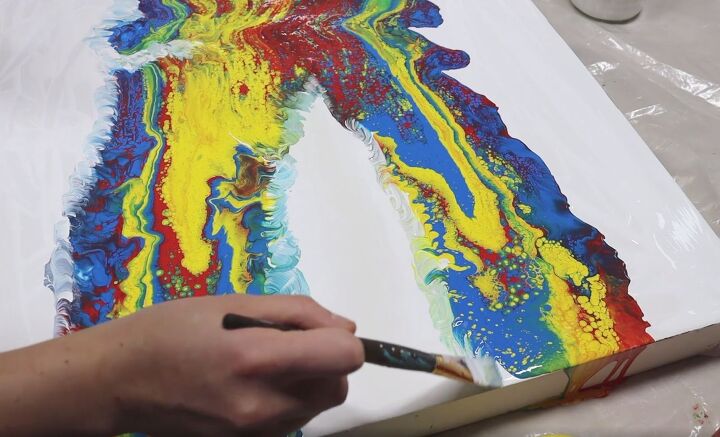
I also used a paintbrush at the edges to extend and blend the colors to make it look like it's smoky. You will also be able to get more or less of a smoky look by using just the blow dryer, rather than just a paintbrush as well.
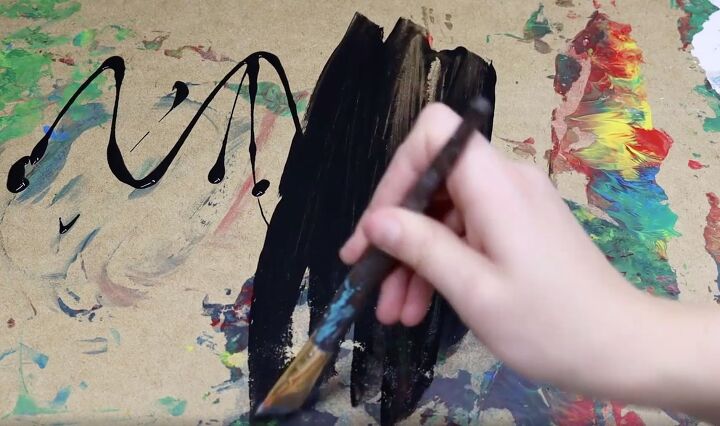
I had about 15 minutes in total to work with the paint before it started to dry and then it took about 24 hours to fully dry. Once it was completely dry, I flipped my table over and painted the back with black paint.
To finish off my table, I gave it a coat of Triple Thick sealer and covered the entire surface including the sides.
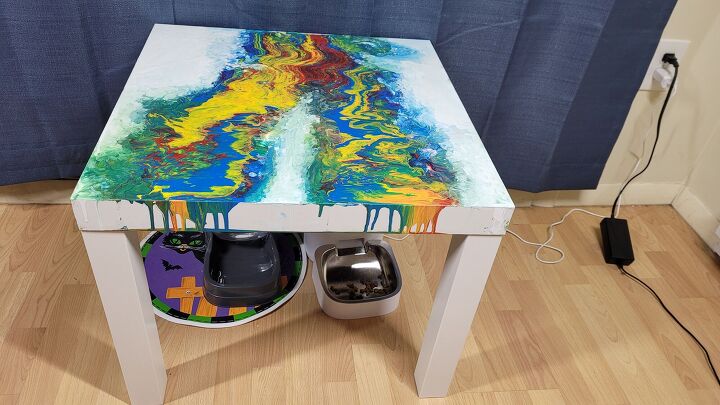
After the clear coat was dry, I screwed the legs back on and found a place for my beautiful, dustpan-painted table.
Resources for this project:
See all materials


Comments
Join the conversation
-
I really love this!! I’m going to try this. Thanks so much❣️
-
Beautiful, can you use unicorn spit for this? Beautiful cat . You need a bigger paint brush ha ha.


Frequently asked questions
Have a question about this project?
You say table top yet list canvas in supplies? I’m confused.
M
Would that mixture work if you poured it onto glass or would it just run off?
Couldn't you get a similar effect with pour paint?