


How to Paint Your Exterior Siding

I've been itching to change the color of our exterior since we moved into our house a year ago. However, I tried to be reasonable, and put the project off because honestly the siding was in great shape and it didn’t NEED to be painted.
I was also trying to decide if I wanted our entire exterior painted, or only the siding. After a year of going back and forth, I chose to keep our brick original. I have grown to love the brick, and don’t like to make DIY decisions that I can’t fix or take back if needed (i.e. painting over wood- I’ll give you five reasons here why NOT to paint your kitchen cabinets).

So, we got a quote about six months ago for painting the exterior vinyl siding. It would cost $4-5000 to paint the siding only, which is only about half of our 1,800 sq ft house. I couldn’t justify spending that much money on a project that wasn’t necessary, only based on personal preference so I put it off.
Then, I decided to participate as a guest in the One Room Challenge! I chose to makeover our backyard, and worked up the courage to decide to finally paint the exterior and do away with the blue/gray shade that in my opinion, didn’t go with anything. I’m excited to walk you step by step through this project and show you that you can in fact paint your exterior yourself. I always assumed this was a project I would need to hire out, but it’s actually quite doable.
Here are considerations I think are important when deciding to paint your exterior yourself:
-The current state of your exterior. I can see how having lots of warped and rotted siding may be a job I’d want to leave to the pros to make sure it was fixed and done property
-Material of your exterior. I.e. brick is more difficult and time consuming to paint than siding
-How many stories- I am going for it because we live in a 1 story house. We have 2 peaks of our house that go into the attic, but otherwise everything is easily accessible from a step ladder.
-Square footage. Obviously the bigger the house, the more time it will take you to paint the exterior. Our house is 1,800 sq ft for reference.
If you decide to hire out he project, know your quote will be based on factors including: your geographical location, exterior material (brick, siding, etc.), size of your home, ease of access, number of stories, amount of prep work required, architectural style and amount of detail. Keep in mind, labor typically comprises about 75% of the quote as well. So doing it yourself can save an exponential amount of money.
STEP 1: Plan
Choose a color to paint your exterior siding
Part of the planning process is obviously choosing what color you want to paint your exterior. My first step is always heading to Pinterest for inspiration. You can find my board that I put together here as a starting point to gather ideas of paint colors to sample.
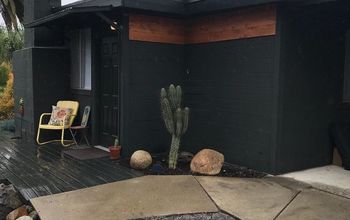
Take a walk around your neighborhood for inspiration. You want to make sure you pick a color that blends with the overall style of the neighborhood so your house won’t stick out like a sore thumb. Also keep in mind your neighborhood may have guidelines on exterior paint color- always check first. If you see an exterior paint color you like, don’t be afraid to knock on the door and ask what color their home is painted. This is how I discovered White Duck by Sherwin Williams. A few of our neighbors have painted their houses this color, and it is a great creamy white.
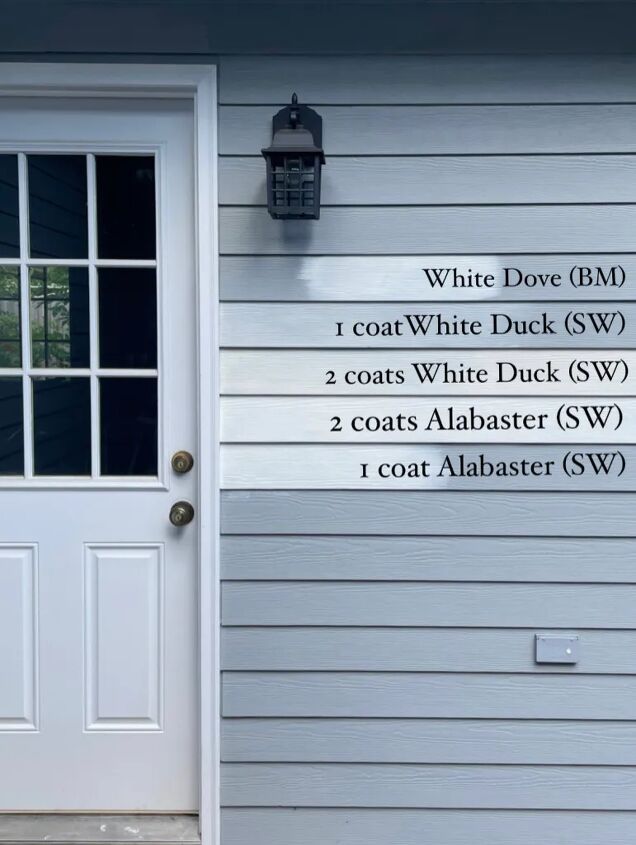
When it’s time to sample paint, I recommend painting 2 coats on different locations around your exterior and take a look at different times of the day. Keep in mind, colors tend to pull lighter and brighter on an exterior than on the interior.
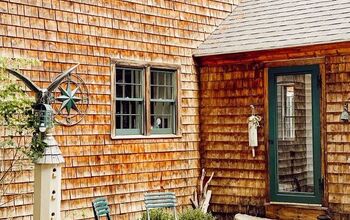
I sampled White Duck by Sherwin Williams, Alabaster by Sherwin Williams, and White Dove by Benjamin Moore. (Funny story- I sampled White Dove by accident. I had asked for White Duck, but the associate at the paint counter thought I said White Dove and mixed that instead, so I took that one home too). I painted samples of each on the main wall that is visible from our sunroom where the current blue/gray color bothers me the most. I also wanted the white color I chose to work with the existing exterior door and window color so I didn’t have to repaint those as well.
STEP 2: Prep to Paint your Exterior Siding
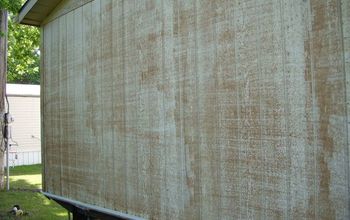
Remove anything attached to your exterior walls to prep for painting. This includes window screens, shutters, exterior lights, gutters, signs, and window boxes. Next, complete a close inspection of the status of your exterior. You are looking for any areas where the siding may have warped, rotted, or is not smooth. Replace any rotted boards, and sand smooth any spots that have chipped paint to create an ideal painting surface. Our exterior is in excellent condition, so I did not personally have to do any of this.
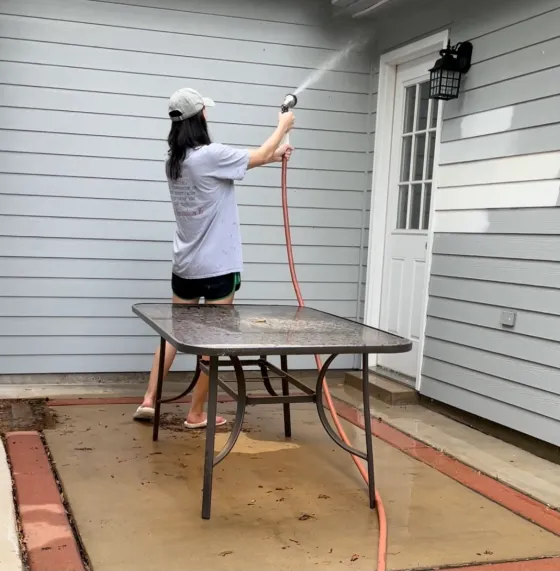
Next, you want to wash your exterior. A power washer is preferred for this step, but I would say a hose with a powerful sprayer attachment head could work as well. This is all I had to use, and I watched as dirty water fell off the walls. This satisfied me, and the walls looked clean after inspection so I think it worked well enough. If you have dirtier walls, I would recommend using a power washer and potentially a detergent as well to ensure a clean surface.
STEP 3: Check the Weather
It’s important to choose a time of the year where you will have overcast, dry weather. Obviously, it is not recommended that you paint in the rain. Sherwin Williams recommended a 24 hour window without rain to ensure proper paint drying as well. It is also recommended to not paint in direct sunlight. The perfect weather is cloudy with no moisture or rain. I found I enjoyed painting at dawn and dusk when it was cooler.
STEP 4: Prime
I am unsure how important this step is to be totally transparent. When I discussed my project with the associate at Sherwin Williams, he recommended I prime first because I was painting white over a blue/gray color. Even with a primer+paint product, he recommended a coat of primer to decrease the risk of color bleed. As I’ve mentioned in both my Paint 101 and how to paint your first room posts, primer is cheaper than paint. A coat of primer will more than likely cut down on the coats of paint required, which makes painting your exterior siding even cheaper.
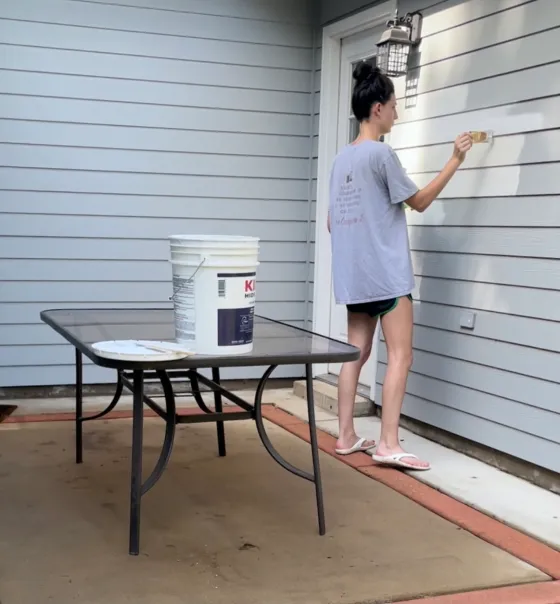
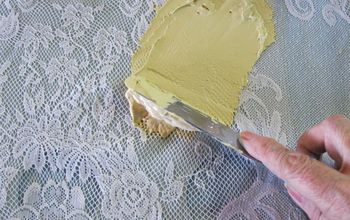
I used my small, flexible handled angular trim brush from Wooster to prime. My vinyl siding is pretty textured, and I was able to work the primer into the nooks and crannies using the brush. It is time consuming, and I had to take intermittent breaks as my hand would get sore. Here’s a tip to help you paint your exterior siding even easier. To paint around trim without using painter’s tape, hold the edge of a large putty knife up against it as you paint.
STEP 5: Paint your Exterior Siding
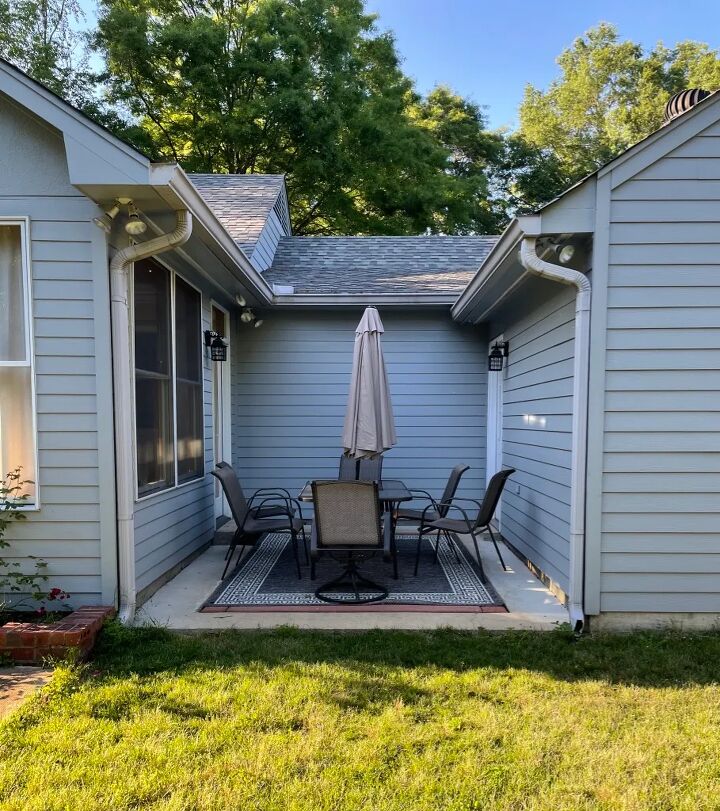
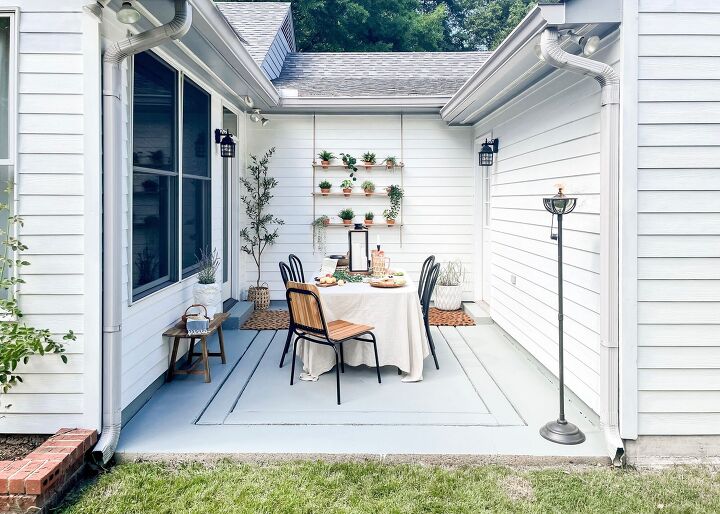
After your primer has dried, it’s time for paint. Since I had a good, even coat of primer on the walls, I decided to roll on the paint. And here’s the honest truth… I didn’t finish it this week! I got back after Memorial Day weekend to a few days of rain, only to leave early Thursday morning for a surprise trip planned by my husband (more on that to come- you can follow along on Instagram). So here is a mood board I created to help envision the rest of my plans for the space, and I will share details on painting when it gets completed.

And a quick before & after to see how much better the white looks!
Don't forget to subscribe for more DIY ideas sent straight to your inbox! Never miss another project again.
Comments
Join the conversation
-
It really brightens up the space! Great job!


Frequently asked questions
Have a question about this project?