


DIY Concrete Tabletop
8 Materials
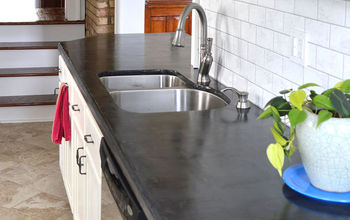
We found an extremely high-end table on Craigslist that had survived a flood, but the table top hadn't faired so well. So after replacing the top with a piece of plywood we skim coated the whole thing in Concrete for a durable, unique finish.

Start out by sanding the surface. You aren't trying to make it smooth, but rather rough up the surface for the best adhesion. I did smooth out the edges on the top and underside of the table though.
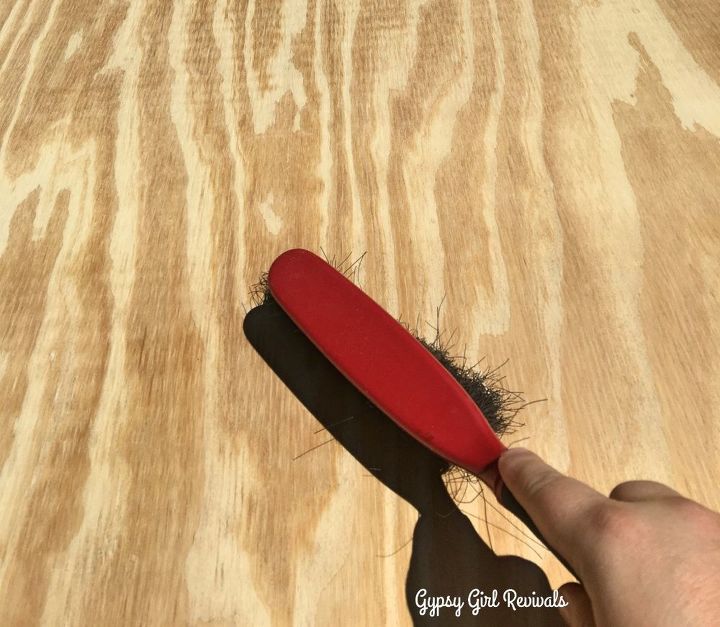
You'll want to clean the surface of any dust. I used a hand brush, but a shop vac would have worked the best.

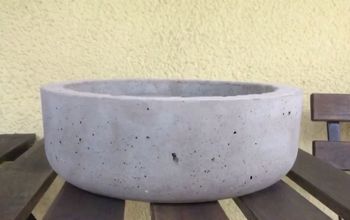
I used two bags of TEC skimcoat and patch kit from Lowes. If applying this indoors make sure to mix to pancake batter consistency. If applying in a fairly hot environment make your mixture wetter to give more time to spread. Otherwise it will set up to fast for you to work with.
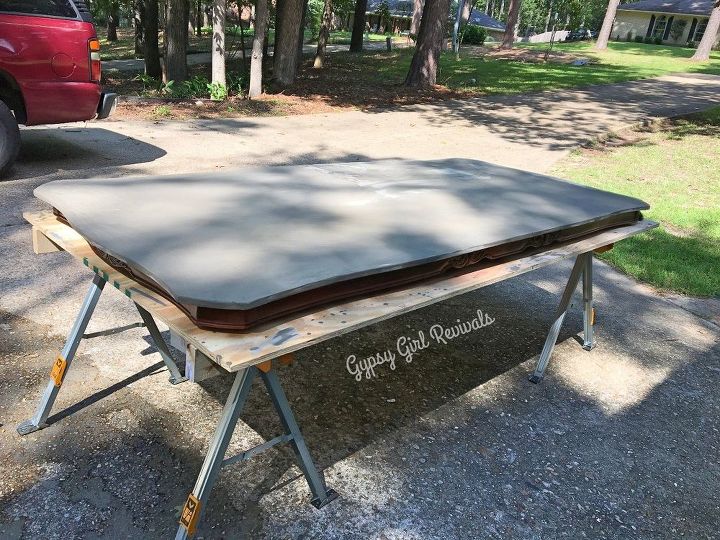
I skim coated on the concrete one layer at a time. It took an overall of 3 layers to get the surface I wanted. MAKE SURE TO WEAR GLOVE, MASK, EYE PROTECTION, AND SOMETHING TO COVER YOUR HAIR!!! This stuff will irritate your skin BIG TIME.
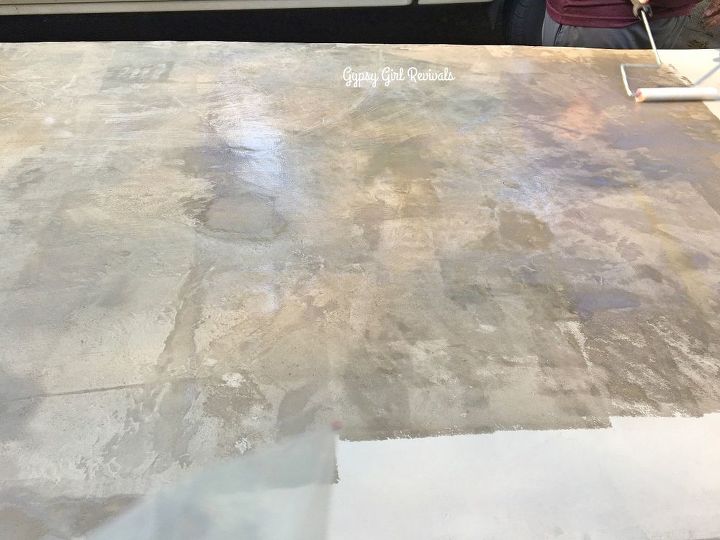
Then its time for sealer. Make sure your sealer is rated for indoor use, and it food safe. I used a Quickcrete sealer from home depot with a high gloss, wet-like finish. It only took two coverings with a 2 hour wait in between layers. When applying the sealer apply it all in one direction, and then comeback over and re-roll in the opposite direction. That will help eliminate streaks and bubbles in your finish.
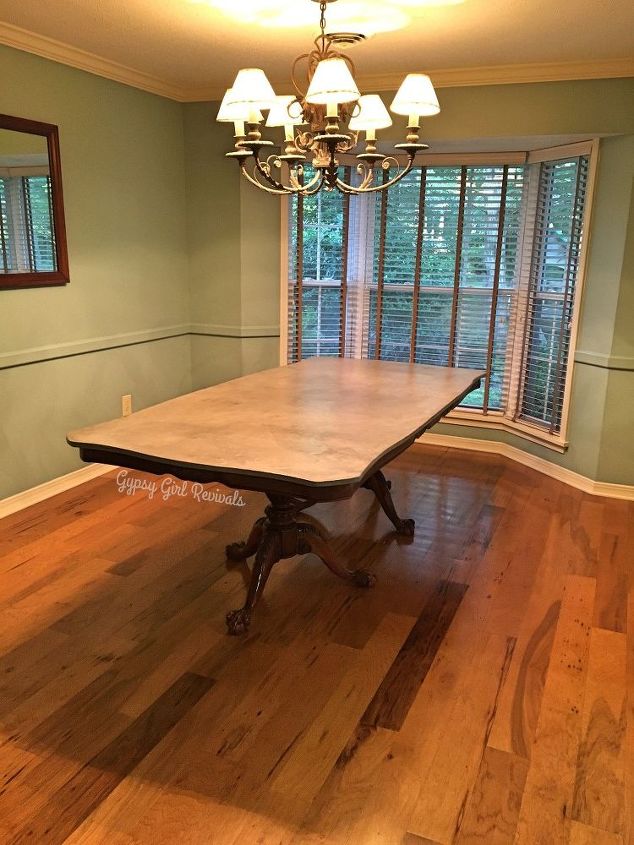
Then you are ready to dine! Even though this is skim coated it is a VERY hardy surface. It has held up to my 5 kiddos great, and even lived through a weekend of being the kid table for 10 kiddos. It washes like a champ, and hasn't had a single stain from, hot plates, water rings, or food spills (of which there have been many).
Resources for this project:
See all materials


Any price and availability information displayed on [relevant Amazon Site(s), as applicable] at the time of purchase will apply to the purchase of this product.
Hometalk may collect a small share of sales from the links on this page.More info

Want more details about this and other DIY projects? Check out my blog post!
Comments
Join the conversation
2 of 34 comments
-
i cannot believe how gorgeous this is! I love the concrete with the wood legs...looks really classy!


Frequently asked questions
Have a question about this project?
Would this work on counter tops to go over old 4 inch tiles? Lots of people have those old chipped up tiles in their home.
I am contemplating doing a similar project. Could you give me an idea of how long ago this was done and maybe an update on how it holds up to everyday wear and tear. Thank you.