


Easy as Pie--Unicorn SPiT DIY

1 Material
By Melissa Marlow Reid
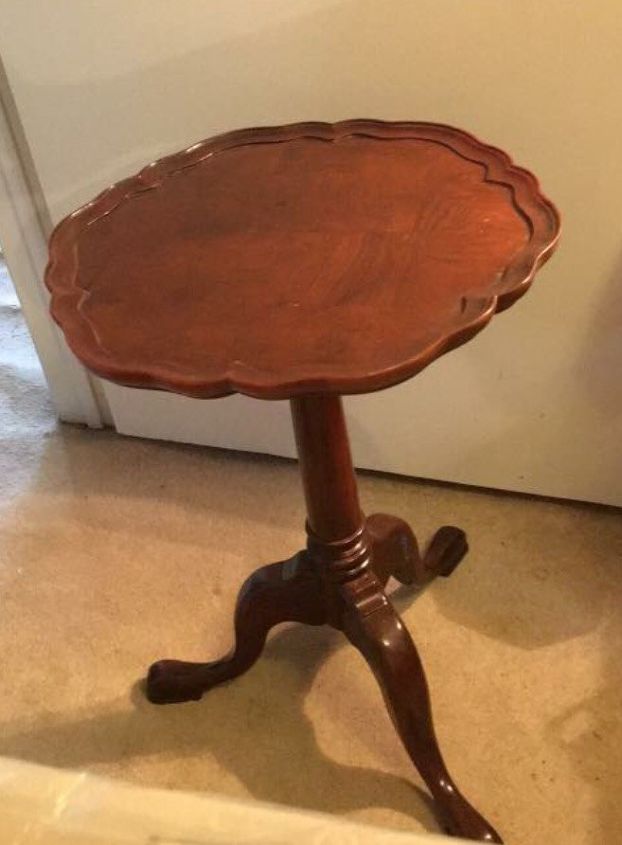
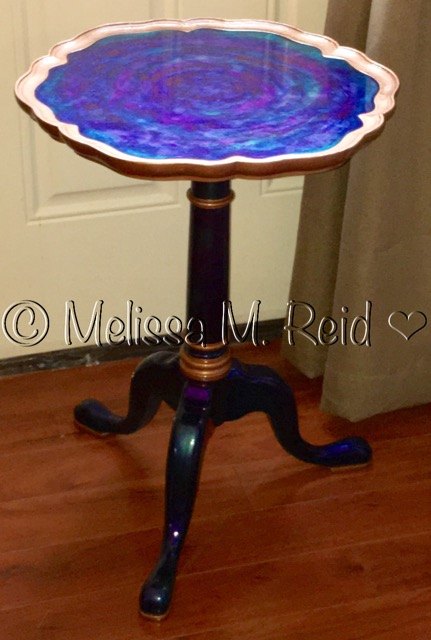
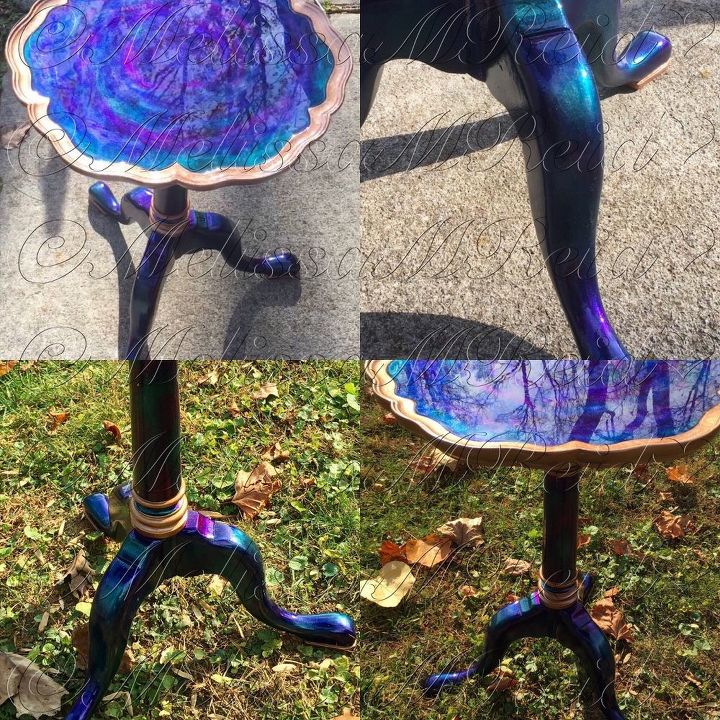
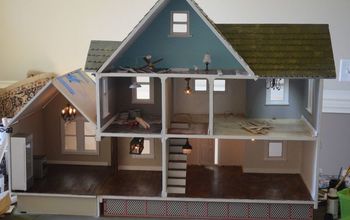
Taking an old Pie Crust Table to a whole new level!
You might look at this table and think there’s no way you could do this, or you might even think there’s got to be a trick to this, but trust me anyone can do it!! This vintage pie crust table sat in my craft room for six months. I would stare at it every day thinking, “ what can I do with this?” “ how can I make it look better?”, “Would anybody want this after I paint it?” I lacked the skills and confidence to upgrade furniture!...that is until I discovered Unicorn SPIT!! This beginner has transformed into a budding artist overnight with this product! It’s versatility to be a stain, a glaze, even a paint, is unlike any other!
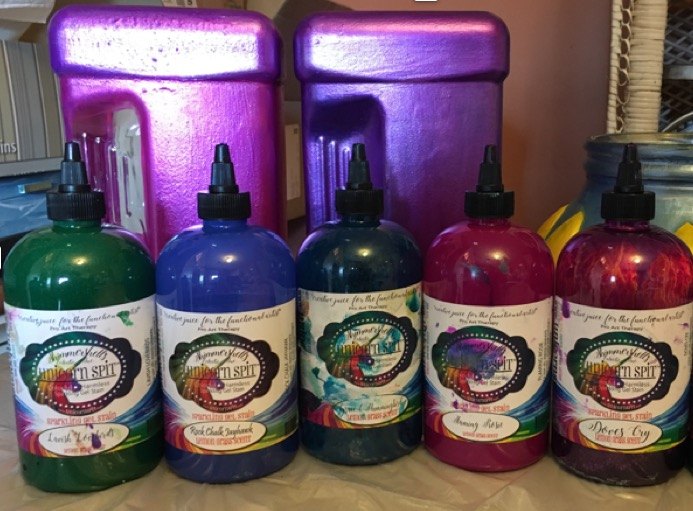
So, what did I need to get started? Heck, I didn’t even know. So I sat out all my Unicorn SPiT bottles, small paint brushes (I used a multi-pack of crafting brushes), Rust-oleum Hammered Copper Spray paint and Rust-oleum Triple Thick Glaze, and some chalk paint I had laying around. Before I chickened out, like I've done many times before, I said to myself "Let's do this!!” And began painting. Here are the steps I took to achieve this awesome table.
Step 1: Clean your table of any dirt or residue. If there are any raised areas of dirt or old finish that won’t come clean, simply sand with 220 grit sand paper to smooth it out. Same thing applies after you start and inbetween coats. This will make sure to smooth out any bubbles or paint boo-boos that could show up later when it's too late..
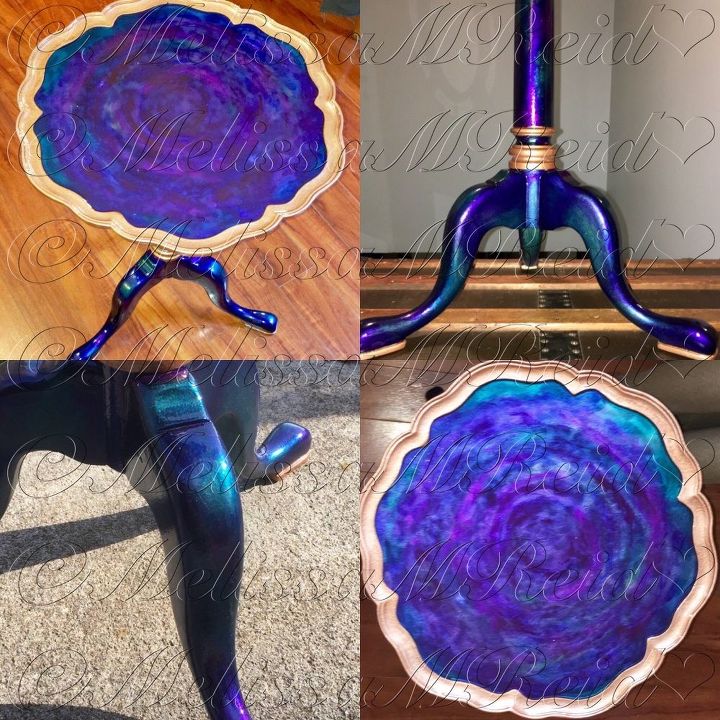
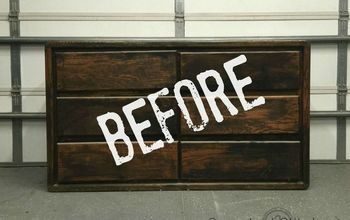
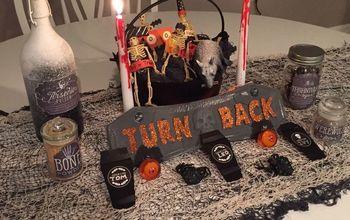
Step 4: Start letting your creative juices flow!! I started with the base and legs first. I dabbed with my finger, I dabbed with a brush, I painted, I smoothed and I blended. I just started playing with the colors and blended them into each other. I did this repeatedly until coverage began to go from translucent to an almost metallic look. This took many coats and tons of patience. That's when I knew I was on to something. I think the only hard part was having the patience to wait in between coats for it to dry!! Once I mastered the look that was happening, I let it dry and then sprayed the base and legs with Rust-oleum’s Triple Thick Glaze Spray. This allowed me the protection I needed to concentrate on the top design without messing up the lower part. I can get messy with my experiments!
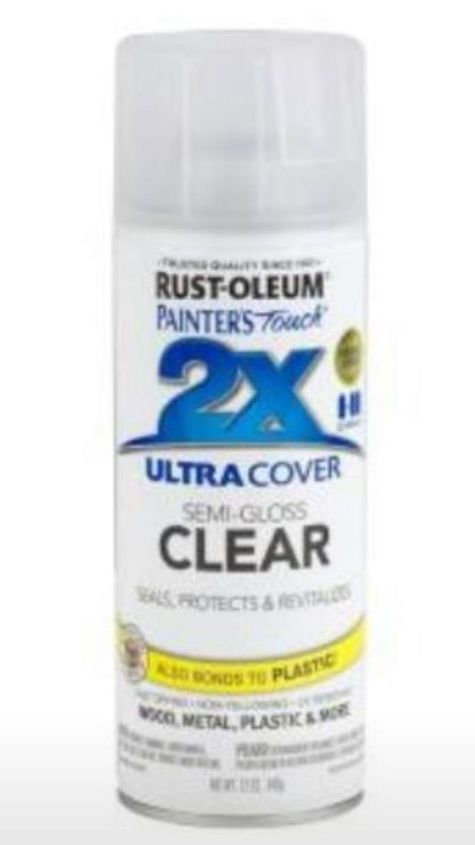
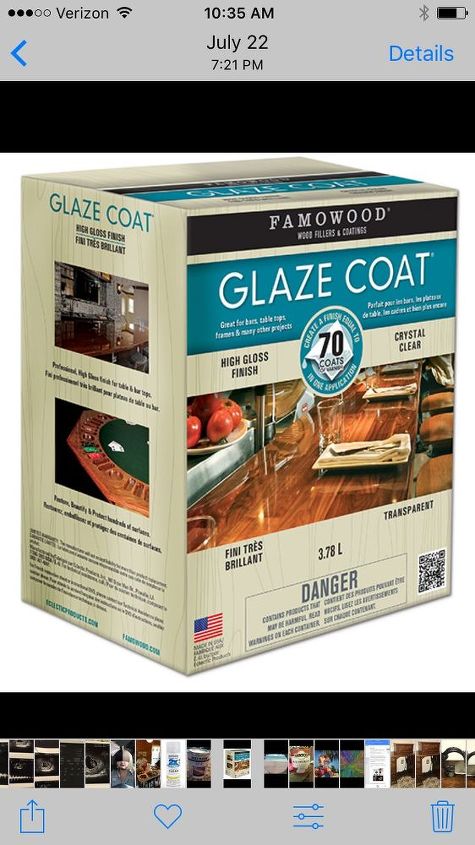
NOTE: I used the semi gloss clear spray on the base and the Famowood Epoxy on the top.
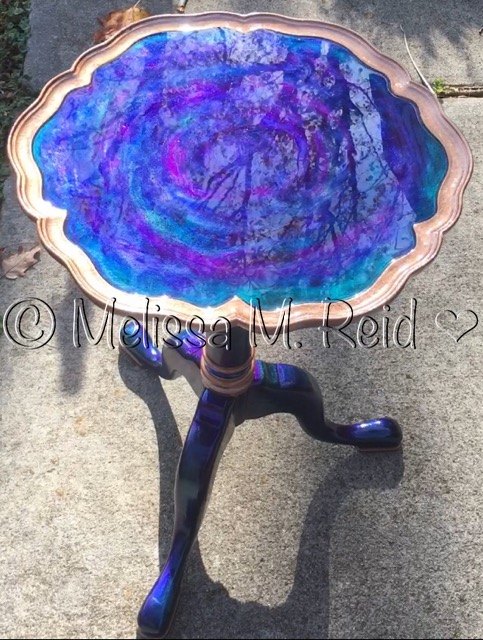
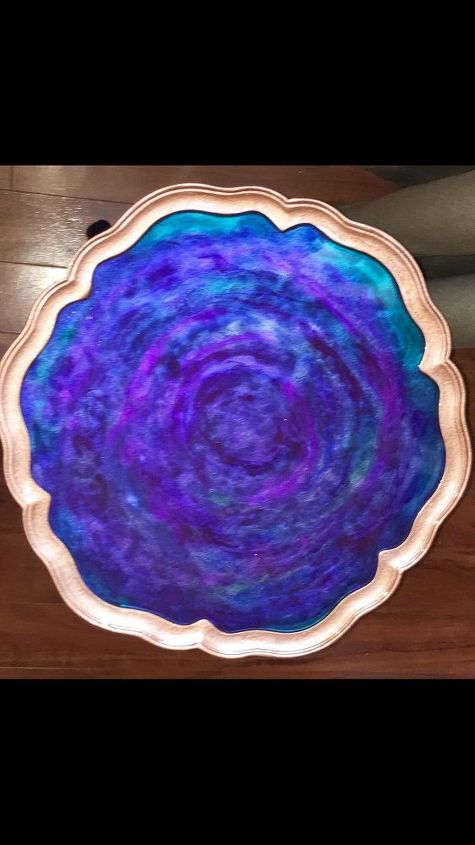
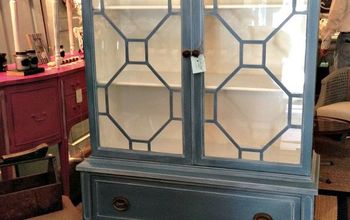
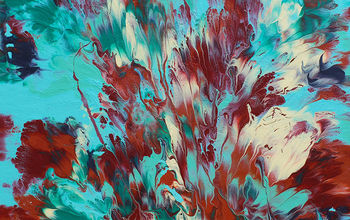
Step 5: I wanted the design on top to flow with the curvature of the trim like a flower. Was that possible from a beginner like me? There goes that confidence issue again. I kept repeating Finding Nemo’s “Just keep swimming, just keep swimming” and soldiered forward. I just started squirting the SPiT on and making designs with my fingertip. First try failed as I overworked the product by mixing with that finger too much and the colors combined to make a lovely black—but alas that's not what I wanted! So I grabbed some paper towels and quickly wiped it off and started again. Did I mention I get messy? I was wearing more than the tabletop at this point. But I kept on keepin’ on and did those same colors but this time I used less SpiT and less movement. I gently guided the colors in a flower pattern and learned to stop before making that first boo boo again! It was lovely. I sat back and said, “did I just do that?” “Yep, sure did!”. Now comes the hardest part….waiting for it to dry. My mom always used to say when I'd repeatedly ask what's for dinner--she'd say, “patience pudding and wait-and-see sauce--that’s what you’re getting “. I still hear those words in my head when I'm being impatient! So after a good eight hours, it was finally dry. The awesome thing about unicorn spit is it tells you when it’s dry by turning a duller chalky appearance. Don’t fear because once it’s sealed it magically transform’s back to its vibrant wet looking self again. And oh! The sparkle and depth it takes on is just amazing! It's like magic!
ep 6: Time to Seal! When painting with unicorn spit, you always seal using an oil-based sealer because unicorn spit is water-based. If you were to use a water-based sealer it would reactivate the paint which is not good! There are some good oil-based sealer’s one can use but for this project I preferred epoxy. For surfaces that need a glass-like appearance, there is nothing better than Famowood Glaze Coat two part Epoxy! This is the glaze you see on bar tops and restaurant tables. It's the same thickness as 70 coats of varnish! Do you know how long 70 coats of varnish would take to dry? I'd loose my marbles waiting for that to get done. But with Famowood you're done in a matter of hours!! The added bonus for this table was having that pie crust lip to the table so I didn't have to worry about run off. I simply mixed and poured per the instructions and it was easy as pie! There I go again, making pie references! Anybody else getting hungry? You make the pie, I'll bring the table!! It looks so good, I don't even need the pie! Who am I kidding! Yes, I do!!
Remember you can do anything when you let your creative juices flow!
Comments
Join the conversation
2 of 27 comments
-
you & i have similar taste in colors. LOVE IT!!!
-
Where do I buy the spit paint at


Frequently asked questions
Have a question about this project?