


Faux Wood Look
Have you ever thought, "Hmmm...I wonder if I can turn that painted project and change it to look like wood.?" Well, I have had that thought a time or two and decided to see if I could do just that! I took a painted piece of wood or other types of materials, and transformed them into 'wood' with a faux wood look. Using paint and materials I had on hand, I was able to accomplish this!
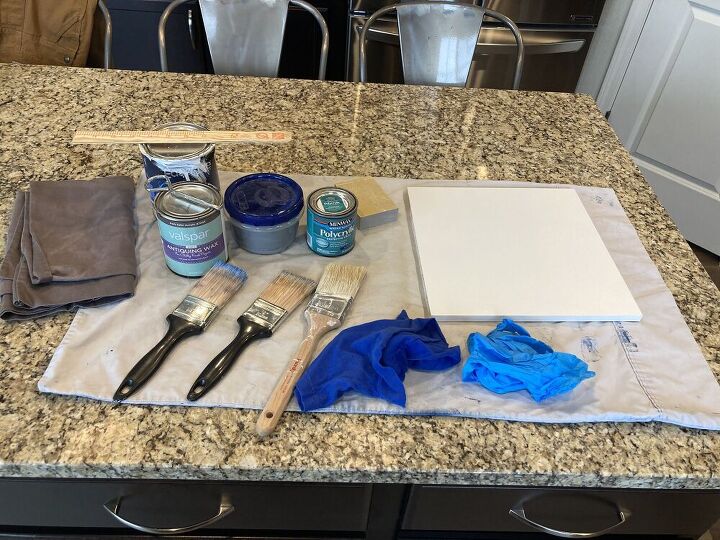
Supplies you will need:
- White/cream/natural color painted piece of wood/material
- Antiquing wax or Antique glaze
- White paint
- Gray paint (or any other color paint that can help achieve a wood look)
- Polycrylic
- Paint brushes
- Rag
- Gloves (if you want)
- Stir stick
- Drop cloths
- Sanding block
- Something to open your paint cans
- Paper towel to dab on
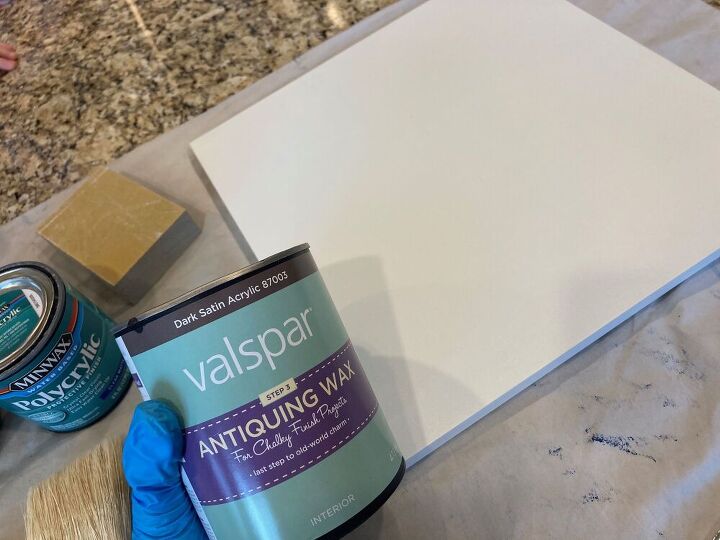
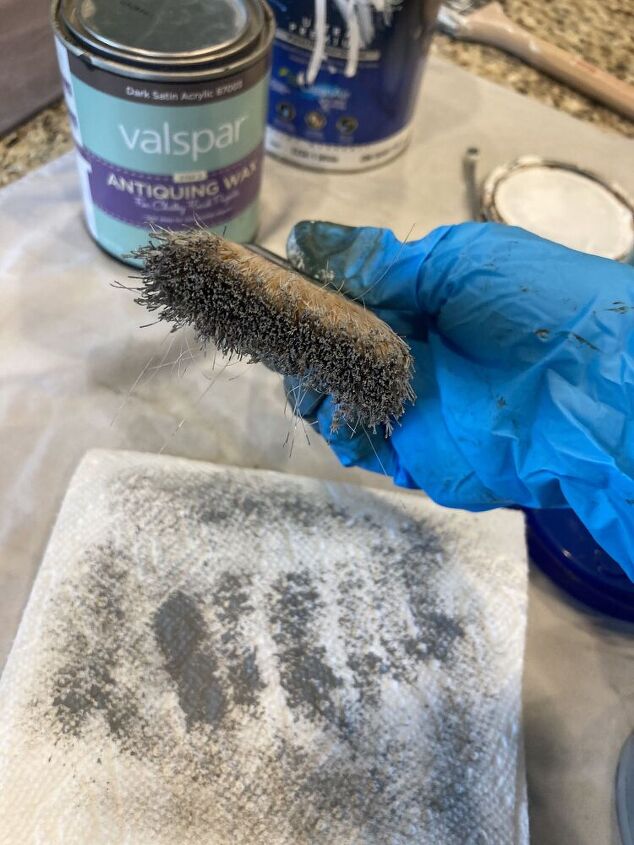
Grab your gloves, your antiquing wax and your rag
Dip that rag of yours into the container of antiquing wax. It will look like a lot, but trust me, you will need more!
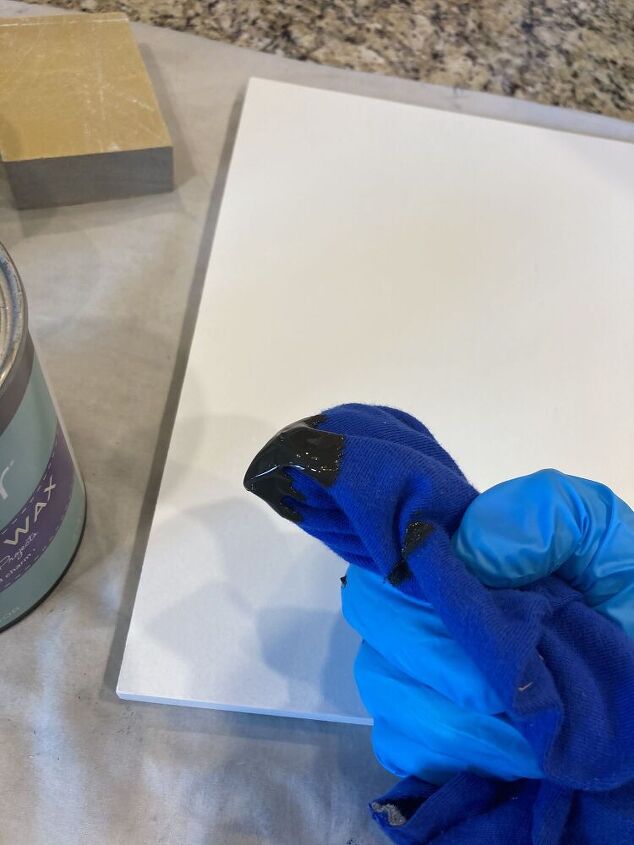
Apply/wipe on the antiquing wax. It will go on thick/dark, but work it around in a small space and work/rub it in.
If you are using antiquing glaze, you will do the same except you will go back after a few minutes and wipe off any excess. You will do this until you achieve the look/color you are going for.
Once you have worked it in to one area, re-dip your rag into your antiquing wax and apply to the other areas. Do this until your board/piece is completely covered with the desired amount and is the color you like.
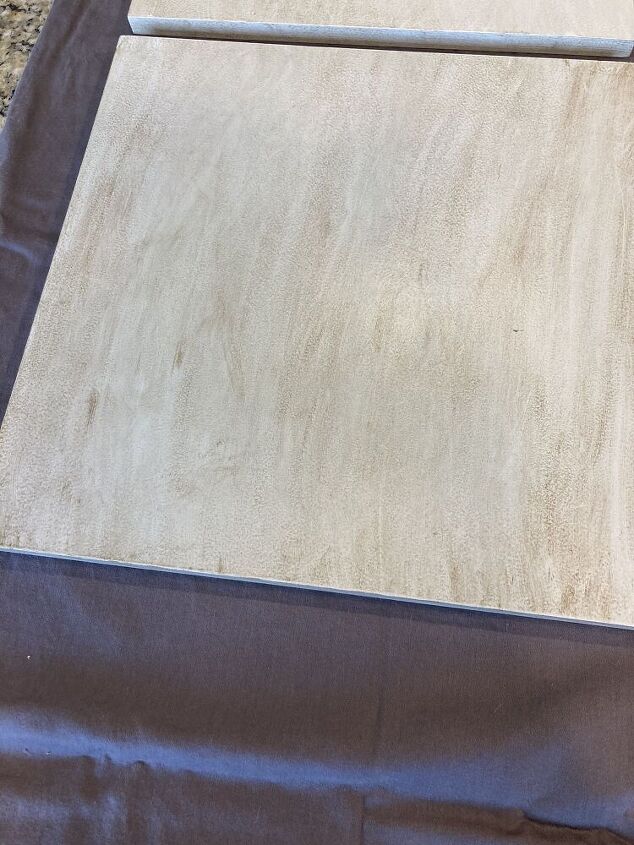
Now, let it dry for a bit. Once it is done being tacky, you can move on to the next step.
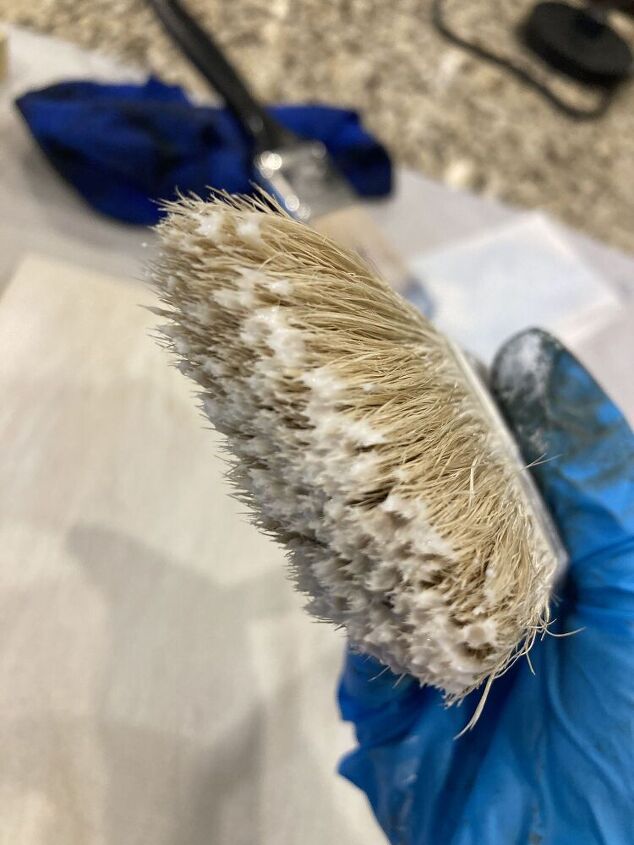
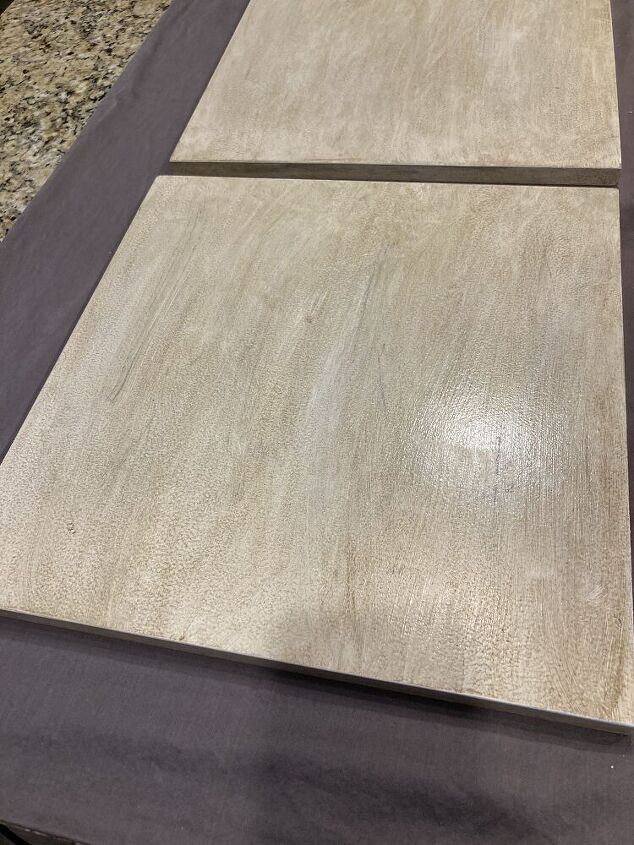
Lightly dip your paint brush into some white paint so that just the edges of the bristles get some paint on them. Then, dab the extra paint onto a paper towel. You want just a tiny bit of paint on your brush (it is called dry brushing).
Then, brush onto your board/material. Lightly first and then a little more in some areas. Dab a little bit more paint onto your brush, dab excess off onto paper towel and then brush a little more in certain areas that seem to need it.
If there are any areas you feel you applied too much, simply wipe it off with a paper towel and continue on!
Next up, grab that gray paint (or what ever natural color you prefer), dip your brush and dab excess off onto a paper towel.
Apply this the same way you did the white. Apply lightly at first, and then go back and add more to certain areas.
Once you achieve the look you are wanting, it is time to set it aside and allow it to dry. (It will not take too long for it to dry since you did a dry brush method with the paint).
Once your dry brushing paint is dry, it is time to apply a polycrylic (top coat)! Grab that can of poly and your stir stick...stir it up! Do not shake polycrylic otherwise you will have bubbles and those bubbles will be applied and dry like that.
Once stirred, dip your brush in and brush it on lightly. It looks milky white, but it dries clear! Let dry (the back of the can will say how long it should take).
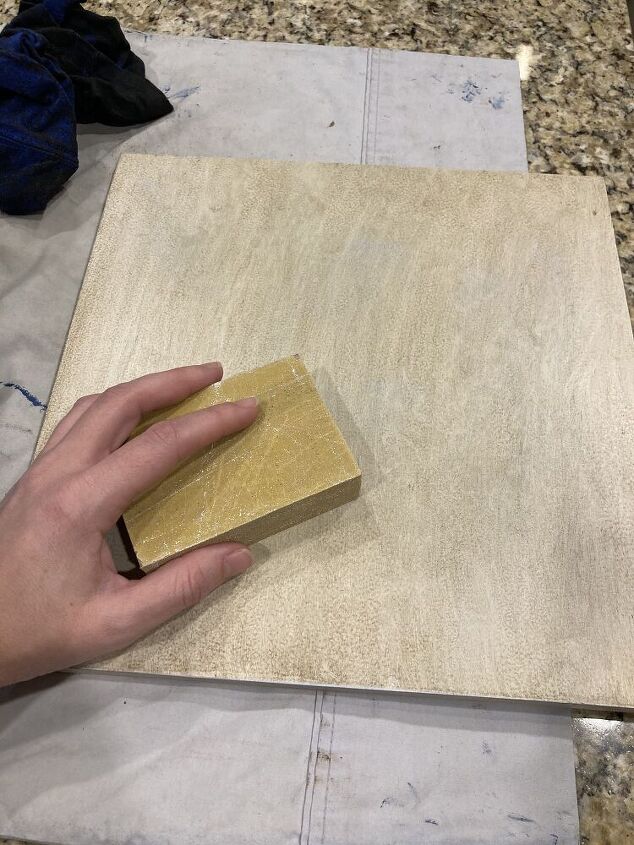
Once that first coat of poly is dry, lightly sand with a 220 or 320 sanding block to get any rough spots out. Wipe clean with a clean rag or if you have a tack cloth on hand, use that.
** This is optional-if you are looking for a rougher look and feel, you can opt out of this step. If you want a smooth finish with the look of ‘wood’, then you will need to do this step.
Apply a second coat of polycrylic, the same way you applied the first coat. Let dry.
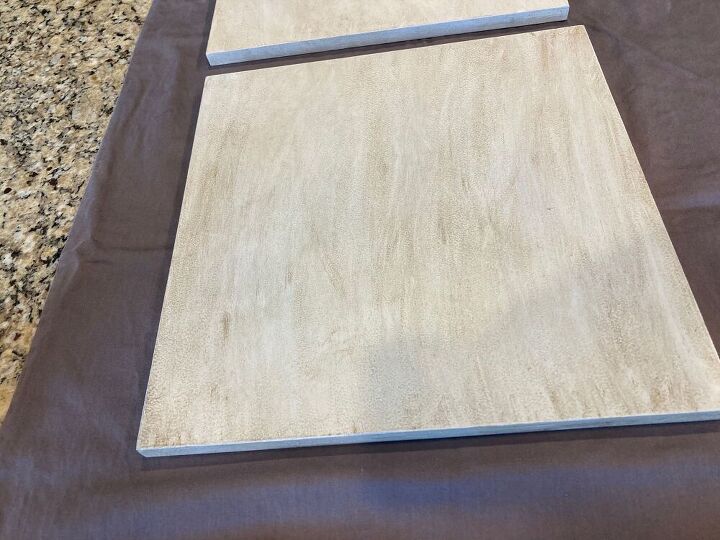
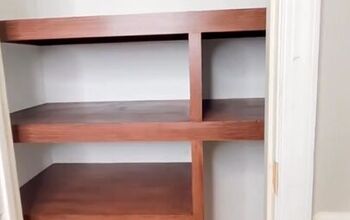
Once your piece is completely dry, it is time to display it! It is so fun to see something that once was painted a white/natural color, turn into ‘wood’!
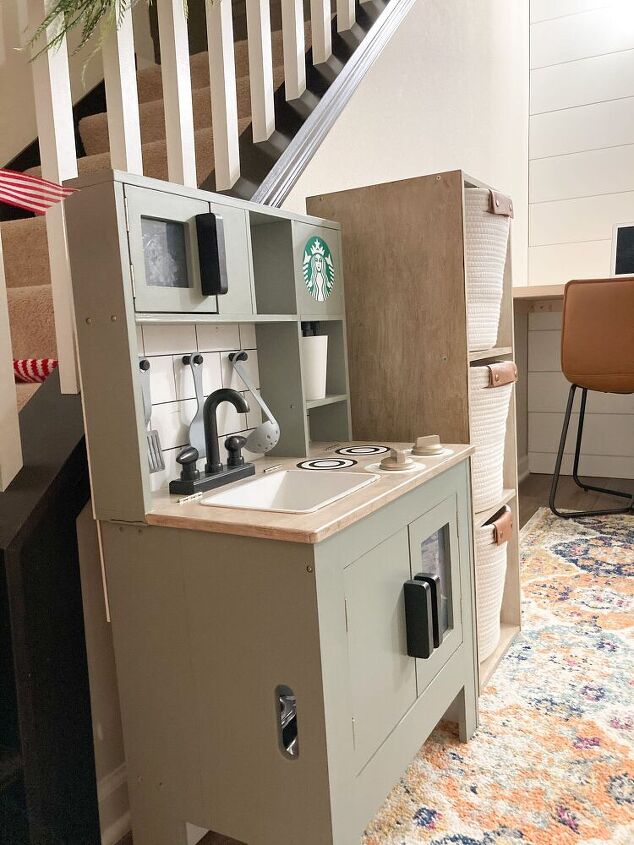
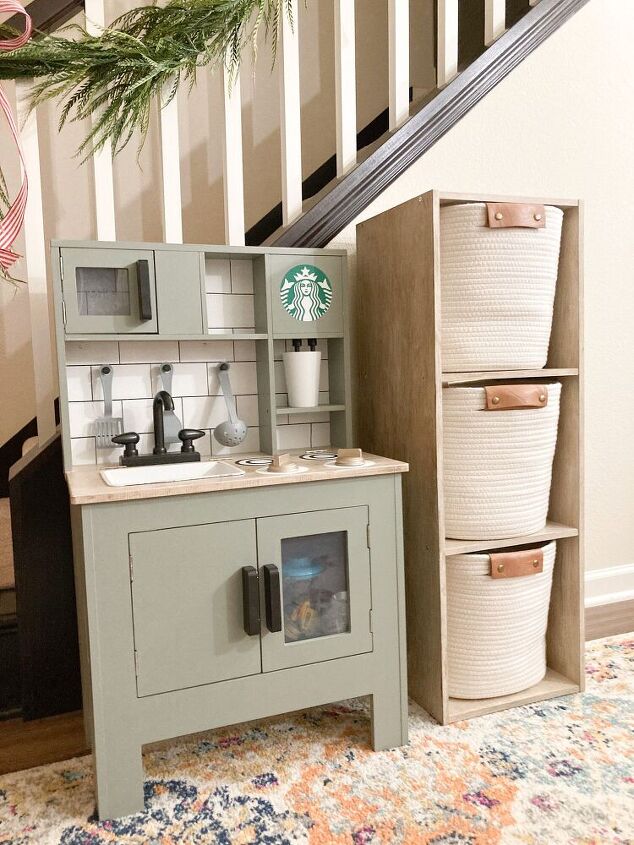
I made over this little play kitchen with a faux wood counter, so I needed to update the cube organizer next to it!
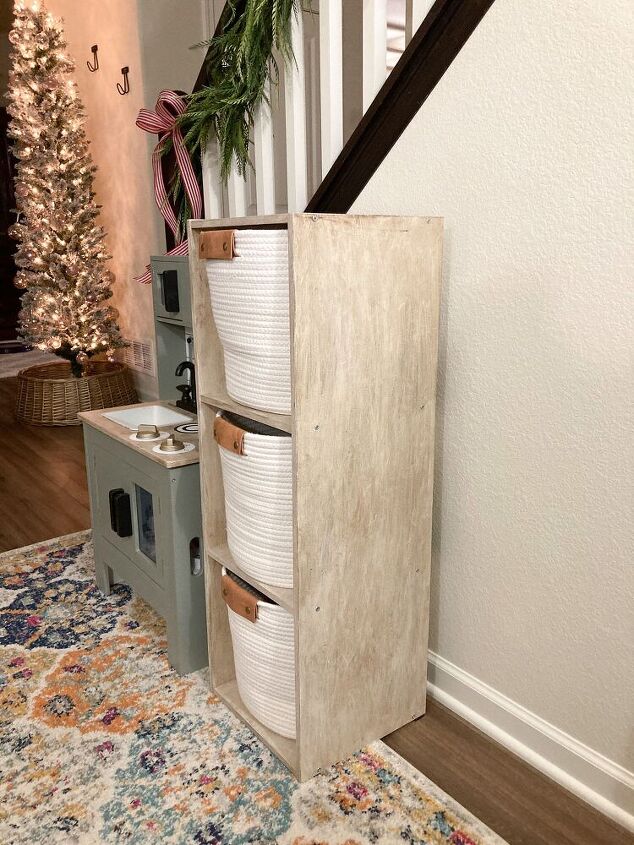
I am so happy I decided to give the faux wood look another go... These two projects look like they belong together now!
Resources for this project:
See all materials


Comments
Join the conversation
-
Wow....very convincing wood look, I'm impressed with how well it looks.
-
Looks great. Thanks for sharing.


Frequently asked questions
Have a question about this project?
Could you use this technique on an adult countertop (not used for food)?
Can I use this technique on a white table that already has 2 coats of polycrylc?