


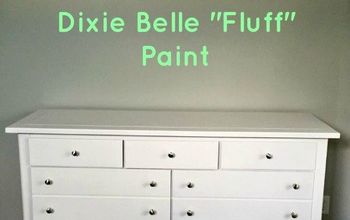
How I Used Chalk Paint to Make Over This $40 Dresser From Facebook MP

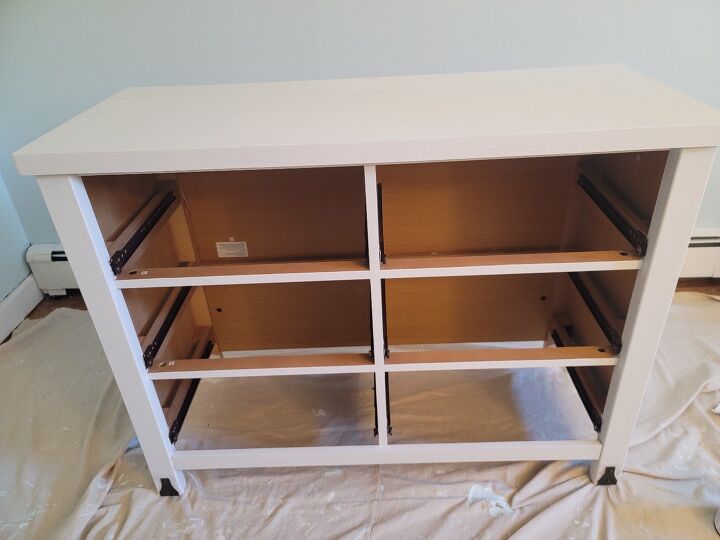
Have you seen how expensive furniture is these days!?!? I swear any dresser is approx. $800. As I put together the nursery, I am in the market for furniture and I am not one for an expensive piece that lacks character. I got this dresser/changing table, which was an amazing find for my specific need, off Facebook market place and decided to test out chalk paint since I haven't used it in the past.
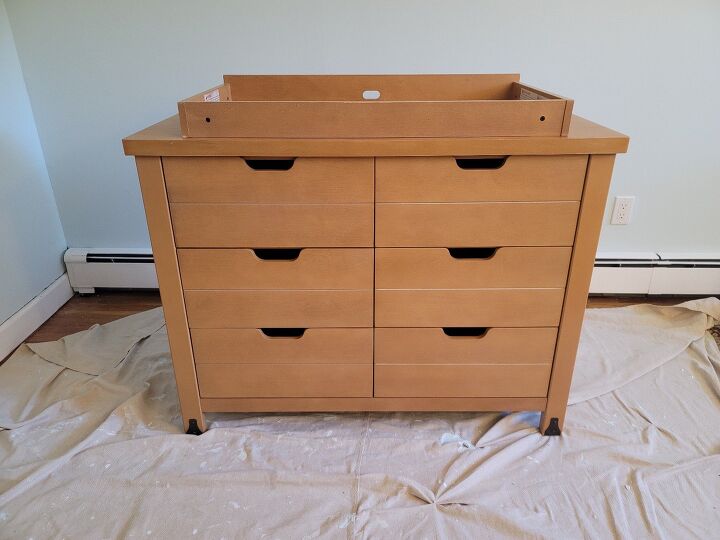
I wanted a two tone look so I planed on leaving the drawers the light wood color.
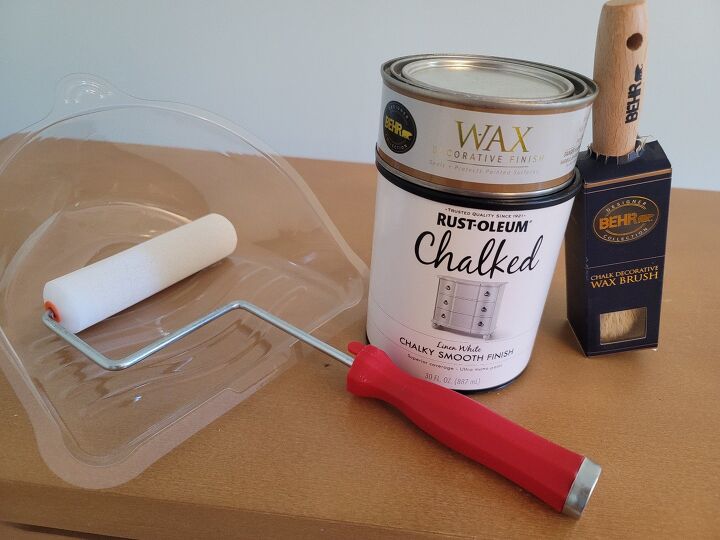
The appeal with chalk paint is that there is NO sanding required. I personally HATE sanding and find it extremely tedious.
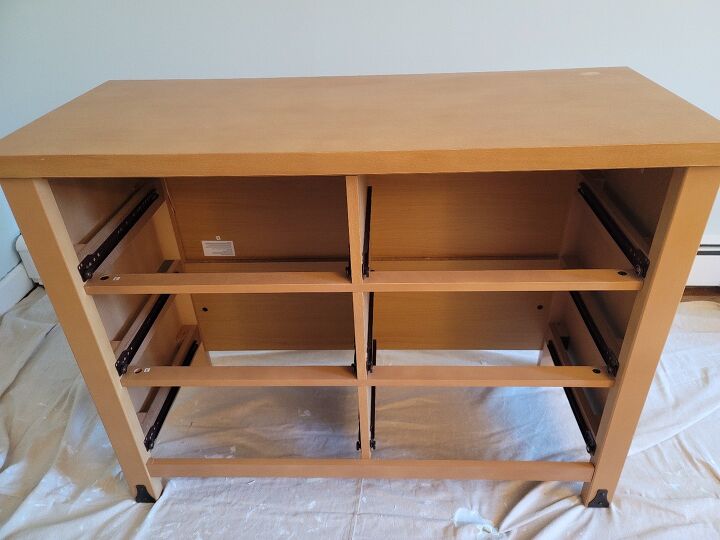
I started off by removing all the drawers and wiping down the cabinet.
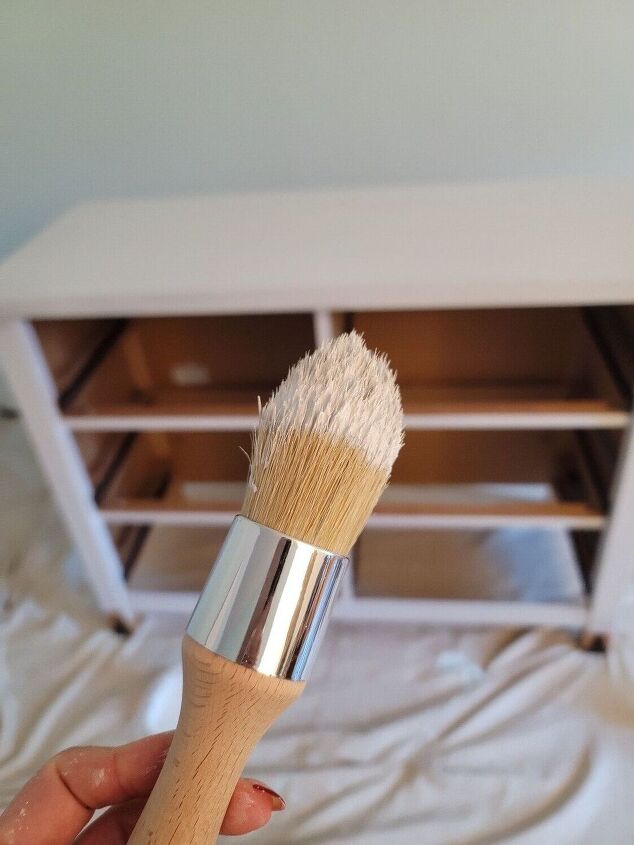
Then I started to paint, initially I used the roller but I found that it wasn't going on smoothly so I switched to the brush. I feel the chalk paint provides a textured look to your piece which is nice but something to keep in mind depending on what you are going for.
I ended up doing 3 coats of paint for this dresser. I let them dry for a minimum of 2 hours in-between.
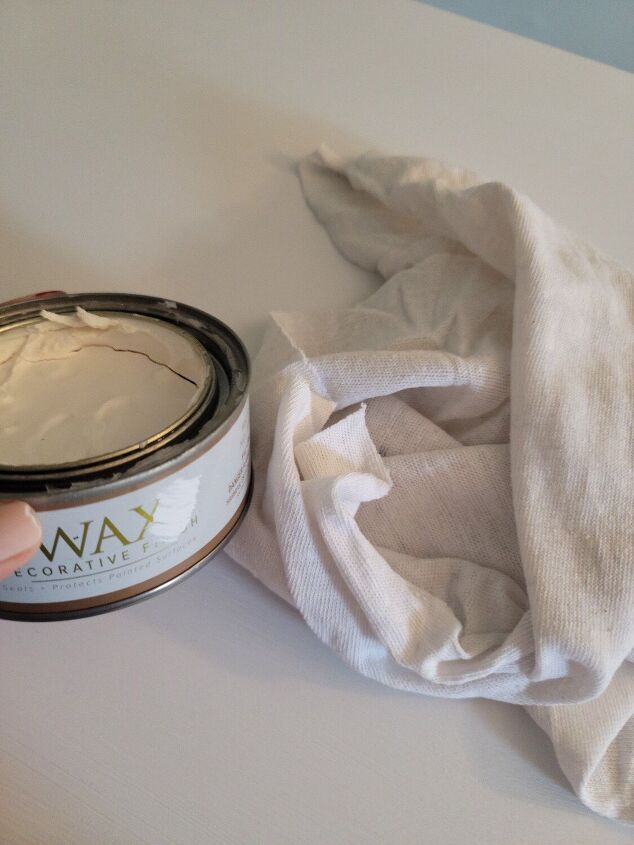
The wax is the seal for the chalk paint and a necessary step. For this you want the paint to be fully dry so 24 hours after last coat. I used several lint free rags since they start getting too saturated after a while.
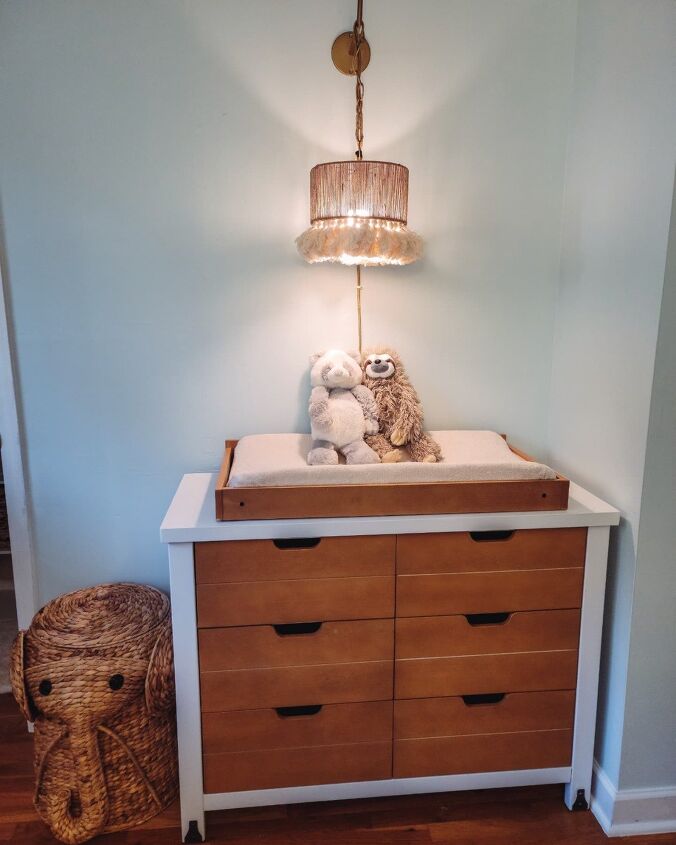
Overall, I love the look and the paint seems solid enough. I do think that ultimately it may not stand the test of time and will need some touch ups unlike the cabinet I made for my daughter where I sanded first (see previous post for details). That one is SOLID, 4 years and not a scratch but was also significantly more work.


Frequently asked questions
Have a question about this project?