


How to Paint & Distress Furniture With Milk Paint
2 Materials
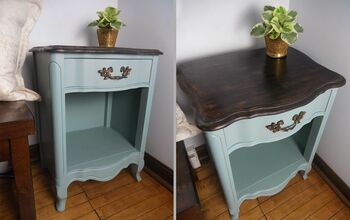
Milk paint is a low VOC water-based paint that requires no sanding or priming prep work, allowing for you to immediately start painting! I had a small entry table waiting in the wings to be made over and chose to go with the "distressed" look for this particular piece, a look that is super easy to attain. Let's get started!
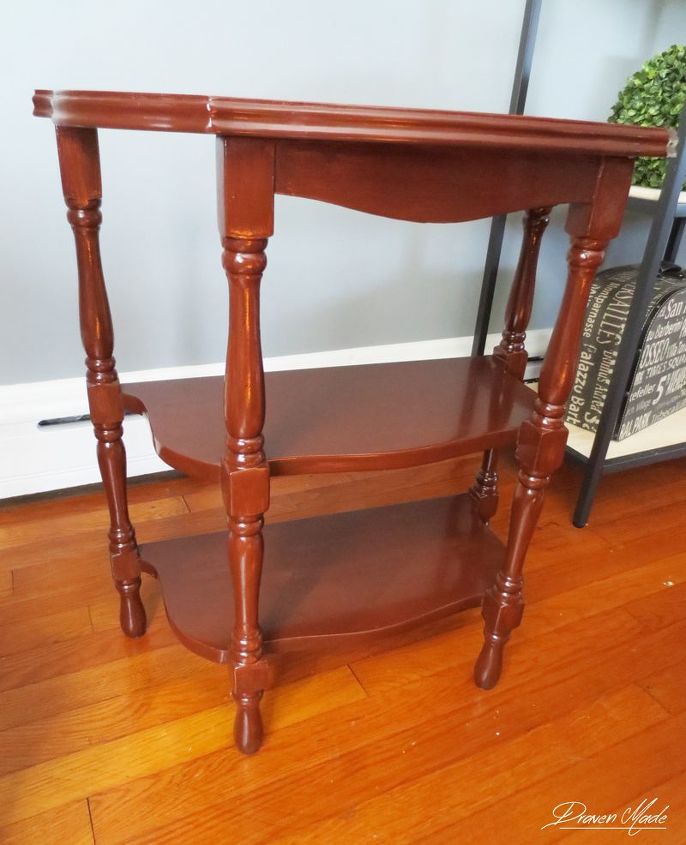
It started as a piece that showed no style; it came originally painted a dark brown and bearing a few chips on the tabletop. This table needed a major face-lift!
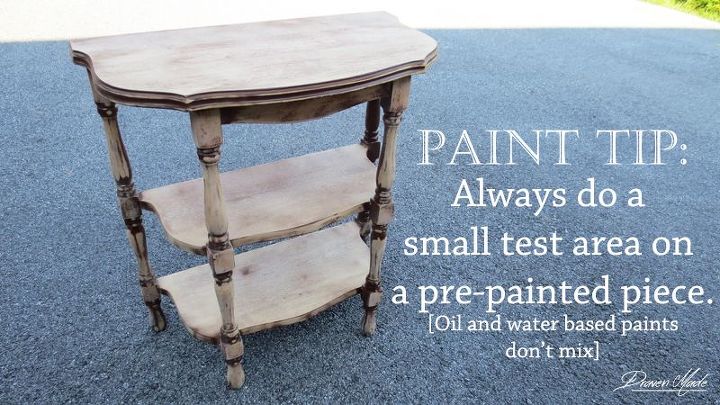
As milk paint requires no sanding or priming prep work, I was able to immediately start painting. However, because it was previously painted I started with a small test strip of paint on the back of the piece before going further. I'm so glad I did, for as soon as the paint dried it showed lots of streaks and some bubbling.
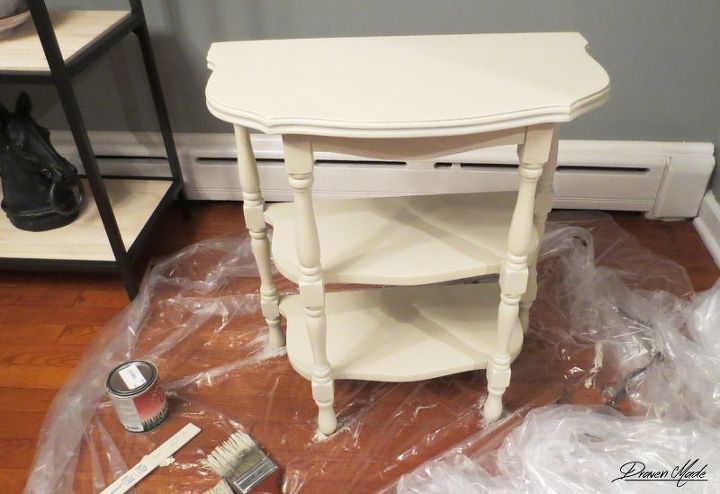
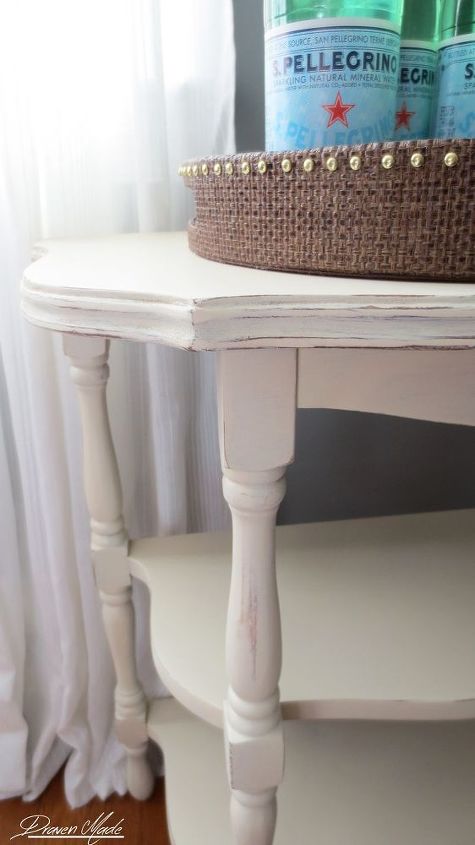
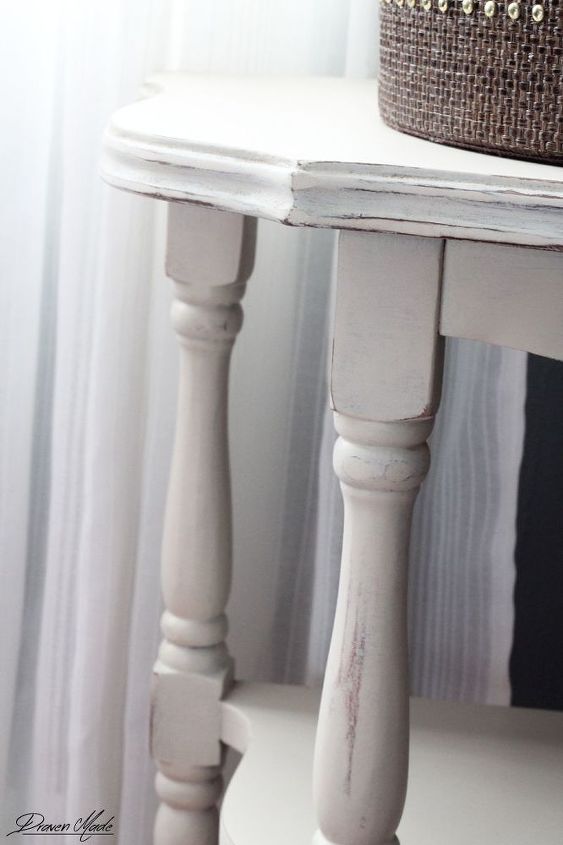
At last able to get to the fun part of painting, I got out my trusty General Finishes milk paint in Linen. This line of milk paint is fabulous because it also comes pre-mixed and has beautiful colors that can be custom mixed. I especially appreciate that the paint is very forgiving with brush paint strokes and does self-evening, making very smooth finishes on your furniture.
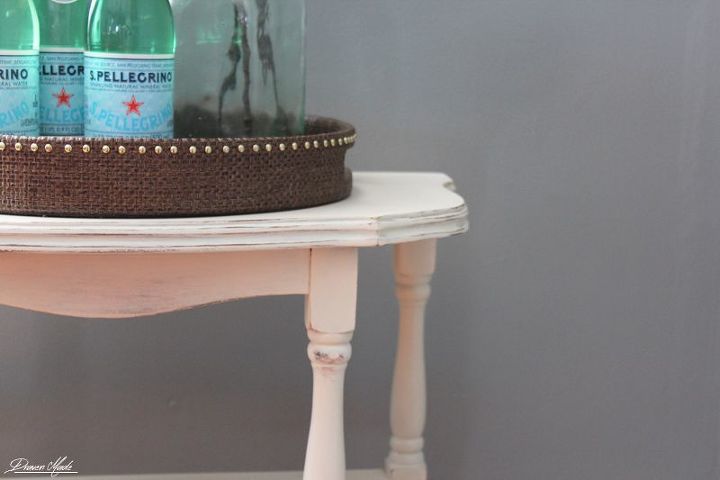
Letting it dry completely overnight (important!), the next day I took a sponge sander and lightly went over the edges and corners of the table to give it more detail and "history". The process is to simply find the areas that you imagine getting worn or bumped most over the years, and go over them with the sander.
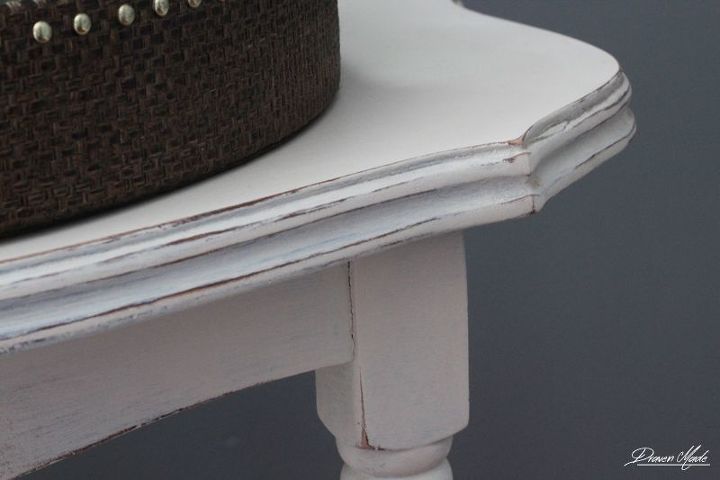

Amazing difference from its humble beginnings! The power of paint, y'all. :)

Want more details about this and other DIY projects? Check out my blog post!
Comments
Join the conversation
3 of 6 comments
-
The power of paint, no kidding, looks great!
-
very nice. where is the best place to buy milk paint?


Frequently asked questions
Have a question about this project?
I love the color you painted the table. I went to buy the Linen color and it seems so much darker. Is that the correct color?