


How To Use Milk Paint
Milk Paint is such an easy way to refinish old furniture - you will love this tutorial!

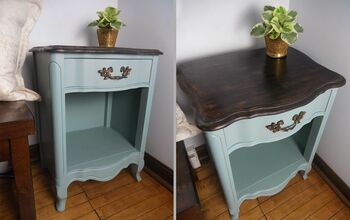
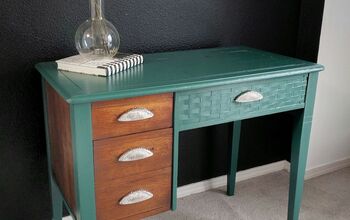
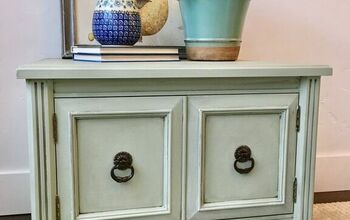
I have always wanted to try out milk paint and figured my Granny’s old oak headboard was where to start. I started my search online and I found Miss Mustard Seed’s Milk Paint.
First of all, what is milk paint? It’s a very old form of paint that consists of milk protein, limestone, chalk, clay and pigments (for color). It will last indefinitely in power form and one week once mixed with water. It works especially well with raw wood, but can be used over existing finishes.
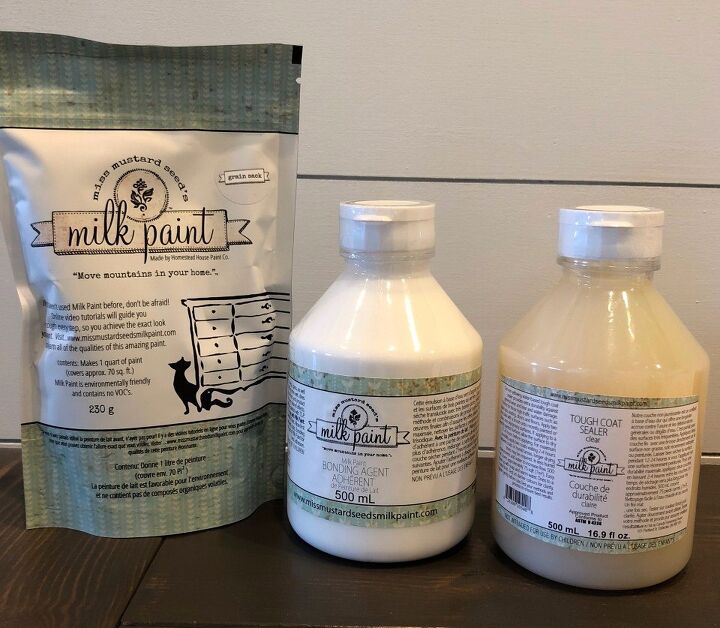
Supplies Needed:
- Miss Mustard Seed’s Milk Paint – I used the color Grain Sack
- Bonding Agent
- Tough Coat Sealer
- Antiquing Wax
- Wax Brush
- Paint Brush
- Mixing Bowl
- Water
- Sand Paper (optional)
- Cleaning Rag
- Dry Rags or Paper Towels
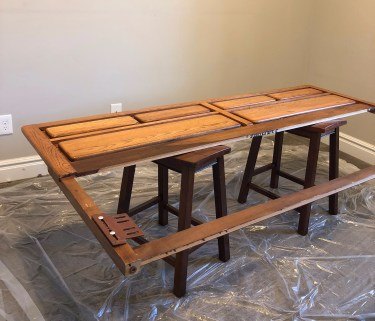
Step One – Prepping and Cleaning Your Project
Before you start painting your project must be wiped down and cleaned of any residue. Otherwise this will show through the surface and often chip off. Usually I would do this outside but it was too cold so I made sure the ground inside was covered well before I started.
After you wipe your project clean, I would recommend you light scuff up the top with some sand paper. This is not required if you are using the bonding agent.
I tried scuffing the headboard and not scuffing up the end tables and it proved to be a bit of work later. Certain areas of the night stand did not adhere as well to the milk paint and chipped during the antiquing phase. So I had to sand it down and start over. So just a light scuff can really help avoid this issue.
Step Two – Mixing Your Paint
The instructions are very clear on the Miss Mustard Seed’s Milk Paint packaging. Additionally their website has amazing tutorials for every step of the process. You can find those here.
Basically you are mixing in water with your milk paint to the desired level of thickness. You can use it as a paint or a stain – therefore the amount of water is up to you. Start with a little and continue to add. As it sits it will become thicker, they recommend waiting a few minutes before you paint.
I additionally recommend mixing it really well to get all the lumps out after it has sat for a minute.
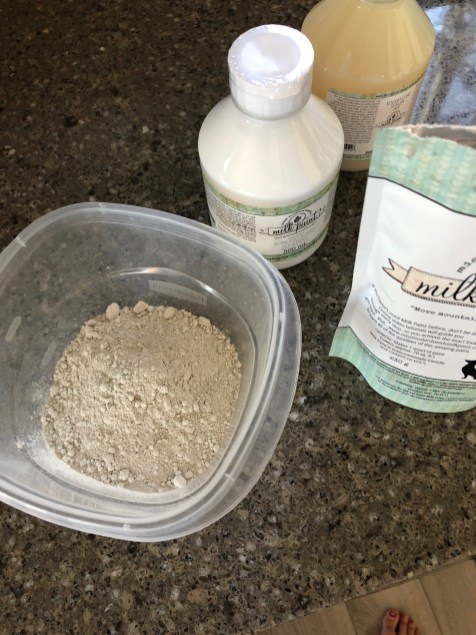
They sell a wonderful product called Bonding Agent. This is an adhesive that helps the milk paint to stick to your project better. It is a one to one ratio when adding it to your already mixed paint.
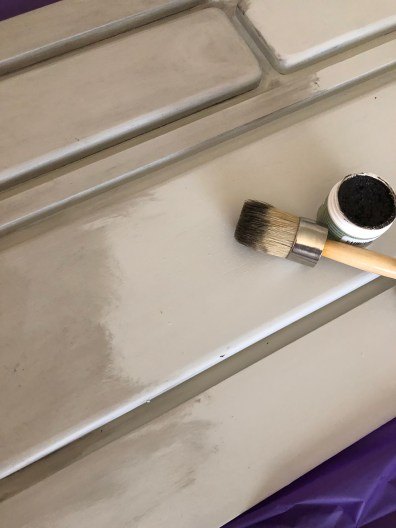
Step Three – Applying Your Paint
Now you are ready to start painting. It can be a little drippy so I would make sure you have protection over what you are painting on. It wipes up well and didn’t seem to stain anything but just in case!

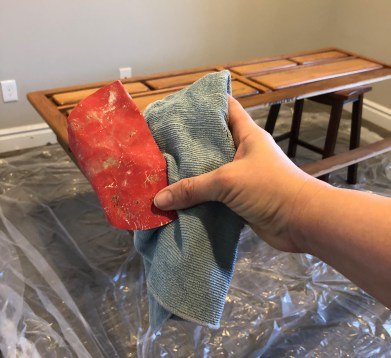
Step Four – Applying Antiquing Wax
This step is optional. If you like the color the way it is, you can add finishing wax or tough coat to seal it. I wanted a vintage look so I added the wax. Their round waxing brush is so helpful in the process. Have rags or paper towels on hand to rub off the excess wax.
You rub your wax with your wax brush on all the areas you would like it darkened. You will rub it off afterwards to your liking. You can rub heavily to remove all the wax.
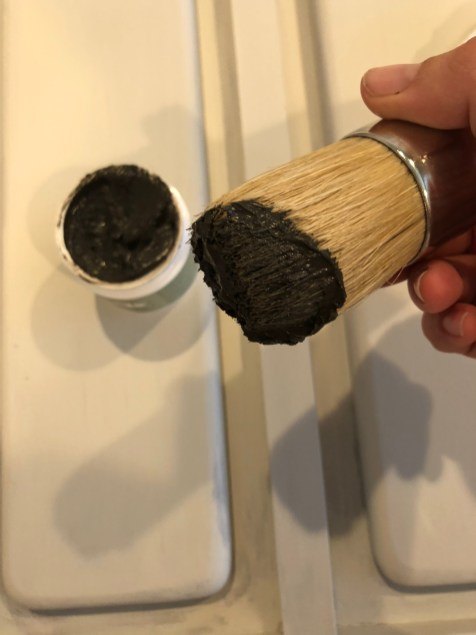
Rub extra wax in the cracks and corners for a stronger antiqued look.
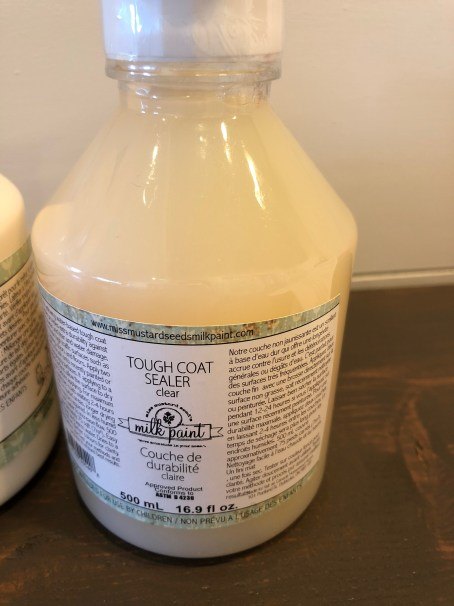
Step Five – Top Coat
The wax alone will protect your project. But since I have this in a guest bedroom and wanted it extra protected I chose to use their Top Coat. It went on smoothly and gave the headboard one last bit of strength.
That’s it! There is a short curation period that is explained on the package. You won’t want to put heavy duty pressure on the piece for 30 days until it is fully cure. Mine was up against a wall so we used it immediately and were totally fine.

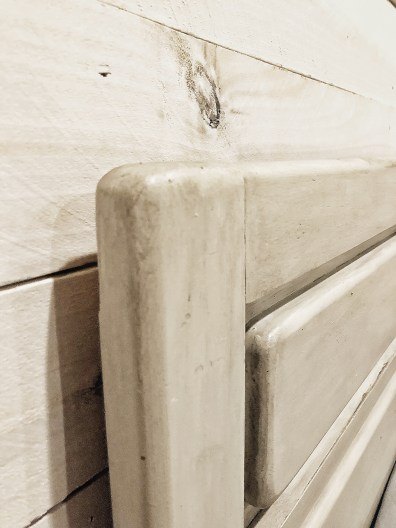
We just loved how it turned out! Paint can really change up a space quickly. Check out my other posts on painting projects here.

Happy Painting!
Love,
Kelly


Frequently asked questions
Have a question about this project?