


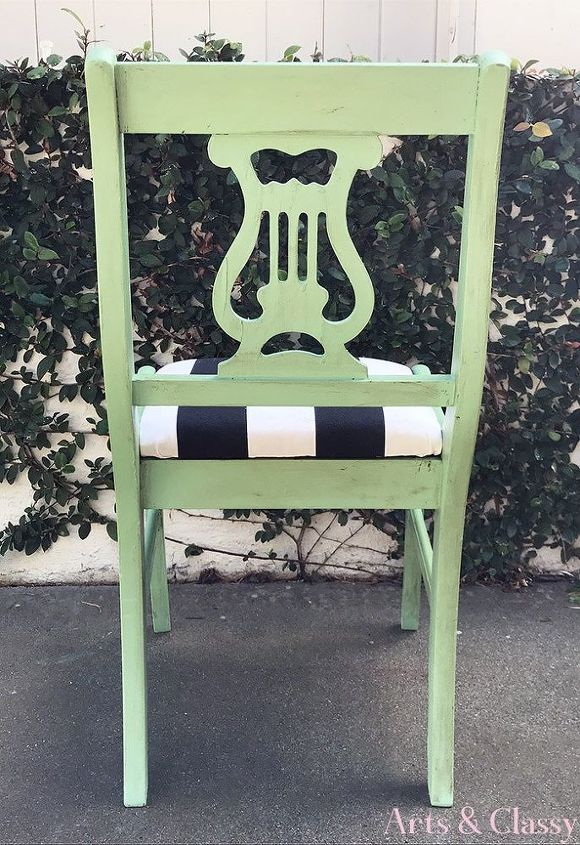
Lyre Back Chair Find Gets a Colorful Makeover
18 Materials
4 Hours
Easy
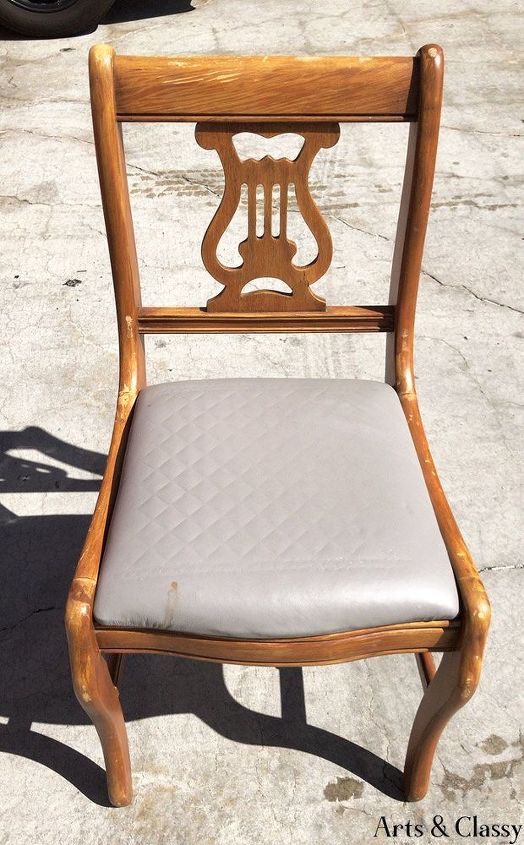
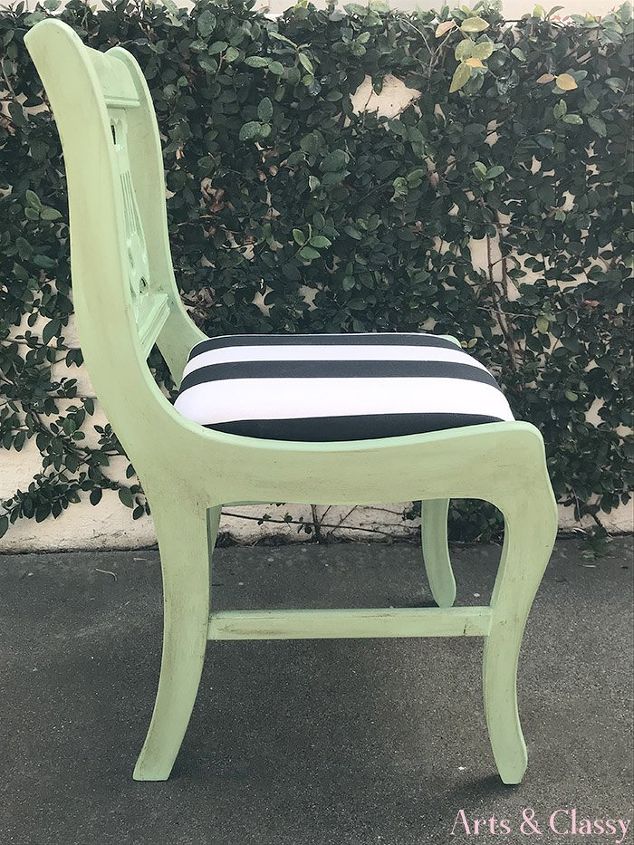
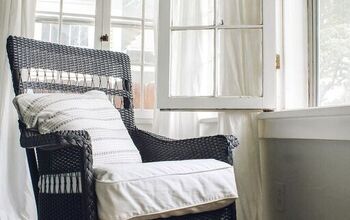
I love picking up furniture on the side of the road to revive, but this week I scored a gem of a chair on Facebook Marketplace. After doing a little research on the style of this chair, I discovered it is a Lyre back chair.
Check out the BEFORE photo below.
Removed the seat from the chair.
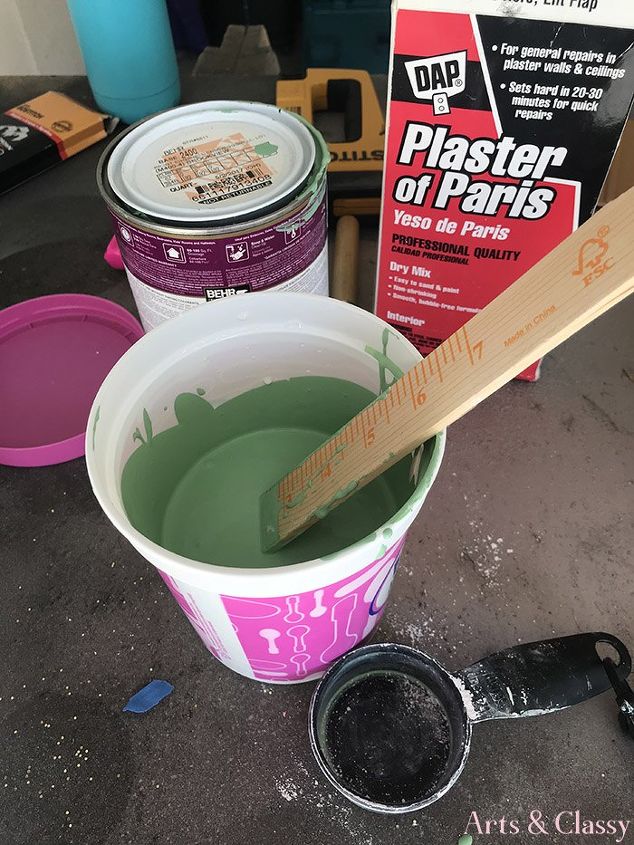
Mixed up my favorite DIY chalk paint recipe.
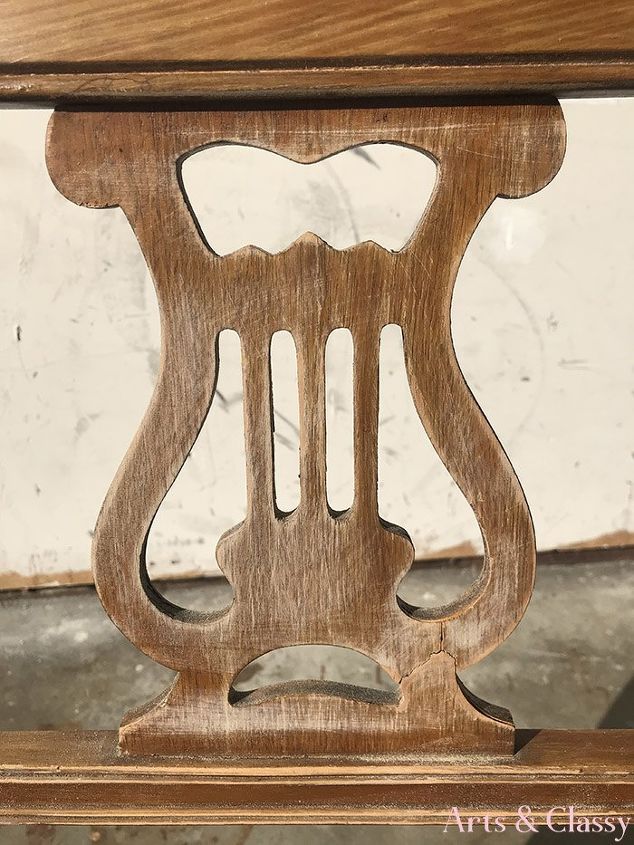
I sanded down the chair and used wood glue to fix some parts of the harp back. After sanding it down, I wiped it off to make sure extra dust and residue was gone before painting.

After my chalk paint mixture was mixed, I applied to the chair frame. I painted about 2 coats.

After the paint dried, I used my favorite dark furniture wax to seal this piece and give it some aging.
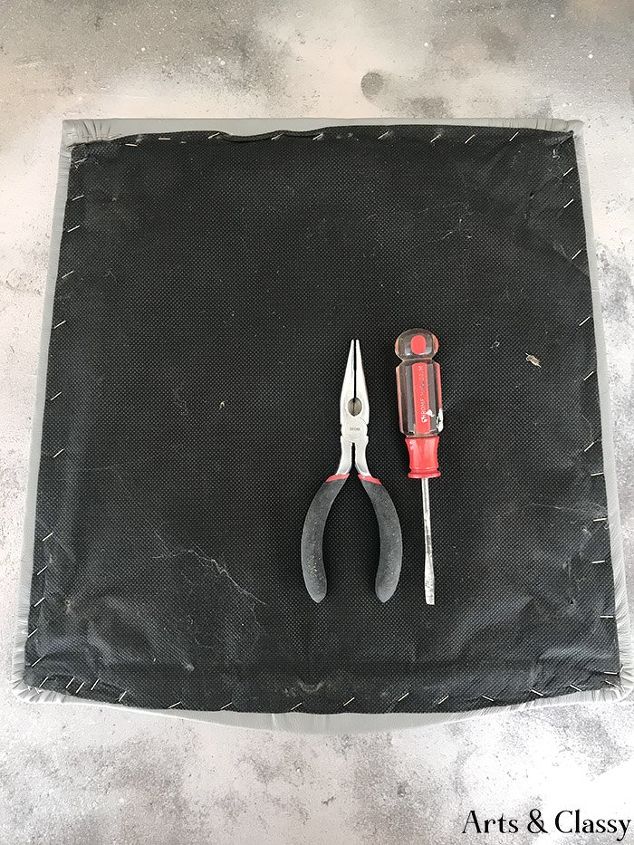
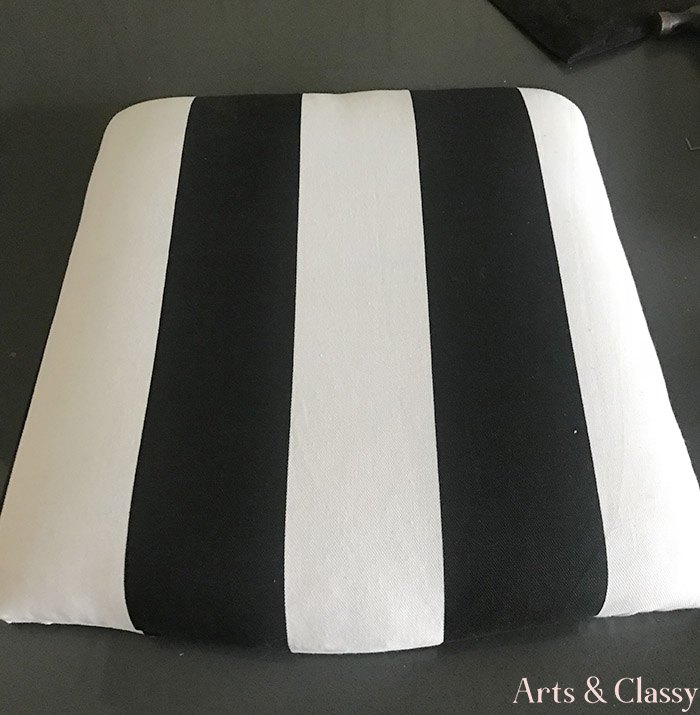
My last step was uncovering the seat and reupholstering it with my striped fabric.
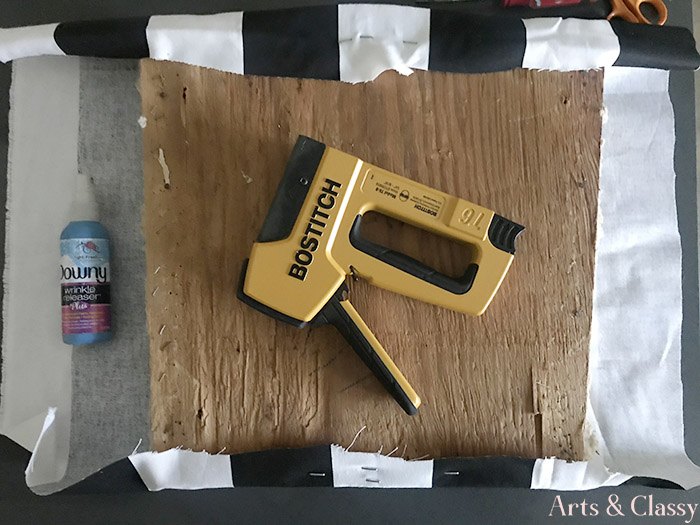
The important part here was making sure that the stripes were facing the right direction and not at an angle.
I made sure to secure the staples with a hammer to make they were flush with the surface.
I reassembled the seat to the frame of the chair with my power drill and 4 screws.
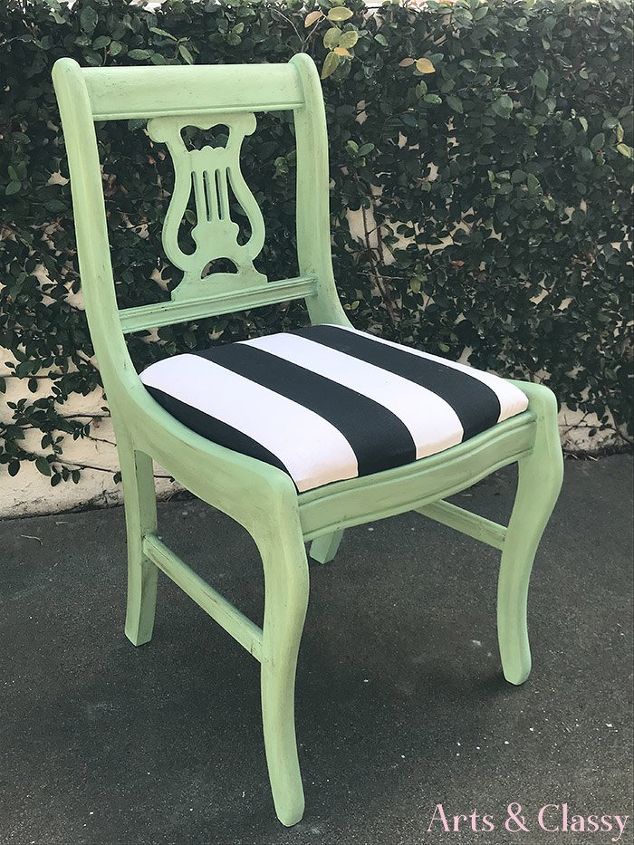
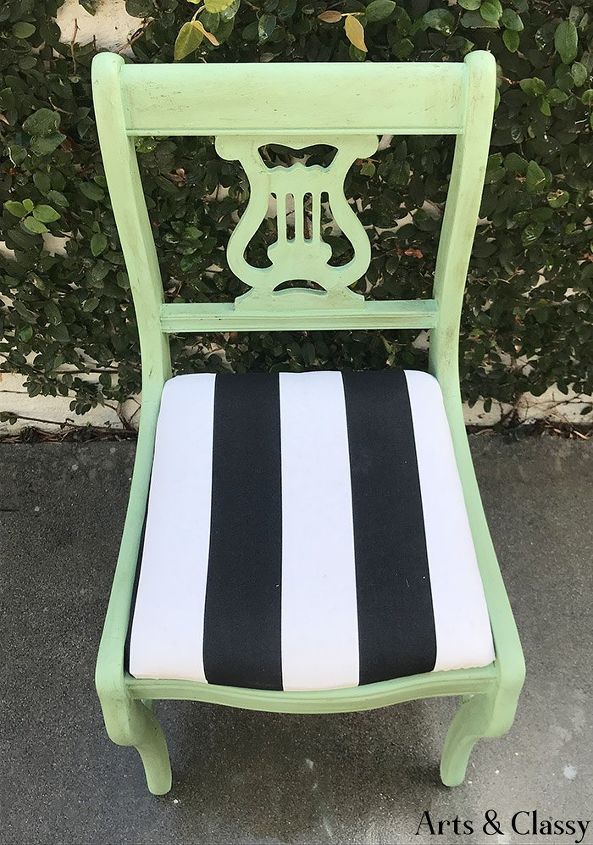
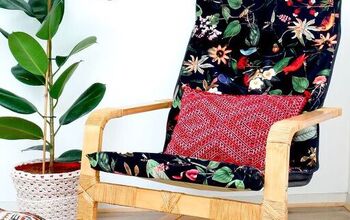
CHECK OUT THE AFTER!


Any price and availability information displayed on [relevant Amazon Site(s), as applicable] at the time of purchase will apply to the purchase of this product.
Hometalk may collect a small share of sales from the links on this page.More info

Want more details about this and other DIY projects? Check out my blog post!
Comments
Join the conversation
3 of 6 comments
-
This is what I did with mine

-
Love it great job !


Frequently asked questions
Have a question about this project?
Ingredients for chalk paint?
Looks amazing but why chalk paint ?
Can you please tell me the amounts of each that you use?