


New Life to Inexpensive Wicker Chair Part 2

by
Rhonda S
5 Materials
$90
8 Hours
Easy
A while back I shared a project where I refreshed a dilapidated garden bench with polypropylene rope. I recently did an additional chair with a slightly different rope. The process was exactly the same. This time to splice the Rope I used a zip ties and hot glue. The key was simply putting it someplace that was hidden.
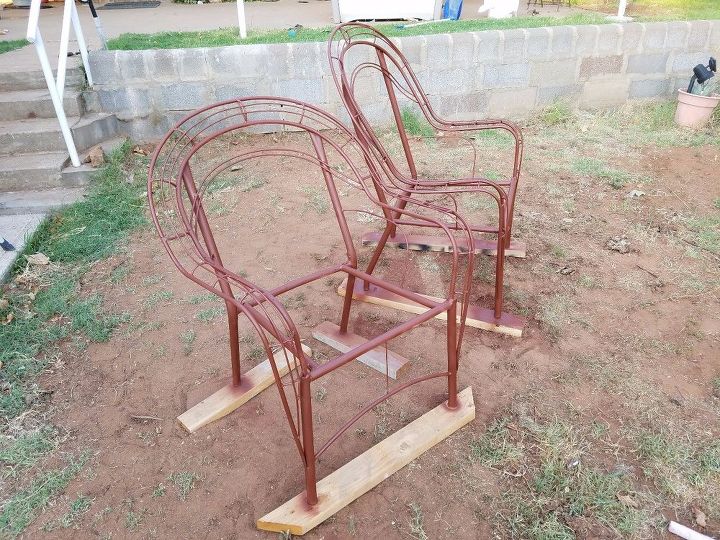
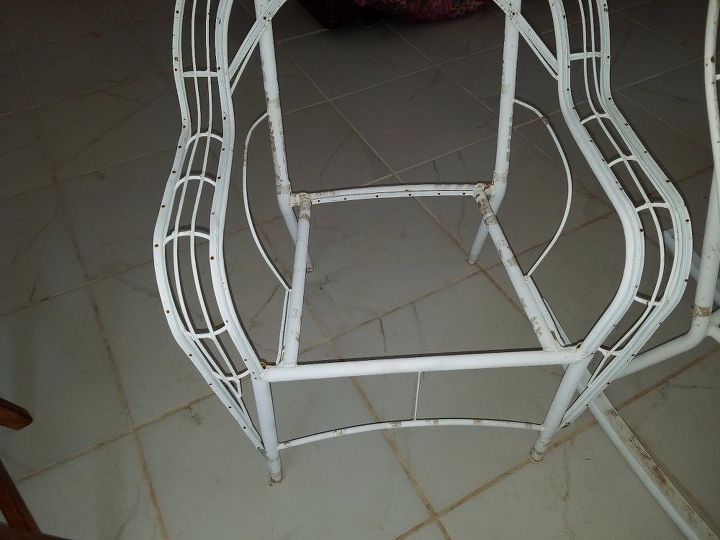
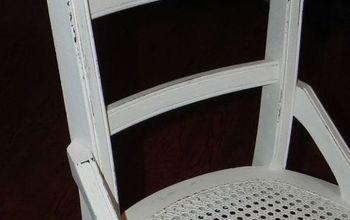
First step was to lightly sand the frame and prime it.
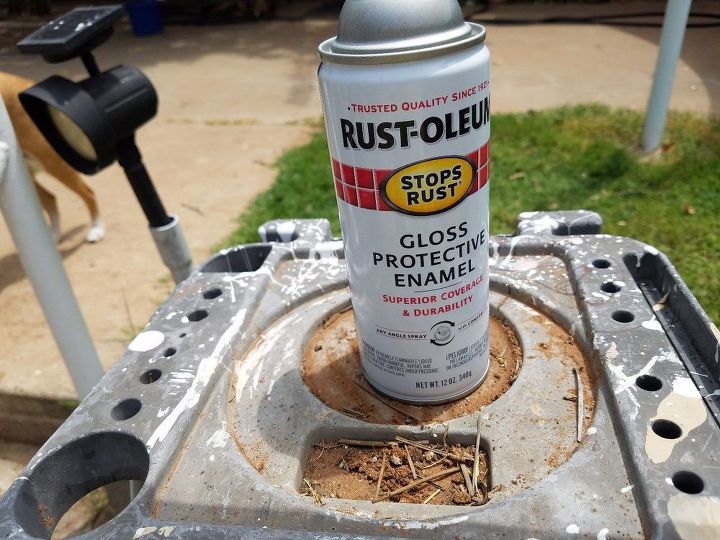
I used Rustoleum brand primer followed by Rustoleum brand spray paint.
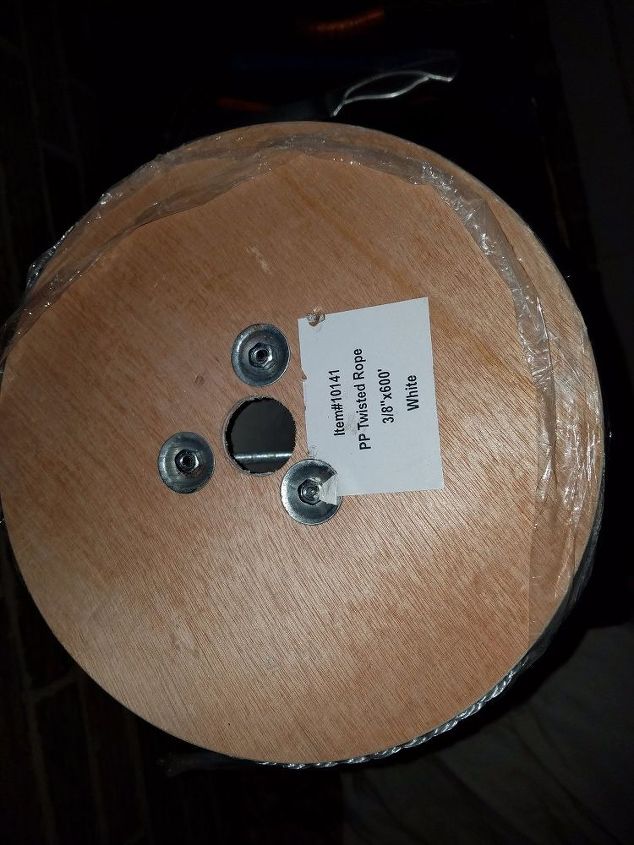
I chose white polypropylene rope purchase from U-line on line, 600 feet for about $70.
I started at the front left and wrapped the rope around the oppositw front leg. Back
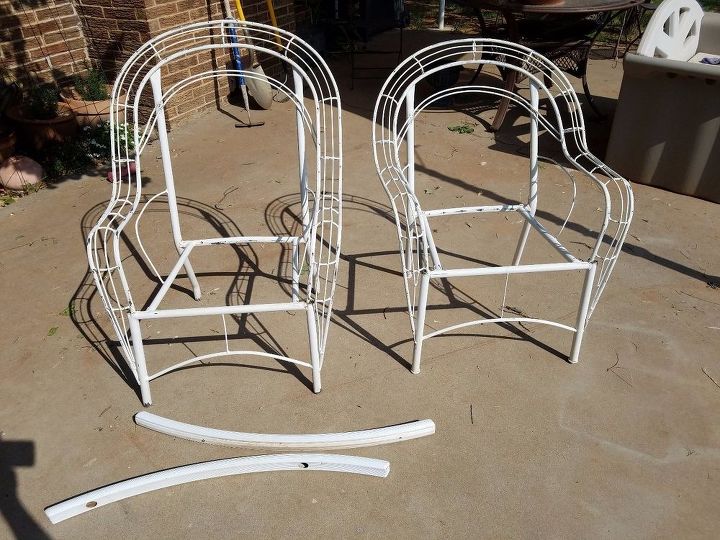
I don't have the rocker done, but both chairs were primed and sanded, then given two coats of outdoor spray paint.
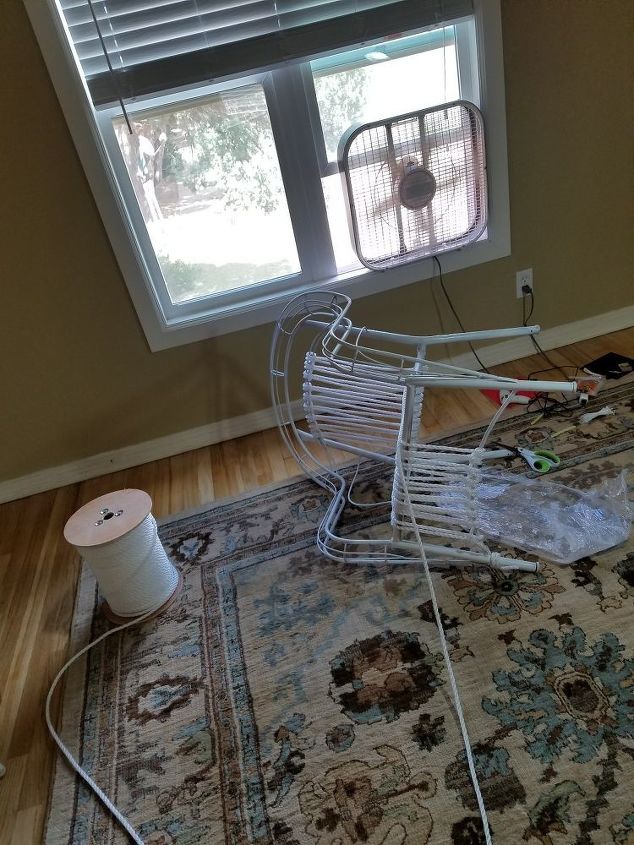
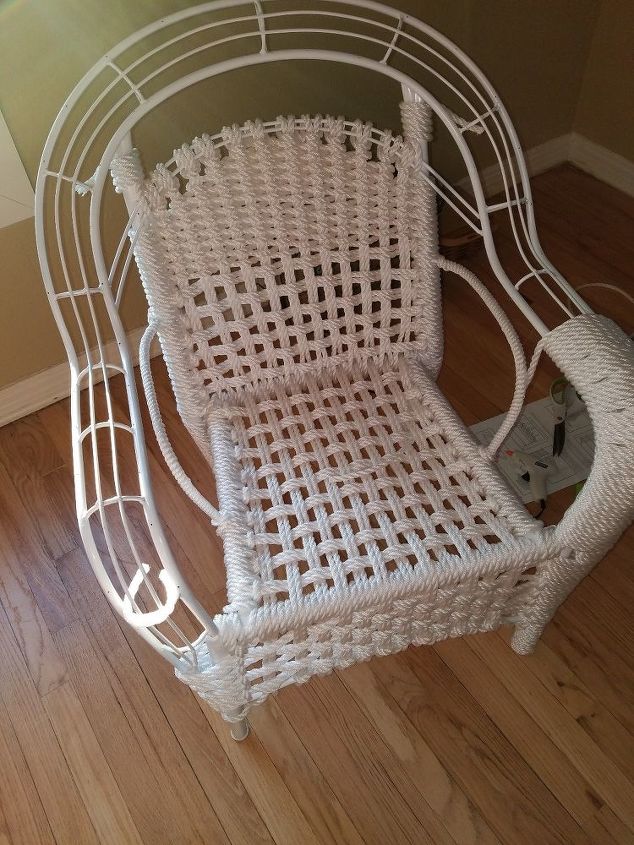
I stretched the rope across the room and worked with long lenghts to weave. Keep going back over completed sections to make sure the work is tight. In early stages, this is harder, but as the weave fills in, it will tighten up some on its own as new rows are added.
When I needed to add new lenths of rope, I tried to find a hidden place and then zip tied and hot glued the ends. I use a lighter to melt the ends so they didn't fray as much, but becareful not to get carried away with this step, and be sure to open a window and run a fan. Not nice fumes!
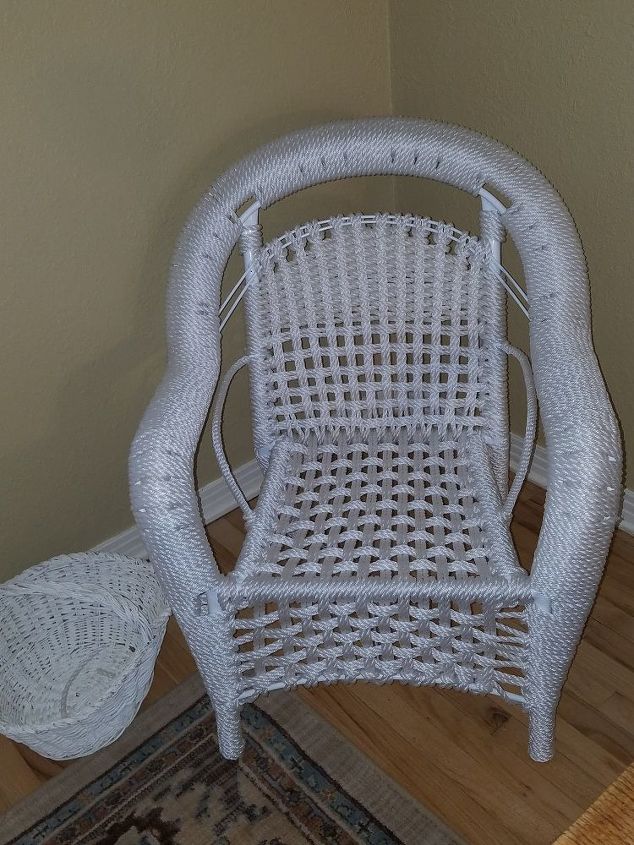
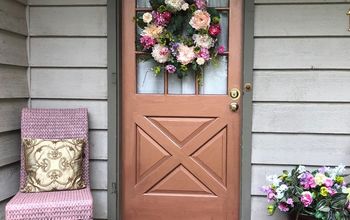
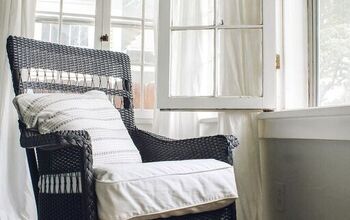
Here is the finished chair. It needs a cushion to be comfortable, but it currently sits near my bed.
Comments
Join the conversation
1 comment
-
Wow! It looks fantastic, great work!


Frequently asked questions
Have a question about this project?