How do you paint a laminate countertop with floor paint?
by
Diane
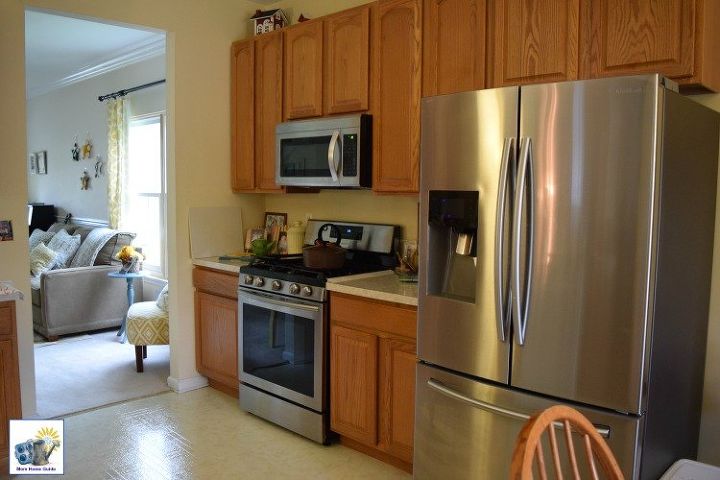
In our cabin, we have secondhand cabinets and I would love to paint the countertops as they are pretty old and raunchy looking. Can you give me any instructions or ideas? One set has metal edges around the laminate and backstop.
Related Discussions
Suggested Project Book

First, I wouldn't use floor paint. See if these help you.
https://www.diynetwork.com/how-to/rooms-and-spaces/kitchen/how-to-paint-laminate-kitchen-countertops
https://www.thespruce.com/the-five-best-diy-countertop-refinishing-kits-3955792
Hi Diane,
I'm Linda. Rustoleum and Giani have kits available to paint a countertop, but you don't need a kit to paint a countertop. I do suggest if you want to do a faux granite or marble look that you practice on a piece of wood or tile before you start. The faux granite look is easy. First clean the countertop well using TSP. Let it dry then use a good primer and let that dry too. Tape your metal edges with painters tape. Next do a coat of "back" paint. I used gray. After that dried, I used pieces of sponge to dab on colors - black, white, dark gray, light gray and gold. You can choose your own colors. Dab with each color, mixing them up (see the website below for more instructions.) Once you have the look you like, use 3-5 coats of sealer for the best protection.
Check that sealer every year to see if it needs an extra coat. You will have to be careful with this countertop. Do not put anything hot on it without a thick mat because most sealers will not stand up to heat. Also be sure to always use a cutting board. If you take those steps, it should look good for a long time. Just know, though that this is considered a temporary fix and won't hold up as long as a new countertop will. The better you prep and take care of that countertop, the longer it will last. People have had theirs last for years.
You can use latex paint on cupboards. Start by removing the cupboard doors and hardware - be sure to mark them so they're easy to put back. Clean them with a very good degreaser or TSP. Let that dry then use a sandpaper block with a medium grit to buff up the surface of the cupboards so that the paint will stick. Try to go in one direction, up and down is okay but not sideways too. Once you have the them sanded, clean them thoroughly with a tack cloth to remove all dust.
Now you can start painting. Start with a primer. You can use a foam roller to help get smooth results after using a brush for the detail. When the primer is dry, sand it again with a high number sandpaper, then again clean with tack cloth.
Next you can start your color paint and you'll need to repeat the sanding/tack cloth process between each coat of paint. When you're happy with the paint let it dry, then sand/tack cloth again, unless you don't want to seal it. Sealing helps it last longer, but is not required. If you don't want to seal, skip that last sand/tack cloth step.
There are several sealer finishes you can use. One would be Marine varnish - used on boats. Another would be an polycrylic sealer. For a great surface you'll want to do 2-3 coats. Remember to lightly sand with a high number sandpaper and use a tack cloth between coats. You can use 0000 steel wool instead of sandpaper if you want. Just remember the tack cloth. Be sure to let each coat dry before adding another coat.
At this point, you'll want to let your cabinet sealer finish curing. Look on the label to see how long that will take. Don't use the cabinets until the time is up. If you follow the steps, you should end up with a beautiful cabinets. Wishing you the best.
Try a countertop kit: https://thehoneycombhome.com/diy-granite-countertops-yes-really/