


Refinished Metallic Table

10 Hours
Easy
When I saw this table at the thrift store, selling for $8, I had to get it! How could I resist? It was very heavy, solid and damaged, and I had an idea for it that had me excited to get started.
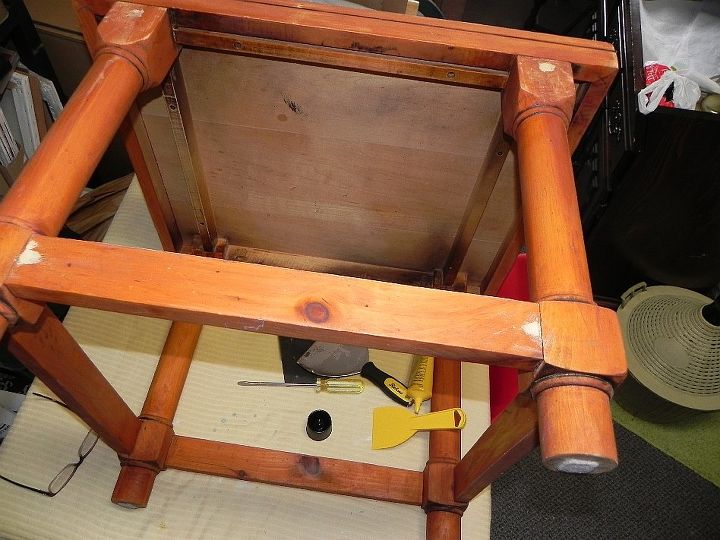
This table was FILTHY! After a good scrubbing, I had to fill in some holes I didn't want showing, as well as some deep scratches and gouges. The legs needed to be reglued, but all that was pretty easy to do.
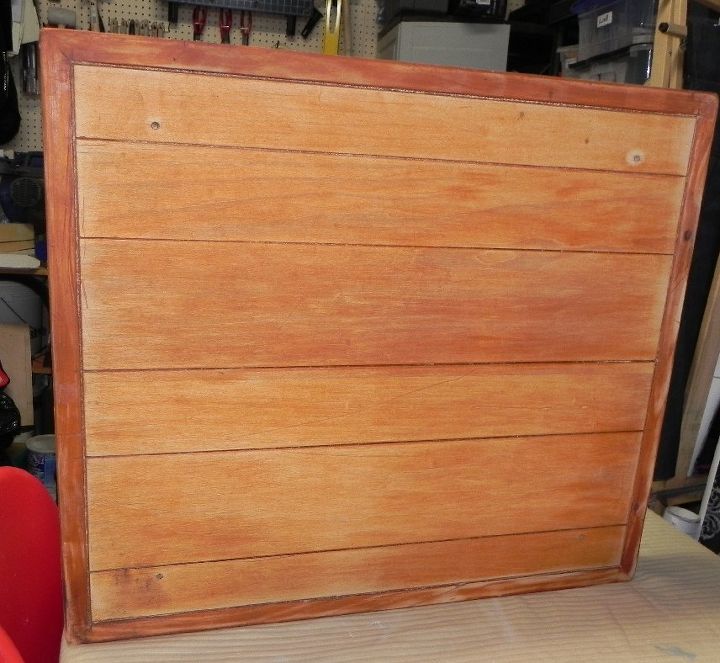
What made me buy this table was that I fell in love with the top. It looked like a pallet or plank table and I had this great idea to make it look beachy and fun.
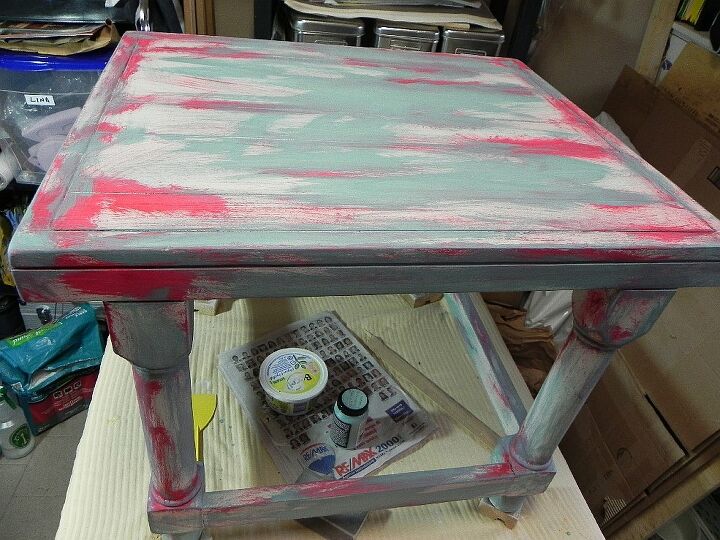
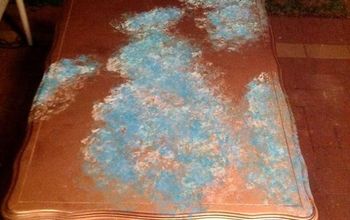
I gave it a coat of primer, using Zinsser 1-2-3 latex primer, just to make sure it had nothing bleeding through and to give it a fresh start. I then splotched on (my technical term, don't you know?) some bright red and some medium teal.

I love adding bright colours that will end up showing in the final product, after other coats of paint get a bit distressed.
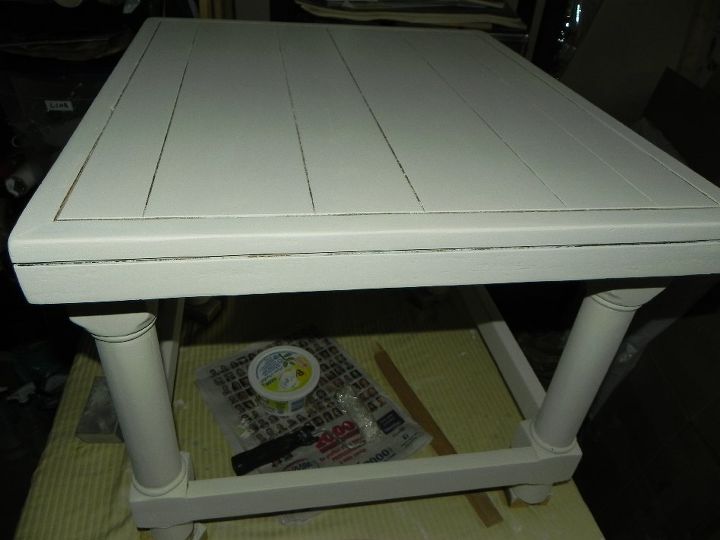
After a coat of cream homemade chalk paint, I realized that there was just too much damage to the top of the table to make it look nice, no matter what I did to it. I thought I would decoupage it instead and started looking through my piles of tissue papers, scrapbook papers, wrapping paper, etc... I finally found a gold metallic paper I liked, but it meant changing the colour of the table.
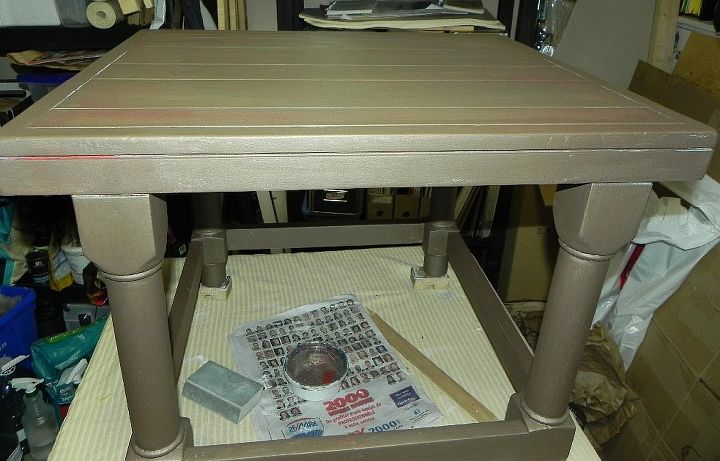
So, I changed the colour of the table! I added more red and painted over that with Modern Masters gold metallic paint. I gave it two coats of that.
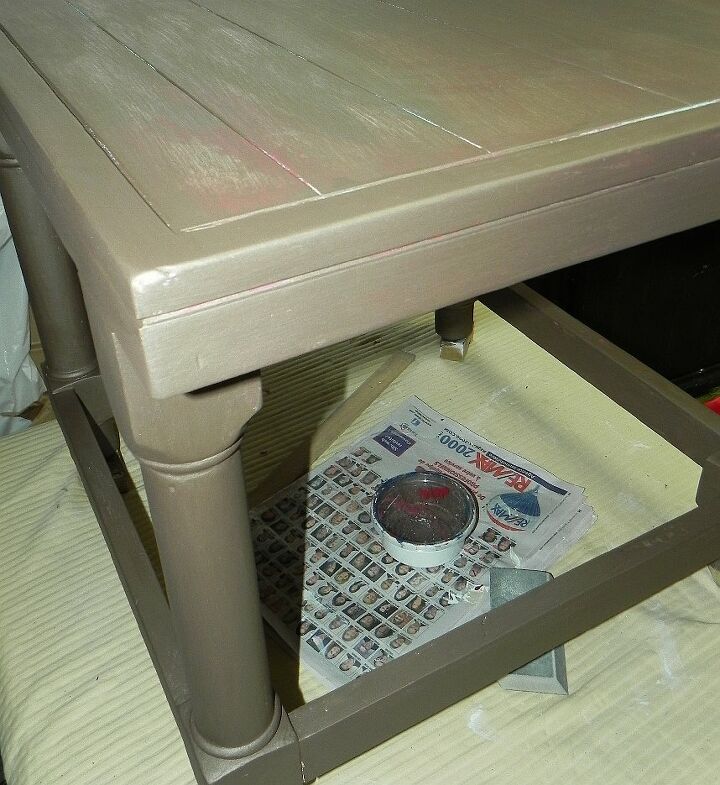
You can still see the underlying colours, which is what I wanted.
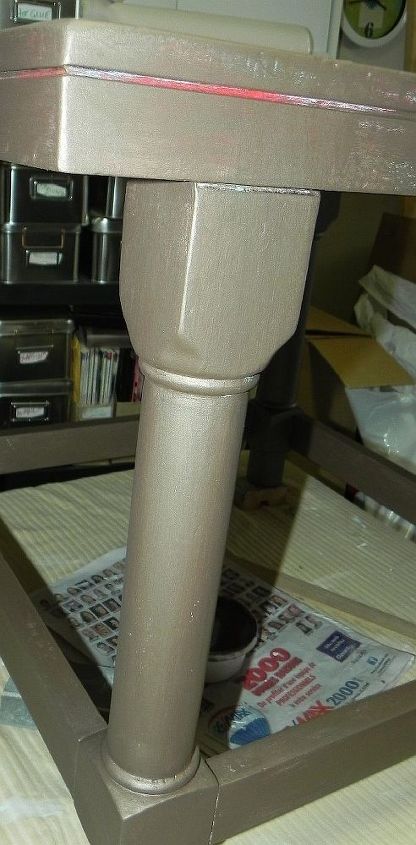
A close look at one of the legs.
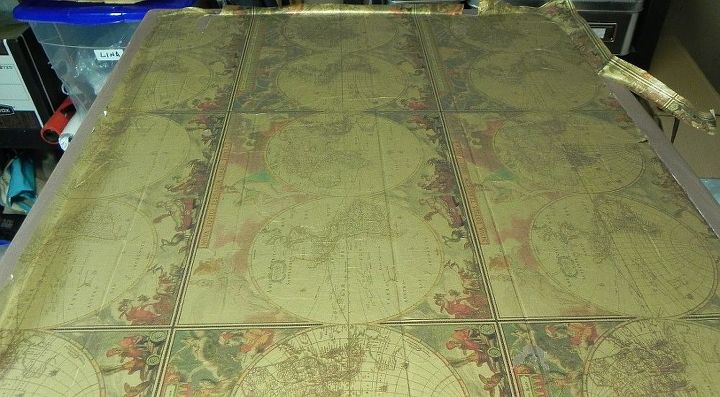
I used a mix of white glue and water to decoupage the gold paper to the top and then sanded a bit and made sure the grooves showed. I gave it three coats of my mod podge mix and cut and sanded away the edges.
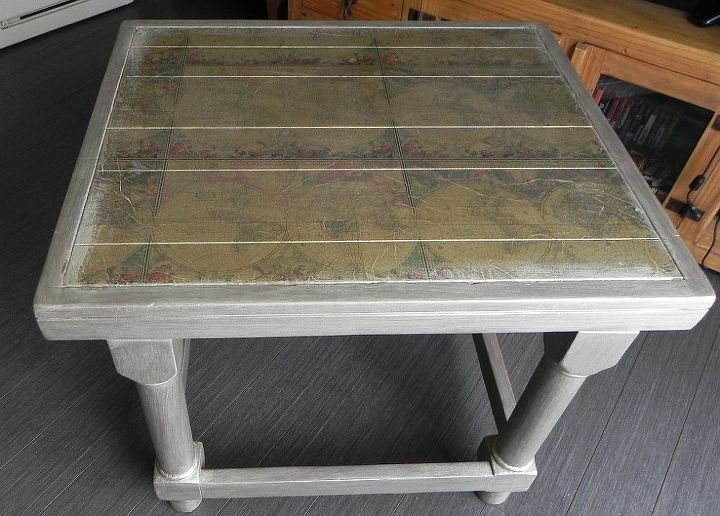
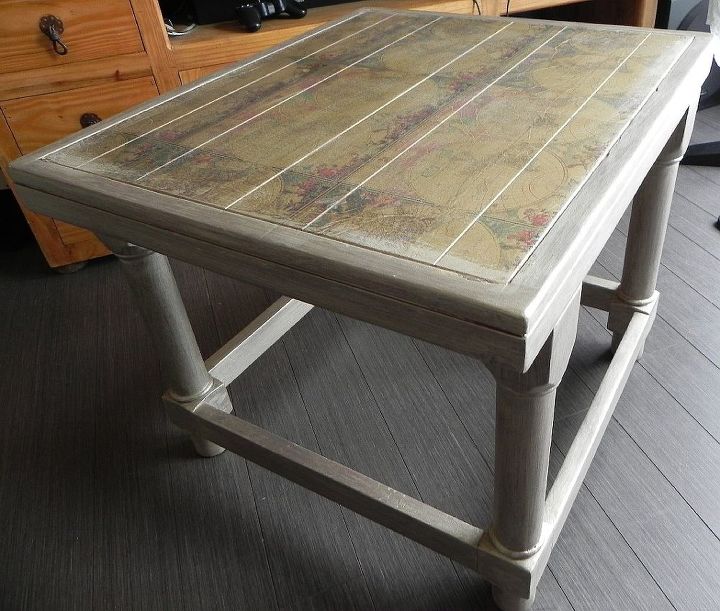
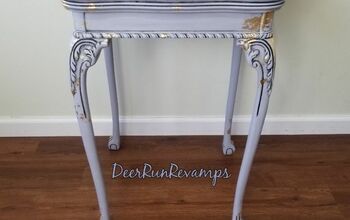
Here is the finished table. It has a rustic look which I like. I gave it three coats of water-based varnish by Modern Masters and it retained the metallic gold paint I used.
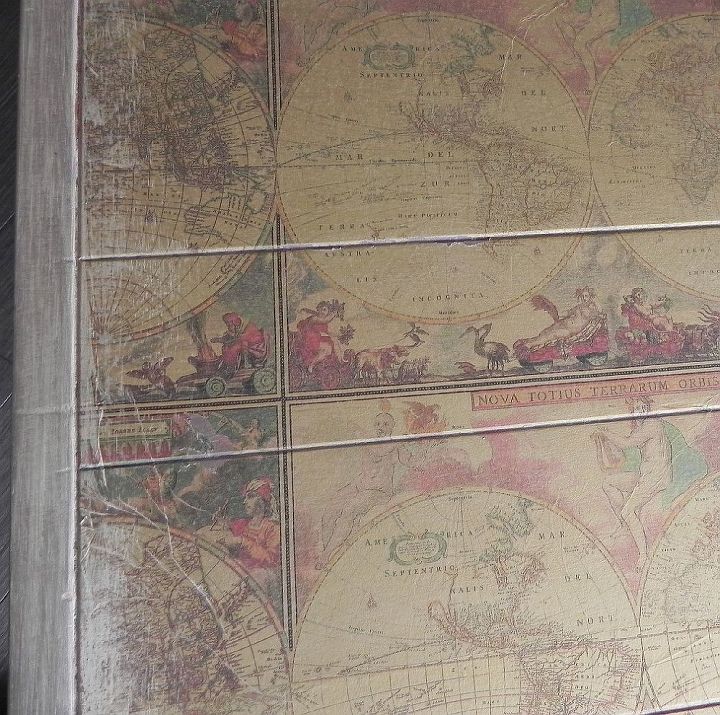
A closer look at the top. I still have the "planked" look, but the damages aren't so obvious and it has a fun, graphic paper now.
Comments
Join the conversation
4 of 6 comments
-
Beautuful ,transformation! Love the paper on top. Great to hear about how you worked through the steps, the different color layering, and were flexible in the process. I sometimes get comments about not making up my mind on what I want, or that I am changing my mind about something. Some people just don't get the process or understand the vision taking shape. And working with colors is (don't laugh) almost a meditative process. It's just got feel right ...
-
Wonderful makeover! Totally unique and cool.


Frequently asked questions
Have a question about this project?