


Rolling Cabinet Forgotten NO MORE!
4 Materials
Using a sprayer to paint my furniture is something I've been hearing a lot about from other furniture flippers, so I was glad to give it a try. I used the HomeRight Finish Max.
The Fab Furniture Flippin' Contest, "Spray it Pretty" is sponsored by HomeRight, who sent us all a Finish Max sprayer to complete our projects.
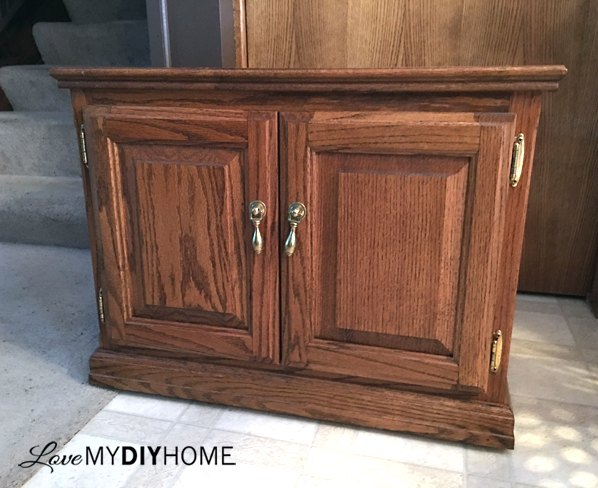
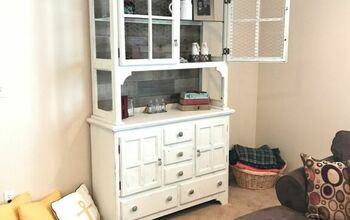
We bought "Ellie" at an estate sale – the same one where we got the Ethan Allen China Cabinet that I turned into a buffet a few months ago.
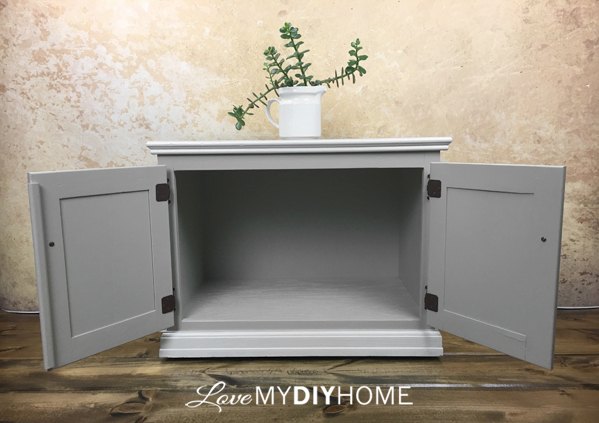
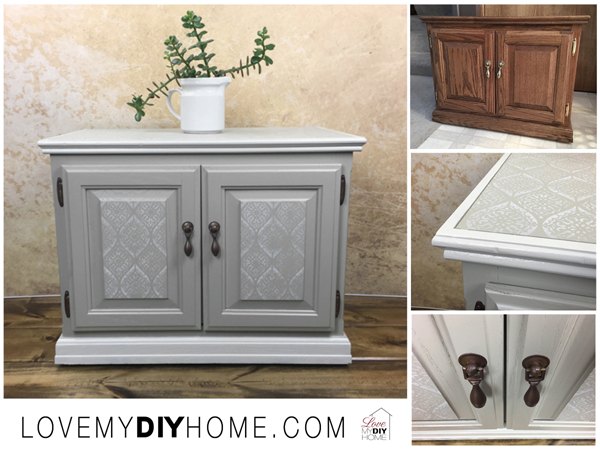
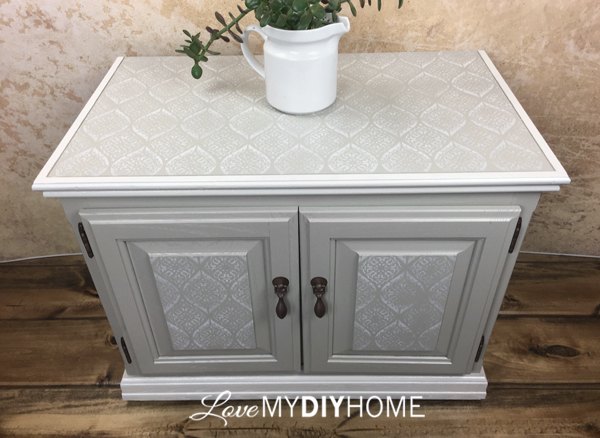
Her transformation was quite amazing – no matter how many pieces I refinish, I'm always in awe each time when I stand back and look at the finished product.
This was my first time using and spraying Benjamin Moore Advance. I typically use a chalk or milk paint, but I wanted to see how this enamel worked with the Finish Max. It was amazing.
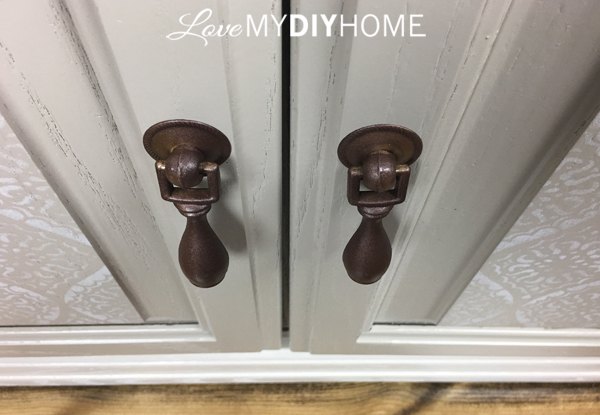
I used Rustoleum's Metallic spray paint to spiff up the hardware.
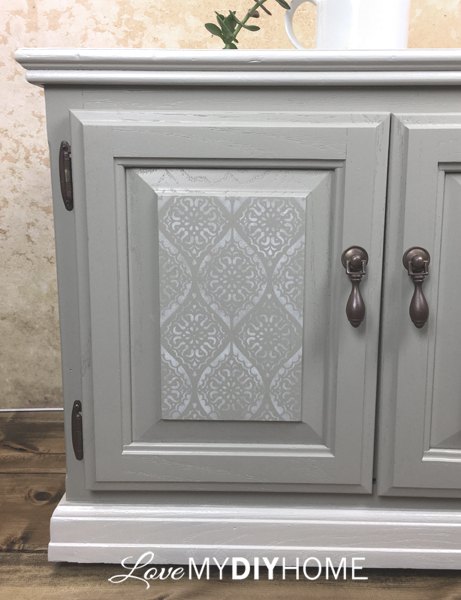
I Topcoated just the stenciled areas with General Finishes Flat Out Flat using a quality brush to bring a soft appearance.
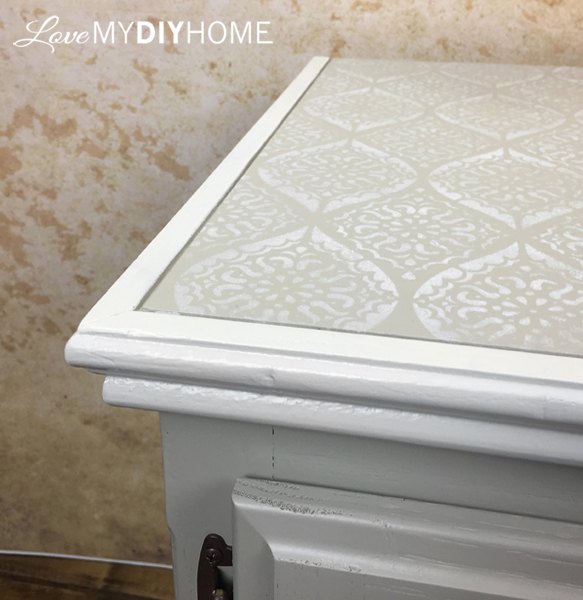
Painting the trim on the body a lighter shade, "Sonnet" by Benjamin Moore Advance gave it depth and character. I was able to match the stencil paint with the trim. A couple of light coats on top of the darker tan was sufficient.
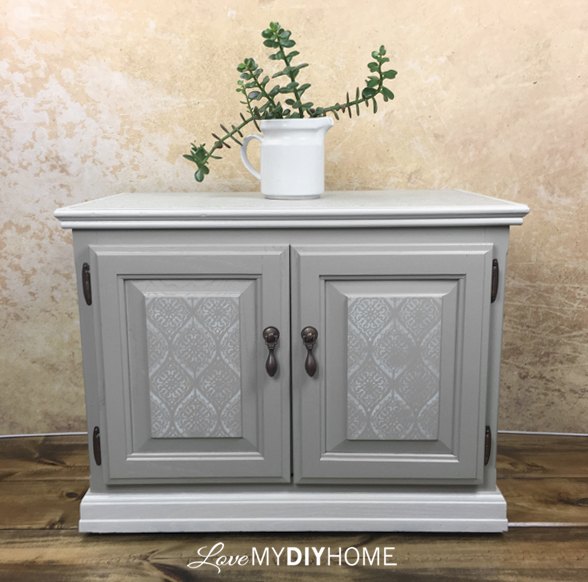
Taking an old boring unwanted piece and updating it with some paint, stencils and freshly painted hardware can save it from the dump and give you a one-of-a-kind beautiful piece of furniture.

Want more details about this and other DIY projects? Check out my blog post!
Comments
Join the conversation
4 of 6 comments
-
I like this. You did a really nice job. The manufacturer did not do a good job matching the door panel grain and the paint hides that. It looks really good.
-
Wonderful transformation!


Frequently asked questions
Have a question about this project?