


Turn New Wood Into Aged Wood
3 Materials
30 Minutes
Easy
You know the kind of people who live on a farm and seem to have old windows, aged wood and all the goodness right at their fingertips? Yah, me neither. Finding vintage or antique pieces is hard work. Glen and I build rustic furniture for a living and we've had clients request us to build their furniture out of aged wood or make it look like aged wood. Living in a really humid climate we do not have the best luck with old wood. It normally is cracked and in pretty bad shape. So we came up with an easy way last year to make new wood look like it has been aged for decades. It literally takes under 30 minutes and it's kind of fun.

-Orbital Hand Sander
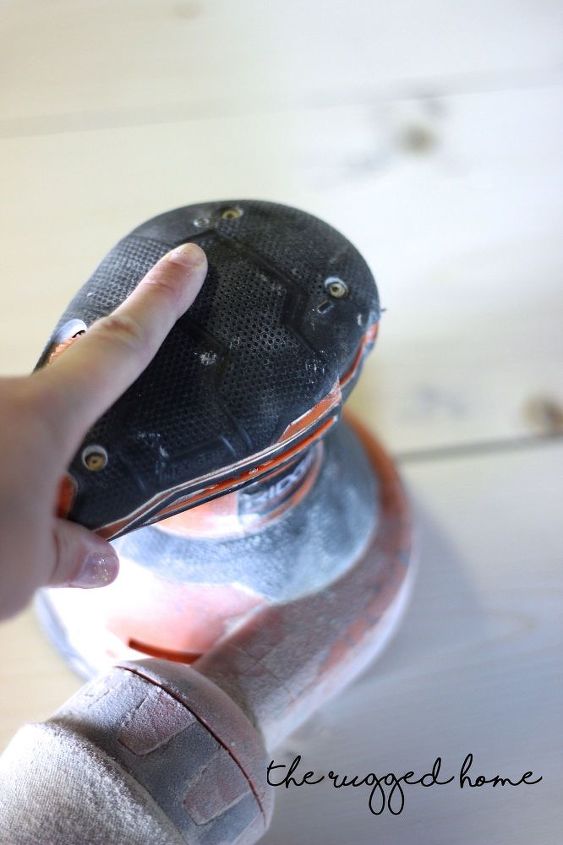
Alright, step 2. Once you're done beating your table. I always like to do a light sand with 120 grit sand paper. You need a orbital sander for this step. If you do not have one, you can get a cheap one for under 40 dollars, see here.
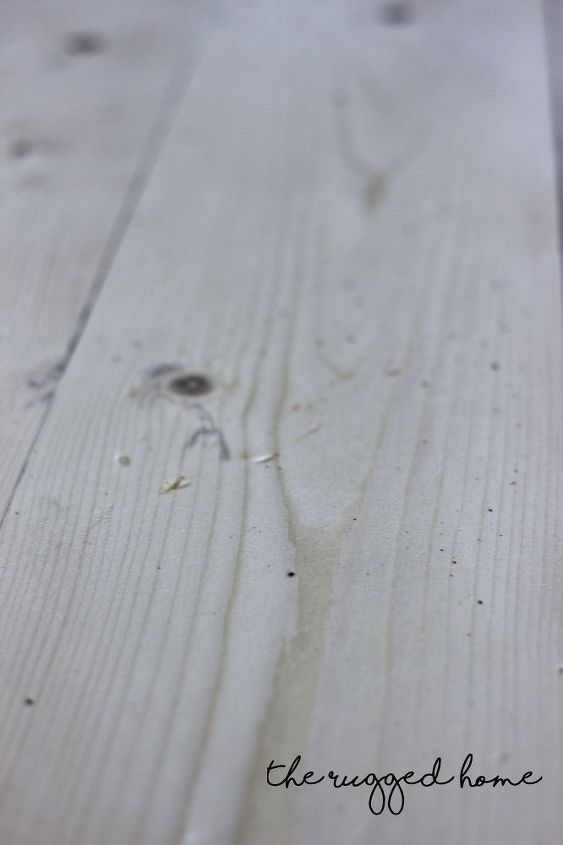
Run it over the table and make sure you do the entire top. Since we beat up the table top there will be rough wood exposed, so by doing a light sand, it evens everything out. Excuse my ugly sander. I swear it's only six months old. We use our tools hard, and use them for 8-12 hours a day.
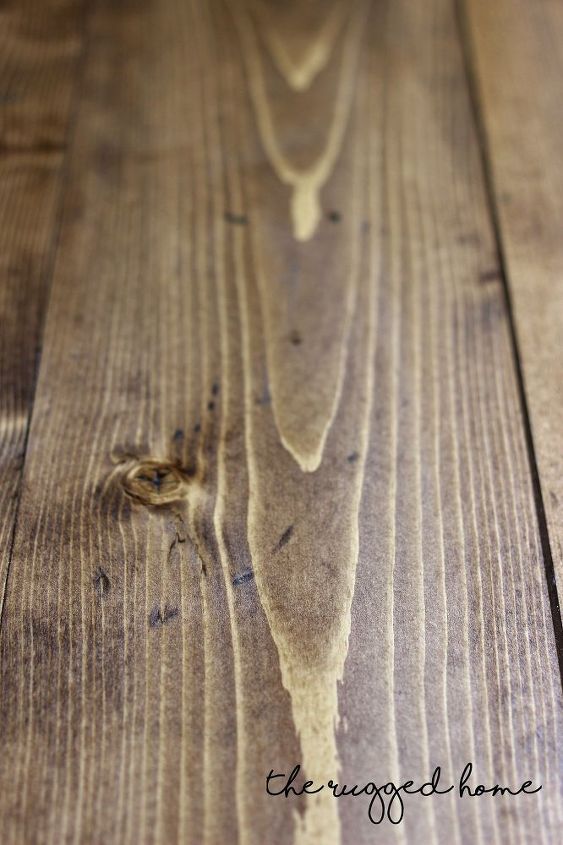
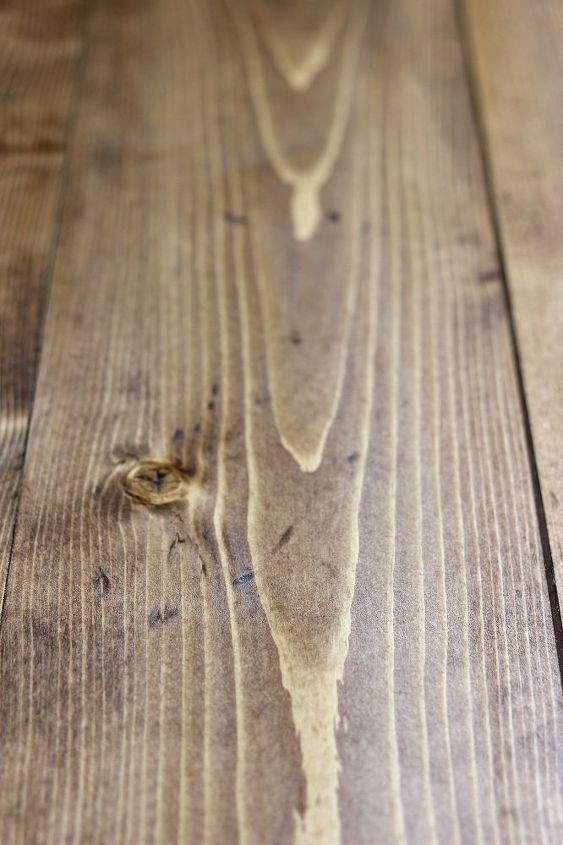
Now it's staining time! I did a quick little video if you have never stained before. It's super easy and really, you can stain however you want. I'm using a oil based stain from Minwax. Minwax is our go-to stain choice. Goes on so nice and the quality of the color is way nicer than other brands we've tried.
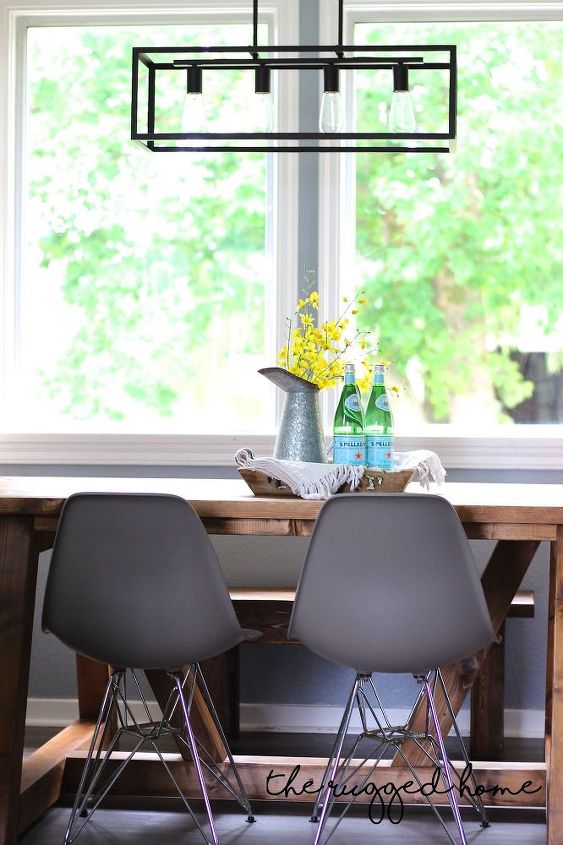
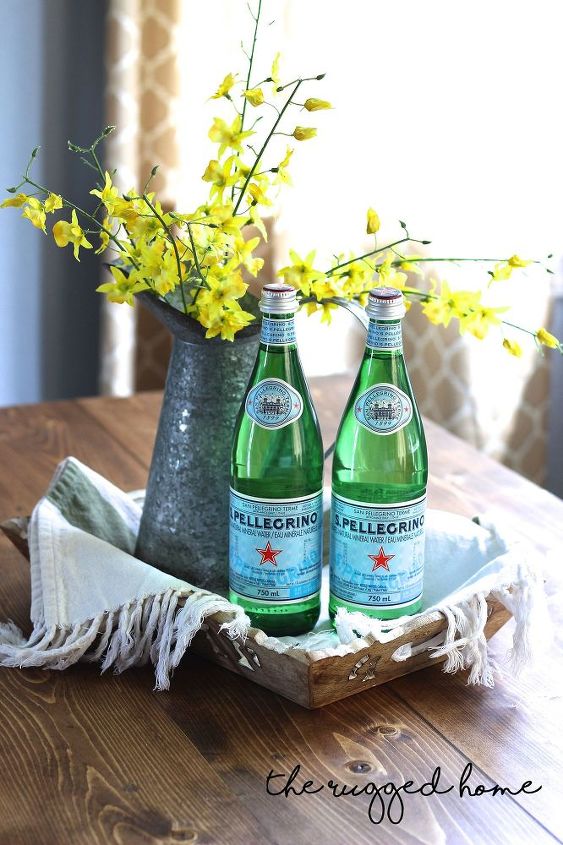
It's sooooo pretty, right?! The table has been drying downstairs all weekend and so I'm pretty antsy to get it upstairs. Mr.Muscle Man is bringing it upstairs as I speak. So I'm pretty excited to show you all how it turned out. This is literally one of my favourite DIY's as it's so easy and you can't go wrong. Every piece is unique. You can do this method on anything. I've done it on a bath caddy, coffee tables etc.

Want more details about this and other DIY projects? Check out my blog post!
Comments
Join the conversation
3 comments
-
It's beautiful and sounds like fun to make! A little tension release and a workout :)
-
Gorgeous finish!


Frequently asked questions
Have a question about this project?