


Video Tutorial: How to Prep, Sand, and Prime Furniture for Paint
Properly prepping furniture is extremely important for creating a long-lasting, durable, and smooth finish. Most of the time spent redoing a piece of furniture is spent in the prep. It's so important I get extremely tedious about how I prep and the products I use. Here are the steps I take, and the products that provide the best results. Watch the video for all steps.
{
"id": "3402202",
"alt": "",
"title": "",
"video_link": "https://www.youtube.com/embed/9hSvux8wyNw",
"youtube_video_id": "9hSvux8wyNw"
}
{
"width": 634,
"height": 357,
"showRelated": true
}
I recommend watching this video first, it's a much better visual than the photos provide.
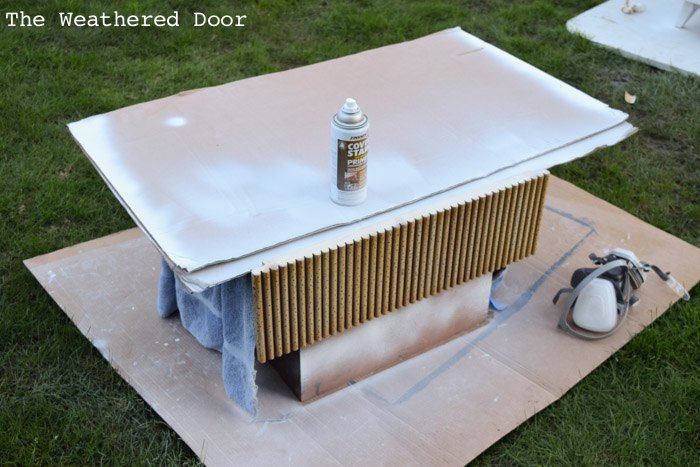
Next I prime. I spray prime in order to get a smooth finish (don't want roller texture or brush marks in my final finish). I cover the sides and interiors of drawers to keep them clean. It may take 2 coats to get full coverage with primer. Don't go too heavy or you might end up with drips
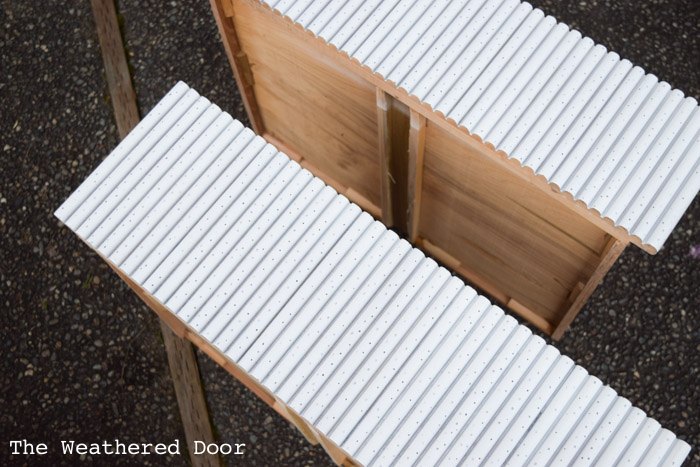
Once primed I sand again, with 220 grit sandpaper. This will really smooth out the primer and make it like glass.
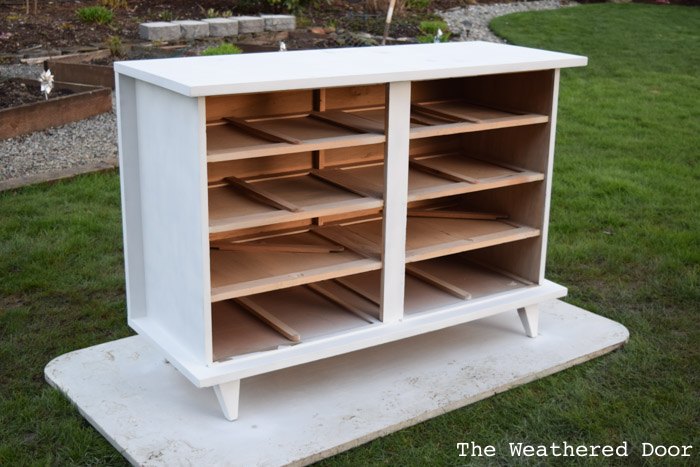
I follow the same steps on the frames of furniture. On the tops be sure to fill every ding and scratch so the piece looks almost new again. It makes a huge difference in the final finish, especially if you are using gloss paint, or any paint with a sheen.

Once the prep is done the piece is ready to head into my spray booth for paint!

Want more details about this and other DIY projects? Check out my blog post!
Comments
Join the conversation
1 comment
-
Thank you for these awesome tips!!


Frequently asked questions
Have a question about this project?