


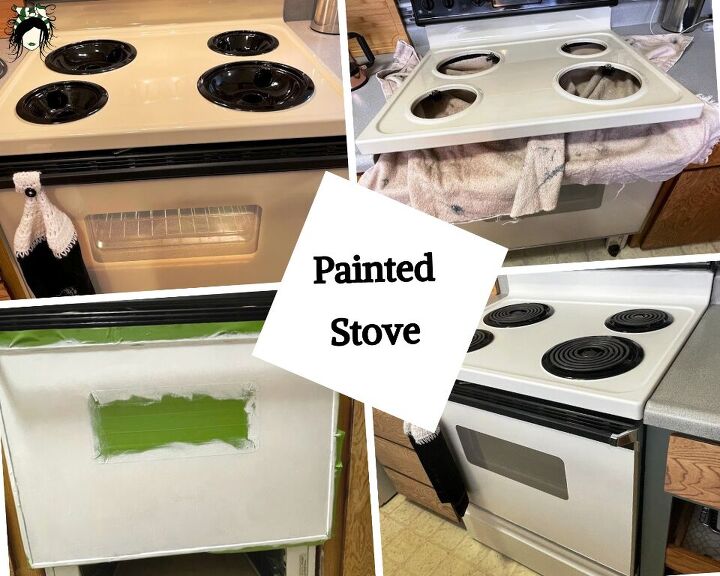
How I Painted the Kitchen Stove

Did you know that you can paint your stove? I've seen videos of people painting their stoves but since mine is fairly new, I haven't given it a try. However, one of my sons bought his first home recently. The appliances are all cream. The color scheme he chose for the house is cool, not warm, so the cream appliances clashed. Since he plans to replace the older stove, I decided to try to paint it so it would look better in the meantime.
I did some research on the all-in-one Heirloom paint that I had used to paint the shower tile and found out that it can be used on a stove! It just can't be used where there is direct flame. His stove is electric, so there were no flames to be concerned about. The paint contains primer, paint, and sealer which means you just need one product for your project!
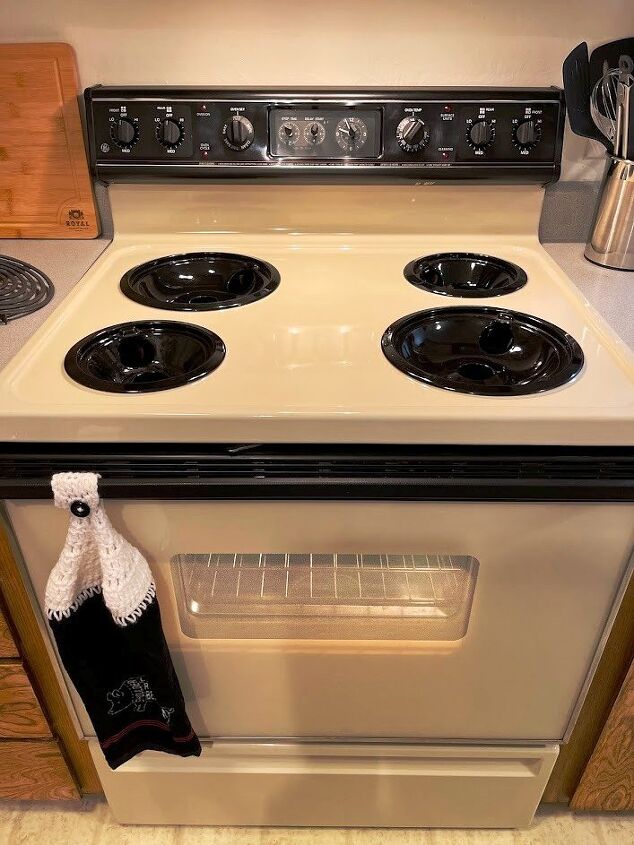
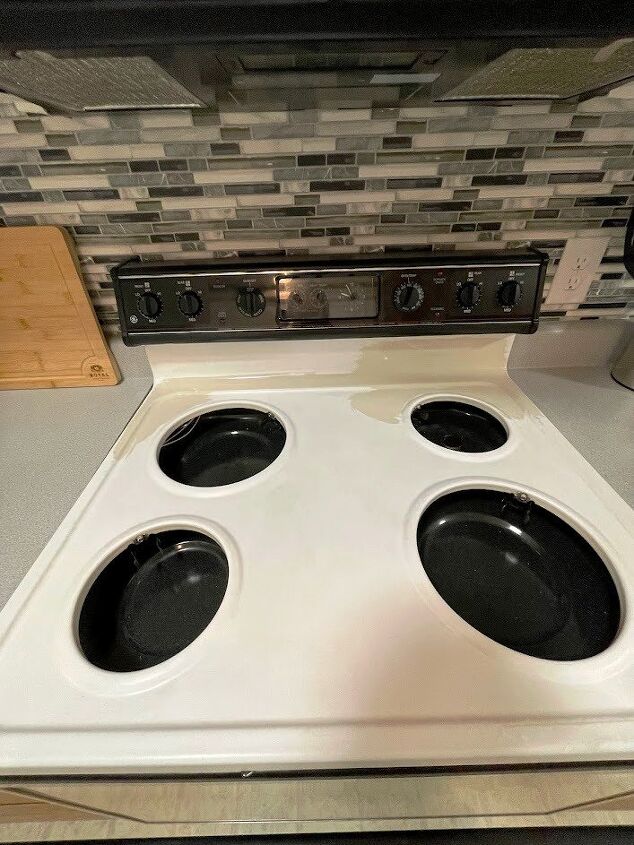
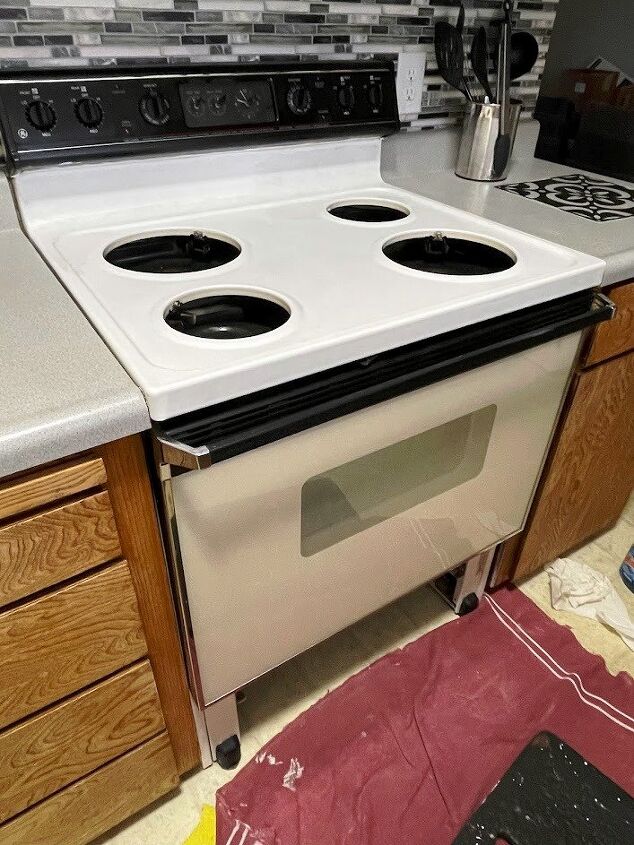
As you can see, the stove is an older one. It still works great, which is good but it was just the wrong color to look great with the grey, green, white, and black in the kitchen. The floors will be grey laminate.
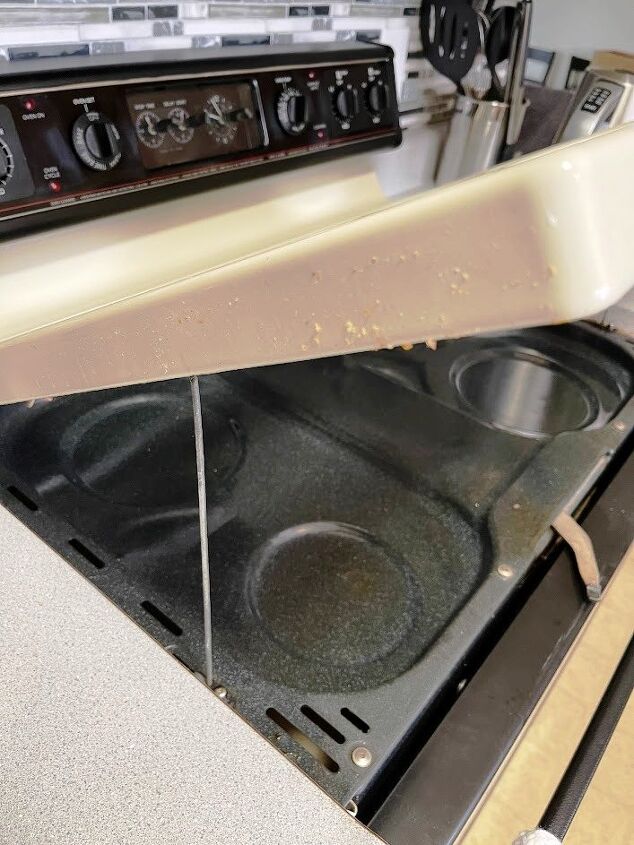
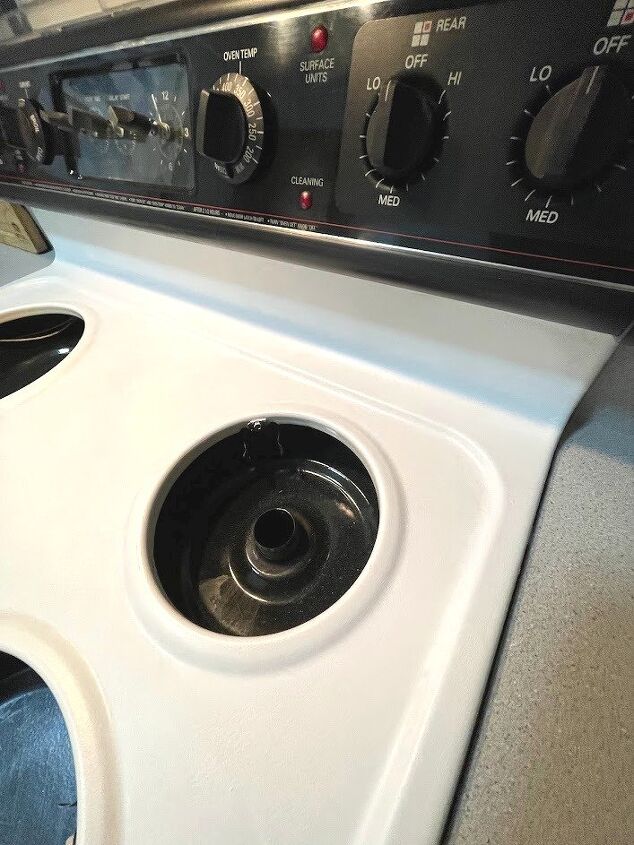
The first step in painting the stove was to make sure it was grease & shine-free. I had already cleaned the stove and oven really, really well before my son moved in but since that was months ago, I knew it would need to be scrubbed again. Since I was going to be painting it, I needed to make sure ALL the surfaces were grease-free. To clean the stove, I used Mr. Clean Magic Erasers formulated to use in the kitchen. I scrubbed all the surfaces, including the edges of the stovetop (which I missed in my initial cleaning....eww), and the drawer front.

Next, I used Heirloom Traditions degreaser/deglosser product. I applied the product with a rag. Once that was dry, it was time to paint.
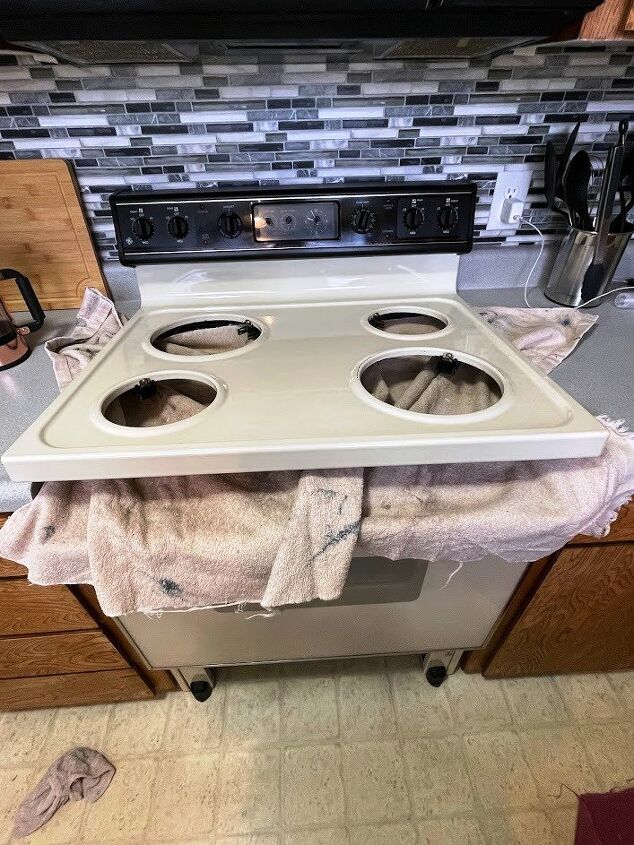
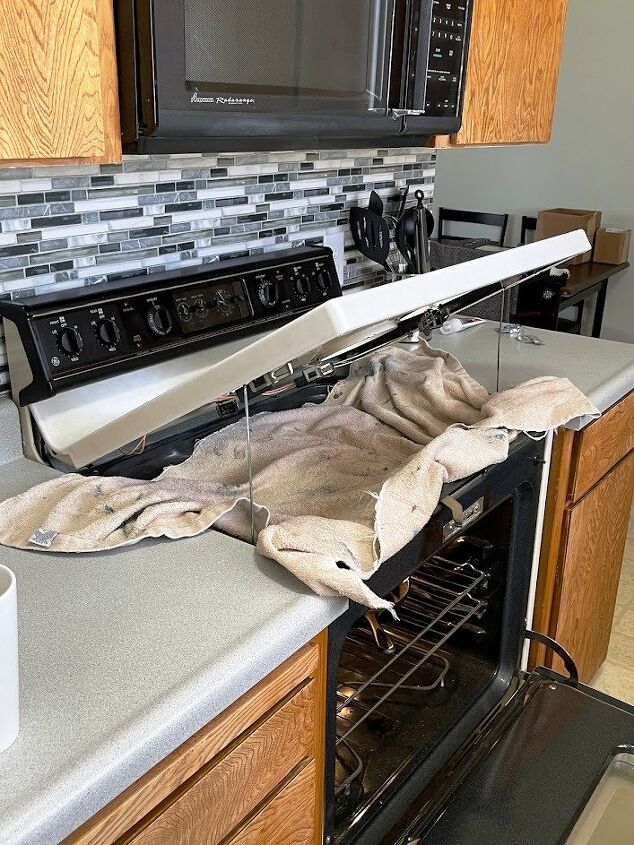
Now that the prep work was done, it was time to start painting. I'll be honest, I was scared! When I'm doing projects in my home, I am pretty fearless; but when I'm working in someone else's home, at the start of a project, I tend to be a little more timid. Before painting, I laid a towel under the stovetop to protect that area from any paint spills.
After taking a few deep breaths, I started painting. Using the Heirloom Traditions sponge applicator, I started at the back of the stovetop below the controls. After the top of the stove had its first coat, using a small foam paintbrush, I painted the sides of the top and then applied paint to the drawer also using the sponge applicator.
The True Applicator sponge is the same size as the opening in a quart of paint. You place the sponge over the opening of the can, tip the can (very carefully) to apply paint to the sponge; set the can upright, and remove the sponge. You'll have just the right amount of paint on the sponge. You use a tapping motion to apply the paint to the tile with the sponge. I love using the sponge to apply the paint! It leaves a lightly textured look!
First coat of paint on drawer
When the first coat of paint was dry, I started applying the 2nd coat using the sponge applicator on the top under the controls. I quickly noticed that the sponge was removing the original paint! Uh-oh!!! Why is THIS happening?!
My thought was that maybe the paint wouldn't adhere to the metal and I would have to wipe it all off. Taking the sponge, I started wiping along the back of the stove. To my surprise and delight, only some of the paint came off, the rest had dried and stayed in place! YES! Now my thought was that I must not have applied enough degreaser/deglosser to this section. After all, it IS a section that collects a lot of grease.
I applied the degreaser/deglosser again and after it dried, touched up the bare areas then proceeded with applying the 2nd coat of paint to the stovetop & drawer.
When the 2nd coat was dry on the rest of the stovetop, I applied a 2nd coat to the area under the controls that had wiped off. Once that area was dry, I couldn't even tell where the 'oops' area was! I was SO relieved!!!
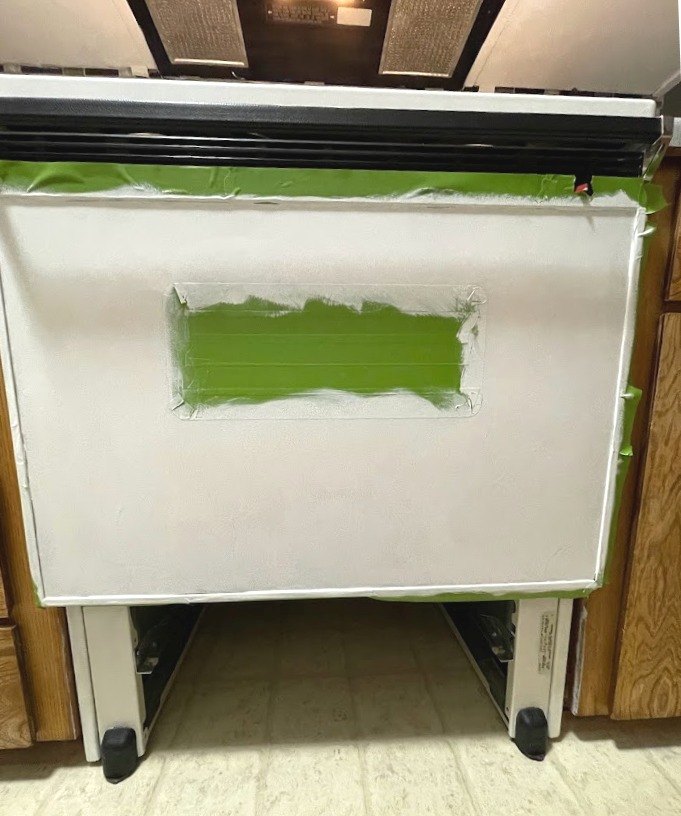
When I started this project, I didn't plan to paint the glass door. However, after the 2nd coat of paint had dried on the rest of the stove, the door looked really creamy. I just knew that I would have to paint it, but how would I paint around the part of the door that allowed you to view what was cooking? Do I tape it off in a rectangle? If not, how would I tape it to preserve the curved corners?
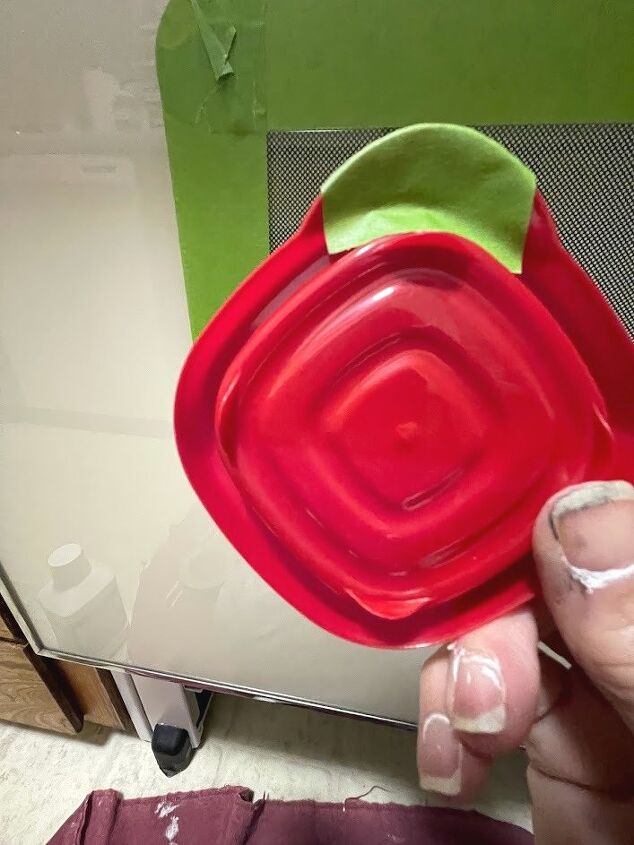
I looked around the kitchen and found these plastic lids with corners that matched the curve of the viewing section! Now that I had something to use for a pattern, I cleaned the glass using glass cleaner. Next, I used Heirloom Traditions degreaser/deglosser product.
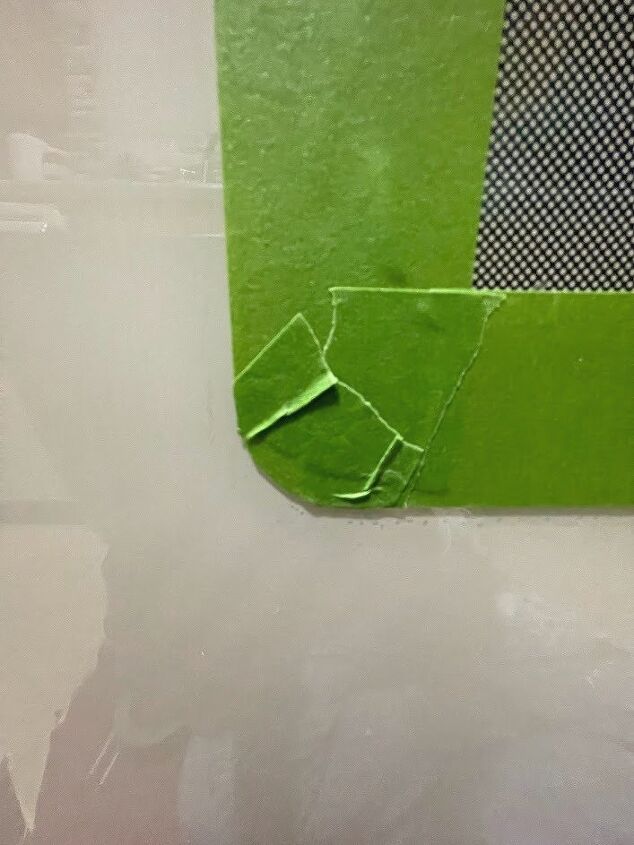
Once the glass was clean and degreased/deglossed, I taped the straight lines of the glass. I cut 4 pieces of tape using the curve on the plastic lid as a pattern then attached the tape to the curves on the glass and filled the rectangle with tape.
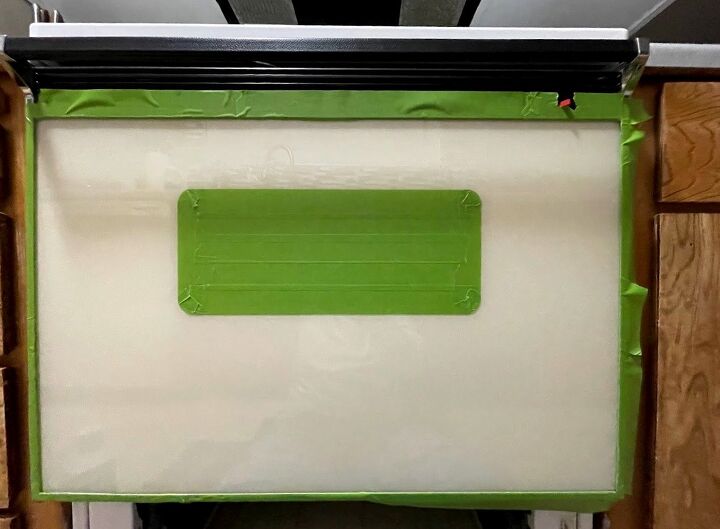
After that, I taped along the area that bordered the glass.
Now that the prep work was done, I applied two coats of paint to the glass door.
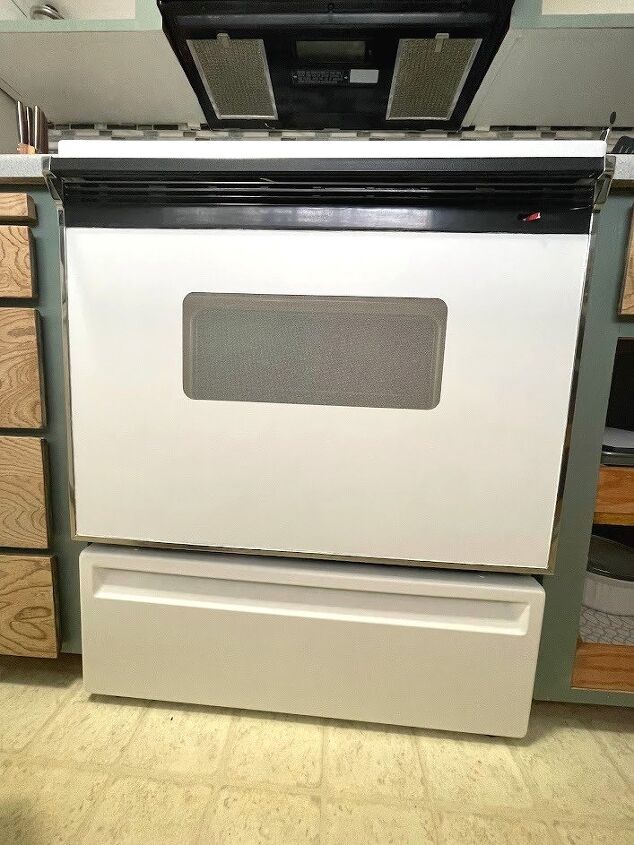
When the 2nd coat was dry, I removed the tape. To my delight, the shape of the viewing area was perfect!

In the beginning, I was so nervous to start this project! I had never painted a stove before. The prep work is always SO important and one that you cannot skip with painting certain surfaces! Applying the paint was easy, especially using the True Applicator.
Instead of a glossy finish, the stove now has a nice textured look. I am SO thrilled with the results (I think the son also likes it ;) Even though it's only been a few months, the paint is holding up great! If you have an old stove that doesn't match your kitchen color scheme - grab some Heirloom Traditions and paint away!!!
- 1 quart Heirloom Traditions paint in Cashmere
- Heirloom Traditions Deglosser/Degreaser
- Heirloom Traditions True Applicator Sponge
- Paint tray
- Small foam paintbrush
- Cloth for cleaning
- Zep Degreaser *optional
- Glass cleaner
- Project rags or cloths
- Painter's Tape
- Clean stovetop, drawer, and glass door
- Apply degreaser/deglosser to all surfaces to be painted
- Using painters tape, tape of areas not to be painted
- Apply 2 - 3 coats of Heirloom Traditions paint with their True Applicator & a small foam brush for small areas
- Allow each coat to dry according to directions on product
The $35 price is for the quart of paint that was on sale for $25 and the 2-pack of True Applicators for $9. I had the painters tape, Mr. Clean Erasers, glass cleaner and small foam brush on hand.
Resources for this project:
See all materials


Comments
Join the conversation
-
I am impressed - not a challenge I would dare to take on though !
-
Great job
Love. The

Heirloom Traditions Cashmere paint
look them up on Facebook , you can paint a lot of different items ,
you will Love it ,


Frequently asked questions
Have a question about this project?
I have a gas stove. Should I get a heat resistant spray can paint?
Were the backsplash walls Formica? I noticed you updated with a tile backsplash. I’m wondering if you tiled over the Formica? I have Formica walls and I’m wanting to put up tile, but I don’t know if I have to take the Formica off, or if I can tile over the Formica?
I wonder if this would work on a stainless steel finish?