


How to Make a Natural DIY Wood Wax (2 Ingredients!)

We love finishing our furniture with our homemade wood balm! It is only 2 ingredients, non-toxic and ready to use within 1 hour. Here is how we make it🙂
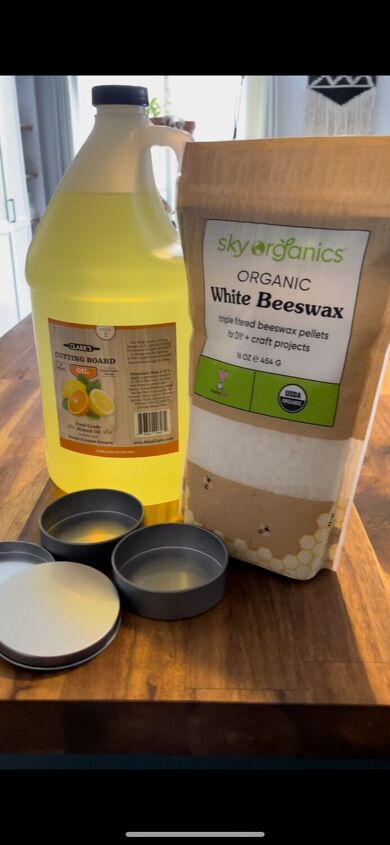
A few months into flipping furniture, we discovered that one of the best ways to finish/seal the wood on our pieces was to use a furniture wax or balm. Applying a product like this to seal allows the wood to be protected over time from external factors such as moisture and staining, as well as it brings out the natural beauty in the wood. We wanted to make our own wax to use because we found store bought ones were quite expensive and often times had unnecessary added ingredients. We did our research on what goes into a natural wood balm and found all we needed was beeswax and mineral oil. The ratio is 1 part beeswax and 3 parts oil. We also got these small tin containers with lids from Dollar Tree in order to store our wax in, but any container will work(:

In a bowl pour 1 part white/clear beeswax. It is important to use white beeswax because if you use yellow, it can create a yellow tint on the surface the wax is applied to (if you are okay with that then yellow will work fine!) We wanted to make a decent sized batch at the time so it would last us a while, so we did 1/4 cup beeswax and 3/4 cup mineral oil.
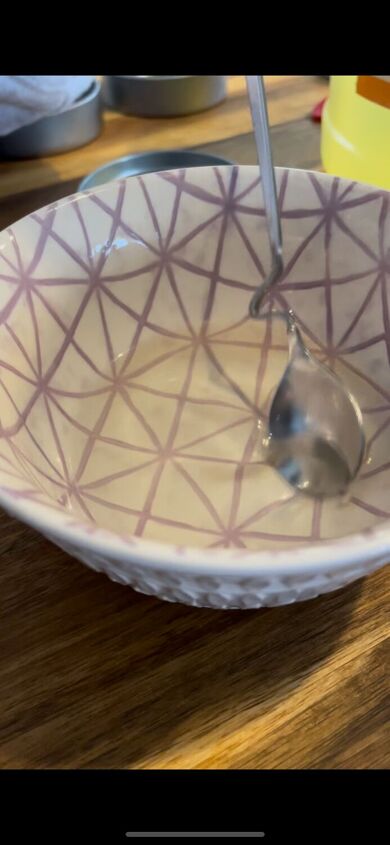
The next step is melting down the beeswax into liquid form. You can do this on a stove top or in a microwave - we were using a microwave safe dish so we microwaved it for 2 minutes while stopping and stirring a few times throughout.
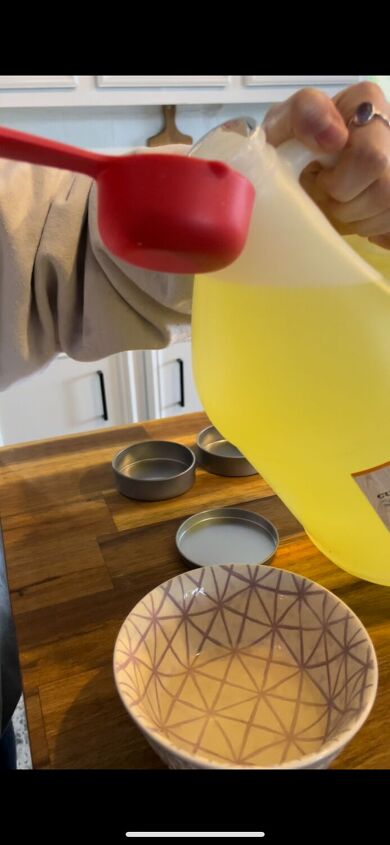
After the beeswax is fully melted, add 3 parts mineral oil (in our case it was 3/4 cups) to the same container. We used a food safe mineral oil because we planned on applying our finished product to other wooden items in our home such as cutting boards! Fully stir the mixture together with a spoon until everything is mixed completely.
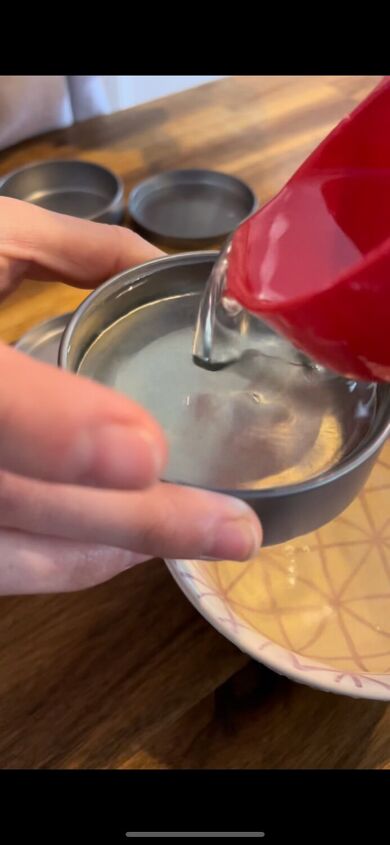
After it is fully mixed, add your mixture to whichever container you want to store your wax in. Make sure the opening is large enough that you will be able to get a brush or cloth in because once it is hardened, you won’t be able to move the wax to a different container. Another thing we found helpful is to use a container that has a lid in order to prevent any lint or dust from landing in your wax.
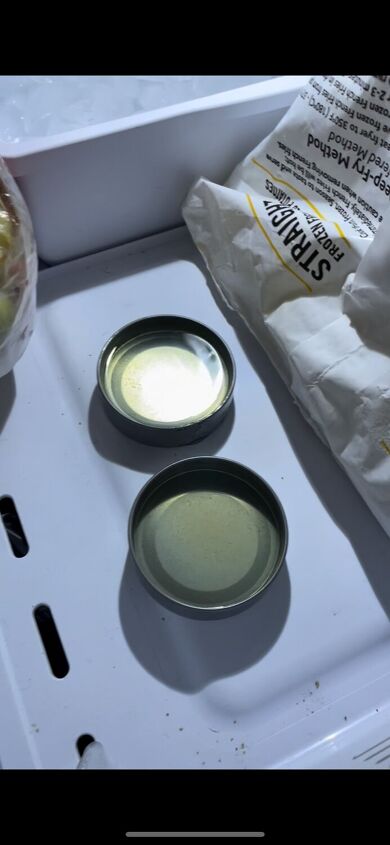
In order to harden the wax, you can put the containers with the mixture in either the fridge or freezer. We wanted to use our wax right away so we put them in the freezer.
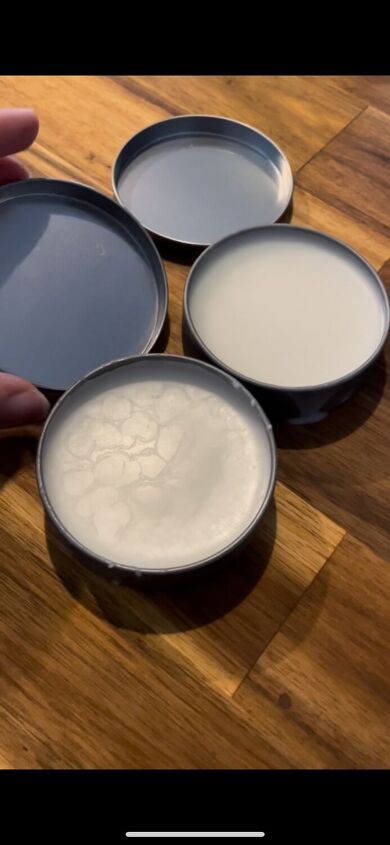
After only about 45 minutes in the freezer, the wax was completely hardened and ready for use! We are always so pleasantly surprised when we add this furniture wax to our pieces - it really enhances the beauty of natural wood so much all while sealing it. The wood on so many of our pieces has been brought to life using this natural DIY wood wax☺️
Comments
Join the conversation
-
Really simple! Thank you!
-
Can it be stained for non food items? What would you use?
Thank you for this. I’m going to make some for my many projects. 🎉


Frequently asked questions
Have a question about this project?
wondering about adding a few drops of clear colored essential oil? Not sure if it would discolor the wax or not though, but I bet the room will smell good for a while?
Definitely going to make some though. Thank you.
I was also curious if this could be made in various colors and used in corners and crevices to age a piece. Do you think a drop of food coloring could be used?
Could this be applied to outdoor wood trim that is somewhat protected?