


Paint Can Hack

Keeping the rims of paint cans clean enough to continuously be able to close the can with a tight seal can really be a challenge. I do have 1 of those flexible snap-on plastic pour spouts which works great on gallon paint cans but is a bit less effective on quart-size cans. It seems like no matter how careful I am, once paint starts to accumulate in the rim, there seems to be no easy way to completely clean it out to achieve that airtight seal time after time.
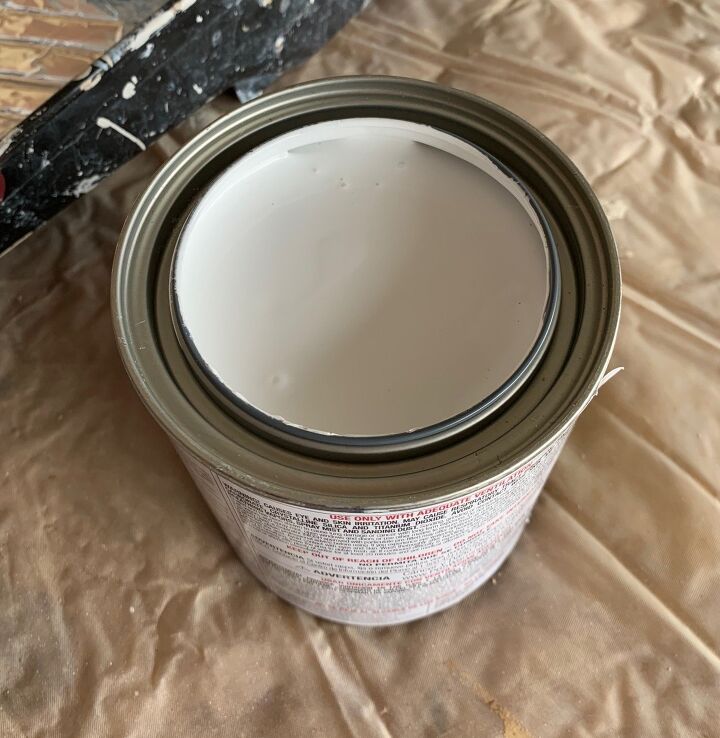
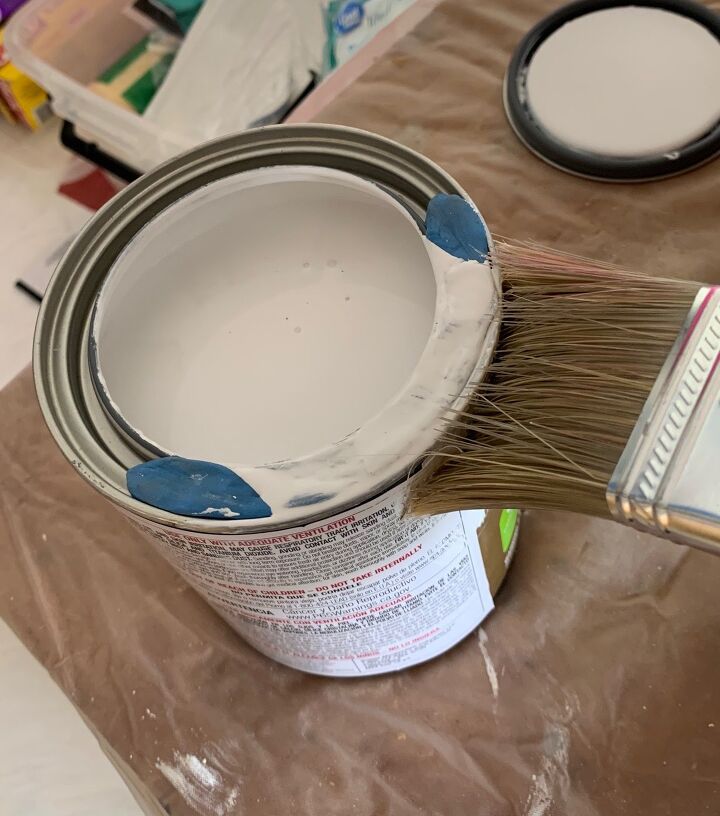
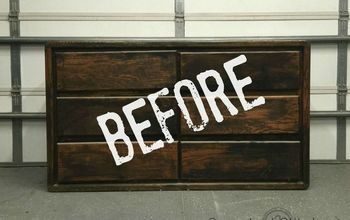
Here is the situation that precipitated this idea. After 2 days of crazy amounts of prep work, I was finally ready to give my newest project a coat of primer. I pulled down the can of primer and found this:

I wish I could honestly say that this was the first time this has ever happened to me…but…sigh…it certainly was not. Working right out of the can is NOT a great practice for a few reasons, but obviously I was going for quick and not clean. It had also been a while since I completed a project requiring primer, so my bad habit and time caught up with me.
So, I was off to the local hardware store to pick up a brand new can of primer. YES! …nice clean rim!
I was going to use a roller for this project so I was going to have to pour the paint into the roller tray. I was determined to do better this time. Dried out paint is just a waste of money.
I dug out the plastic pour spout I mentioned earlier in an attempt to take better care of this can than the last one. However, I had the same problem that I always had with this, namely it not fitting tightly and threatening to cause a bigger mess if it let go while I was pouring paint into the roller tray. It was also starting to crack a little, so into the garbage it went.
Ok. Time for Plan B because I did not have the time to run back out.
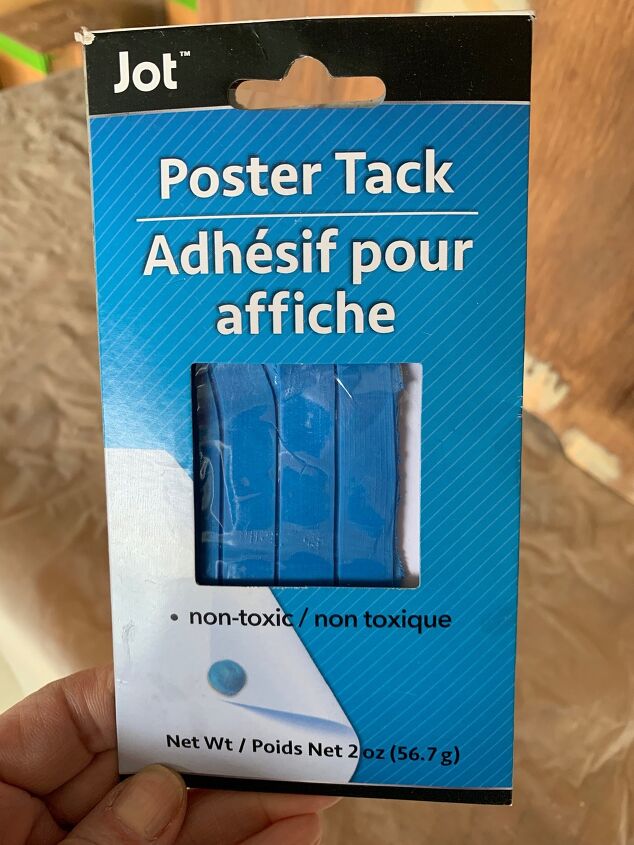
I found a package of poster tack.
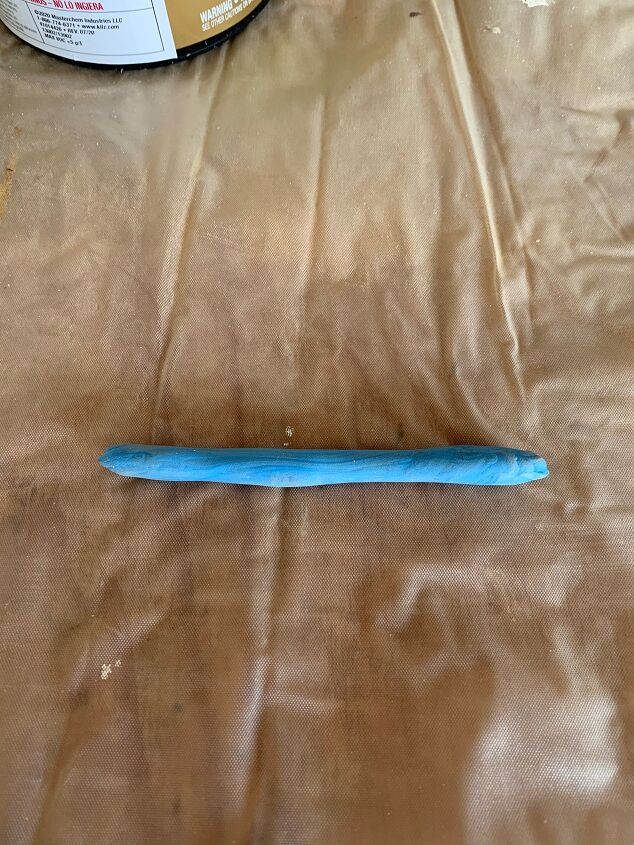
I pulled off a strip of it and kneaded it until it was soft and then rolled it out.

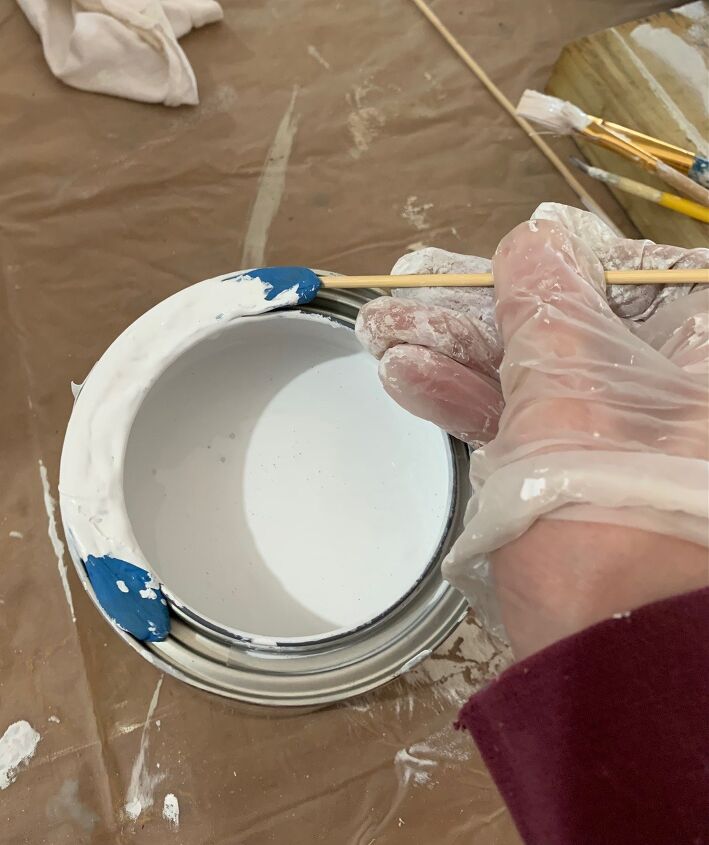
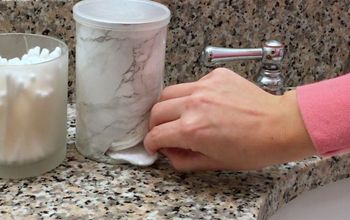
I pressed the rolled poster tack into the rim of the paint can.
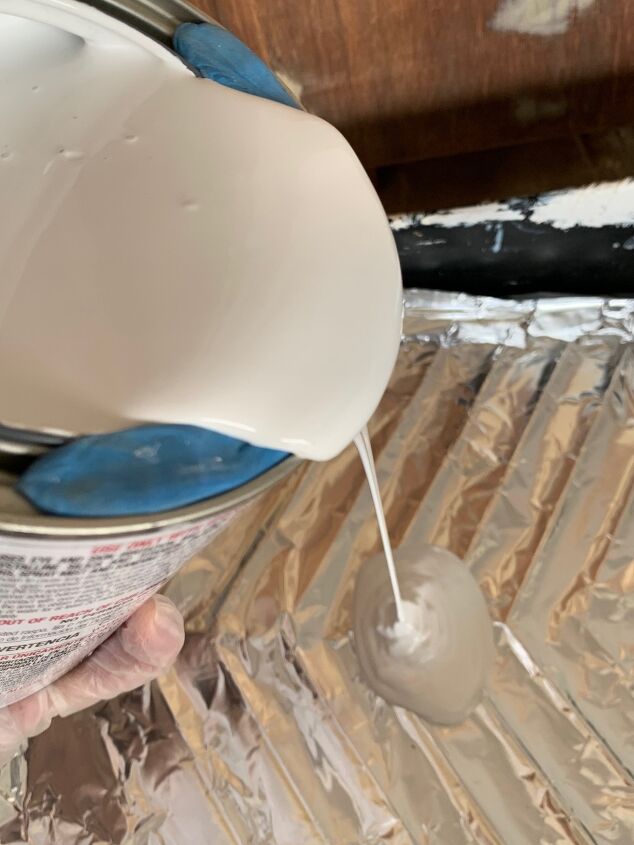
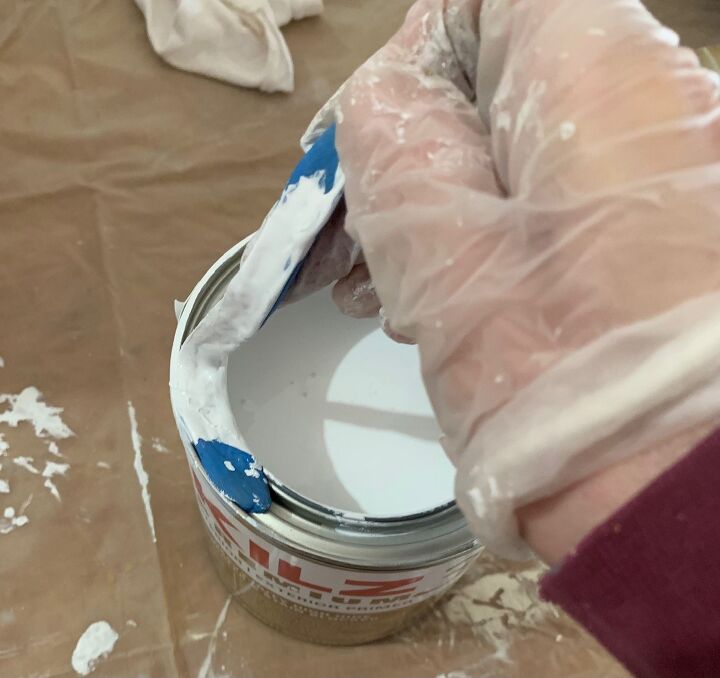
I slowly poured paint out of the can over the tack.
(There still are those pesky little drips.)
When I was finished, I just pried out the poster tack and threw it away.
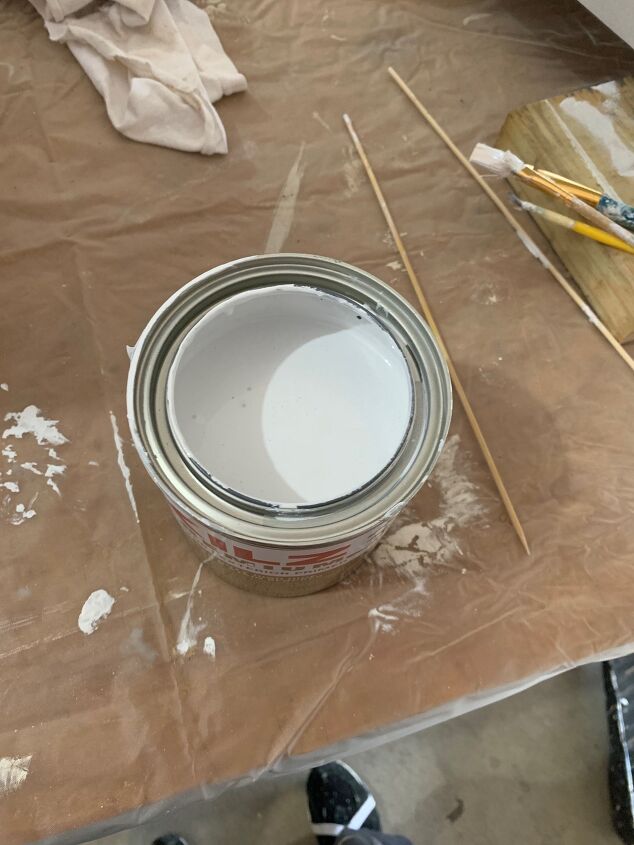
I have to say that Plan B worked beautifully! There was a little clean up to be done on the rim, but the deep grooves that form the seal on the can were clean and I was able to reseal it successfully.
Of course, this is a use-it-once-and-throw-it-away solution, so perhaps it is not the go-to solution for everyone.
However, in a pinch, it worked!
I will be using this method again when I open my brand new quart of paint to paint my project. I think I will create a little bigger dam of poster tack this time, just to be sure.
Interesting how problems can be solved. I guess necessity really is the mother of invention.
Resources for this project:

Comments
Join the conversation
-
I will certainly give them a try😊
-
I was taught by taking a nail and pound holes in the rim which has always worked for me.


Frequently asked questions
Have a question about this project?
Why can't you just tear off a strip of duck tape and cover the rim?
I punch holes with a nail and the paint drips back into the can. Wipe it and put lid on.