


Revamp Old Furniture With Paint And A Tile Stencil

2 Materials
$20
4 Hours
Easy
A furniture makeover project is not only simple but it's also super rewarding especially when using our stencil patterns. Paint can do wonders for blah and bland furniture. But there are more things you can do besides just slapping on a fresh color. A stencil pattern is a great way to add pattern and a touch of personality to furniture.
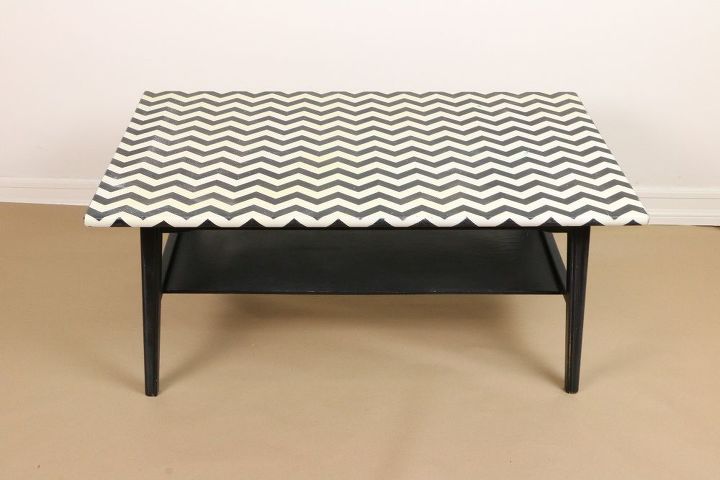
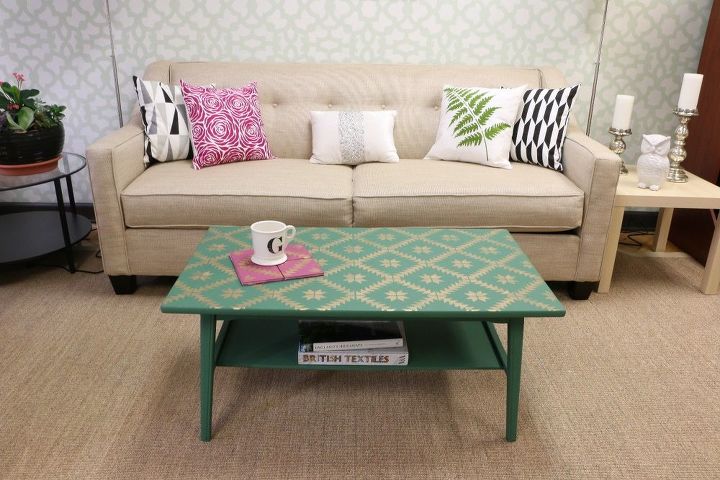
Erika, our in-house craft guru, found this cute coffee table sitting at the curb. It was beat up and the pattern didn't fit her eclectic modern style but she saw potential in it.
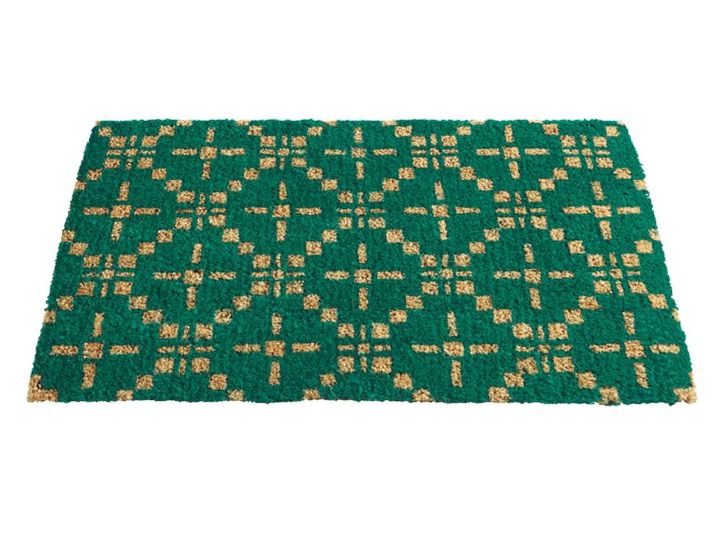
She had spotted this geometric coir welcome mat in HGTV Magazine. Erika fell in love with the color combo and fun pattern. She knew it was the perfect inspiration for her new coffee table.
The first thing she did was round her materials for the project and clean off the table using a cleaner. Then she sanded the top to remove any debris.
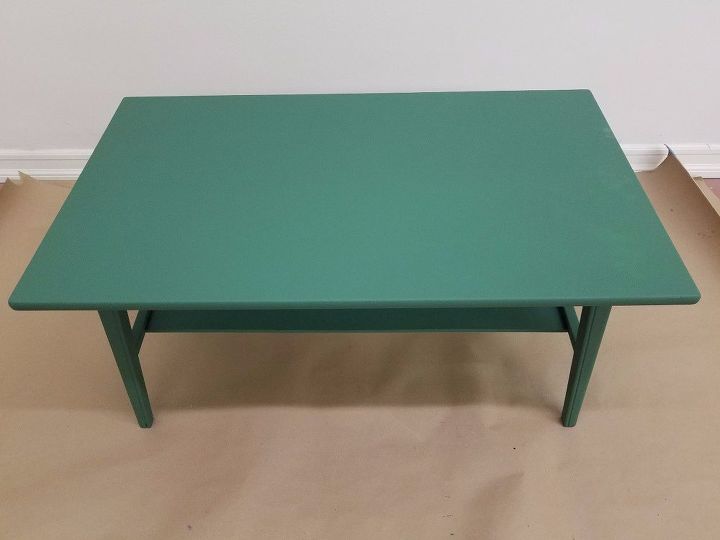
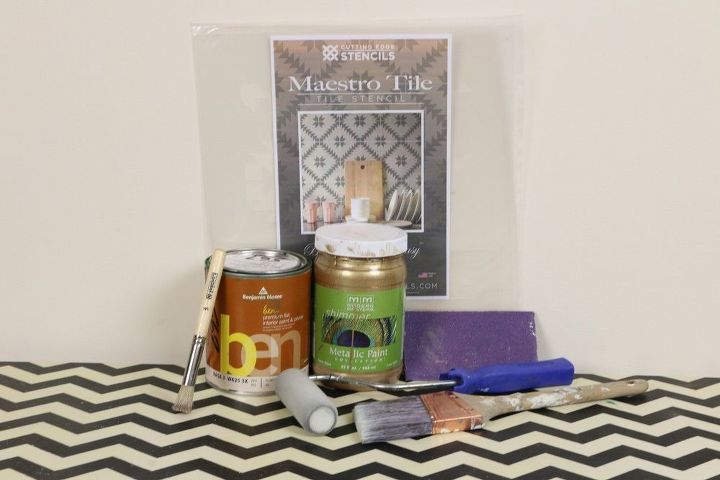
Erika chose to paint the entire table. She primed the top in STIX primer and painted it using Benjamin Moore Balsam, a pretty green hue. This classic green color matched her inspiration perfectly.
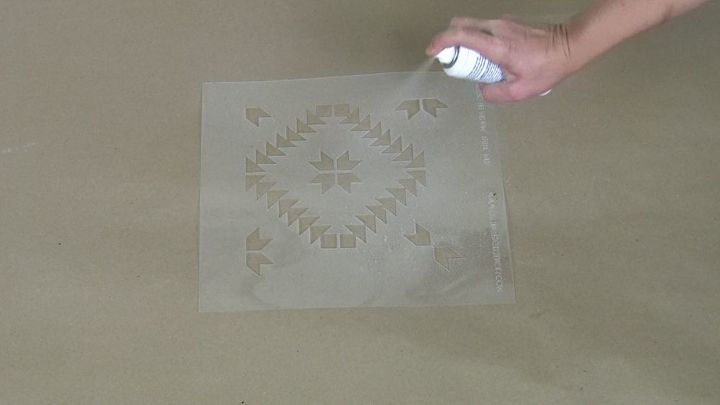
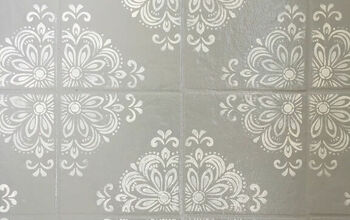
Next, Erika browsed our large collection of geometric stencil patterns. She selected the 8 inch Maestro Tile Stencil. This beautiful geometric tile stencil draws it’s inspiration from the ever popular cement tiles. She sprayed the back of the stencil with repositionable spray adhesive. We like to use Sticky Note Spray adhesive which can be purchased on Amazon.
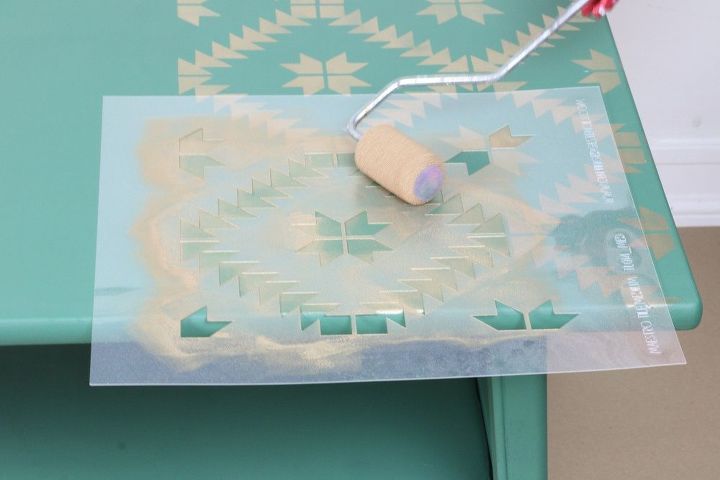
Erika placed the stencil on the table and then painted the pattern in Modern Masters metallic Pale Gold using a two inch dense foam roller. She made sure she rolled off any excess paint on a piece of paper towel. Too much paint will cause the design to bleed. Then she painted the entire pattern on to the table.
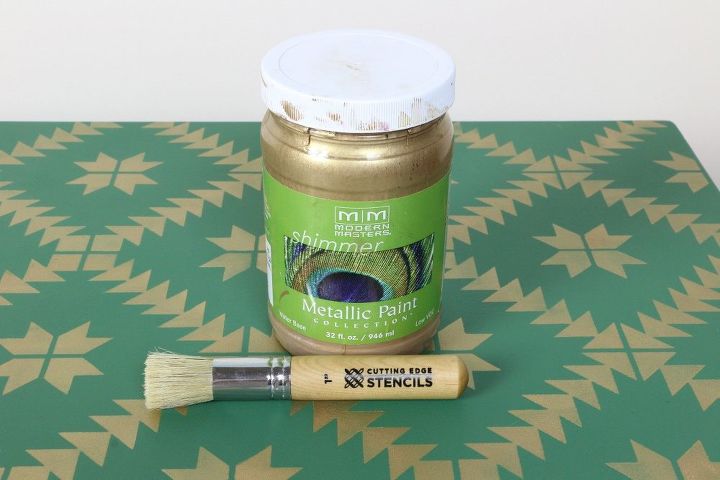
We love Modern Masters metallic paint for projects like this!
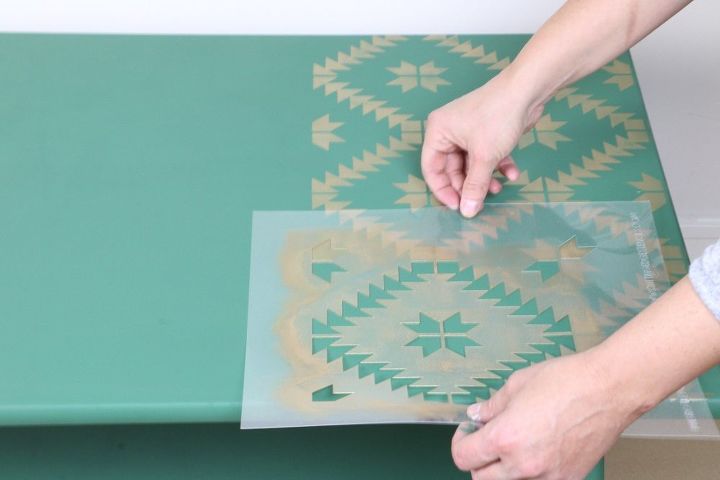
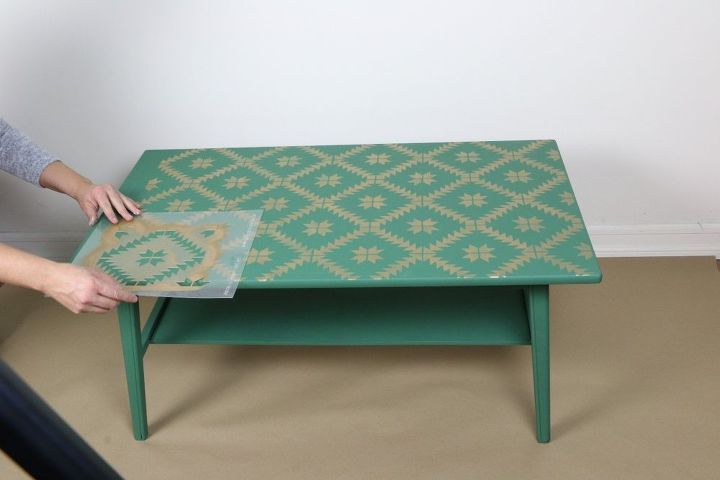
Erika had to pick up the stencil and reposition it to complete the pattern across the top.
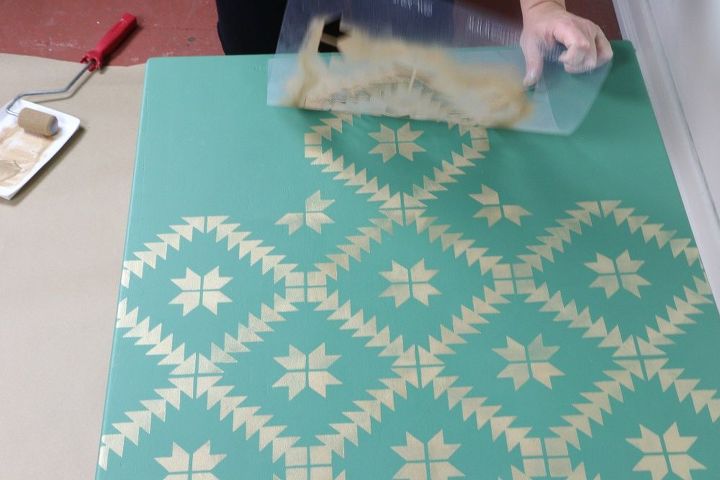
Once the entire design was painted, Erika lifted the stencil back to reveal the geometric pattern.
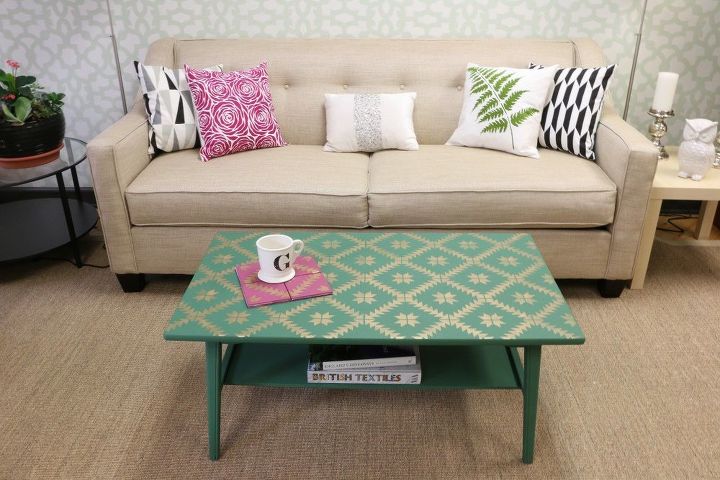
Are you ready to see how Erika's stenciled table turned out? Here it is!

To complete this project, Erika coated the table in Varethane's waterbased polyurethane. This will help seal and protect her stencil work.
Erika didn't stop with one stencil project. Since our stencils are reusable, she rinsed it off with soap and water and used it to create custom coasters. Erika had purchased plain white tiles from Home Depot for sixteen cents each. She primed them in white. Then she painted them in an electric pink hue and painted the tiles stencil in metallic gold. Simple and gorgeous!
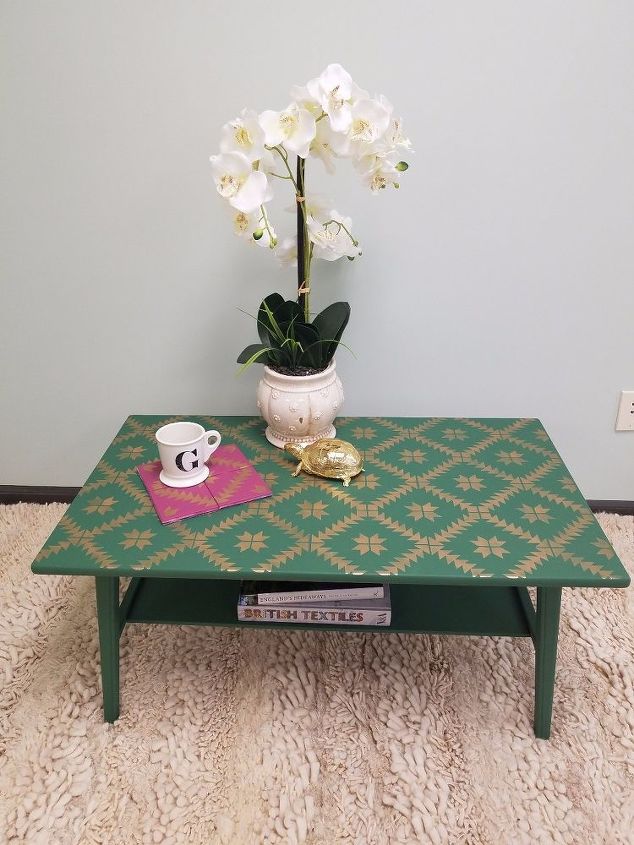
It looks great doesn't it?
If you love the way we managed to turn our inspiration into a pretty coffee table, be sure to pin this project and share it with your friends!
Supply list
- Maestro Tile Stencil- 8 inch- Cutting Edge Stencils
- Benjamin Moore Ben Paint in Balsam Green (Benjamin Moore)
- 2 inch Dense Foam Roller
- Modern Masters Metallic Gold
- Coffee Table
- Sticky Note Spray Adhesive
- Varethane Waterbased Polyurethane
Comments
Join the conversation
2 comments
-
Beautiful.
-
I qant. Ri so a coddw table as well.


Frequently asked questions
Have a question about this project?