


How To Paint A Ceiling With A Roller
If you love this project, grab your quick start DIY guide & subscribe to our blog!
If you’re going through all of the trouble of painting your room, don’t forget to paint the ceiling. Learn how to paint a ceiling with a roller in this step by step tutorial for beginners.
Step 1. Prep your room for painting.
Don’t just start rolling the paint up on the ceilings, start by getting your room prepped first. Here’s what you need to do before you start painting the ceiling:
- Remove or cover furniture with drop cloths or old bedsheets.
- Remove everything from the ceiling if possible. This includes vent covers and light fixtures. If you can’t remove your light fixture from the ceiling, tape around the entire fixture with painter’s tape.
- Patch any imperfections or holes if needed.
- Clean ceiling. A slightly dap rag attached to a Swiffer sweeper works great for this.
- Cover flooring with drop cloths.

Step 2. Gather supplies and prepare ceiling paint materials.
Shake your can of ceiling paint and stir well with a paint stir stick. Then pour your ceiling paint into a paint tray. Put a 3/8″ nap 9″ roller cover on a paint roller and attach an extension rod. The extension rod should have a little button on it near the top that extends it even more.
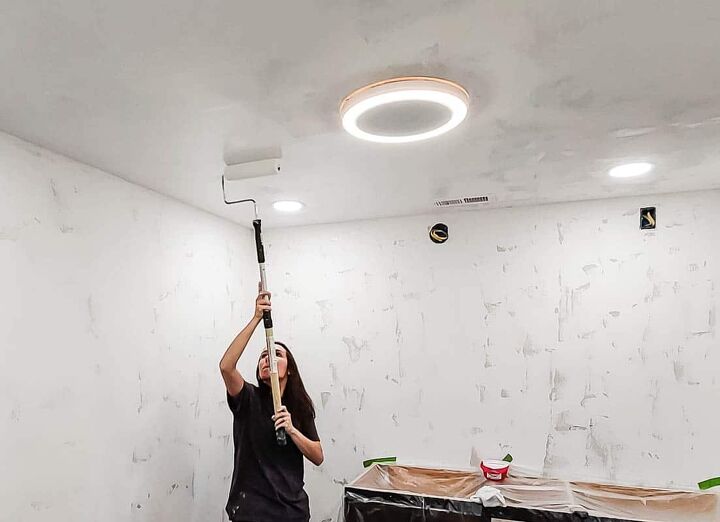
If you weren’t able to remove your light fixtures from the ceiling in Step 1, start by carefully painting around the edges with a paint brush before rolling the paint onto the ceiling.
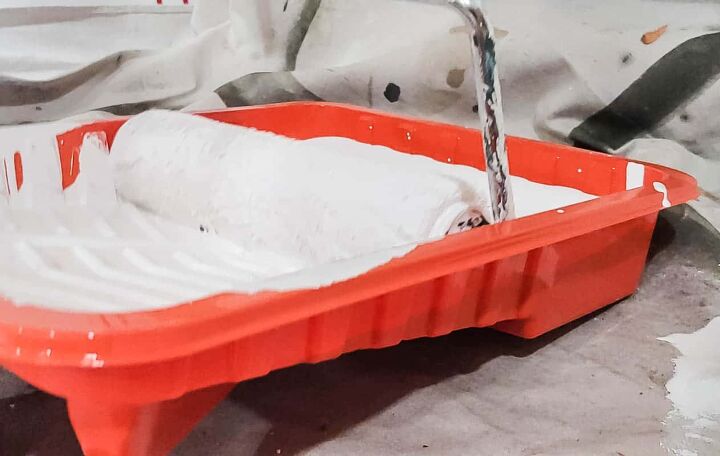
Dip the paint roller into the paint tray to load it up with paint. Roll off excess paint on the ramp of the paint tray. You want the roller to be fully loaded with paint, but not a dripping mess.
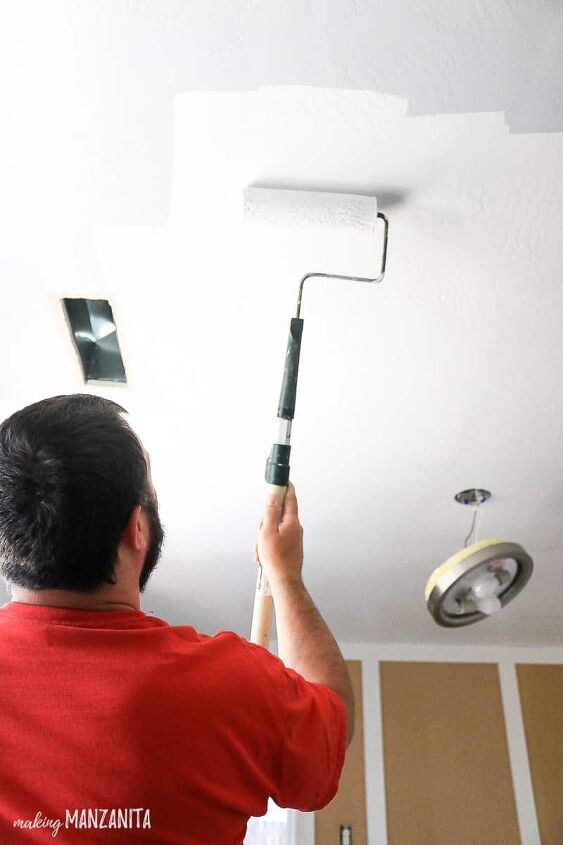
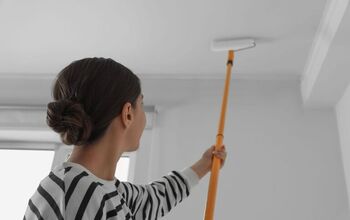
Step 3. Roll paint onto ceiling.
Starting in one corner of the room, bring the paint roller up to the ceiling. Apply the paint to the ceiling in small sections. Slightly overlap the paint strokes as you roll it on.
Step 4. Repeat steps for 2nd coat (if necessary).
You may or may not need more than one coat of paint on the ceiling. Because we use high quality ceiling paint, we almost always need only one coat to cover our ceilings with paint. A quick rule of the thumb regarding paint coverage, is the higher the quality paint – the better paint coverage you will get.

Painting a ceiling is not necessarily a fun task, but it’s a necessary one if you’re going to be painting a room. With these simple steps, you can learn how to paint a ceiling with a roller like a pro!
If you love this, check out all of my painting tutorials in the archive here!

Comments
Join the conversation
-
Thanks!
-
I have popcorn not easy to paint


Frequently asked questions
Have a question about this project?
How do you get such perfect edges at the meeting point of ceiling and wall?